
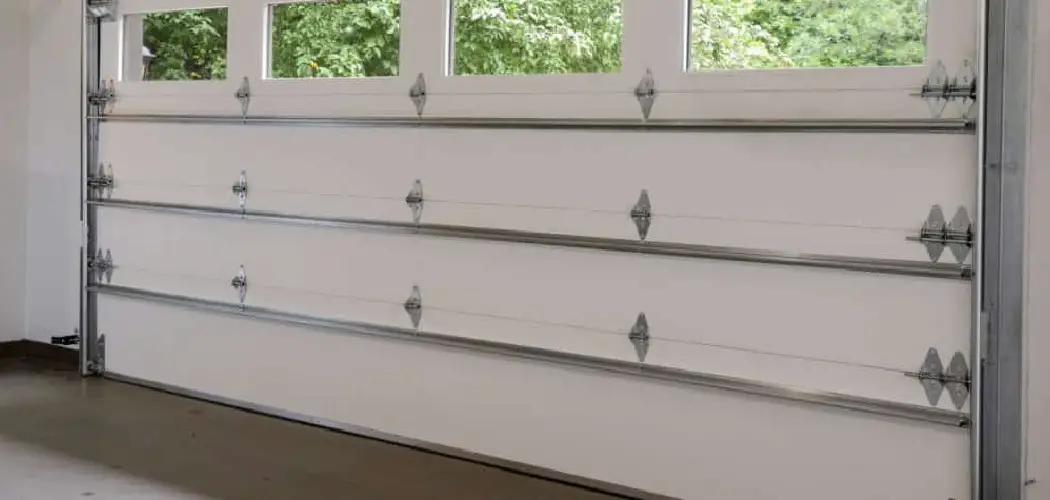
Your garage door is one of the largest moving parts in your home, and its safety depends heavily on a small pair of sensors near the ground. These photoelectric sensors sit on either side of the door track, sending an invisible beam across the opening. When something breaks that beam, the door stops and reverses. It’s a simple system, but it protects children, pets, cars, and anyone standing in the doorway from getting hurt.
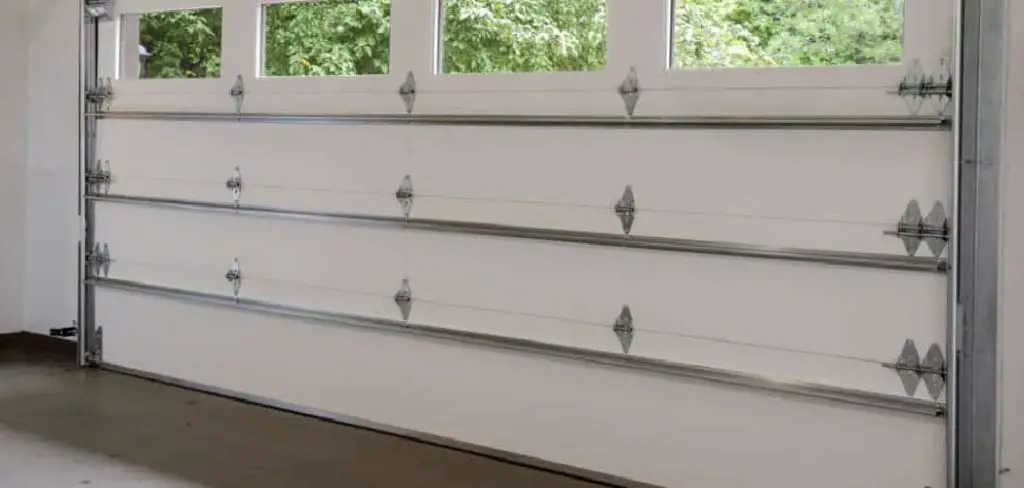
Over time, these sensors can drift out of alignment, gather dust, or start acting up due to loose wiring. When that happens, your door might refuse to close, reverse for no reason, or worse, fail to reverse when it should.
This guide on how to test garage door sensors walks you through everything you need to know, from the benefits and tools to a step-by-step process that anyone can follow.
What are the Benefits?
Regularly testing your garage door sensors offers more than just peace of mind. Here are the key reasons to make this a routine part of your home maintenance.
- Protects your family and pets. The number one benefit is safety. Working sensors stop the door from crushing anyone or anything in its path. If you have young children or animals who play near the garage, this feature is priceless.
- Prevents property damage. A door that closes on your car bumper, bicycle, or lawn equipment can cause expensive dents and scratches. Functioning sensors catch these obstacles before contact.
- Extends the life of your opener. When sensors work correctly, the motor and mechanical parts don’t strain against obstructions. This reduces wear and helps your entire system last longer.
- Saves money on repairs. Catching a small alignment issue early is far cheaper than replacing a damaged door panel or a burned-out motor. A quick test now can spare you a big bill later.
- Keeps you compliant with safety standards. Since 1993, U.S. law has required garage doors to include reversing safety features. Testing ensures your door meets these standards and works the way it should.
- Reduces daily frustration. A door that won’t close properly is annoying. Testing helps you spot problems before they leave you stuck in your driveway, late for work.
What Will You Need?
You don’t need fancy equipment to test your garage door sensors. Most of these items are already in your home.
- A cardboard box or a broom – to break the sensor beam during testing
- A soft, dry cloth – for wiping dust and dirt off the sensor lenses
- A screwdriver – to tighten mounting brackets or adjust sensor position
- A level – to check that the sensors line up correctly
- A flashlight – to inspect wiring and hard-to-see spots
- A step stool – if you need to reach the opener unit on the ceiling
- Work gloves – to keep your hands clean and protected
- A notepad – to jot down any issues you find for future reference
Gather these before you start so you won’t have to stop halfway through. Having everything ready makes the whole process smooth and quick.
10 Easy Steps on How to Test Garage Door Sensors
Step 1: Locate Your Garage Door Sensors
Start by finding the two sensors mounted on either side of the garage door, near the bottom of the tracks. They usually sit about four to six inches above the floor. One sensor sends out the infrared beam, and the other receives it. Both have small indicator lights, often green and amber or red. Take a moment to look at each one and note the color and steadiness of the lights. This baseline helps you spot changes later. If you can’t find them, check your opener’s manual for exact placement, since designs vary by brand.
Step 2: Inspect the Sensor Lenses for Dirt
Dust, cobwebs, grass clippings, and grime build up on the sensor lenses over time. Even a thin layer can block the beam and cause false readings. Grab your soft, dry cloth and gently wipe the front of each sensor lens. Avoid using harsh cleaners or abrasive materials, as these can scratch the lens and make things worse. If you notice sticky residue, dampen the cloth slightly with water only. Clean lenses are often the simplest fix for a door that suddenly refuses to close.
Step 3: Check the Indicator Lights
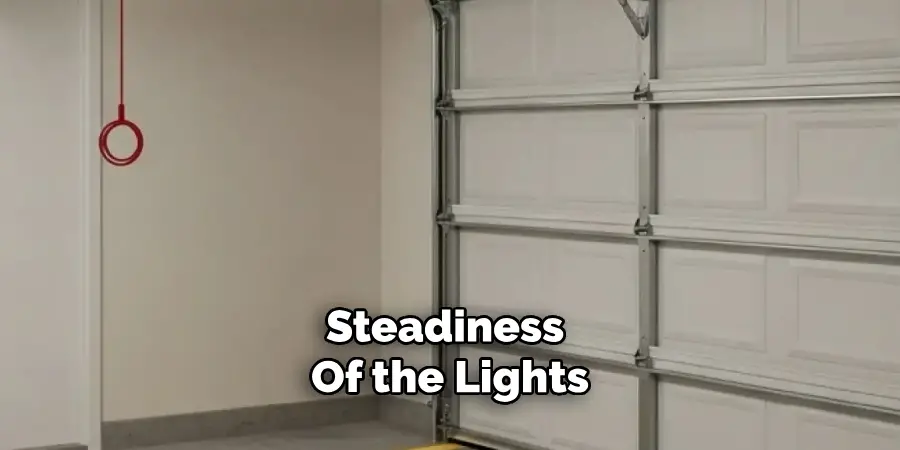
Look at the small LED lights on both sensors. A steady, solid light on both usually means they are aligned and communicating well. If one light is blinking, dim, or completely off, that points to an alignment or wiring problem. Different brands use different colors, so consult your manual to understand what each light means. Blinking lights are the most common warning sign that your sensors need attention. Make a note of what you see before moving on.
Step 4: Examine the Sensor Alignment
The two sensors must face each other directly for the beam to connect. Even a slight nudge from a bump, a ball, or a lawnmower can knock one out of position. Stand back and look at whether both sensors point straight across the doorway at the same height. If one appears tilted or turned, it likely needs adjusting. Alignment is the most frequent cause of sensor trouble, so give this step careful attention.
Step 5: Use a Level to Confirm Position
For a precise check, place your level against the sensor bracket. Both sensors should sit at the exact same height and angle. Adjust the mounting bracket by hand or with a screwdriver until each sensor is even and level. When they line up perfectly, the indicator lights should turn solid. This small adjustment often solves stubborn problems that cleaning alone can’t fix. Take your time here to get it right.
Step 6: Inspect the Wiring
Follow the wires running from each sensor back toward the opener. Look for frayed, chewed, or loose wires that could interrupt the signal. Rodents and normal wear can damage these thin cables. Use your flashlight to check dim corners. If you find a wire that has come loose from its terminal, reconnect it securely. If wiring looks badly damaged, it may be time to call a professional rather than risk a poor repair.
Step 7: Perform the Object Test
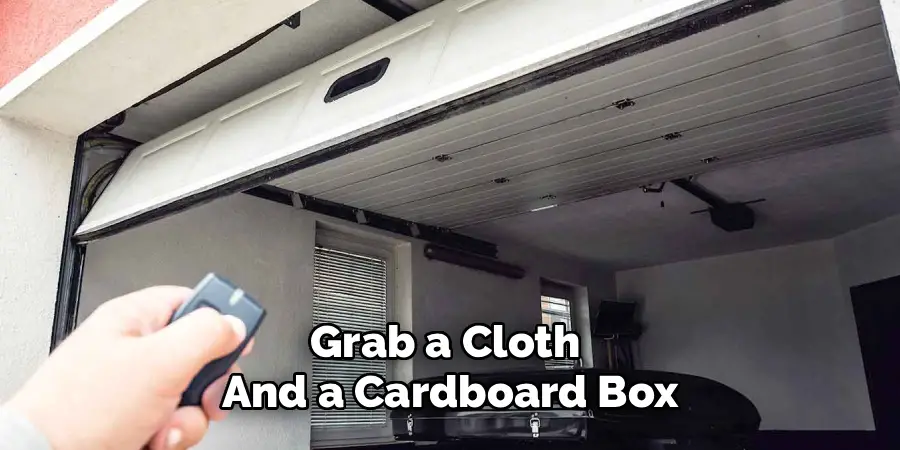
Now for the main event. With the garage door fully open, place a cardboard box or another solid object in the door’s path, right where the beam crosses. Press the button to close the door. A properly working system will refuse to close, or the door will start down and immediately reverse. This confirms the sensors detect obstacles as they should. If the door closes on the object, your sensors are not working and need further inspection.
Step 8: Perform the Beam-Break Test
For a second confirmation, start closing the door with a clear path, then wave a broom handle or your foot through the beam as the door moves down. The door should stop and reverse the instant the beam breaks. This test mimics a real-life situation where a child or pet darts into the doorway. Always keep your hands and feet safe during this test by using an object rather than reaching under the moving door.
Step 9: Test the Auto-Reverse Feature
Beyond the sensors, your door should also have a mechanical auto-reverse that responds to resistance. Place a solid object like a roll of paper towels flat on the floor in the door’s path. Close the door so it touches the object. The door should reverse as soon as it makes contact. This backup feature adds another layer of protection. If it fails, your opener’s force settings may need adjustment.
Step 10: Repeat and Record Your Results
Run each test at least twice to make sure the results are consistent. A door that reverses once but not the next time still has a problem. Write down what worked and what didn’t on your notepad. If everything passes, great, your sensors are safe and ready. If any test fails after cleaning and aligning, it’s wise to contact a garage door technician. Keeping a record helps you track how often issues appear and spot patterns over time.
5 Things You Should Avoid
- Avoid using harsh chemicals on the lenses. Strong cleaners and abrasive pads scratch the delicate sensor lens, which can permanently reduce its ability to read the beam. Stick to a soft, dry cloth and water only.
- Avoid reaching under a moving door. Never test the sensors by placing your hand or foot directly in the door’s path while it moves. Always use a broom, box, or other object to break the beam safely.
- Avoid ignoring blinking lights. A blinking indicator is your sensor asking for help. Putting off the fix can leave your door stuck or unsafe. Address these warnings as soon as you notice them.
- Avoid forcing misaligned sensors. Don’t bend brackets aggressively or over-tighten screws to force alignment. This can crack the housing or strip the mount. Make small, gentle adjustments instead.
- Avoid skipping the test after any bump. If a car, ball, or tool knocks into a sensor, test it right away. Assuming it’s fine can leave you with a door that fails when you least expect it.
Conclusion
How to test garage door sensors is a quick, easy task that delivers real peace of mind. In just a few minutes each month, you can protect your loved ones, your vehicles, and your property from a door that fails to reverse.
By cleaning the lenses, checking alignment, inspecting the wiring, and running simple obstacle tests, you keep your entire system working the way it was designed to.
Don’t wait for a scary near-miss to remind you how important these little sensors are. Grab a cloth and a cardboard box, follow the steps in this guide, and make sensor testing a regular part of your home care routine. Your garage door works hard every day, so give it the quick check it deserves. A few minutes now can prevent accidents, save money, and keep your home safe for years to come.

I am Rick. I grew up helping my dad with his handyman service. I learned a lot from him about how to fix things, and also about how to work hard and take care of business. These days, I’m still into fixing things- only now, I’m doing it for a living.
I’m always looking for new ways to help people grow and develop. That’s why I have created this blog to share all my experience and knowledge so
that I can help people who are interested in DIY repair.