
Winter mornings can turn frustrating in a hurry. You grab your keys, hop in the car, press the garage door opener, and nothing happens. The door won’t budge. That’s because the bottom seal has frozen solid to the concrete floor overnight. It’s one of the most common cold-weather headaches homeowners face, and it can throw off your whole morning routine.
When temperatures drop and moisture collects along the bottom edge of your garage door, ice forms between the rubber seal and the ground. If you force the door open, you risk tearing the seal, straining the opener motor, or even bending panels. None of those repairs are cheap.
This guide on how to keep garage door from freezing to floor walks you through everything you need to know. Let’s get your garage door working the way it should, no matter how cold it gets outside.
What Are the Benefits?
Taking a few minutes to weatherproof your garage door pays off in more ways than one. Here’s what you gain when you keep it from freezing to the floor.
- You save money on repairs. Forcing a frozen door open can rip the bottom seal, snap cables, or burn out the opener motor. These fixes add up fast. Prevention costs pennies compared to a service call.
- You protect your daily schedule. A door that won’t open means you might be stuck at home or scrambling for another way out. Keeping it functional saves you time and stress on busy winter mornings.
- You extend the life of your equipment. Ice puts extra strain on every part of the door system. When you prevent freezing, you reduce wear and tear, helping your door and opener last longer.
- You improve energy efficiency. A well-sealed door keeps cold drafts out and warm air in. That means a more comfortable garage and, if the space is attached to your home, lower heating bills.
- You boost safety. A jammed door can be a hazard, especially if you need to get a vehicle out quickly. A smooth-operating door keeps your household safer during harsh weather.
- Simply put, a little effort now prevents a lot of trouble later.
What Will You Need?
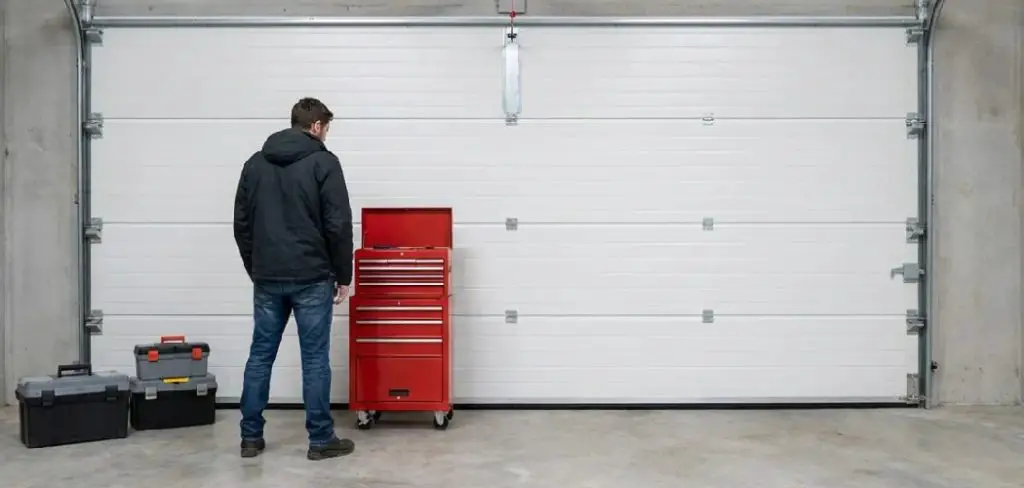
Before you start, gather these tools and materials. Most of them are inexpensive and easy to find at any hardware store.
- Silicone-based spray lubricant (avoid petroleum-based products)
- Ice scraper or plastic putty knife
- Clean cloths or rags
- Weatherstripping or a new bottom seal (if yours is worn)
- Salt-free de-icer or rubbing alcohol solution
- A garden hose or squeegee (to clear standing water)
- Cooking spray or petroleum jelly (for a quick barrier option)
- A small broom or brush
- Foam or rubber threshold seal (optional, for extra protection)
- A caulk gun and weatherproof caulk (for sealing gaps)
- Warm water and a spray bottle
- Work gloves
Having everything ready before you begin makes the whole process faster and smoother. Now let’s get into the steps.
10 Easy Steps on How to Keep Garage Door From Freezing to Floor
Step 1: Clear Away Snow and Ice
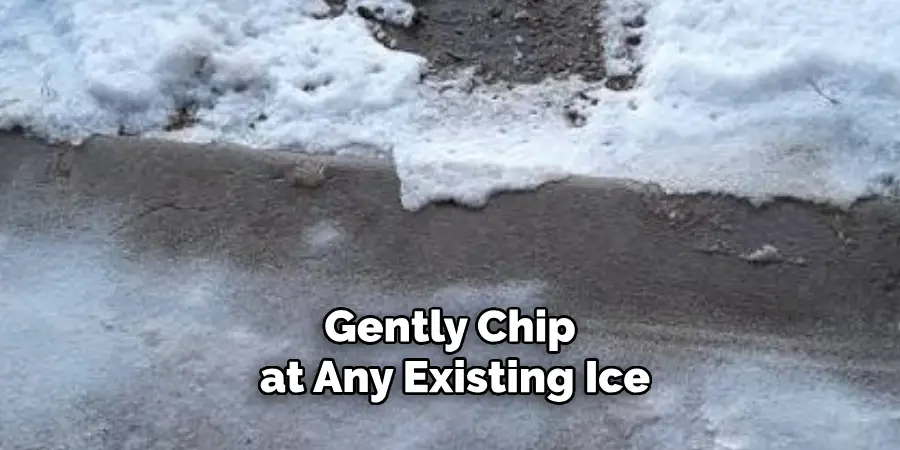
Start by removing any snow, slush, or ice buildup along the bottom of the door. Use a plastic scraper or putty knife rather than a metal one, since metal can gouge the seal or scratch the floor. Sweep away loose snow with a small broom, and gently chip at any existing ice. Be patient here. Forcing frozen chunks can damage the rubber seal. Once the area is clear, wipe it down with a dry cloth. A clean, dry surface is the foundation for everything else you’ll do, so don’t skip this first step.
Step 2: Dry the Bottom Seal and Floor
Moisture is the real enemy. After clearing debris, dry the bottom seal and the concrete directly beneath it. Standing water freezes the moment temperatures dip, gluing the seal to the ground. Use a squeegee to push water away from the door, then finish with a towel. If your garage floor slopes slightly toward the door, make sure water isn’t pooling at the threshold. A completely dry surface dramatically lowers the chance of freezing overnight.
Step 3: Inspect the Bottom Seal
Take a close look at the rubber seal running along the bottom of your door. Over time, it cracks, hardens, or flattens out. A damaged seal traps water and lets cold air seep in, making freezing far more likely. Run your hand along its length and check for gaps or brittle spots. If it looks worn, plan to replace it. A fresh, flexible seal creates a tighter fit against the floor and sheds water more effectively.
Step 4: Replace a Worn Seal
If your inspection revealed damage, now’s the time to swap in a new seal. Most bottom seals slide into a track along the base of the door. Remove the old one by pulling it out from one end, then clean the track. Slide the new seal in, using a bit of soapy water to help it glide. A snug, pliable seal is one of the best defenses against freezing. This small upgrade makes a noticeable difference all season.
Step 5: Apply a Silicone-Based Lubricant
Spray a silicone-based lubricant along the bottom seal and its contact point with the floor. Silicone repels water and stays flexible in cold temperatures, unlike petroleum-based sprays that can gum up and attract dirt. Coat the seal evenly and wipe away any excess. This creates a slippery barrier that prevents ice from bonding the rubber to the concrete. Reapply every couple of weeks during the coldest stretches for the best results.
Step 6: Add a Protective Barrier
For extra insurance, apply a thin layer of cooking spray or petroleum jelly to the bottom seal. This works as a quick, budget-friendly barrier that stops water from sticking. Wipe on a light, even coat, focusing on the edge that touches the floor. It won’t last as long as silicone lubricant, so use it on nights when a hard freeze is expected. Think of it as a temporary shield for those brutally cold evenings.
Step 7: Use a De-Icer Solution
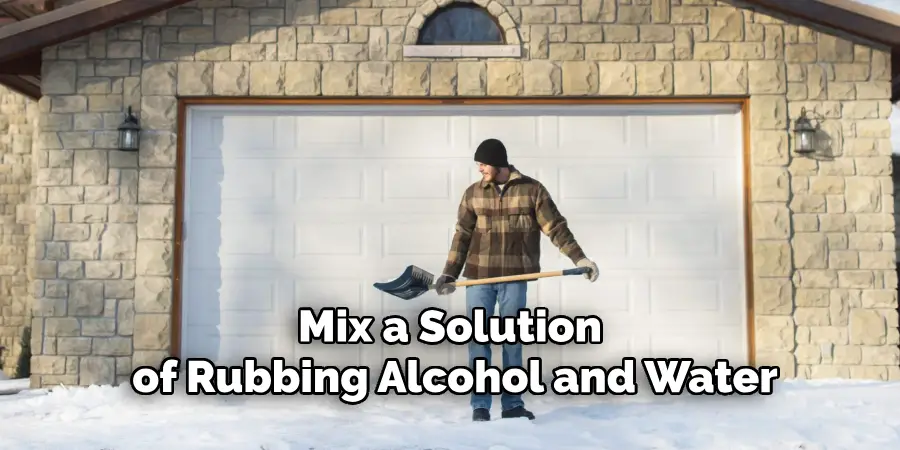
Mix a solution of rubbing alcohol and water, or use a commercial salt-free de-icer, and lightly spray the area where the seal meets the floor. Rubbing alcohol lowers the freezing point of water, making it harder for ice to form. Avoid rock salt, which can corrode the seal and damage concrete over time. Spray a modest amount along the threshold before temperatures drop, and you’ll create another layer of freeze protection.
Step 8: Seal Gaps Around the Frame
Cold air and moisture often sneak in through gaps around the door frame. Grab your caulk gun and apply weatherproof caulk to any cracks or openings you find along the sides and top. Add weatherstripping where needed. Sealing these gaps keeps the garage warmer and reduces the moisture that leads to freezing. A tighter frame also improves energy efficiency, so this step does double duty.
Step 9: Install a Threshold Seal
A threshold seal is a rubber or foam strip that adheres to the garage floor directly under the door. It creates a raised barrier that blocks water, snow, and drafts from reaching the door. Clean and dry the floor first, then peel and stick the threshold in place. This gives water somewhere to drain instead of pooling under the seal. It’s an affordable upgrade that pays off during heavy snow and slush.
Step 10: Keep the Garage Warmer
Finally, try to keep the garage interior a little warmer. Even a small space heater or better insulation can raise the temperature just enough to prevent freezing at the base of the door. If your garage is attached to the house, make sure the connecting door is sealed and insulated too. A warmer garage means less ice buildup and a door that opens smoothly every single morning.
By following these ten steps, you’ll create multiple layers of protection that work together to keep your door freeze-free all winter.
5 Things You Should Avoid
Even with the best intentions, a few common mistakes can undo your hard work or cause damage. Here’s what to steer clear of.
- Don’t force a frozen door open. Repeatedly hitting the opener button while the door is stuck can strain the motor, snap cables, or tear the seal. If it won’t budge, break the ice free first.
- Avoid using rock salt. Salt might melt ice, but it corrodes rubber seals and eats away at concrete over time. Stick to alcohol-based or salt-free de-icers instead.
- Don’t use petroleum-based lubricants. These products break down rubber, attract dirt, and stiffen in cold weather. Always choose silicone-based sprays for the seal.
- Never use sharp metal tools on the seal. Metal scrapers and chisels can slice the rubber, creating gaps that let in more water. Plastic tools are the safer choice.
- Don’t ignore standing water. Leaving puddles at the threshold is asking for trouble. Always dry the area thoroughly before a freeze sets in.
Conclusion
A garage door frozen to the floor is a common winter nuisance, but it’s completely preventable. The key is staying ahead of the problem. By clearing snow, drying the seal and floor, and applying the right protective barriers, you stop ice from ever getting a grip.
Remember the big picture too. Sealing gaps, installing a threshold, and keeping your garage a bit warmer all work together to fight moisture and cold. These steps not only prevent freezing but also protect your equipment, save you money on repairs, and make your winter mornings a whole lot easier.
Hopefully, with these tips and tricks on how to keep garage door from freezing to floor, you can now confidently face the cold winter months and keep your garage door functioning smoothly. So stock up on supplies, stay vigilant in maintenance, and enjoy a warm and functional garage all winter long.

I am Rick. I grew up helping my dad with his handyman service. I learned a lot from him about how to fix things, and also about how to work hard and take care of business. These days, I’m still into fixing things- only now, I’m doing it for a living.
I’m always looking for new ways to help people grow and develop. That’s why I have created this blog to share all my experience and knowledge so
that I can help people who are interested in DIY repair.