
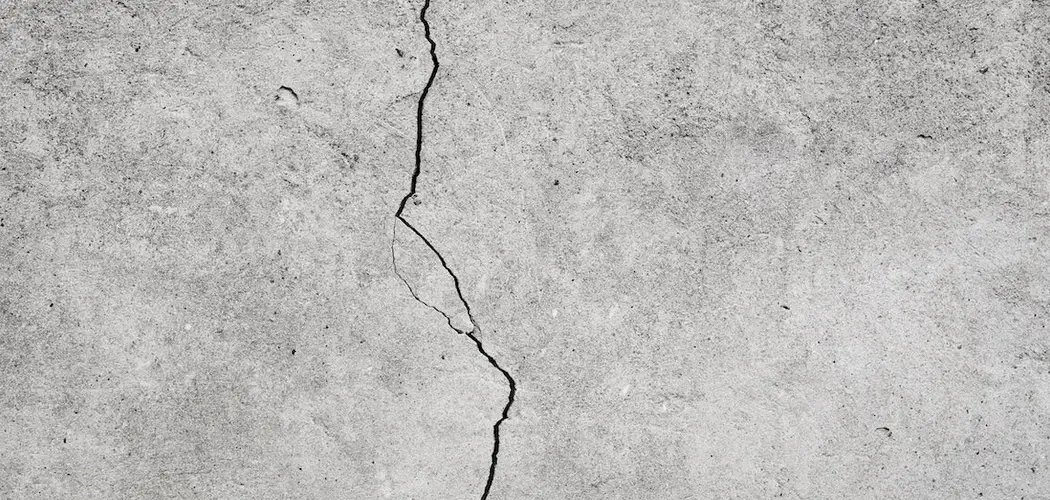
That hairline crack in your garage floor might seem harmless right now. But left alone, it can grow into a wide, jagged split that traps dirt, collects moisture, and slowly damages the concrete beneath your feet. Garage floors take a beating. They handle the weight of vehicles, shifting temperatures, spilled chemicals, and years of foot traffic. So it’s no surprise that cracks show up over time.
The good news? You don’t need to be a professional contractor to fix them. With the right materials, a little patience, and a free afternoon, you can seal those cracks yourself and save hundreds of dollars in repair costs.
In this guide on how to fill cracks in garage floor, we’ll walk you through everything you need to know. Let’s get your garage floor looking solid again.
What Are the Benefits?
Filling cracks in your garage floor offers more than a clean appearance. Here’s what you gain when you tackle this project.
- You prevent bigger, costlier damage. Small cracks rarely stay small. Water gets in, freezes, expands, and pushes the concrete apart. By sealing cracks early, you stop this cycle and avoid expensive slab replacement down the road.
- You keep moisture out. Cracks act like tiny channels for water. That moisture can rise up through the concrete, promote mold growth, and even reach items stored in your garage. A proper seal blocks it out.
- You protect your floor’s foundation. The soil beneath your garage shifts with the seasons. Cracks make the slab weaker and more likely to sink or heave. Filling them helps the surface stay level and stable.
- You improve safety. Wide cracks can catch shoes, trip guests, and damage tools or equipment rolled across the floor. A smooth surface reduces these hazards for everyone in your household.
- You boost your home’s value. A well-maintained garage floor tells buyers you take care of your property. It’s a small detail that leaves a strong impression during a sale.
- You save money. Professional repairs cost a lot. Doing it yourself with basic materials costs a fraction of that price, and the results can last for years when done right.
- You extend the floor’s life. Regular maintenance like crack repair keeps concrete healthy far longer. You get more years out of the same slab without major work.
What Will You Need?
Before you begin, gather all your supplies. Having everything ready saves time and keeps the job smooth. Here’s your checklist.
Tools:
- Wire brush or stiff-bristled brush
- Hammer and cold chisel (for widening large cracks)
- Shop vacuum or broom
- Putty knife or trowel
- Caulking gun (if using tube-based filler)
- Utility knife
- Safety goggles
- Work gloves
- Dust mask
Materials:
- Concrete crack filler or repair caulk (for small cracks)
- Concrete patching compound or mortar mix (for wide cracks)
- Backer rod (for deep cracks)
- Concrete cleaner or degreaser
- Water (for mixing patch compound)
- Concrete sealer (optional, for extra protection)
Optional Extras:
- Bucket for mixing
- Rag or sponge for cleanup
- Painter’s tape for clean edges
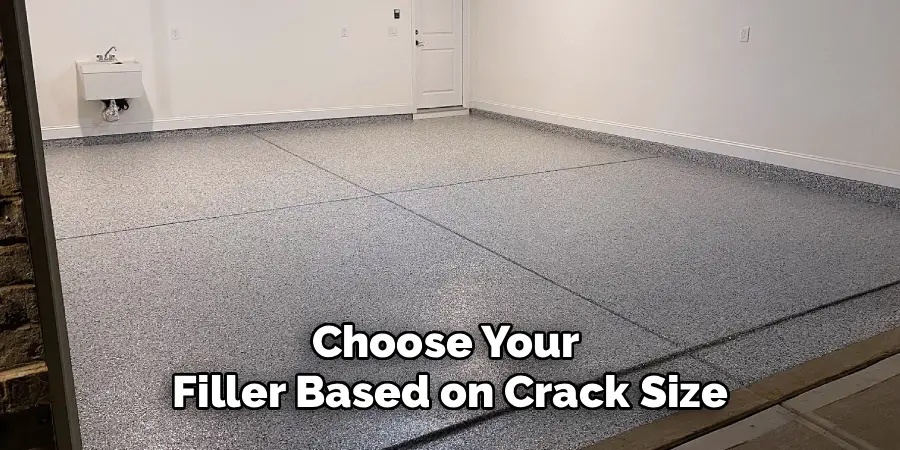
Choose your filler based on crack size. Hairline and narrow cracks work best with liquid or caulk-style fillers. Wider cracks, anything over a quarter-inch, need a thicker patching compound or mortar mix to hold up over time.
10 Easy Steps on How to Fill Cracks in Garage Floor
Step 1: Inspect and Measure the Cracks
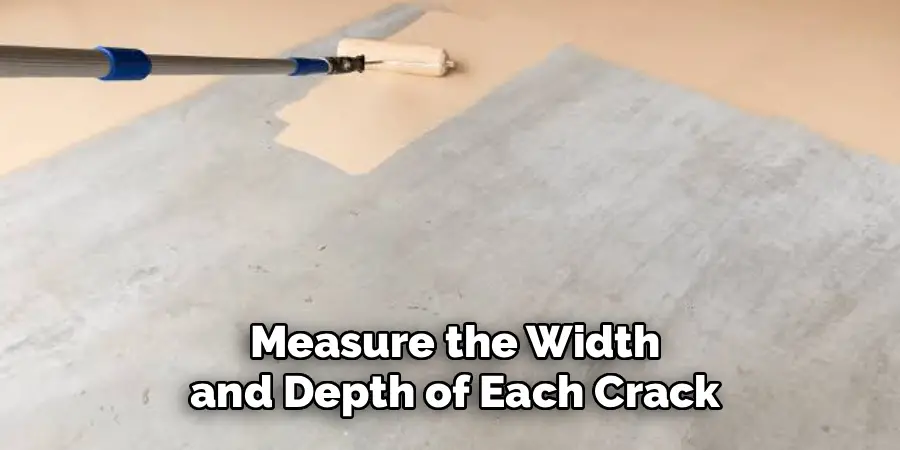
Start by taking a close look at every crack in your floor. Walk the entire garage and note where the damage is. Measure the width and depth of each crack. This tells you which filler you need. Hairline cracks under an eighth of an inch call for a thin liquid filler. Cracks wider than a quarter-inch need a heavier patching compound. Deep cracks may need a backer rod first. Knowing the size of your problem before you shop saves you a second trip to the hardware store and helps you buy the right amount of material.
Step 2: Clear the Work Area
Move everything out of the way. Push cars out of the garage, shift storage bins, and clear tools from the floor. You need open, unobstructed access to each crack. A clutter-free space also keeps you safe as you work with chisels and chemicals. Sweep the whole floor to remove loose dirt and debris. This first cleanup makes the detailed cleaning in the next steps far easier and helps you spot cracks you may have missed during your inspection.
Step 3: Widen Large Cracks
This step applies only to wider cracks. Using a hammer and cold chisel, gently chip away the crumbling edges of the crack. Angle the chisel to create a slightly wider opening at the bottom than the top. This “V” shape, sometimes called undercutting, gives the filler more surface to grip. It sounds odd, but a wider base actually helps the patch lock in place and resist popping out later. Wear your safety goggles and gloves during this step, since flying concrete chips can cause injury.
Step 4: Clean Out the Crack
A clean crack holds filler far better than a dirty one. Use a wire brush to scrub loose particles from inside and around each crack. Get into the corners and along the edges. Then vacuum out all the dust and debris with a shop vacuum. If you don’t have one, sweep carefully and blow out the remaining dust. Any leftover grit stops the filler from bonding properly, so take your time here. A truly clean crack is the secret to a repair that lasts.
Step 5: Remove Grease and Stains
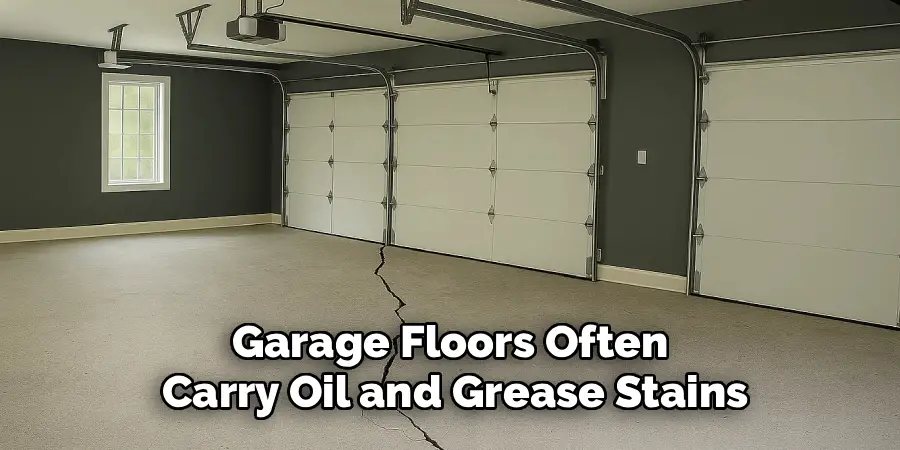
Garage floors often carry oil and grease stains, especially near where cars park. These substances stop filler from sticking. Apply a concrete cleaner or degreaser to any stained areas around the cracks. Scrub with a stiff brush and rinse well. Let the surface dry completely before moving on. Moisture and grease are the two biggest enemies of a strong bond, so this step matters more than people think. A degreased, dry crack sets you up for success.
Step 6: Add Backer Rod to Deep Cracks
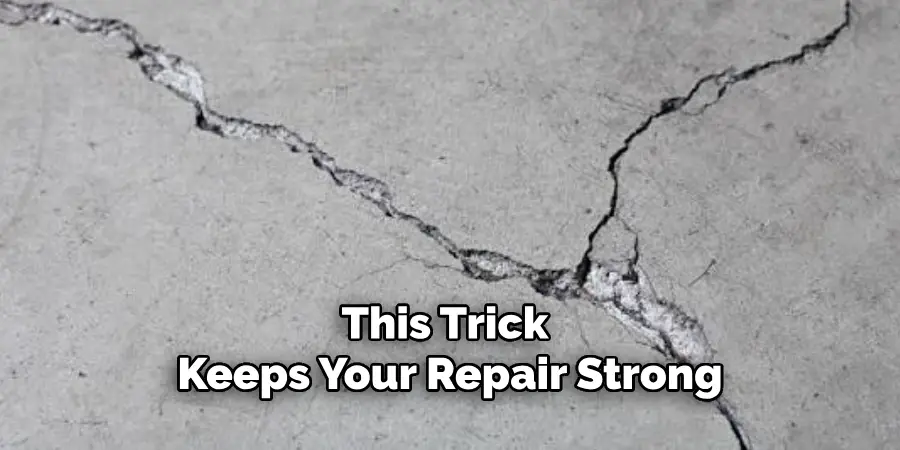
If your cracks are deep, more than half an inch, push a foam backer rod into the opening before adding filler. The backer rod fills the extra space so you don’t waste material and helps the filler cure at the right depth. Press it in with a putty knife until it sits just below the surface, leaving room for the filler on top. This trick keeps your repair strong and prevents the filler from sinking or cracking as it dries.
Step 7: Apply the Crack Filler
Now for the main event. For narrow cracks, load your caulk-style filler into a caulking gun and squeeze a steady bead along the crack. For wider cracks, scoop patching compound with a putty knife and press it firmly into the opening. Push the material down to eliminate air pockets. Overfill slightly, since most fillers shrink a bit as they cure. Work in sections and keep your bead or fill even. Don’t rush; a careful application gives the cleanest result.
Step 8: Smooth the Surface
Once the filler is in place, smooth it out with your putty knife or trowel. Drag the blade across the crack at a slight angle to level the filler with the surrounding floor. Wipe away any excess that spreads onto the concrete. For a truly clean line, you can lay painter’s tape along both edges of the crack before filling, then peel it off now while the filler is wet. A smooth, flush finish blends the repair into your floor.
Step 9: Let It Cure
Patience pays off here. Follow the drying time listed on your filler’s packaging. Most products need several hours to set and a full day or more to cure completely. Keep the area dry and avoid walking on it. Don’t park your car back in the garage until the filler has fully hardened. Rushing this step can ruin all your hard work, so give the repair the time it needs to reach full strength.
Step 10: Seal the Floor
For lasting protection, apply a concrete sealer over the repaired area or the whole floor. A sealer guards against moisture, stains, and future cracking. Use a roller or brush to spread an even coat, and follow the product’s instructions for drying time. This final step isn’t required, but it adds a layer of defense that keeps your floor looking good for years. Once the sealer dries, your garage floor is ready for use again.
5 Things You Should Avoid
- Skipping the cleaning step. Never apply filler to a dirty or dusty crack. Debris blocks the bond, and your repair will fail within weeks. Always clean and vacuum first.
- Using the wrong filler for the crack size. Thin liquid filler won’t hold in a wide crack, and thick compound is overkill for hairline cracks. Match your material to the job for the best results.
- Ignoring moisture and grease. Filler won’t stick to wet or oily concrete. Degrease stains and let the surface dry fully before you start filling.
- Rushing the cure time. Walking or parking on fresh filler before it hardens ruins the repair. Give it the full drying time listed on the package, even if you’re eager to finish.
- Overlooking deep cracks. Filling a deep crack without a backer rod wastes material and leaves a weak spot. Always add backer rod to deep openings for a solid, lasting fix.
Conclusion
How to fill cracks in garage floor doesn’t have to be a headache. As you’ve seen, filling them is a straightforward project that anyone can handle with the right tools and a bit of patience. You now know why the job matters, what supplies to gather, and exactly how to seal each crack in ten simple steps.
The key is preparation. Clean cracks, dry surfaces, and the right filler make all the difference between a repair that lasts years and one that fails in weeks. Take your time with each step, avoid the common mistakes we covered, and let the filler cure fully before you use the space again.
So grab your supplies, clear out the garage, and get started this weekend. Your floor will thank you, and you’ll enjoy the satisfaction of a job well done with your own two hands.

I am Rick. I grew up helping my dad with his handyman service. I learned a lot from him about how to fix things, and also about how to work hard and take care of business. These days, I’m still into fixing things- only now, I’m doing it for a living.
I’m always looking for new ways to help people grow and develop. That’s why I have created this blog to share all my experience and knowledge so
that I can help people who are interested in DIY repair.