
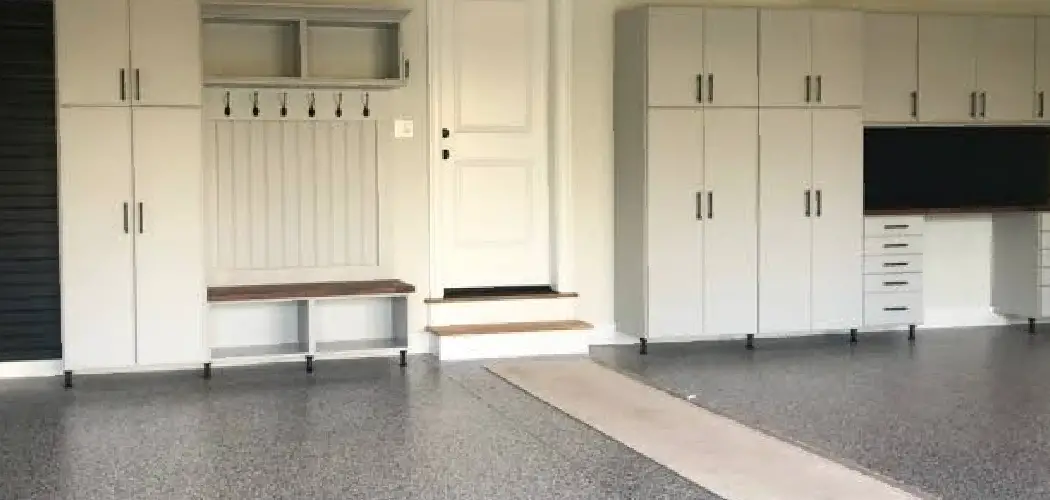
Your garage was supposed to hold your car. Somewhere along the way, it became the drop zone for holiday decorations, broken tools, sports gear, and boxes you swore you’d sort out “someday.” Sound familiar? You’re not alone. The garage is one of the most cluttered spaces in nearly every home, and it’s easy to see why. It’s out of sight, it’s convenient, and it rarely gets the attention we give to our kitchens or living rooms.
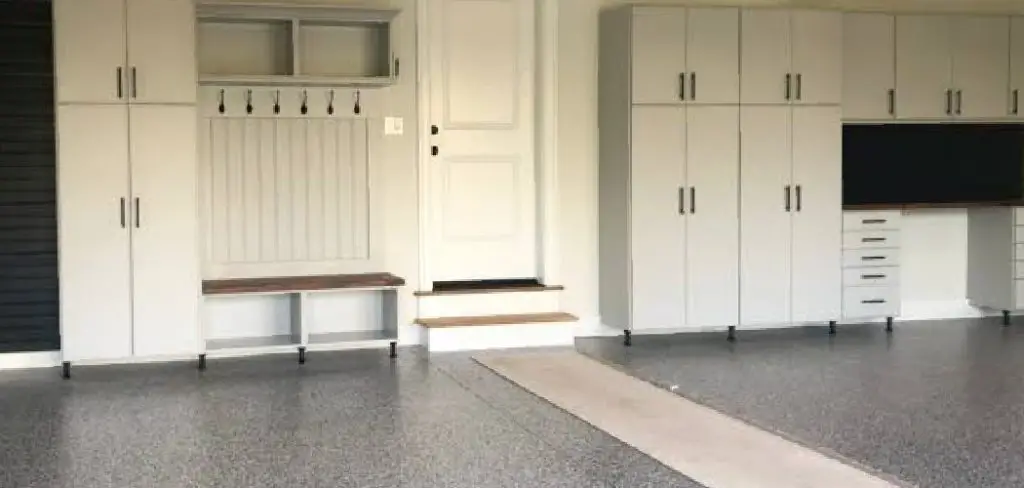
But a messy garage costs you more than you think. It eats up valuable space, makes finding anything a frustrating hunt, and can even become a safety hazard. The good news? Decluttering your garage doesn’t require a magic wand or a weekend of misery. With a clear plan and a little effort, you can turn that chaotic catch-all into a clean, functional space you’re actually proud of.
This guide on how to declutter your garage walks you through everything you need to know. Let’s get started.
Benefits of Decluttering Your Garage
Before you roll up your sleeves, it helps to know exactly what you’re working toward. A decluttered garage delivers real, lasting rewards.
- You reclaim usable space. The most obvious win is room to breathe. When you clear out the junk, you can finally park your car inside, protect it from the weather, and stop scraping ice off your windshield in the winter.
- You save time and money. How many times have you bought a new tool because you couldn’t find the one you already owned? An organized garage means you know exactly where everything is. No more duplicate purchases or wasted hours searching.
- You improve safety. Piles of boxes, tangled cords, and stacked items can topple over or create tripping hazards. Clearing them out protects you and your family from accidents.
- You boost your home’s value. A clean, well-organized garage is a strong selling point. Buyers love extra storage and functional space, and a tidy garage signals a well-maintained home.
- You reduce stress. Clutter has a real effect on your mind. Walking into an orderly space feels calming and gives you a sense of control that spills over into the rest of your life.
- You create new possibilities. With space cleared, your garage can become a workshop, a home gym, a hobby corner, or whatever you’ve been dreaming about.
What Will You Need?
Getting the right supplies ready before you begin makes the whole process smoother. Gather these items so you’re not stopping mid-task to hunt for something.
- Sturdy boxes and bins
- Trash bags and a heavy-duty garbage bin
- Labels and a marker
- Cleaning supplies
- Work gloves
- A drop cloth or tarp
- Shelving units or storage racks
- Wall hooks and pegboards
- A dust mask
- A friend or family member
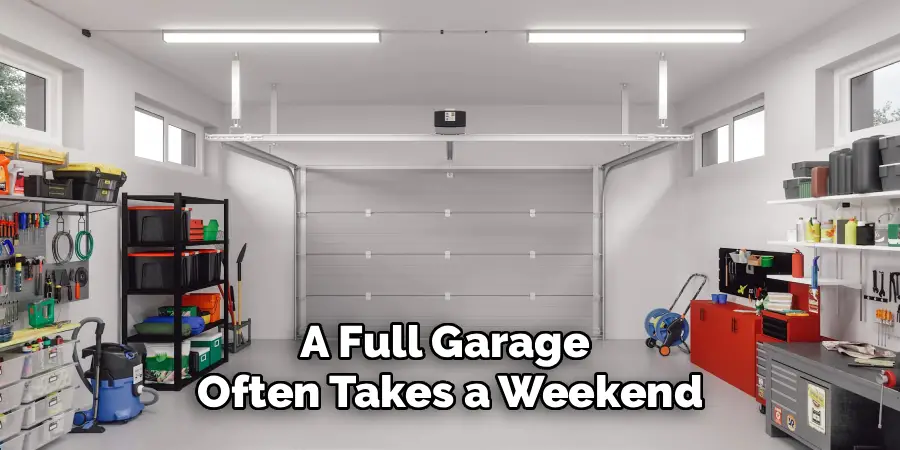
Have these ready and set aside a solid block of time. A full garage often takes a weekend, so plan accordingly.
10 Easy Steps on How to Declutter Your Garage
Step 1: Set a Clear Goal and Schedule
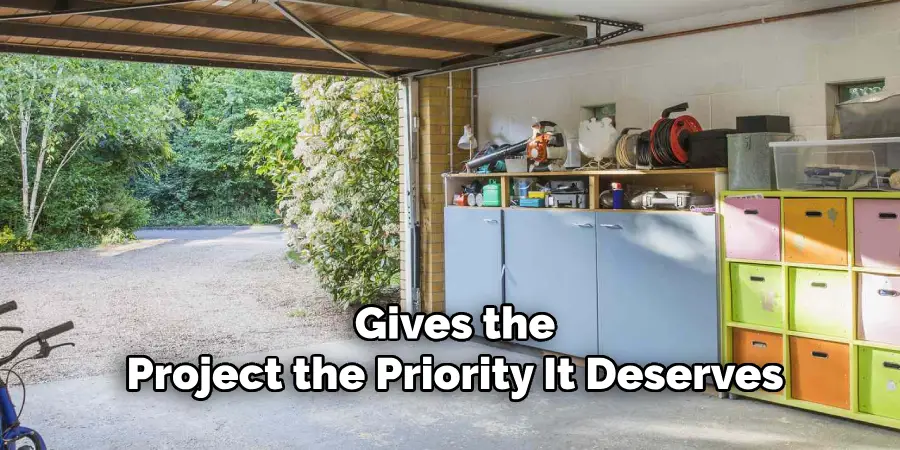
Start by deciding what you want your garage to become. Do you want to park your car inside? Build a workshop? Just clear the mess? Your goal shapes every decision you make. Once you know your target, block out time on your calendar. Treat it like an important appointment. Most garages need a full day or a weekend, so be realistic. Setting a firm schedule keeps you from putting it off yet again and gives the project the priority it deserves.
Step 2: Empty the Entire Space
This step feels dramatic, but it works. Pull everything out of the garage and place it on your driveway or lawn. Yes, everything. When the garage is empty, you can see the true size of your space and spot areas that need cleaning. It also forces you to handle every single item rather than shuffling piles around. Lay a tarp down to protect your belongings and keep things organized as you unload. This clean slate is where real change begins.
Step 3: Sort Everything Into Categories
Now the sorting begins. Create four clear piles or use labeled bins: Keep, Donate, Sell, and Trash. Pick up each item and decide where it belongs. Be honest with yourself. If you haven’t used something in over a year and it holds no real value, it’s probably time to let it go. Group similar items together as you sort. Put all the tools in one spot, sports gear in another, and seasonal decorations in a third. This makes the next steps far easier.
Step 4: Be Ruthless With What You Keep
The hardest part of decluttering is letting go. It’s tempting to keep things “just in case.” Fight that urge. Ask yourself simple questions: Do I use this? Do I love it? Would I buy it again today? If the answer is no, move it to donate, sell, or trash. Broken items you’ll never fix, mystery cords, and outdated gadgets can all go. Remember, every item you keep needs a home in your garage. Less stuff means an easier, cleaner space.
Step 5: Clean the Empty Garage
With everything out, you have a rare chance to give the space a proper clean. Sweep the floor to remove dirt, leaves, and debris. Knock down cobwebs from corners and rafters. Wipe down walls, shelves, and windows. If your floor has oil stains or grime, scrub them out now. A clean garage feels fresh and motivates you to keep it that way. Don’t skip this step. It’s satisfying and sets the stage for a smart setup.
Step 6: Plan Your Storage Zones
Before you put anything back, think about where it should go. Divide your garage into zones based on how you use items. Create a tool zone, a gardening zone, a sports zone, and a seasonal storage zone. Keep frequently used items at eye level and within easy reach. Store rarely used things higher up or in back corners. Heavy items belong on lower shelves for safety. A little planning here prevents the clutter from creeping back in.
Step 7: Invest in Smart Storage Solutions
Now bring in the storage that fits your zones. Wall-mounted shelves and pegboards keep the floor clear. Overhead racks are perfect for bulky seasonal items like holiday decorations. Clear bins let you see what’s inside at a glance, while stackable containers save space. Hooks are great for bikes, ladders, and garden tools. You don’t have to spend a fortune. Even a few well-placed shelves and hooks make a huge difference in how organized your garage feels.
Step 8: Put Everything Back With Purpose
Return your Keep items to their new zones. Place each thing where it makes sense and where you’ll actually look for it. Heavy tools go on sturdy lower shelves. Everyday items stay within arm’s reach. Store hazardous materials like paint and chemicals safely, away from heat and out of children’s reach. As you put things away, resist the temptation to squeeze in items you were going to donate. Stay disciplined and your hard work will pay off.
Step 9: Label Everything
Labels are the secret to keeping your garage organized long-term. When every bin and shelf is clearly marked, you and your family know exactly where things belong. This makes finding items fast and putting them away even faster. Use a marker and sticky labels, or a label maker if you have one. Label boxes on the front so you can read them without pulling them down. This small step saves you countless frustrating searches down the road.

Step 10: Handle the Donate, Sell, and Trash Piles
Don’t let your sorted piles linger. Load up the donate items and drop them at a charity right away. List sellable items online or plan a garage sale within the week. Take the trash to the dump or set it out for collection. Acting quickly stops these piles from sneaking back into your clean garage. Once they’re gone, step back and admire your work. You did it, and your garage finally feels like yours again.
5 Things You Should Avoid
Even with a solid plan, a few common mistakes can trip you up. Steer clear of these to keep your project on track.
- Doing it all in bits. Tackling the garage in tiny sessions over weeks rarely works. You lose momentum and end up shuffling piles around. Commit to a focused block of time instead.
- Keeping too much. The “just in case” trap fills your garage back up fast. If you haven’t used something in a year, be honest and let it go.
- Skipping the cleaning step. Putting items back into a dirty garage wastes a golden opportunity. Clean while the space is empty.
- Buying storage before sorting. It’s easy to overspend on bins and racks you don’t need. Sort first, then buy storage that fits what you’re actually keeping.
- Leaving the donate and trash piles behind. Sorted piles that sit around tend to migrate right back inside. Clear them out immediately once you’ve sorted.
Conclusion
A cluttered garage doesn’t have to be your reality. With the right plan, a free weekend, and a bit of determination, you can transform that overwhelming mess into a clean, organized space that actually works for you. Remember the process: set a goal, empty the space, sort with honesty, clean thoroughly, plan smart zones, and put everything back with purpose.
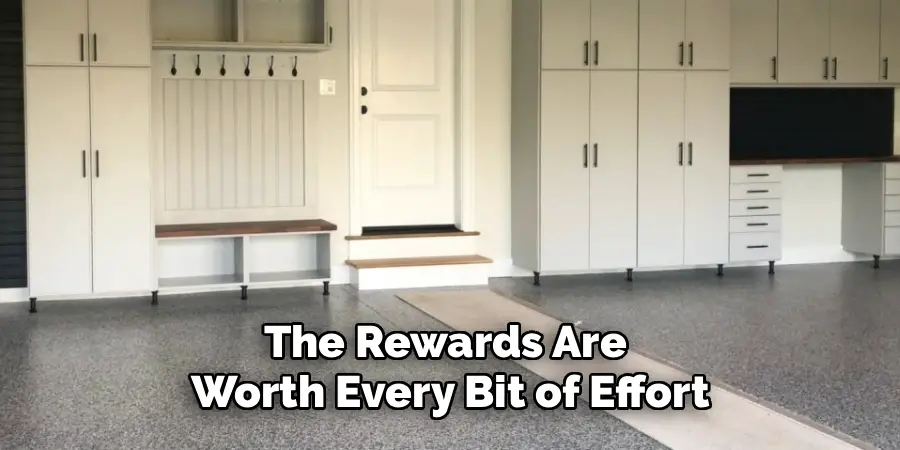
The rewards are worth every bit of effort. You’ll gain room for your car, save money and time, boost your safety, and enjoy the simple peace of mind that comes with an orderly space. Best of all, once your garage is decluttered, keeping it that way takes just a few minutes here and there.
Hopefully, this guide on how to declutter your garage has provided you with the necessary steps and motivation to tackle your garage decluttering project.

I am Rick. I grew up helping my dad with his handyman service. I learned a lot from him about how to fix things, and also about how to work hard and take care of business. These days, I’m still into fixing things- only now, I’m doing it for a living.
I’m always looking for new ways to help people grow and develop. That’s why I have created this blog to share all my experience and knowledge so
that I can help people who are interested in DIY repair.