

You’ve got the paint, the roller, maybe even a free Saturday. Then you glance at the walls and notice the streaks of dust, the oily smudges, the years of grime that somehow crept up there. Knowing how to clean garage walls before painting is the step most people want to skip, and it’s the one that quietly decides whether your paint job lasts.
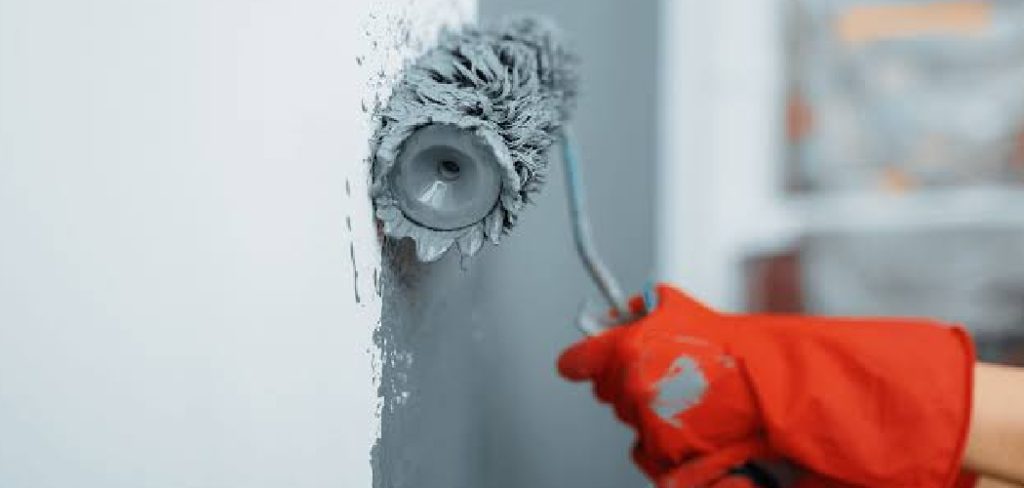
Here’s the truth. Fresh paint over dirty walls peels, patches, and disappoints.
It doesn’t have to be complicated, though. Follow a logical order, and the prep goes faster than you’d expect.
This guide walks through why clean walls matter, what you’ll need, and a step-by-step method that gets the surface truly paint-ready. Grab a sponge and let’s start the right way.
Why Clean Walls Are the Secret to a Great Paint Job
Before you touch a cleaner, it helps to understand what dirty walls do to fresh paint. Garage walls collect a strange mix of dust, oil, exhaust residue, and moisture that most interior walls never face.
That mix isn’t just ugly. It actively works against adhesion.
Once you see cleaning as the foundation of the whole project rather than an optional chore, the effort makes sense. Everything after it depends on getting this part right.
How Dirt and Grease Ruin Paint Adhesion
Think of grime as an invisible barrier. A thin film of grease, dust, or exhaust sits between the wall and the paint, and paint simply cannot grip through it.
The result shows up later, not right away. You get peeling, bubbling, and uneven coverage weeks or months down the line.
That’s the frustrating part. A beautiful coat can look perfect on day one, then start failing because it never truly bonded to the surface beneath it.
The Payoff of Proper Prep Work
Now flip the picture. Clean, dry, smooth walls reward the effort with paint that flows on evenly, sticks firmly, and holds up for years.
A little scrubbing now saves hours of repainting later. That trade is almost always worth making.
Think of prep as the difference between a finish that looks professional and one that quietly announces the corners you cut. The wall does the talking eventually, one way or another.
What You Need Before You Start?
Good news for anyone watching their budget. Cleaning garage walls doesn’t require expensive equipment, just the right basics matched to the job.
The trick is having the correct product for each type of mess. One cleaner rarely handles everything on its own.
Cleaning Supplies and Solutions
Start with a degreaser for the oily spots, since ordinary soap struggles with automotive grime. Add TSP or a TSP substitute for a deeper clean, a mild detergent for everyday dirt, plus sponges, scrub brushes, and a couple of buckets.
Each solution tackles a specific problem. Detergent handles the light stuff, while degreaser and TSP break down the films detergent leaves behind.
Having them ready before you begin keeps the momentum going. Nothing kills a Saturday project faster than a mid-job trip to the hardware store.
Safety Gear and Protective Setup
Don’t skip the protection. Gloves, eye protection, and a dust mask matter more than people assume, especially once TSP and degreasers enter the mix.
Lay drop cloths to shield the floor and anything you can’t move. A little setup here prevents a lot of cleanup later.
Ventilation deserves a mention too. Open the garage door, run a fan, and let the fumes move out, which makes the whole job safer and a good deal more comfortable.
Preparing the Garage Space
A bit of groundwork makes the actual cleaning faster and far less stressful. Skip it, and you’ll spend the whole time dodging clutter and bumping into shelves.
Set the stage first. Then the real work goes smoothly.
Clearing and Protecting the Area
Move tools, shelving, and stored boxes away from the walls. You want to reach every inch without twisting around obstacles or knocking things over.
Anything that has to stay behind should be covered. A cheap plastic sheet keeps splatter and drips off your belongings.
A clear workspace pays off in ways that are hard to appreciate until you’re in it. You clean better when you’re not fighting for room.
Improving Light and Airflow

Grime hides in shadows. Open the garage door, set up a work light or two, and suddenly you can spot the oily patches and dull spots you’d have missed otherwise.
Good airflow does double duty. It clears fumes and helps the walls dry faster once you’ve washed them.
A fan positioned near the door keeps air moving through the space. It’s a small touch that makes the work more pleasant from start to finish.
Identifying Different Types of Wall Grime
Not all grime is the same, and treating it that way tends to backfire. Knowing what you’re dealing with lets you match the right cleaner to each mess.
This step separates a frustrating scrub-fest from an efficient one. A minute of looking saves a lot of pointless elbow grease.
Grease, Oil, and Automotive Residue
Garages breed greasy film. Car exhaust, oil splatter, and general workshop use leave a slick residue that plain soap just smears around rather than lifting.
These stains tend to gather in predictable spots, often low on the walls near where cars park or work happens. Give those zones extra attention with a proper degreaser.
Recognizing grease for what it is changes your approach. You stop wasting detergent on a problem that needs something stronger.
Dust, Cobwebs, and Surface Dirt
Then there’s the lighter layer, the dust, cobwebs, and loose dirt coating most garage walls. This stuff seems harmless, but it causes trouble if you rush.
Clear it away dry, before any water touches the wall. Otherwise you’ll turn a thin coat of dust into a muddy smear that clings stubbornly.
Handle the loose dirt first, and everything after it gets cleaner and easier. Order matters more than people realize.
How to Clean Garage Walls Before Painting: A Step-by-Step Guide
This is the heart of it. Take these steps in order, because each one sets up the next.
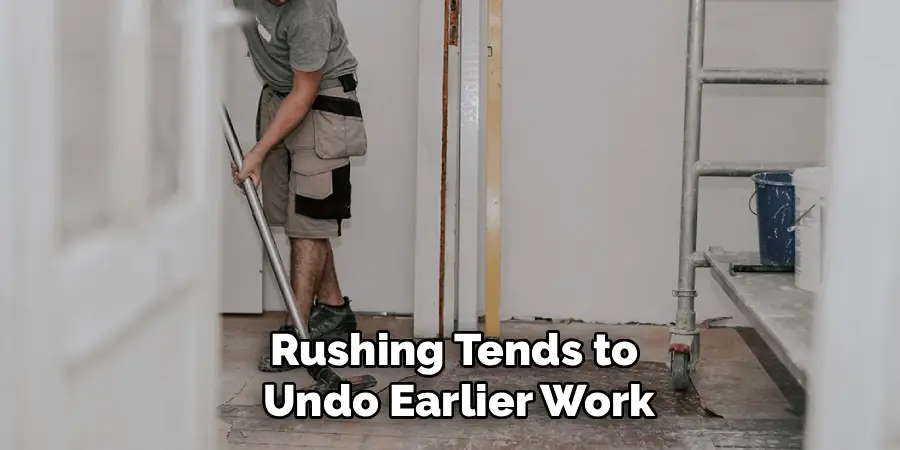
Rushing tends to undo earlier work. Move through the sequence patiently, and the walls will be genuinely ready for paint by the end.
Step 1: Dust and Sweep the Walls
Start dry. Brush away cobwebs, sweep off loose dust, and vacuum the corners and crevices where debris likes to collect.
Removing this top layer first keeps it from turning to grime once you add cleaner. It’s the difference between washing a wall and washing mud into a wall.
Work from top to bottom, always. Falling debris then lands on areas you haven’t cleaned yet, rather than dirtying spots you just finished.
Step 2: Wash Away General Dirt
Now bring in water. Mix a mild detergent with warm water and wipe down the walls with a sponge or soft brush, lifting the everyday dirt that dusting left behind.

This first wash prepares the surface for tougher treatment. It clears the general layer so you can see where the real problems are.
Work in manageable sections. Don’t let an area dry with soapy residue still clinging to it, since that residue can cause its own adhesion headaches later.
Step 3: Tackle Grease and Tough Stains
Here’s where the degreaser earns its place. Apply it, or a TSP solution, to the oily patches and stubborn marks, then let it sit briefly before scrubbing.
That dwell time matters. These stronger cleaners need a moment to break down the films that plain soap couldn’t touch.
Follow the product directions and keep your gloves on. Patience on the greasy spots pays off with a surface that’s actually ready for paint, not just cleaner-looking.
Step 4: Rinse the Walls Thoroughly
Cleaner left on the wall is almost as bad as the grime it removed. Rinse away every trace using clean water and a fresh sponge, since leftover residue can stop paint from bonding.
Change your rinse water often. Otherwise you’re just spreading diluted grime around instead of removing it.
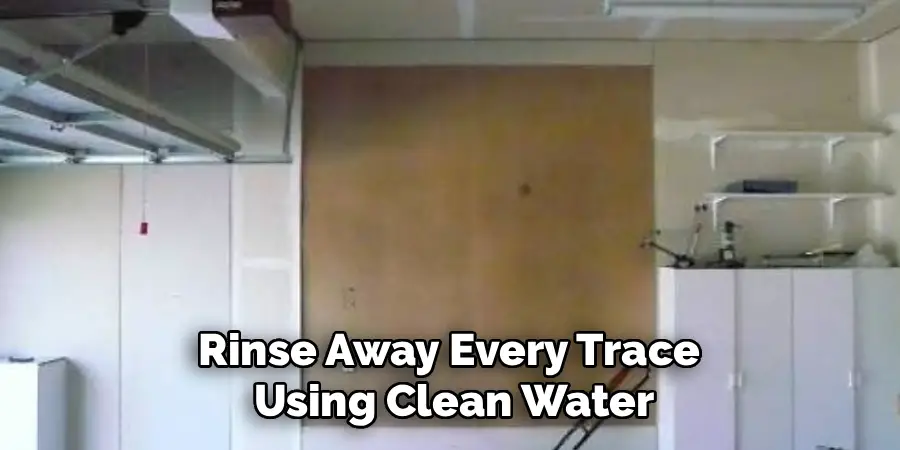
Run a hand over the wall as you go. If it feels slick or gritty anywhere, that spot needs another pass before you call it done.
Step 5: Let the Walls Dry Completely
Patience closes out the cleaning. Let the walls dry fully before you even think about primer, using fans and the open door to speed things along.
Painting over damp walls traps moisture and wrecks adhesion. It’s a tempting shortcut that reliably backfires.
Give it the time it needs. A completely dry surface is the final safeguard that everything up to this point was working toward.
Handling Repairs and Problem Areas
Cleaning often reveals flaws you didn’t notice before. A smooth surface matters nearly as much as a clean one, so this is worth addressing before you paint.
Paint doesn’t hide damage. If anything, a fresh coat tends to highlight it.
Filling Cracks, Holes, and Dents
Patch the small stuff. Fill holes, cracks, and dents with an appropriate filler, then sand them smooth once they’ve dried.
This gives you a flat, even canvas. Paint glides across it instead of catching on old damage.
The effort is modest, and the difference is obvious. A patched, sanded wall reads as intentional rather than neglected.
Dealing With Mold, Mildew, and Stains
Garages get damp, and dampness invites mold and mildew. Treat any you find with a suitable cleaner before painting, since paint won’t fix a moisture problem; it’ll just cover it temporarily.
Stubborn stains need their own solution. Some will bleed right through fresh paint unless you seal them first.
That’s where a stain-blocking primer becomes your best friend. Spot-treat the trouble areas, and they’ll stay hidden under the finished coat.
Common Mistakes to Avoid
Nearly everyone is tempted by one of these shortcuts. Knowing them ahead of time helps you resist.
Two mistakes undo more paint jobs than any others. Both are easy to sidestep once you’re aware of them.
Skipping the Rinse Step
Rinsing feels optional when you’re tired, and the walls already look clean. It isn’t.
Leftover cleaner creates a slick barrier that repels paint, causing the very peeling you worked so hard to prevent. That residue is invisible, which is exactly why it fools people.
A thorough rinse, tedious as it is, lets the new coat grip and last. Push through it rather than around it.
Painting Before the Walls Dry
Impatience is the other big trap. You finish washing, the walls look fine, and the urge to start painting is strong.
Damp walls cause bubbling and peeling down the road. The moisture gets sealed in, and it finds its way out eventually, taking your paint with it.
Wait for complete drying, even if it means starting the next day. A short delay now prevents a full redo later.
Pro Tips for a Flawless Finish
A few extra habits lift the results from good to genuinely professional. Neither one takes much effort.
They mostly come down to preparation and a bit of patience.
Priming for Better Paint Adhesion
Primer isn’t always mandatory, but on garage walls it usually earns its keep. A quality primer over clean, dry walls seals the surface and helps paint bond even better.
It’s especially worthwhile on bare, porous, or previously stained walls. These surfaces drink up paint unevenly without a primer coat to level the field.
Think of it as insurance. A little extra time priming may spare you a patchy, uneven finish.
Working in Smart Sections
Tackling the whole garage at once tends to get messy and disorganized. Cleaning and prepping in planned sections keeps the work manageable and prevents missed spots.
A steady, methodical rhythm helps more than raw speed. You finish one area, then move to the next.
This approach keeps the project from feeling overwhelming. Section by section, the walls come together without the scramble.
Frequently Asked Questions
A couple of questions come up almost every time someone preps a garage. Let’s settle them.
Do I Really Need to Clean Walls Before Painting?
Yes, and there’s no real way around it. Paint bonds poorly to dust and grease, so skipping the cleaning tends to guarantee peeling and uneven coverage.
The effort connects directly to the outcome. A clean surface gives you a finish that looks better and lasts far longer, while a dirty one sets up problems you’ll be fixing again before long.
What Is the Best Cleaner for Garage Walls?
It depends on the mess, which is why one product rarely does it all. A degreaser or TSP solution handles the heavy grime and oily patches that garages accumulate.
For everyday dirt, a mild detergent covers plenty of ground. Match the cleaner to the type of grime in front of you, and you’ll get the most reliable results with the least wasted effort.
Conclusion
Figuring out how to clean garage walls before painting really comes down to a few dependable steps in the right order. Dust first. Wash, then degrease. Rinse thoroughly, and let everything dry completely.
None of it demands special skill or a big budget. It just takes a little patience and the willingness not to rush.
So gather your supplies, clear the space, and give those walls the prep they deserve before the first coat goes on.
Do that, and you’ll enjoy a smooth, durable, professional-looking finish, one you created yourself and one that actually stays put for years to come.

I am Rick. I grew up helping my dad with his handyman service. I learned a lot from him about how to fix things, and also about how to work hard and take care of business. These days, I’m still into fixing things- only now, I’m doing it for a living.
I’m always looking for new ways to help people grow and develop. That’s why I have created this blog to share all my experience and knowledge so
that I can help people who are interested in DIY repair.