
A garage door opener is one of those things you don’t think about until it stops working the way you expect. Chamberlain is one of the most trusted names in garage door openers, and its systems work well once you know how to use them. Whether you just moved into a home with a Chamberlain opener or upgraded to a new smart model, learning how it works will save you time and frustration.
This guide on how to use chamberlain garage door opener covers the basics. You’ll learn how to operate the wall control, program your remote, set up a keypad, connect the myQ app, and handle a power outage. We’ll also cover the safety features that keep your family, pets, and car out of harm’s way.
By the end, you’ll feel confident using every part of your Chamberlain system.
What Are the Benefits?
A Chamberlain opener does more than lift a heavy door. Here are the main benefits:
- Convenience: Open and close your garage with the press of a button, without leaving your car in the rain or snow.
- Smart Control: Many models include built-in Wi-Fi and work with the myQ app. You can check, open, or close your door from anywhere using your phone.
- Strong Security: Chamberlain uses Security+ 2.0 rolling code technology. The code changes each time you use the remote, which makes it hard for thieves to copy.
- Safety Features: The Protector System uses infrared sensors near the floor. If something blocks the door’s path, the door stops and reverses.
- Quiet Operation: Belt drive models run smoothly and quietly. That’s a big plus if a bedroom sits above or next to your garage.
- Battery Backup: Select models include a backup battery, so you can still get in and out during a power outage.
- Flexible Access: Use a remote, wall control, keypad, car’s built-in system, or your smartphone. You decide what works best for your household.
What Will You Need?
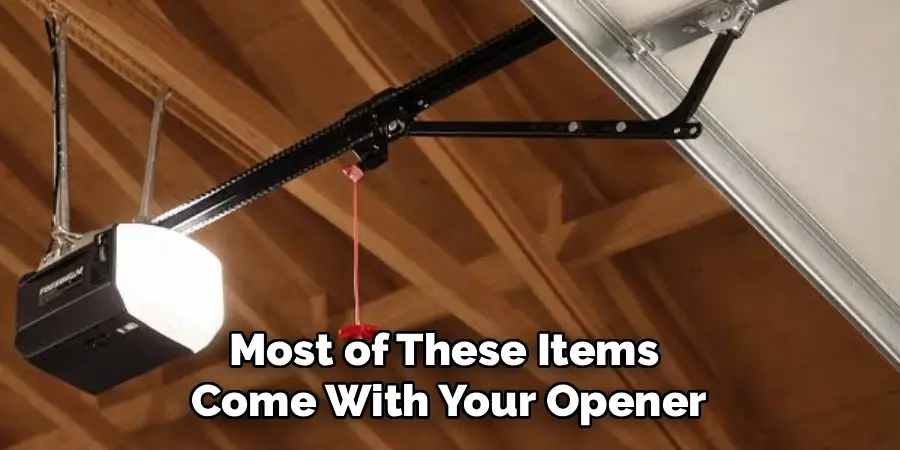
Most of these items come with your opener. A few are optional, depending on the features you want to use.
- Your Chamberlain garage door opener (installed and plugged in)
- The wall-mounted door control
- One or more Chamberlain remote controls
- A wireless keypad (optional)
- A smartphone with the myQ app (for Wi-Fi-enabled models)
- Your home Wi-Fi network name and password
- A sturdy step ladder to reach the motor unit
- Spare batteries for remotes and keypads (usually 3V coin cell or 9V, depending on the model)
- A 2×4 piece of wood for safety testing
- A soft cloth for cleaning the safety sensors
- Your owner’s manual (or the digital version from Chamberlain’s website)
10 Easy Steps on How to Use Chamberlain Garage Door Opener
Step 1: Get to Know Your Opener’s Parts
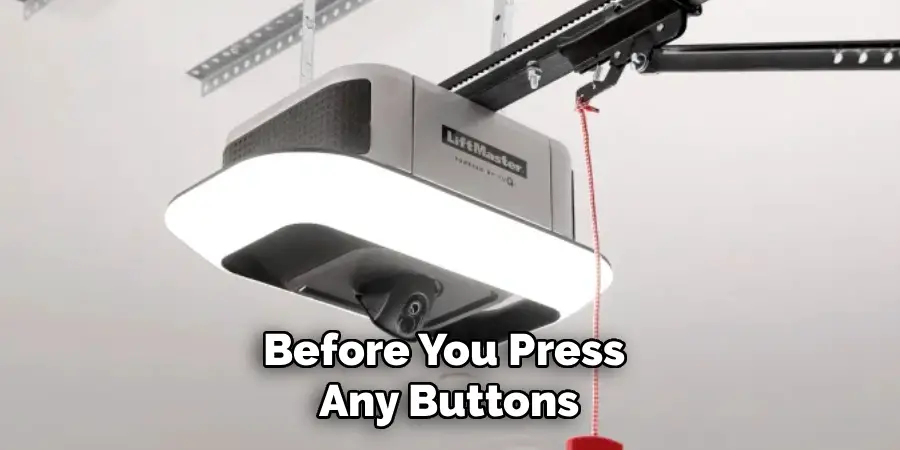
Before you press any buttons, take a few minutes to learn the main parts of your system. The motor unit hangs from the garage ceiling. It holds the motor, the light, and the “Learn” button you’ll use for programming. A rail runs from the motor to the door, and a trolley moves along it to pull the door open or push it closed.
Near the floor on each side of the door, you’ll see two small safety sensors. The wall control is usually mounted near the door that leads into your home. Look for the colored Learn button on the motor unit, too. Its color (yellow, purple, red, orange, or green) tells you which remotes and accessories will work with your opener. Knowing these parts makes every step that follows much easier.
Step 2: Use the Wall Control
The wall control is the simplest way to run your opener. Press the large push bar or main button once to open the door. Press it again to close it. If you press it while the door is moving, the door will stop. Press once more, and it will move in the opposite direction.
Most Chamberlain wall controls also have extra buttons. The light button turns the opener light on or off. The lock button blocks remote controls from working, which adds security when you’re away or asleep. Some newer models include a screen that shows the time, temperature, and door status. Try each button so you know exactly what it does before you rely on it.
Step 3: Program Your Remote Control
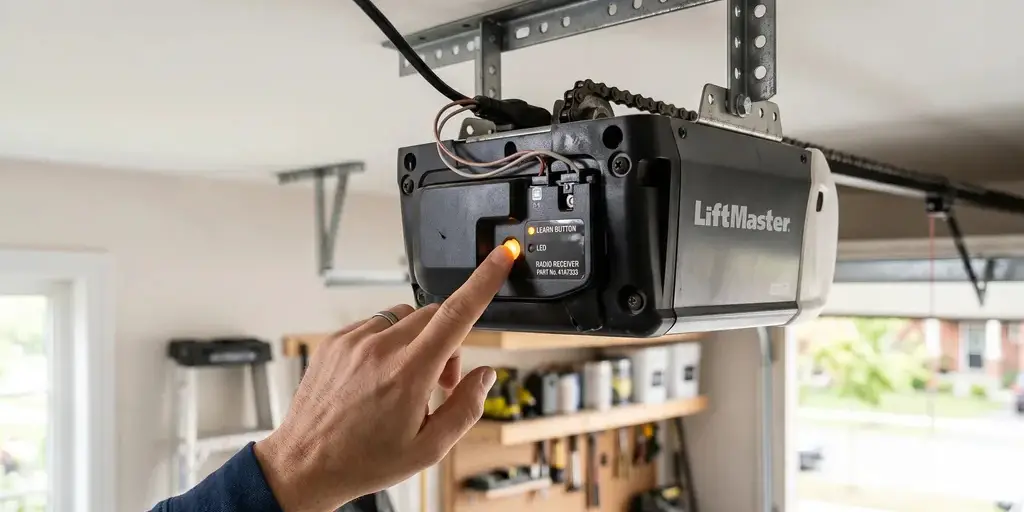
New remotes need to be paired with your opener before they’ll work. Start by setting up your ladder safely beneath the motor unit. Find the Learn button, usually on the back or side of the unit under the light cover.
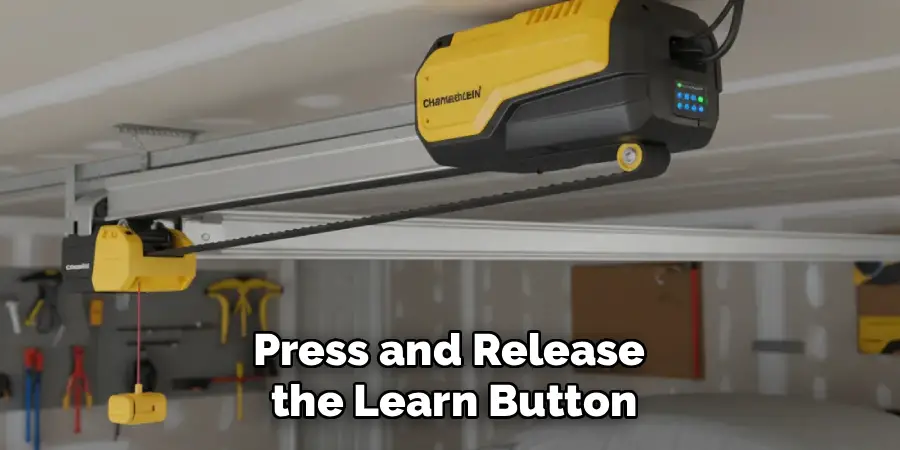
Press and release the Learn button. A small LED next to it will light up. You now have about 30 seconds to act. Press and hold the button on your remote that you want to use. When the opener lights blink or you hear two clicks, release the button. Your remote is now programmed.
Test it by stepping away from the door and pressing the button. If the door doesn’t move, repeat the process. Make sure your remote has fresh batteries and is compatible with your Learn button color.
Step 4: Set Up a Wireless Keypad
A keypad lets family members get in without a remote or key. It’s mounted outside, near the garage door, out of reach of small children.
To program it, press and release the Learn button on the motor unit. Within 30 seconds, enter a four-digit PIN of your choice on the keypad. Then press and hold the Enter button. Release it when the opener lights blink or you hear two clicks.
Now test your new PIN. Enter the four digits and press Enter. The door should open. Choose a code that’s easy for your family to remember but hard for others to guess. Skip obvious choices like 1234 or your house number.
Step 5: Connect to the myQ App
If your opener has built-in Wi-Fi, you can control it from your phone. First, download the free myQ app from the App Store or Google Play. Create an account and sign in.
Tap the option to add a device and choose your garage door opener. The app will guide you through each step. You’ll usually need to press the Learn button on the motor unit to put it into Wi-Fi setup mode. Then, select your home network and enter your password.
Once connected, you can open or close your door from anywhere. You’ll also get alerts when the door opens or closes. You can set schedules, share access with family members, and check whether you left the door open. Make sure your Wi-Fi signal reaches the garage, or the connection may drop.
Step 6: Program Your Car’s Built-In Remote
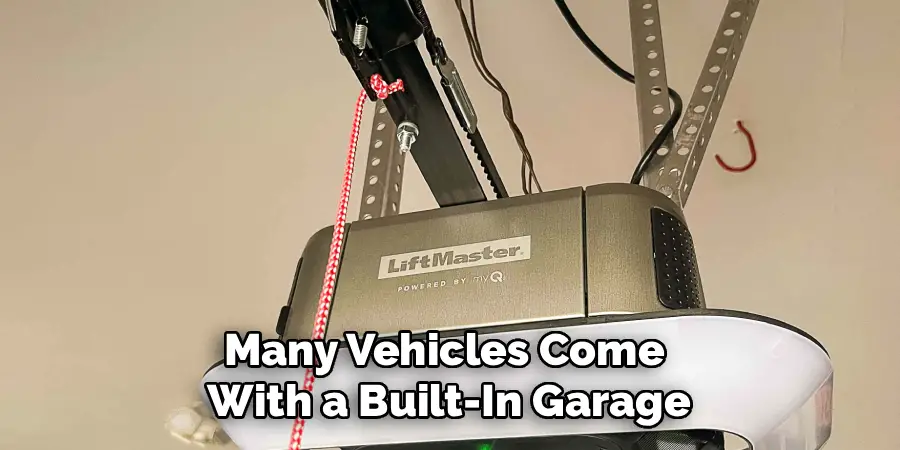
Many vehicles come with a built-in garage door opener, often called HomeLink. It’s usually on the visor, overhead console, or rearview mirror. Pairing it means you no longer need a separate remote.
The steps vary by car brand, so check your vehicle’s manual. In general, you’ll hold your Chamberlain remote near the car’s buttons and press both at the same time until the car’s indicator light changes. Then, press the Learn button on the motor unit. Within 30 seconds, return to the car and press the programmed button two or three times.
Some newer Chamberlain openers with Security+ 2.0 may need a compatibility bridge for older cars. Check Chamberlain’s website if your car won’t pair.
Step 7: Use the Lock and Light Features
The lock feature is a great way to boost security. On most wall controls, press and hold the lock button for about two seconds. The command light will flash, and remotes will no longer work. Your wall control will still work normally. To unlock, hold the button again for two seconds.
The opener light turns on each time the door moves. It stays on for a few minutes, then shuts off by itself. You can also turn it on manually with the light button. Many models have a motion-detecting light that switches on when you walk into the garage. This small feature helps you avoid tripping in the dark.
Step 8: Operate the Door Manually
During a power outage, you may need to open the door by hand. Look for the red emergency release cord hanging from the trolley. Make sure the door is fully closed if possible. Pull the cord down and back toward the motor. This disconnects the door from the opener.
Now, lift the door by hand using the handle. Be careful, because the door is heavy. Never pull the release cord when the door is open, since the door could slam down if the springs are weak.
To reconnect, pull the cord toward the door, then run the opener once the power returns. The trolley will lock back in place automatically.
Step 9: Test the Safety Features
Testing your safety features once a month keeps your family safe. First, check the safety sensors. One sensor has an amber light, and the other has a green light. Both should glow steadily. If a light blinks, the sensors may be dirty or out of line. Wipe them with a soft cloth and adjust them gently until both lights are solid.
Next, do the reversal test. Lay a 2×4 board flat on the floor in the door’s path. Close the door. When it touches the board, it should stop and reverse. If it doesn’t, call a professional or adjust the settings using your manual.
Step 10: Maintain Your Opener for Long-Term Use
Regular care keeps your opener running smoothly for years. Replace the batteries in your remotes and keypad when they start to lose range. If you have a battery backup unit, check it every year or two.
Lubricate the door’s rollers, hinges, and springs with a garage door lubricant every few months. Don’t grease a belt drive rail, though. Look for loose bolts, worn cables, or strange noises. If you lose a remote, clear the opener’s memory by holding the Learn button for about six seconds until the LED turns off. Then reprogram the remotes you still have. This step keeps your garage secure.
Conclusion
A Chamberlain garage door opener brings comfort, safety, and peace of mind to your daily routine.
Once you understand the wall control, remotes, keypad, and myQ app, you can choose the access method that fits your lifestyle best. Knowing how to use the manual release prepares you for power outages, while monthly safety tests protect the people and pets you care about most. Take a few minutes each season for simple maintenance, and avoid the common mistakes listed above.
With the right habits, your Chamberlain opener will serve you reliably for many years. Keep this guide on how to use chamberlain garage door opener handy, and you’ll be ready for whatever your garage door needs next.

I am Rick. I grew up helping my dad with his handyman service. I learned a lot from him about how to fix things, and also about how to work hard and take care of business. These days, I’m still into fixing things- only now, I’m doing it for a living.
I’m always looking for new ways to help people grow and develop. That’s why I have created this blog to share all my experience and knowledge so
that I can help people who are interested in DIY repair.