
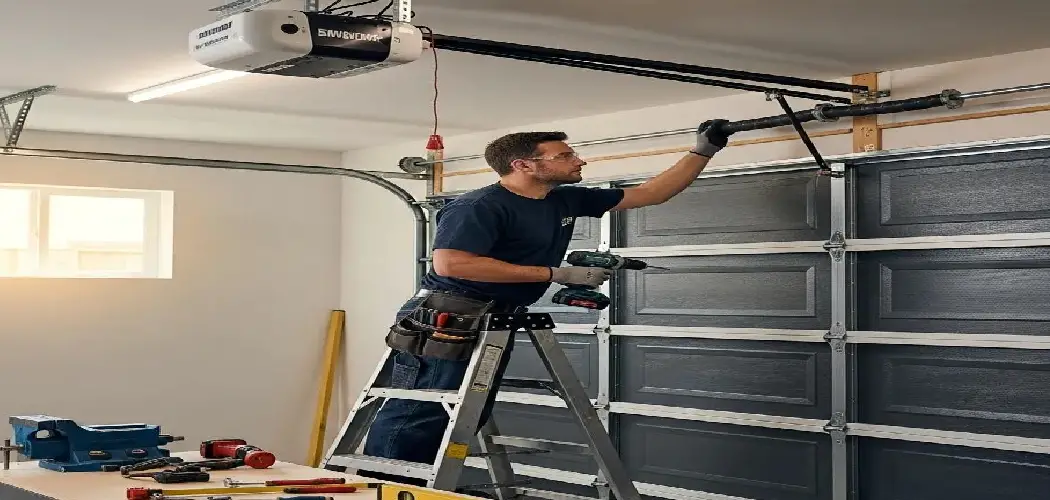
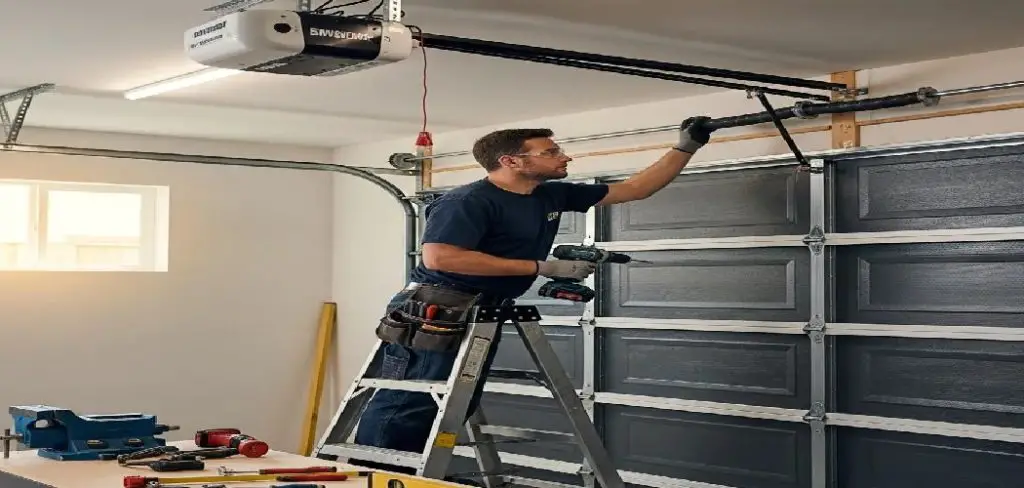
Installing a wired garage door keypad might sound like a job for a professional, but most homeowners can knock it out in a single afternoon. The payoff is real: secure, reliable garage access without fishing through your pockets for a remote or spare key. Once it’s in, it tends to feel indispensable almost immediately.
This guide on how to install a wired garage door keypad walks you through the entire process—tools, wiring, mounting, and programming—in plain language. Along the way, we’ll flag the mistakes that catch people off guard, give you an honest look at the costs involved, and help you decide whether this is a job you should tackle yourself or hand off to a professional.
Understanding Wired Garage Door Keypads
A wired garage door keypad is a wall-mounted entry device that connects directly to your opener via low-voltage wiring. That distinction matters. Wireless keypads depend on radio frequency signals and batteries—two variables that can fail at inconvenient moments. Wired keypads draw power straight from the opener unit, which means no signal dropout, no dead batteries, and no standing in a cold driveway wondering why nothing’s working.
Most wired keypads are compatible with openers from brands like Chamberlain, LiftMaster, and Genie, though compatibility isn’t universal. Check your opener’s manual before buying anything. The keypad itself mounts near your interior garage entry and communicates through a simple two-wire circuit—low-voltage, forgiving, and well within DIY territory for anyone comfortable with a drill and basic hand tools.
Tools and Materials Needed
Gather everything before you start. Mid-project hardware store runs are how simple jobs turn into long afternoons.
- Wired Garage Door Keypad (Compatible With Your Opener)
- Flathead And Phillips Screwdrivers
- Wire Stripper
- Drill And Drill Bits
- Low-Voltage Electrical Wire (18–22 Gauge, If Not Included)
- Voltage Tester
- Wall Anchors And Mounting Screws
- Pencil And Measuring Tape
- Electrical Tape
7 Simple Steps on How to Install a Wired Garage Door Keypad
Step 1: Turn Off Power to the Garage Door Opener
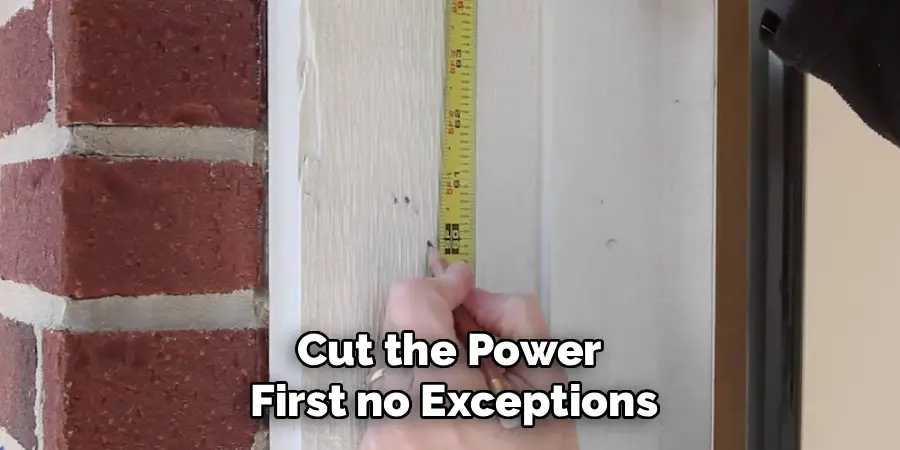
Cut the power first—no exceptions. Unplug the opener from its ceiling outlet, or switch off the relevant circuit breaker. Then use a voltage tester to confirm that the opener’s terminals are genuinely dead. This step prevents electrical shock and stops the door from moving unexpectedly while your hands are near the wiring.
Step 2: Choose and Mark the Keypad Location
Pick your mounting spot. Most installers place the keypad on the wall beside the interior garage door, somewhere between 48 and 60 inches off the floor—accessible without awkward reaching or crouching. Use a pencil to mark the hole positions based on the keypad’s bracket template, and think ahead about how the wiring will run from that point back up to the opener. A clean wire path now means a tidier finished result.
Step 3: Run the Wiring From the Opener to the Keypad Location
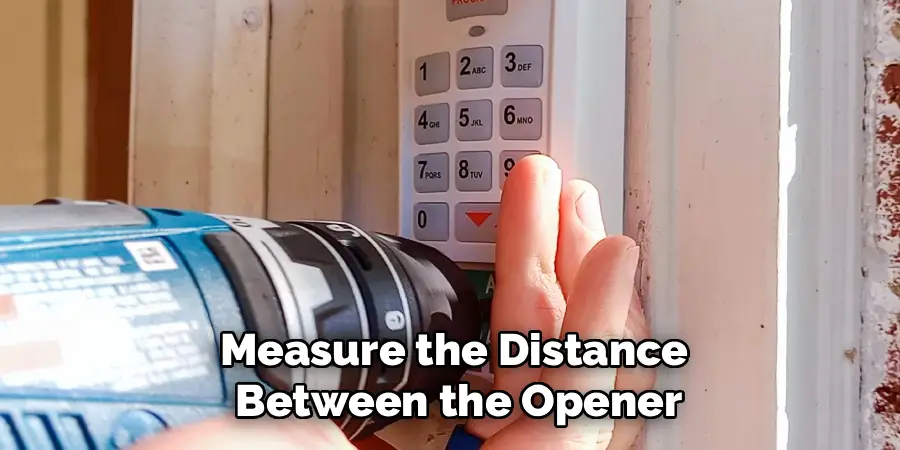
Measure the distance between the opener and your marked keypad location, then cut your low-voltage wire to length—add a few extra inches at each end for working room. Route the wire along walls or the ceiling, securing it with cable staples as you go. Many installers tuck the wire into corners or along molding to keep things neat. Leave roughly six inches of exposed wire at both the opener terminal and the keypad location.
Step 4: Strip the Wire Ends
Use your wire stripper to remove about half an inch of insulation from each wire end. Work carefully here—nicking the copper conductor underneath can cause intermittent faults that are genuinely frustrating to diagnose later. Clean, intact wire ends make for a solid connection.
Step 5: Connect the Wiring to the Garage Door Opener
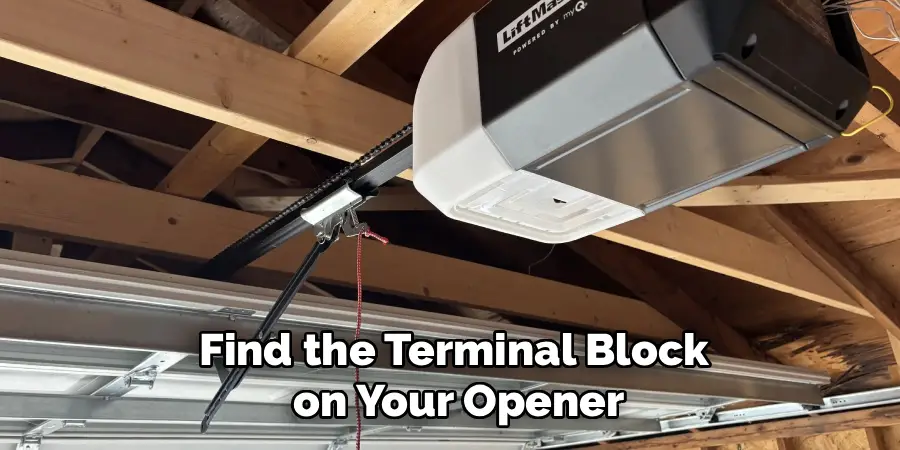
Find the terminal block on your opener—it’s usually labeled “wall button” or “keypad” in the manual. Loosen the terminal screws, slide one stripped wire end under each screw, and tighten them down firmly. For most low-voltage keypad circuits, polarity doesn’t matter, but your opener’s manual may specify otherwise—worth a quick check. Wrap any exposed connections with electrical tape before moving on.
Step 6: Mount the Keypad and Connect the Wiring
Drill pilot holes at your marked positions. If you’re going into drywall, insert wall anchors first. Feed the exposed wire through the keypad’s mounting bracket, then screw the bracket to the wall. Connect the remaining wire ends to the keypad’s terminals per the manufacturer’s instructions—tighten every screw fully—then snap or slide the keypad body onto the bracket. That’s the physical installation done.
Step 7: Restore Power and Program the Keypad
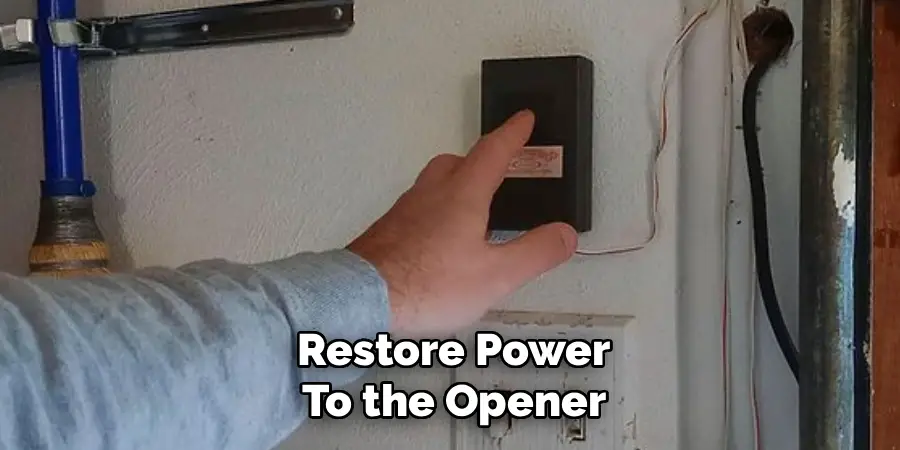
Restore power to the opener, then follow the keypad manufacturer’s programming instructions. The typical sequence involves pressing a “learn” button on the opener unit and entering your chosen PIN on the keypad within a specific time window—usually around 30 seconds. Test the keypad several times in both directions (open and close) before calling the job finished. If it doesn’t respond, check your wiring connections first and then consult your manual’s troubleshooting section.
Following these steps on how to install a wired garage door keypad will ensure that your keypad is properly installed and functioning correctly.
Common Mistakes to Avoid
A few missteps account for most installation headaches. Skipping the power shutoff is the most dangerous—and, somehow, not uncommon. Using the wrong wire gauge can result in a keypad that works inconsistently or not at all. Buying a keypad without confirming compatibility first is a frustrating and entirely avoidable problem.
Loose terminal connections deserve special mention. If a screw isn’t fully tightened, the keypad may appear to work fine during initial testing, then fail intermittently over the following weeks. Before restoring power, go back and physically check every connection. A few extra minutes here may spare you a round of bewildering troubleshooting down the line.
Do You Need to Use Professionals?
For most homeowners with some basic DIY experience, this project sits comfortably within reach. The wiring is low-voltage, the steps are sequential, and the tools required are standard. If you’re at ease with a drill, a wire stripper, and a manufacturer’s manual, you can almost certainly handle this without outside help.
There are exceptions. Older or non-standard garage door openers may introduce complications that aren’t covered in a general guide. Unusual garage wiring configurations can complicate the routing. And if working around electrical components—even low-voltage ones—makes you genuinely uneasy, that discomfort is worth respecting. A licensed technician can complete the installation in under an hour and will ensure everything is correctly wired and programmed. The cost of professional installation may well be worth the peace of mind.
How Much Will It Cost?
The keypad itself typically costs between $20 and $60, depending on the brand and features. If you already own the necessary tools and need only to buy wire and wall anchors, total DIY costs rarely climb above $80.
Professional installation adds labor on top of materials. Most technicians charge between $50 and $150 for this type of job, putting the total somewhere in the $100–$200 range. For a task this straightforward, DIY installation represents solid value—provided you’re comfortable with the steps involved.
Frequently Asked Questions
Can I Install a Wired Garage Door Keypad on Any Garage Door Opener?
Not necessarily. Compatibility depends on the brand, model, and age of your opener. Before purchasing a keypad, check its compatibility list and cross-reference with your opener’s manual. Most modern keypads from LiftMaster and Chamberlain are designed to work across a wide range of openers, but older units may require a specific model.
What Should I Do if the Keypad Doesn’t Work After Installation?
Start with the basics: confirm the opener has power and that all terminal connections are tight. Then verify that you followed the correct programming sequence for your specific opener model—sequences vary, and an easy mistake is following generic instructions instead of the model-specific ones. If the keypad still doesn’t respond after reprogramming, the issue may be a wiring fault or a compatibility mismatch between the keypad and opener.
How Do I Change the PIN on My Wired Garage Door Keypad?
The process differs by brand, but most keypads allow PIN changes through a combination of button inputs or by re-entering programming mode via the opener’s learn button. Your keypad’s instruction manual will have the exact steps. Changing your PIN periodically—particularly after sharing it with a contractor, houseguest, or anyone else—is a reasonable security habit.
Wrapping It All Up
A wired garage door keypad is one of those home upgrades that’s easy to underestimate until it’s done. The installation takes an afternoon, the materials cost less than a dinner out, and the result—reliable, keyless garage access—is something you’ll use every day.
Follow the seven steps on how to install a wired garage door keypad above, gather your tools before you start, and take a few extra minutes to double-check every wiring connection before restoring power. That’s genuinely most of what separates a smooth installation from a frustrating one. And if the project starts to feel beyond your comfort level at any point, calling a professional isn’t a failure—it’s just a different kind of good decision.

I am Rick. I grew up helping my dad with his handyman service. I learned a lot from him about how to fix things, and also about how to work hard and take care of business. These days, I’m still into fixing things- only now, I’m doing it for a living.
I’m always looking for new ways to help people grow and develop. That’s why I have created this blog to share all my experience and knowledge so
that I can help people who are interested in DIY repair.