
Water damage is one of the sneakiest threats your garage can face. While most people focus on sealing the top of a concrete slab, moisture often creeps up from below. Groundwater, rising damp, and poor drainage can push moisture through the underside of your garage floor, leading to cracks, mold, musty smells, and ruined belongings.
Waterproofing a garage floor from underneath tackles the problem at its source. Instead of fighting water after it has already reached the surface, you create a barrier that stops it before it gets in. This approach protects your slab, extends its life, and keeps your garage dry, safe, and usable year-round.
In this guide on how to waterproof a garage floor from underneath, we will walk you through everything you need to know. Let’s get started.
What Are the Benefits?
Waterproofing from underneath does more than keep your floor dry. Here are the key advantages worth knowing.
- Stops rising damp at the source. A barrier under the slab blocks groundwater and soil moisture before it can travel upward through the concrete.
- Protects the concrete structure. Constant moisture weakens concrete over time. It causes cracks, spalling, and crumbling. A waterproof layer keeps your slab strong for decades.
- Prevents mold and mildew. Damp concrete is a breeding ground for mold. Waterproofing reduces humidity and keeps harmful spores from taking hold.
- Saves money long term. Fixing water damage is expensive. A one-time waterproofing job costs far less than repeated repairs or a full slab replacement.
- Improves air quality. A dry garage means fewer musty odors and cleaner air, especially if your garage connects to your home.
- Protects stored items. Boxes, tools, furniture, and equipment stay safe from moisture damage and rust.
- Boosts property value. A dry, well-maintained garage is a strong selling point that buyers appreciate.
What Will You Need?
Before you begin, gather your tools and materials. Having everything ready makes the job smoother and faster.
Tools:
- Shovel and excavation equipment
- Wheelbarrow
- Stiff wire brush
- Broom and shop vacuum
- Pressure washer
- Trowel or putty knife
- Paint roller and tray
- Paintbrush for edges
- Utility knife
- Tape measure
- Safety gloves, goggles, and a dust mask
- Knee pads
Materials:
- Waterproof membrane (liquid or sheet type)
- Concrete crack filler or hydraulic cement
- Waterproofing primer or sealer
- Gravel or crushed stone
- Sand for leveling
- Drainage pipe (if needed)
- Concrete patching compound
- Clean water for mixing and cleaning
10 Easy Steps on How to Waterproof a Garage Floor from Underneath
Step 1: Assess the Situation and Plan Your Approach
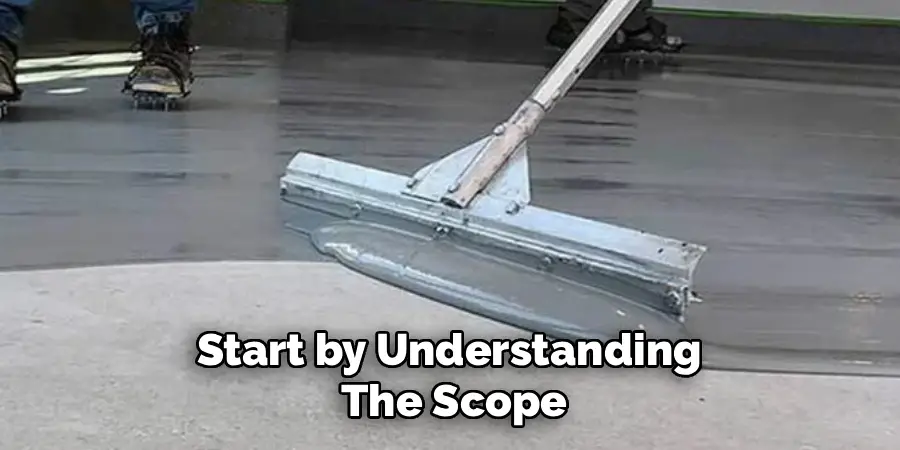
Start by understanding the scope of your project. Waterproofing from underneath usually means accessing the base of the slab, which can require excavation around the garage perimeter or from a crawl space if one exists. Walk around your garage and note where moisture appears most. Check for cracks, damp spots, and signs of pooling water outside.
Decide whether you can access the underside directly or whether you will need to dig around the foundation. Measure the area so you know how much material to buy. If your garage sits on a full slab with no crawl space, you may need to excavate along the edges to install an external barrier and improve drainage. Take photos and sketch a simple plan. Good planning now saves time and frustration later.
Step 2: Clear and Prepare the Work Area
Empty the garage completely. Remove vehicles, shelving, tools, and any stored items. You need full, unobstructed access to work safely. If you are excavating outside, clear away plants, debris, and objects along the foundation.
Sweep the floor thoroughly and remove loose dirt. If you are working from a crawl space, clear out any debris, cobwebs, or old insulation. A clean, open space lets you inspect the concrete properly and gives you room to move as you work.
Step 3: Excavate to Access the Underside
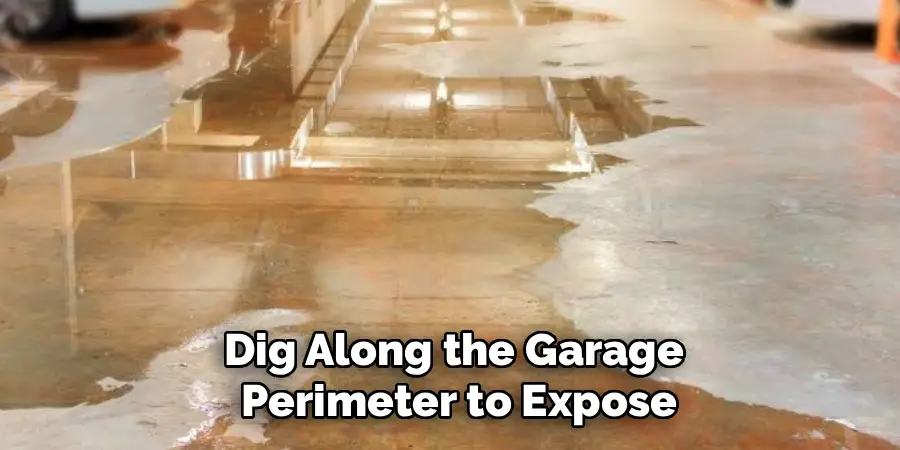
If you cannot reach the underside from a crawl space, dig along the garage perimeter to expose the foundation and the base of the slab. Use a shovel and work carefully to avoid damaging any existing pipes or cables. Dig deep enough to reach below the slab level where moisture enters.
Keep the excavated soil in a wheelbarrow or a tarp nearby so you can backfill later. Work in sections if the area is large. Take your time here. Rushing excavation can lead to injury or damage to your foundation.
Step 4: Clean the Concrete Surface Thoroughly
Once you have access, clean the underside and edges of the slab. Use a stiff wire brush to remove loose concrete, dirt, and old coatings. Follow up with a pressure washer to blast away stubborn grime.
The surface must be clean for the waterproofing to bond properly. Any dust, oil, or debris will weaken the seal. After washing, let the concrete dry completely. Moisture trapped under a membrane defeats the whole purpose, so patience during drying is essential.
Step 5: Inspect and Repair Cracks
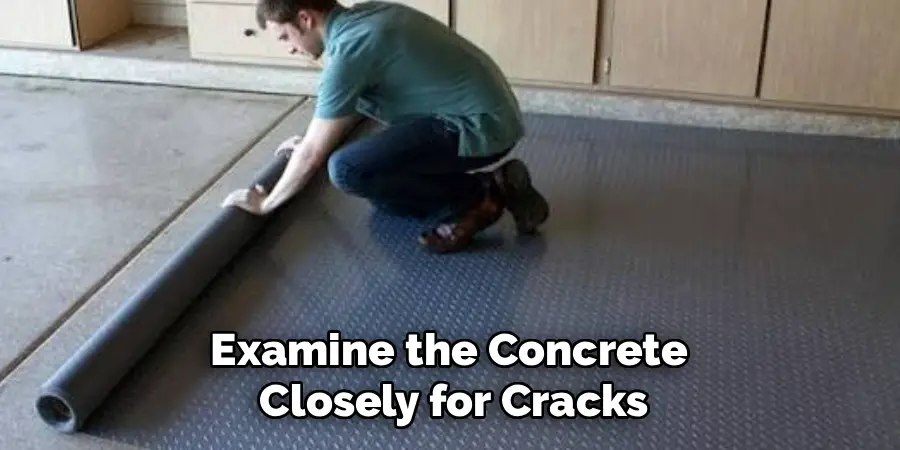
Examine the concrete closely for cracks, holes, and weak spots. Even small cracks let water through, so address every one. Use hydraulic cement or a quality concrete crack filler for larger gaps.
Press the filler firmly into each crack with a trowel or putty knife. Smooth it flush with the surface and remove excess. For hairline cracks, a thinner patching compound works well. Let all repairs cure fully according to the product instructions before moving on. Solid, crack-free concrete is the foundation of effective waterproofing.
Step 6: Apply a Waterproofing Primer
A primer helps the membrane stick and creates a stronger seal. Choose a primer designed for below-grade concrete waterproofing. Stir it well and apply an even coat with a roller or brush.
Work the primer into the surface, covering every inch including corners and edges. Pay attention to joints where the slab meets the foundation walls. These spots are common entry points for water. Allow the primer to dry fully, following the manufacturer’s recommended time. A well-primed surface makes the next steps far more effective.
Step 7: Install the Waterproof Membrane
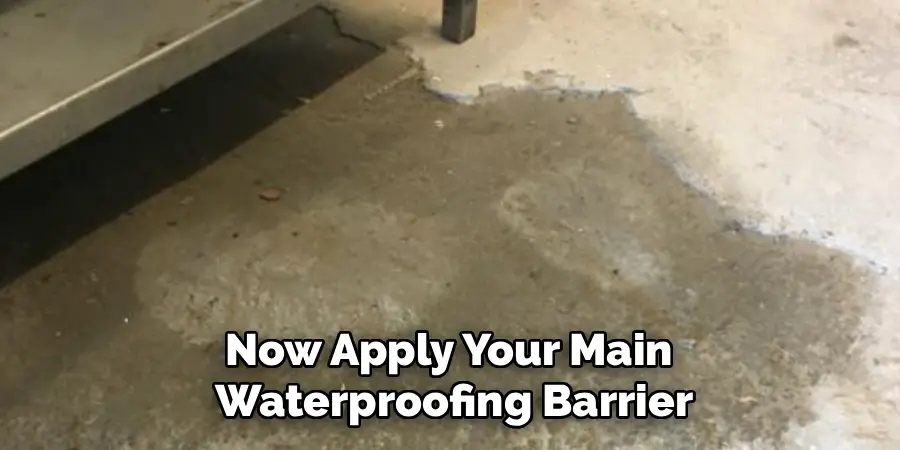
Now apply your main waterproofing barrier. If you chose a liquid membrane, roll it on in smooth, even layers. Apply the first coat and let it cure, then add a second coat for extra protection. Make sure there are no gaps, bubbles, or thin areas.
If you are using a sheet membrane, measure and cut pieces to fit. Overlap the seams by several inches and press firmly to seal them. Roll out air pockets as you go. Cover the entire underside and extend the membrane up the foundation edges. A continuous, unbroken barrier is what stops water for good.
Step 8: Add a Drainage Layer
Water needs somewhere to go. Install a drainage layer of gravel or crushed stone along the excavated perimeter. This helps water flow away from the slab instead of pooling against it.
If your area has heavy groundwater, add a perforated drainage pipe at the base of the trench. Slope the pipe slightly so water drains away from the foundation toward a suitable outlet. Cover the pipe with gravel to keep it clear. Good drainage works with your membrane to keep the area dry.
Step 9: Backfill and Restore the Area
With the membrane and drainage in place, backfill the excavated area. Add gravel first, then layer the soil back in. Compact each layer as you go to prevent settling. Slope the final grade away from the garage so surface water flows outward.
If you removed a crawl space vapor barrier, replace it with a fresh one. Smooth the ground and restore any landscaping you disturbed. Take care not to damage the membrane during backfilling.
Step 10: Inspect, Test, and Maintain
Finally, check your work. Look for any exposed edges, gaps, or damaged spots and fix them right away. If possible, test the system after the next heavy rain and watch for any moisture inside the garage.
Set a routine to inspect the area every few months. Clear drainage pipes of debris and watch for new cracks. Waterproofing lasts for years when maintained, but small checks help you catch problems early. With this final step done, your garage floor is protected from below.
5 Things You Should Avoid
- Skipping surface preparation. Applying membrane over dirty or wet concrete leads to poor adhesion and quick failure. Always clean and dry first.
- Ignoring small cracks. Tiny cracks grow over time and let water through. Repair every crack, no matter how minor it looks.
- Rushing the drying times. Primers and membranes need time to cure. Rushing traps moisture and ruins the seal. Follow the product instructions closely.
- Forgetting drainage. Waterproofing alone is not enough if water pools against the slab. Always install proper drainage to move water away.
- Using the wrong products. Not all sealers work below grade. Use products made specifically for underside and below-grade waterproofing.
Conclusion
How to waterproof a garage floor from underneath is one of the smartest ways to protect your property from hidden moisture damage. By stopping water at its source, you save your concrete slab, prevent mold, and keep your garage dry and usable for years to come.
The process takes effort, but the payoff is well worth it. With careful planning, thorough surface prep, quality materials, and proper drainage, you can create a barrier that stands the test of time. Remember to avoid common mistakes like skipping prep work or ignoring cracks, and keep up with simple maintenance to protect your investment.
Grab your tools, follow the steps, and give your garage the lasting protection it deserves.

I am Rick. I grew up helping my dad with his handyman service. I learned a lot from him about how to fix things, and also about how to work hard and take care of business. These days, I’m still into fixing things- only now, I’m doing it for a living.
I’m always looking for new ways to help people grow and develop. That’s why I have created this blog to share all my experience and knowledge so
that I can help people who are interested in DIY repair.