
Few things make a garage look neglected quite like an ugly rust stain spreading across the concrete. Maybe an old bike leaned against the wall too long. Maybe a metal shelf, a paint can, or a leaky vehicle left behind a reddish-brown mark that just won’t budge with a quick sweep.
Concrete may look tough, but it’s actually porous. That means rust doesn’t just sit on the surface—it seeps in and settles deep. The longer you leave it, the harder it gets to remove and the worse it looks. Beyond appearance, rust stains can signal moisture problems or metal corrosion nearby, and they can make an otherwise tidy space feel run-down.
This guide on how to remove rust from garage floor walks you through everything, from the benefits of tackling the job to the exact steps, the mistakes to avoid, and answers to the questions most people ask. Let’s clear that rust for good.
What are the Benefits?
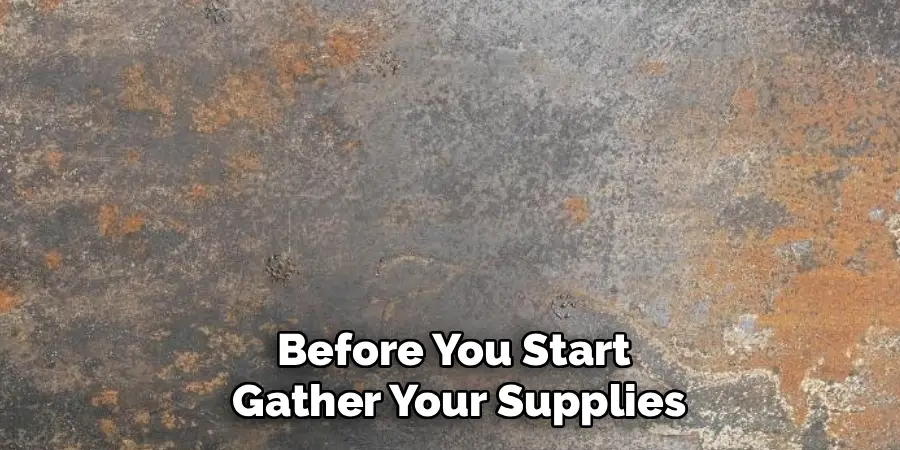
Removing rust from your garage floor is about more than looks, though a clean floor certainly feels great. Here’s what you actually gain when you take the time to do it right.
- A cleaner, brighter space. Rust stains draw the eye immediately and make even a well-organized garage look messy. Once they’re gone, the whole area feels fresher and more inviting.
- Protection for your concrete. Rust often comes with moisture, and moisture slowly damages concrete. By treating the stains, you address one of the warning signs of deeper wear and help your floor last longer.
- Higher property value. A spotless garage adds to your home’s appeal. If you ever sell, buyers notice clean, well-maintained spaces. A stained floor can make a garage feel like a project rather than a perk.
- A safer surface. Some rust removers double as a chance to inspect for cracks, pitting, or slick spots. Cleaning the floor helps you spot hazards you might otherwise miss.
- A better base for coatings. Planning to seal or epoxy your floor later? Rust must go first. A clean surface lets sealers and coatings bond properly, so your finish lasts.
- Peace of mind. There’s real satisfaction in restoring something with your own hands. A rust-free floor is proof your garage is cared for.
What Will You Need?
Before you start, gather your supplies. Having everything on hand makes the job smoother and faster. Here’s your checklist:
- Stiff-bristle scrub brush (avoid metal wire brushes on concrete you plan to seal)
- Broom and dustpan
- Garden hose or bucket of water
- Rust remover (commercial rust remover, white vinegar, or lemon juice)
- Baking soda (for gentle scrubbing and neutralizing)
- Trisodium phosphate (TSP) or a strong degreaser for tough stains
- Rubber gloves
- Safety goggles
- Old rags or paper towels
- Plastic scraper or putty knife
- Wet/dry vacuum or old towels (for soaking up liquid)
- Pumice stone or fine sandpaper (for stubborn spots)
- Face mask (especially when using chemical removers)
- Good ventilation—open the garage door and windows
If you’re dealing with a fresh, light stain, household items like vinegar and baking soda may be all you need. For older, deeper stains, a commercial rust remover made for concrete will do the heavy lifting.
10 Easy Steps on How to Remove Rust From Garage Floor
Step 1: Clear and Sweep the Area
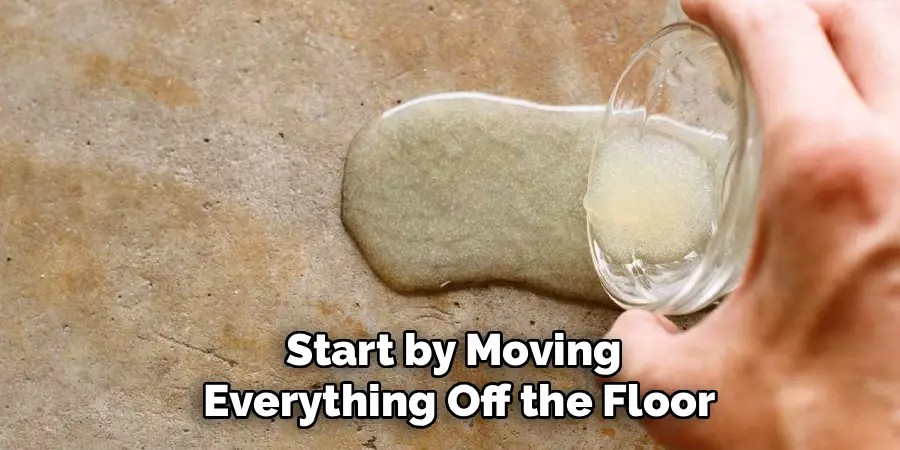
Start by moving everything off the floor near the stain. Shift shelves, boxes, tools, and anything else out of the way so you have room to work. Once the space is clear, grab your broom and sweep away dust, dirt, and loose debris. This matters more than it seems. Grit sitting on top of a rust stain can scratch the concrete and get in the way of your cleaner. A clean starting surface lets the rust remover reach the stain directly instead of fighting through a layer of dust.
Step 2: Put On Your Safety Gear
Before you touch any cleaning product, protect yourself. Slip on rubber gloves to keep chemicals off your skin, and wear safety goggles to shield your eyes from splashes. If you’re using a strong commercial remover or TSP, add a face mask and make sure the garage is well ventilated. Open the door and any windows. Rust removers can be harsh, and a few simple precautions keep the job safe and comfortable from start to finish.
Step 3: Test a Small Area First
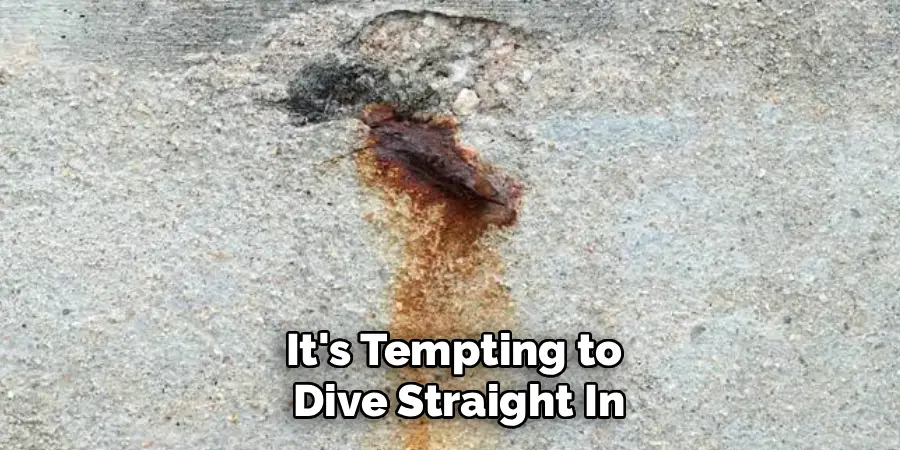
It’s tempting to dive straight in, but take a moment to test your chosen remover on a small, hidden patch of concrete. This tells you two things: whether the product affects the color of your floor, and how well it lifts the rust. Wait a few minutes and check the result. If the concrete looks fine and the rust starts to fade, you’re good to go. If not, adjust your approach or switch to a gentler option before treating the whole stain.
Step 4: Apply Your Rust Remover
Now for the main event. Pour or spray your rust remover directly onto the stain, covering it completely. If you’re using vinegar or lemon juice for a lighter stain, soak the area generously. For commercial products, follow the label instructions closely, since concentrations vary. The goal is full, even coverage so the remover can break down the rust across the entire mark. Don’t be shy with the amount—a well-soaked stain responds far better than a lightly dabbed one.
Step 5: Let It Sit
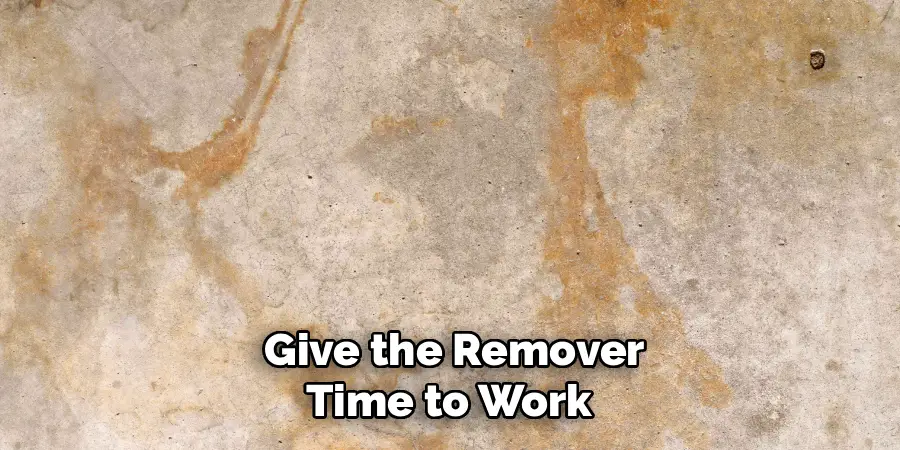
Patience pays off here. Give the remover time to work its way into the concrete and loosen the rust. Household solutions like vinegar usually need 10 to 15 minutes, while commercial removers may call for anywhere from a few minutes to half an hour. Check the product’s directions. Don’t let it dry out completely; if it starts to, add a little more. Letting the solution dwell is what turns a stubborn stain into one that scrubs away easily.
Step 6: Scrub the Stain
Once the remover has had time to sit, grab your stiff-bristle brush and start scrubbing. Use firm, circular motions and apply steady pressure. You should see the rust begin to lift and the stain start to lighten. Keep at it, focusing on the darkest areas. For sprinkling extra cleaning power, add a little baking soda over the wet stain and scrub—it creates a gentle abrasive that helps break the rust free without harming the concrete.
Step 7: Tackle Stubborn Spots
Some rust stains, especially old ones, won’t give up on the first try. For these, bring in a pumice stone or fine sandpaper and gently work the area. You can also reapply your remover and let it sit again. A plastic scraper or putty knife helps lift any crusty buildup. Take your time and avoid gouging the concrete. Tough stains often need two or three rounds of treatment, so repeat the soak-and-scrub cycle as needed until the rust fades.
Step 8: Rinse the Area Thoroughly
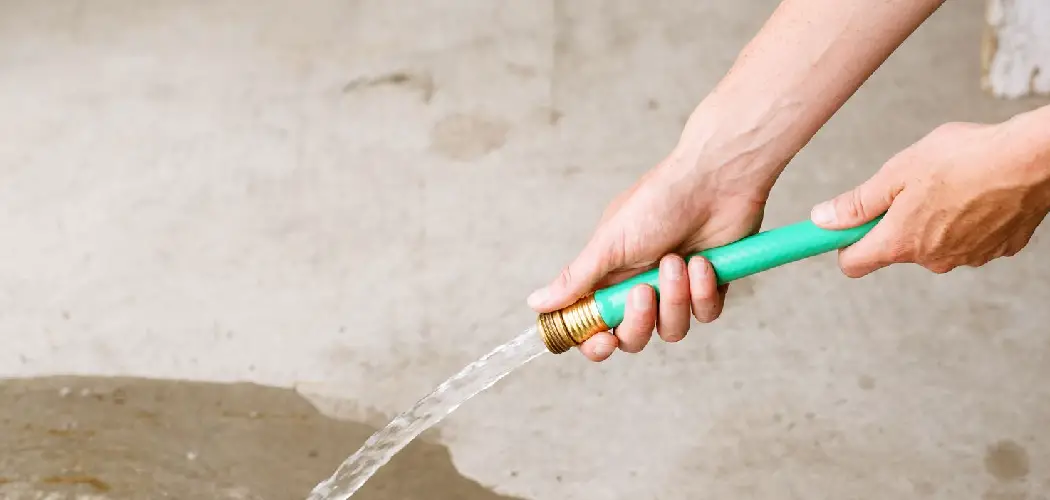
After the rust is gone or greatly reduced, rinse the floor well. Use a garden hose or pour buckets of clean water over the treated spot to wash away every trace of remover, loosened rust, and residue. This step is important because leftover chemicals can damage concrete over time or interfere with any sealer you apply later. Rinse until the water runs clear and no product remains on the surface.
Step 9: Neutralize and Dry
If you used a strong acidic or commercial remover, neutralize it. Sprinkle baking soda over the rinsed area, add a little water, and let it fizz for a few minutes before rinsing again. This balances the surface and stops any lingering chemical action. Once neutralized, dry the floor with a wet/dry vacuum or old towels. Let the area air out completely. A fully dry floor is easier to inspect and ready for the final look.
Step 10: Inspect and Repeat if Needed
Step back and take a good look at your work. In many cases, one full treatment removes the stain entirely. But deeper or older rust may leave a faint shadow. If so, simply repeat the process from Step 4. There’s no shame in going over it again—concrete stains can be stubborn. Once you’re happy with the result, you’ll have a clean floor ready for regular use or a fresh protective coating.
5 Things You Should Avoid
Even a simple job can go sideways if you’re not careful. Steer clear of these common mistakes:
1. Skipping safety gear. Rust removers can irritate skin, eyes, and lungs. Never work without gloves, goggles, and proper ventilation. It only takes one splash to regret cutting corners.
2. Using a wire metal brush on sealed concrete. Metal bristles can scratch and damage the surface, especially if you plan to coat it later. Stick with a stiff nylon brush unless the concrete is bare and rough.
3. Mixing cleaning products. Never combine different chemical removers or add bleach to acidic cleaners. Some combinations release dangerous fumes. Use one product at a time and rinse well between them.
4. Letting the remover dry on the surface. If the solution dries out before you scrub, it loses effectiveness and can leave its own residue. Keep the stain wet during the dwell time.
5. Rushing the job. Rust doesn’t disappear instantly. Trying to force it with excessive pressure or skipping the soak time usually leaves a faded mark behind. Slow, steady treatment works best.
Conclusion
A rust stain on your garage floor doesn’t have to be permanent. With the right supplies, a little patience, and the ten steps in this guide, you can lift even stubborn marks and restore your concrete to a clean, fresh state. The process on how to remove rust from garage floor is straightforward: clear the area, gear up, apply your remover, let it soak, scrub, rinse, and repeat if needed. Nothing complicated—just steady, careful work.
Remember, the payoff goes beyond a better-looking floor. You protect your concrete, boost your home’s appeal, create a safer space, and set the stage for a lasting sealer or coating. Along the way, avoid the common pitfalls: skip the shortcuts on safety, don’t mix chemicals, and give the remover time to do its job.
Grab your supplies, roll up your sleeves, and give your garage the clean, rust-free surface it deserves. Your future self—and anyone who walks into that space—will thank you.

I am Rick. I grew up helping my dad with his handyman service. I learned a lot from him about how to fix things, and also about how to work hard and take care of business. These days, I’m still into fixing things- only now, I’m doing it for a living.
I’m always looking for new ways to help people grow and develop. That’s why I have created this blog to share all my experience and knowledge so
that I can help people who are interested in DIY repair.