
You roll the toolbox across the garage, and a wheel catches on a jagged line in the concrete. Or maybe you spot a thin split near the door that’s slowly grown wider than you remember. Learning how to fix cracked garage floor damage is one of those jobs people put off, right up until it becomes hard to ignore.
Here’s the reassuring part. Most cracks are far easier to repair than they look.
A small crack rarely means the sky is falling. This guide walks through why floors crack, how to tell a harmless split from a warning sign, and a step-by-step method for smoothing things out. No specialized trade skills required, just patience and the right materials.
By the time you finish reading, you’ll want to grab a wire brush and get to work.
Why Garage Floors Crack in the First Place?
Before you patch anything, it helps to understand what caused the crack. Concrete isn’t as permanent as it looks. It shifts, shrinks, and settles over the years, and garage floors take more abuse than almost any slab in the house.
Heavy vehicles roll across them daily. Temperatures swing. Moisture works its way underneath.
Understanding the cause matters because it tells you whether you’re fixing a symptom or a real problem. Patch a crack without knowing why it appeared, and you may be back with a filler tube again next spring.
Common Causes of Concrete Cracks
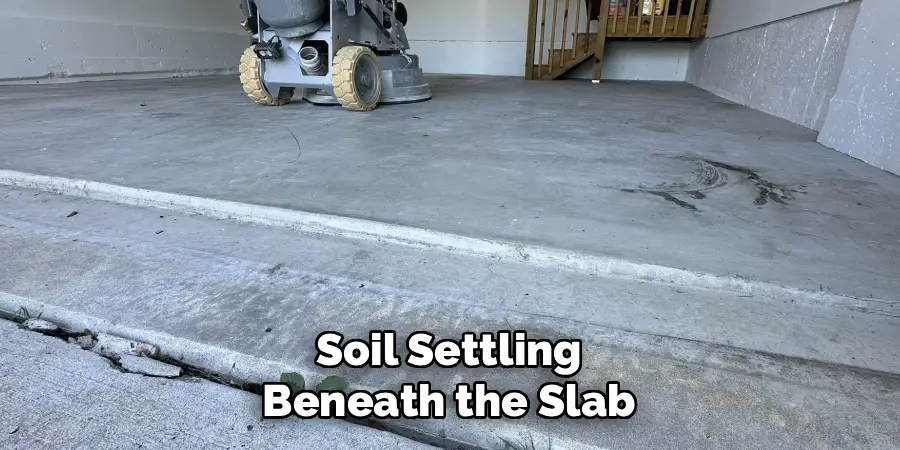
Several usual suspects show up again and again. Soil settling beneath the slab is a big one, since the ground rarely stays perfectly level over time.
Concrete also shrinks as it cures, which produces those fine hairline cracks that appear even on newer floors. Then there’s the freeze-thaw cycle, where water seeps in, freezes, expands, and pries the concrete apart a little more each winter.
Add the steady weight of cars pressing down, and you’ve got plenty of stress working on that slab. Each cause leaves its own signature, which is partly why cracks show up where they do.
When a Crack Signals a Bigger Problem
Most cracks are cosmetic. Some are not, and telling them apart saves you real trouble.
A thin, stable line that hasn’t changed in years is usually harmless. Widening gaps, edges that sit at different heights, or cracks that keep coming back after you patch them may suggest something deeper, like a foundation or drainage issue.
If a crack seems to be moving or growing, it’s worth pausing. A professional set of eyes before you slap filler over it could save you from covering up a problem that needs proper attention.
Types of Garage Floor Cracks Explained
Not every crack calls for the same fix. Matching your repair to the damage in front of you is half the battle, and it starts with knowing which category you’re dealing with.
This part isn’t complicated. A quick look usually tells you what you’ve got.
Hairline and Surface Cracks
Hairline cracks are the ones most people encounter. Thin, shallow, and staying near the surface, they rarely threaten the slab itself.
These are also the easiest to handle. A tidy fill job here is well within reach for a first-timer, and the results tend to look clean with minimal fuss.
Think of them as the friendly introduction to concrete repair. If this is what you’re facing, relax a little, because the job ahead is genuinely manageable.
Wide, Deep, and Structural Cracks
Then there are the tougher ones. Wide gaps, deep splits, and cracks with uneven edges need stronger materials and a bit more care.
These often signal that the slab has actually shifted or that something structural is going on. When a crack crosses from cosmetic to structural, the stakes climb.
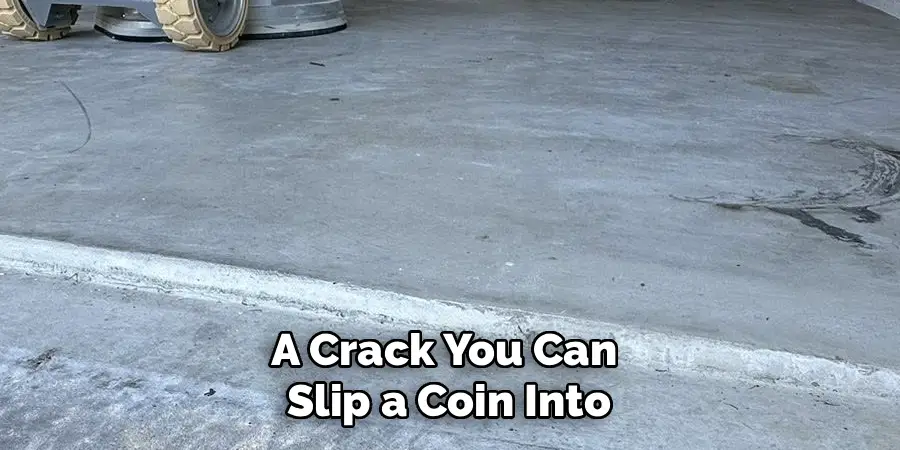
Learn to spot that line. A crack you can slip a coin into, or one where one side sits higher than the other, may be a sign to bring in a pro rather than reaching for the nearest filler.
What You Need Before You Start?
Good news for the budget-minded. Fixing a cracked garage floor doesn’t require expensive equipment, just the right basics matched to the job in front of you.
The trick is picking the correct product for your crack type. One filler rarely handles every situation on its own.
Repair Materials and Fillers
Match the material to the damage. Concrete crack filler works well for hairline splits, flowing into thin gaps and sealing them quickly.
For structural cracks, reach for something tougher, like an epoxy or polyurea product that bonds hard and holds. Larger damaged areas often call for a patching compound you can trowel in and shape.
Buying the right one saves grief later. A thin, pourable filler poured into a wide crack just runs to the bottom and leaves you disappointed, so read the label and match it to what you’re actually repairing.
Tools and Safety Gear
The tool list is short and mostly stuff you may already own. A wire brush, a chisel and hammer, a shop vacuum, and a putty knife cover most of the work.
Don’t skip the protection, either. Gloves and eye protection matter here, especially once you start chiseling and mixing chemical fillers.
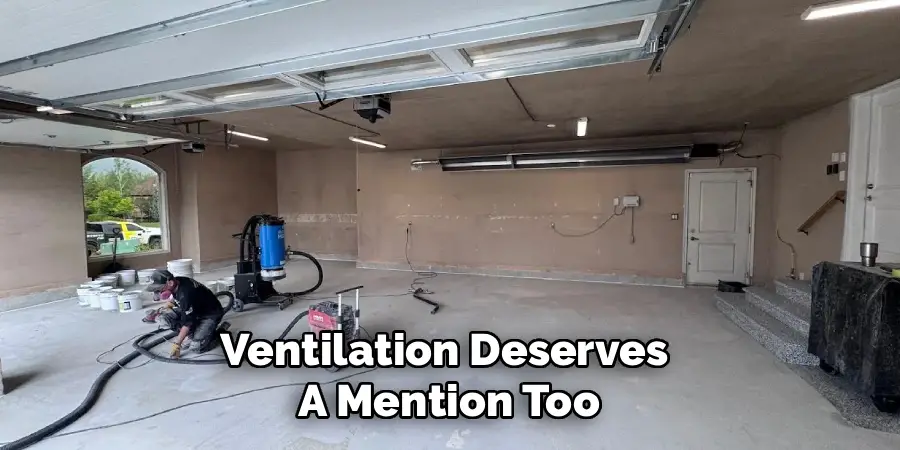
Ventilation deserves a mention too. Open the garage door, read the product directions before you begin, and a little preparation makes the whole repair smoother and a good deal safer.
How to Fix Cracked Garage Floor: A Step-by-Step Guide
This is the part you came for. Take these steps in order, and try not to rush the early ones, because they set up everything that follows.
Each stage builds on the last. Beginners tend to get the hang of it faster than they expect, so celebrate the small wins as you go.
Step 1: Clean and Prepare the Crack
Start by clearing everything out of the crack. Use a wire brush to scrub the edges, a chisel to knock loose any crumbling bits, and a shop vacuum to pull out the dust.
A clean crack lets the filler bond deep into the concrete instead of sitting on a layer of grit. This is the step people skip, and it’s the one that causes most repair failures.
So take your time here. Even the best filler in the world can’t grip a dirty, dusty surface, which means a rushed cleanup often means a redo within weeks.
Step 2: Widen and Shape the Crack if Needed
This one feels backward, but stay with me. For narrow cracks, lightly chisel the opening into a slightly wider, V-shaped groove.
Why make the crack bigger? Because a wider groove gives the filler more surface to grip, which actually strengthens the repair rather than weakening it.
Work gently as you shape it. You want to open the crack up just enough for the material to hold, not hammer away so hard that you spread the damage into fresh concrete.
Step 3: Apply the Right Filler or Compound
Now for the satisfying part. Mix and apply your chosen product, pressing it firmly into the crack to push out any trapped air pockets.
Thin cracks take a pourable filler that self-levels as it settles. Wider gaps need a thicker patching compound worked in with a putty knife until it’s packed solid.
Here’s a small tip worth remembering. Overfill slightly, since most materials shrink a touch as they cure, and a slightly proud fill sanded flush later beats a sunken one you have to redo.
Step 4: Smooth and Level the Surface
While the filler is still workable, level it out. Scrape a putty knife or trowel across the fresh material so it sits flush with the surrounding floor.
Feather the edges as you go. Blending the repair into the concrete around it keeps the patch from standing out like a scar once everything dries.
Timing matters here. Work while the material is still soft and cooperative, because a smooth finish now saves you a lot of sanding and touch-up grief later on.
Step 5: Cure and Seal
Patience closes out the job. Let the repair cure fully according to the product directions before you walk on it or park a car over it.
Rushing this undoes your work. Foot traffic or vehicle weight on half-cured filler can crack it right back open.
Once it’s set, apply a concrete sealer over the area. That sealer locks out moisture and guards against future cracking, turning a quick fix into one that actually lasts.
Repairing Larger Damage and Uneven Areas
Sometimes a floor needs more than a simple crack fill. When concrete starts flaking apart, or a slab has shifted, you’re in different territory.
This is where a bit of honesty about the job helps. Some of it you can handle, and some of it may call for a specialist.
Patching Spalling and Pitted Concrete
Spalling is that flaking, chipped, pitted look where the surface has started crumbling away. It spreads if you ignore it.
The fix involves a resurfacing compound spread across the damaged zone, restoring both strength and a smoother appearance. Blend it into the surrounding floor so the patch doesn’t announce itself.
It’s more involved than filling a single crack, sure. But for a garage floor that’s gone rough in patches, resurfacing can bring it back without a full replacement.
Dealing With Sunken or Lifted Slabs
Uneven slabs are a taller order. When settling or heaving has left one section sitting higher or lower than the rest, a surface patch won’t cut it.
These situations often need mudjacking or professional leveling, where the slab itself gets lifted or stabilized. That’s specialized work.
Know when to step back. A crack you can fill on a Saturday is one thing, but a slab that’s visibly tilted has moved past DIY and into expert-help territory.
Common Mistakes to Avoid
Nearly everyone is tempted by one of these shortcuts. Knowing them ahead of time helps you resist.
Two mistakes cause more failed repairs than any others. Both are simple to sidestep once you’re aware of them.
Skipping Proper Crack Preparation
We touched on this earlier, but it bears repeating because it trips up so many people. Filling a dusty, debris-filled crack keeps the material from bonding.
The result shows up fast. The patch pops loose within weeks, and you’re right back where you started, wondering what went wrong.
A few extra minutes of cleaning and shaping make the difference between a repair that holds and one that fails. Don’t rush past it, tempting as it is.
Choosing the Wrong Filler
The other big trap is grabbing whatever’s on the shelf without matching it to the job. A thin filler poured into a wide crack just sinks and leaves a hollow.
Rigid products used where the concrete needs to flex can crack again along the same line. The material has to suit the damage.
Read the labels, and match the filler to the crack type. It’s a small bit of attention that saves you a frustrating do-over down the road.
Pro Tips for a Longer-Lasting Repair
A few extra habits take a decent patch and make it genuinely durable. Neither one is complicated.
They mostly come down to prevention rather than repair.
Sealing the Whole Floor for Prevention
Here’s a move worth considering once your crack is fixed. Applying a quality concrete sealer across the entire floor, not just the repair, guards against moisture, stains, and future cracking.
It protects the patch and the slab around it at the same time. Think of it as insurance for the whole surface.
Sealing every few years keeps water from working its way in, which is often the very thing that started your crack in the first place.
Managing Moisture and Drainage
Water is concrete’s quiet enemy, so managing it pays off. Directing rainwater away from the slab and keeping humidity in check reduces the freeze-thaw stress that reopens cracks.
Small drainage fixes support every repair you make. A gutter that dumps water against the foundation, for instance, works against you constantly.
Fix the water problem, and your patches last longer. It’s the unglamorous background work that quietly protects everything you did up front.
Frequently Asked Questions
A couple of questions come up almost every time someone tackles this. Let’s settle them.
Can I Fix a Garage Floor Crack Myself?
For most cracks, absolutely. Hairline and moderate cracks are very achievable DIY projects with basic tools and the right filler, no trade experience needed.
The honest exception is deep structural cracks or badly shifted slabs. Those may call for a professional, since they often point to problems a surface patch can’t solve. Match your confidence to the crack, and you’ll know when to call for help.
How Long Does a Garage Floor Crack Repair Last?
A well-done repair can last many years, which is a good return for a Saturday’s work. Longevity comes down to a few things you control.
Clean prep, the right material for the crack, and a protective sealer over the top all extend the life of the patch. Do those well, and you may not think about that crack again for a long time.
Conclusion
Figuring out how to fix cracked garage floor damage really comes down to a few dependable steps working together. Clean the crack thoroughly. Match the right filler to the job. Let it cure, then seal it to keep the water out.
None of it demands special skill or a big budget. It just takes a little patience and the willingness not to cut corners on the prep.
So gather your supplies, clear the space, and give that first crack the repair it deserves before it grows any wider.
Do that, and you’ll be looking at a floor that feels solid underfoot, looks clean, and holds up for years, one you fixed yourself with nothing more than a few tools and an afternoon.

I am Rick. I grew up helping my dad with his handyman service. I learned a lot from him about how to fix things, and also about how to work hard and take care of business. These days, I’m still into fixing things- only now, I’m doing it for a living.
I’m always looking for new ways to help people grow and develop. That’s why I have created this blog to share all my experience and knowledge so
that I can help people who are interested in DIY repair.