
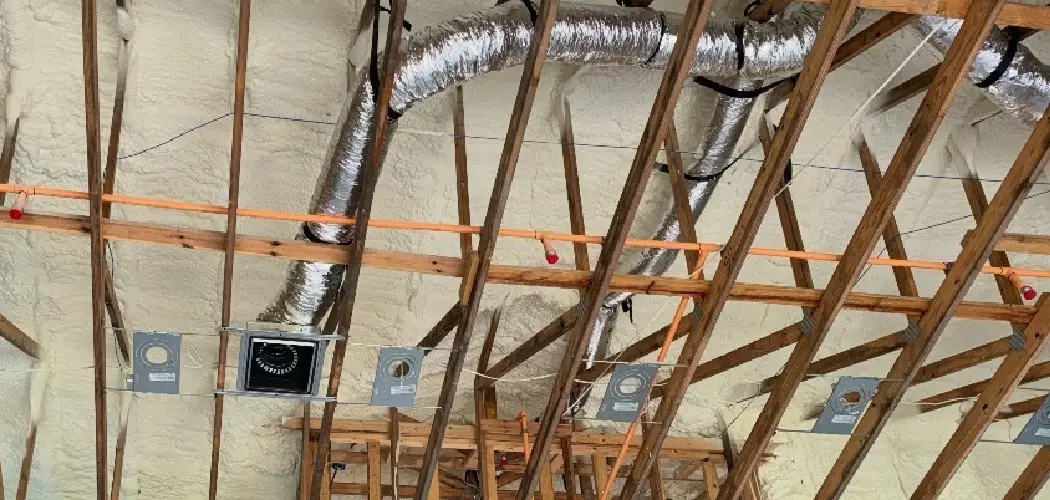
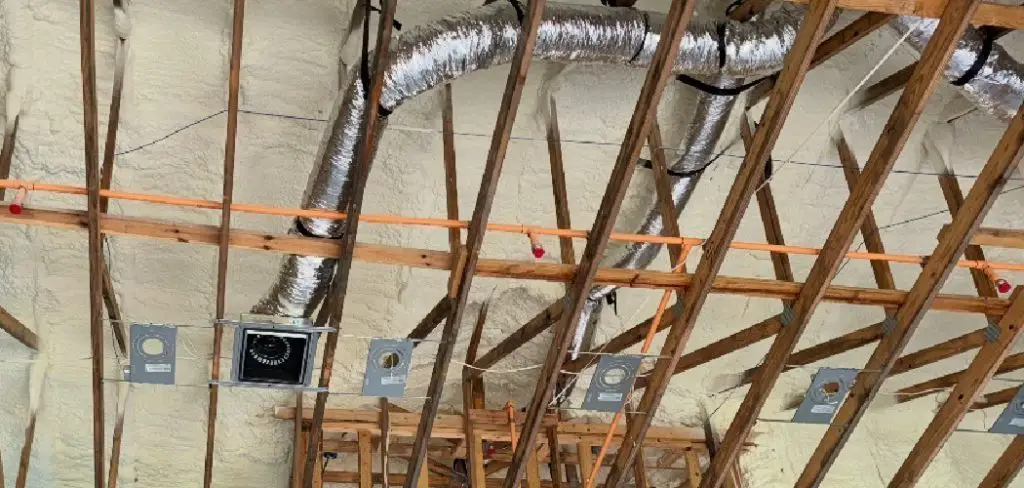
Step into your garage on a January morning and the cold bites right through you. Come summer, that same space turns into an oven, with heat pressing down from the ceiling. Learning how to insulate a garage ceiling rafters is what finally breaks that miserable cycle.
It sounds like a big job. It really isn’t, once you break it into steps.
An uninsulated ceiling leaks heat in winter and traps it in summer, driving up your bills and making the garage almost useless half the year. This guide walks through why it matters, what to buy, and a step-by-step method that gets the job done right. No contractor required, though you can always call one.
By the time you finish, you’ll want to grab a tape measure and get started.
Why Insulating Your Garage Ceiling Rafters Pays Off
Before you buy a single roll of insulation, it helps to understand what you actually get out of it. An uninsulated ceiling lets conditioned air escape and outside temperatures pour in, which makes the whole space uncomfortable and expensive to heat or cool.
Think of it as an investment rather than a chore. A little effort now pays back for years.
Once you see the everyday difference it makes, the weekend of work feels far more worthwhile.
Energy Savings and Comfort Gains
Here’s the practical payoff. Trapping conditioned air with ceiling insulation steadies the temperature and trims your heating and cooling costs month after month.
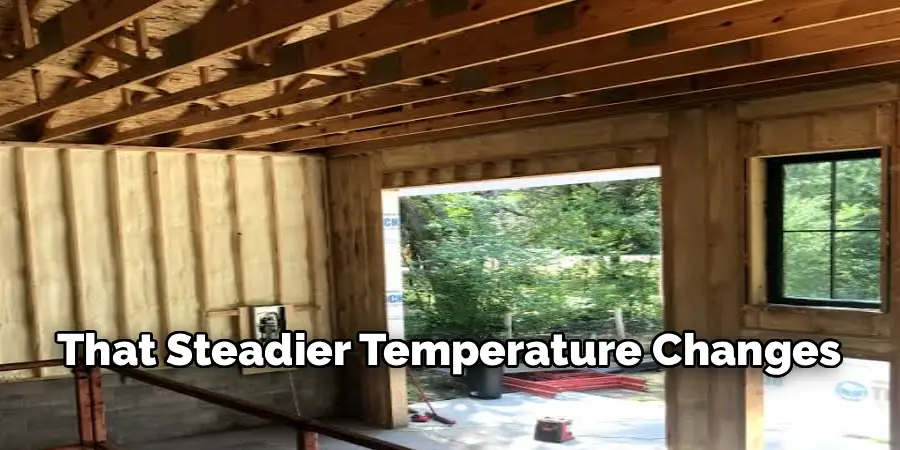
That steadier temperature changes how you use the space. Suddenly the garage works as a workshop, a home gym, or a spot to hang out year-round.
A garage that stays livable is a garage you’ll actually spend time in. That alone tends to justify the project for most people.
Protecting the Space Above and Below
The benefits reach beyond your own comfort, too. If there’s a room above the garage, ceiling insulation shields it from cold floors and creeping drafts.
It also helps manage moisture. Less temperature swing means less condensation, which keeps mold and dampness at bay.
So you’re guarding two things at once. Comfort today, and the structure itself over the long haul.
Understanding Garage Ceiling Rafters and Joists
Here’s where a lot of first-timers get tangled up, and it’s worth slowing down for. Buying the wrong material for the wrong structure wastes money and time.
Knowing exactly what you’re working with makes every later step easier. A few minutes of looking up saves a lot of frustration.
Rafters vs. Ceiling Joists Explained
The terms get used loosely, but they mean different things. Rafters are the sloped beams that support the roof itself, angling up toward the peak.
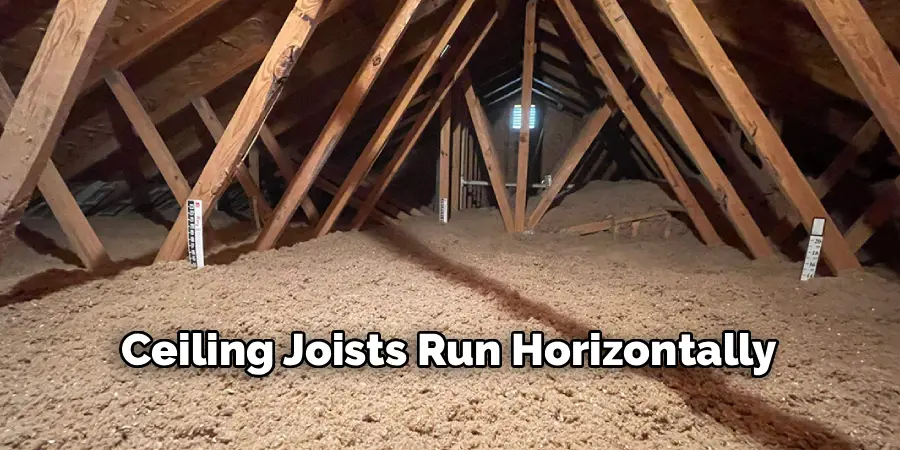
Ceiling joists run horizontally, framing a flat ceiling below the roof. Some garages have one, some have both.
Which one you’re insulating shapes your whole approach. Insulating sloped rafters keeps warmth in a vaulted space, while filling flat joists creates a sealed attic-style barrier overhead. Figure out yours before you buy anything.
Measuring Spacing and Cavity Depth
Once you know your structure, grab a tape measure. Standard rafter or joist spacing determines the width of insulation you need, and cavity depth sets how much R-value you can actually fit.
These numbers aren’t just busywork. They keep you from buying batts that won’t fit or leave awkward gaps.
A few quick measurements up front prevent a headache later. You’ll thank yourself when the material slots in cleanly instead of fighting you.
Choosing the Right Insulation for Rafters
This decision shapes cost, difficulty, and how well the whole thing performs. It’s worth a little thought rather than grabbing whatever’s stacked highest at the store.
Two questions matter most. What material suits your space, and how much insulating power do you actually need?
Comparing Batts, Foam Board, and Spray Foam
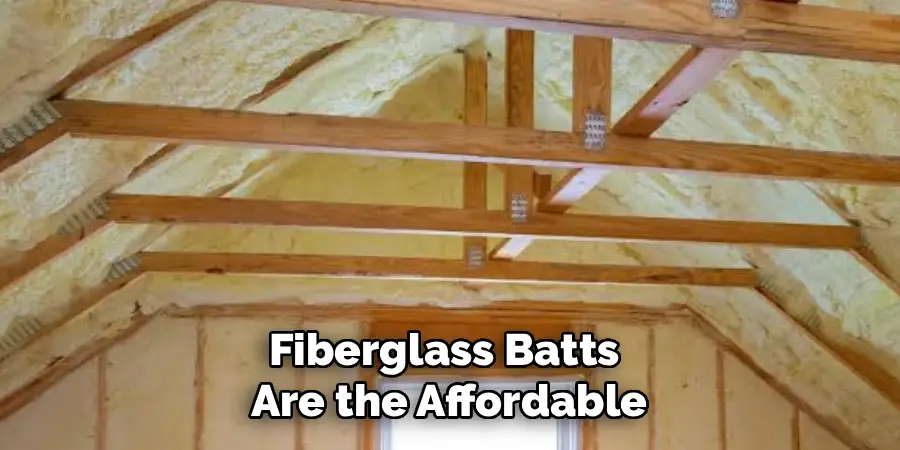
Fiberglass batts are the affordable, beginner-friendly choice. They slot between rafters easily and cost less than the alternatives, though handling them takes gloves and patience.
Rigid foam board shines in tight or awkward spaces. It cuts to size and holds its shape, giving solid performance where batts would sag.
Spray foam offers the best sealing of the three, expanding to fill every gap. The catch is cost and complexity, since large jobs often call for a pro. Match the material to your budget and comfort level rather than chasing the priciest option.
Understanding R-Value and Climate Needs
R-value simply measures insulating power, and higher numbers mean more resistance to heat flow. Colder climates call for higher R-values to hold warmth in through a long winter.
Don’t guess at this part. Local building recommendations tell you roughly what your region needs.
Matching your R-value to your climate is what locks in the results. Under-insulate and you’ll wonder why the garage still feels drafty despite all your work.
What You Need Before You Start
Good news for anyone watching their wallet. Insulating a garage ceiling doesn’t demand a warehouse of gear, just a handful of basics matched to the job.
Gather everything before you climb the ladder. Nothing stalls a project like realizing you’re missing a utility blade halfway through.
Tools and Materials Checklist
Your core kit is short and manageable. You’ll want your insulation, a sharp utility knife, a tape measure, a staple gun, a straightedge, and a sturdy ladder or scaffolding.
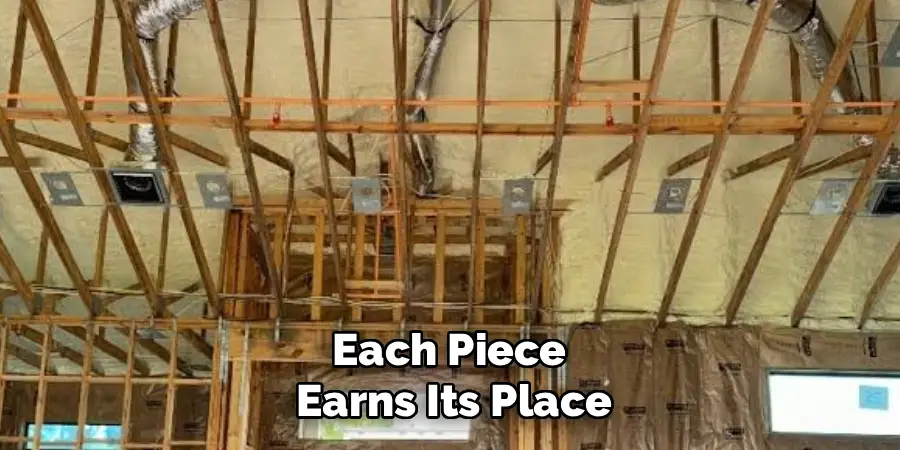
Each piece earns its place. The straightedge and knife give clean cuts, while the staple gun secures batts snugly to the framing.
Lay it all out where you can reach it. A little organizing now keeps you from climbing up and down a dozen extra times.
Safety Gear and Workspace Prep
Don’t skip the protection, especially with fiberglass. Gloves, safety glasses, a dust mask, and long sleeves keep the itchy fibers off your skin and out of your lungs.
Then prep the space itself. Clear clutter, set up steady footing, and make sure you’ve got room to move.
Insulation work goes overhead, which is awkward at the best of times. Good footing and the right gear make it far safer and a good deal more comfortable.
How to Insulate a Garage Ceiling Rafters: A Step-by-Step Guide
This is the part that ties everything together. Take it in order, and don’t rush the early steps, because they set up the ones that follow.
Each stage builds on the last. Beginners tend to find their rhythm faster than they expect, so celebrate the small wins as you fill each cavity.
Step 1: Inspect and Prepare the Ceiling
Start with a careful look before you add anything. Check the ceiling for leaks, exposed wiring, and any existing damage that could cause trouble later.
Spotting a moisture problem now saves you from sealing it behind fresh insulation. The same goes for loose wires.
This honest first inspection shapes a safe, smooth install. Handle any issues you find before moving on, because covering them up only hides a problem that’ll resurface.
Step 2: Measure and Cut Your Insulation
Now put that tape measure to work. Measure each rafter cavity and cut your insulation slightly oversized, so it fills the space snugly without leaving gaps.
A straightedge and a sharp knife make this clean and quick. Dull blades tear fiberglass and leave ragged edges.
Careful measuring pays off twice here. You save material, and you create a tighter barrier that actually performs the way it should.
Step 3: Install a Vapor Barrier if Needed
Whether you need a vapor barrier depends on your climate, so check your local guidance first. In many regions, it’s the layer that keeps moisture from condensing inside the ceiling.
If you do need one, position it toward the warm side of the insulation. That placement is what makes it work.
Overlap and seal the seams neatly as you go. Done right, a vapor barrier keeps the whole assembly dry and healthy for years, which matters far more than it might seem.
Step 4: Fit and Secure the Insulation
Here’s where it comes together. Press each piece firmly into its rafter cavity, but resist the urge to cram it in, since crushed insulation loses much of its value.
For batts, staple the flanges to the rafters. For rigid board, friction-fit it snugly so it stays put on its own.
Work methodically across the ceiling, cavity by cavity. Even coverage with no gaps is the goal, and a steady rhythm gets you there without missed spots.
Step 5: Seal Gaps and Finish the Surface
Almost done. Seal any small gaps around edges and penetrations with spray foam or caulk, locking in the performance you just built.
Then cover the insulation with drywall or panels. This gives a finished look and protects the material from damage and stray fibers.
That final surface turns a rough install into a clean, lasting upgrade. It’s the difference between a job that looks temporary and one that looks done.
Managing Ventilation and Moisture
Here’s a detail people miss. Sealing up a ceiling can trap moisture if you’re not careful, and trapped moisture leads to rot.
The goal is a garage that stays warm and dry, not just warm. That takes a little balance between sealing and airflow.
Keeping Airflow Around the Roof
When you insulate sloped rafters, the roof still needs to breathe. Leaving proper ventilation channels near the roofline prevents heat and moisture from getting trapped against the structure.
Baffles or a simple air gap do this job. They keep a clear path for air to move.
Skip this on a sloped roof, and you invite trouble. The insulation does its work while the roof stays protected, which is exactly the arrangement you want.
Preventing Condensation Problems
Condensation is the quiet enemy of any insulation job. Pair a vapor barrier with good airflow, and you stop moisture from soaking into the material.
These two habits support each other. One blocks moisture, the other clears what sneaks through.
Together they keep the ceiling dry season after season. It’s an unglamorous part of the project, yet it may be the one that protects your work the longest.
Common Mistakes to Avoid
Nearly everyone is tempted by one of these shortcuts. Knowing them ahead of time helps you steer clear.
Two mistakes trip up more first-timers than any others. Both are easy to fix once you understand why they matter.
Compressing the Insulation
The instinct is to stuff insulation tightly into a cavity, as if more packed material means more protection. It’s exactly backward.
Insulation works because of the air pockets trapped in its fibers. Crush those pockets, and you slash the R-value, leaving you with a fraction of the performance you paid for.
Aim for a gentle, snug fit instead. Let the material sit at its full loft, and it’ll insulate the way it was designed to.
Skipping the Vapor Barrier
The other common misstep is ignoring moisture control in a climate that needs it. It feels like an optional extra, so people leave it out to save time.
That shortcut invites mold and rot down the line. The damage stays hidden until it’s expensive.
Check your local requirements before deciding. A small step now prevents a costly repair later, and that trade is almost always worth making.
Pro Tips for a Better Insulation Job
A few extra habits lift the results from good to genuinely effective. Neither one takes much effort.
They mostly come down to preparation and knowing where a little more work pays off.
Air Sealing Before You Insulate
Here’s a trick the pros lean on. Before adding any insulation, seal the gaps, cracks, and penetrations that let sneaky drafts through.
Insulation slows heat transfer, but it doesn’t stop air leaks on its own. A draft whistling through an unsealed gap undermines the whole job.
Caulk and spray foam handle this quickly. That bit of prep dramatically boosts whatever material goes in next.
Layering for Extra R-Value
In colder climates, you can push performance higher with a second layer. Adding rigid foam board beneath the rafters bumps up the total R-value beyond what the cavity alone allows.
It’s extra effort and extra cost, so weigh it against your climate. In a mild region, you likely won’t need it.
Where winters are harsh, though, that added layer may pay for itself in comfort and lower bills. Consider it when the cavity depth alone can’t hit your target number.
Frequently Asked Questions
A couple of questions come up almost every time someone tackles this project. Let’s settle them.
What R-Value Do I Need for a Garage Ceiling?
It depends on your climate and whether there’s a living space above the garage. Colder regions call for higher numbers, and a room overhead usually warrants more than a standalone garage.
There’s no single answer that fits everyone. Check your local building recommendations for the range that suits your area, then match your material and cavity depth to hit it.
Can I Insulate a Garage Ceiling Myself?
For most people, yes. Insulating between rafters is a very achievable DIY project with basic tools, a free weekend, and a bit of patience.
Fiberglass batts and rigid board are especially manageable on your own. That said, spray foam or an unusually complex layout might call for a professional, so weigh the job honestly before you commit.
Conclusion
Figuring out how to insulate a garage ceiling rafters really comes down to a few dependable ideas working together. Pick the right material. Fit it snugly without crushing it. Manage moisture with a barrier and airflow.
None of it demands special skill or a big budget. It just takes a plan and a willingness to start.
A well-insulated ceiling pays you back every single day, through lower bills, steadier temperatures, and a garage that finally feels comfortable to use.
So measure your cavities, gather your materials, and tackle the project one rafter at a time. Do that, and you’ll turn a space that swings between freezing and sweltering into one that stays cozy in winter, cooler in summer, and genuinely enjoyable all year long.

I am Rick. I grew up helping my dad with his handyman service. I learned a lot from him about how to fix things, and also about how to work hard and take care of business. These days, I’m still into fixing things- only now, I’m doing it for a living.
I’m always looking for new ways to help people grow and develop. That’s why I have created this blog to share all my experience and knowledge so
that I can help people who are interested in DIY repair.