
Picture this: you’re standing in your driveway, groceries in hand, and you realize your garage door key is nowhere to be found. Frustrating, right? Knowing how to pick a garage door lock can turn a stressful moment into a quick fix. While it might sound like something out of a spy movie, lock picking is a practical skill that homeowners, property managers, and DIY enthusiasts can learn safely and legally—on locks they own.
This guide walks you through everything you need to know. We’ll cover the tools, the step-by-step process, and the mistakes to steer clear of. Lock picking isn’t about breaking in illegally. It’s about understanding how your security works so you can respond calmly when you’re locked out.
Let’s dig into the details and get you back inside.
What Are the Benefits?
Learning to pick a garage door lock offers more than just a party trick. Here are the real advantages you gain from mastering this skill.
- Save money on locksmith fees. Professional locksmiths can charge a hefty sum for emergency callouts, especially after hours. If you can handle simple lockouts yourself, you keep that cash in your pocket.
- Handle emergencies with confidence. Getting locked out is stressful. When you know what to do, you avoid panic and solve the problem quickly. That peace of mind is worth a lot.
- Understand your home security. When you learn how locks work, you also learn their weaknesses. This knowledge helps you choose stronger locks and better protect your property.
- Help family and neighbors. A locked-out relative or friend will appreciate your help. Being the person who can solve these problems makes you a valued go-to in a pinch.
- Avoid property damage. Without the right skills, people often resort to force—breaking windows or damaging doors. Picking a lock the proper way keeps your garage intact and saves on repairs.
- Build a useful, transferable skill. The principles behind lock picking apply to many types of locks. Once you understand the basics, you can adapt them to different situations around your home.
These benefits make the effort of learning worthwhile. Just remember: only practice on locks you own or have clear permission to work on.
What Will You Need?
Before you start, gather the right equipment. Having proper tools makes the job smoother and reduces the chance of damaging your lock. Here’s your checklist.
- A lock pick set
- A tension wrench
- A flashlight or headlamp
- Gloves
- A steady surface or stool
- Patience and a calm mind
- Optional: lubricant
With these items ready, you’re set to begin. Lay everything out where you can reach it easily so you don’t fumble mid-task.
10 Easy Steps on How to Pick a Garage Door Lock
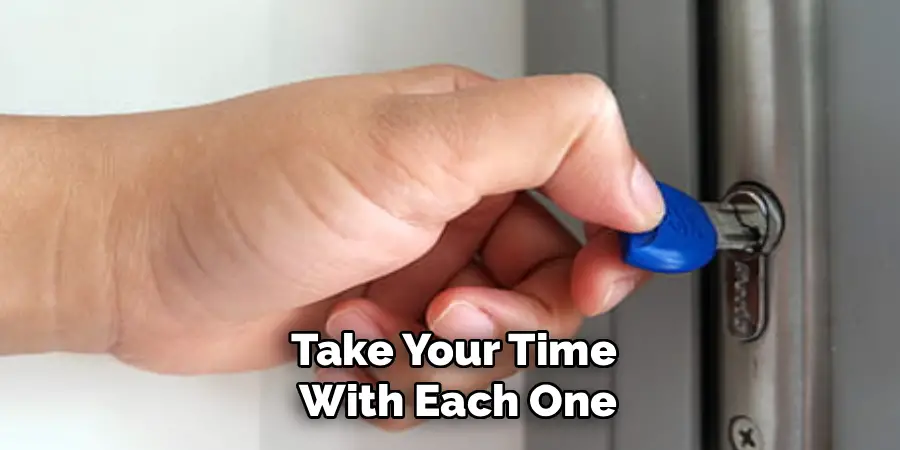
Follow these steps carefully. Take your time with each one, and don’t force anything. Lock picking rewards a gentle, steady hand.
Step 1: Confirm the Lock Type
Start by examining your garage door lock closely. Most garage doors use a pin tumbler lock, which is the most common cylinder type. Look at the keyhole and note its shape and size. Some garages use disc detainer locks or padlocks instead, and these require different techniques. Understanding what you’re dealing with saves time and prevents you from using the wrong approach. Shine your flashlight into the keyway to see the pins inside. Once you confirm it’s a standard pin tumbler lock, you can move forward with the classic picking method described below.
Step 2: Gather and Organize Your Tools
Now bring out your lock pick set and tension wrench. Lay them within easy reach on a clean surface. Choose a hook pick for precise, single-pin work, or a rake pick if you want a faster, less precise approach. Make sure your flashlight is positioned to shine directly on the lock. Good preparation here prevents you from scrambling later. If your lock feels stiff or old, apply a small amount of silicone lubricant into the keyway now. Give it a moment to work its way inside before you begin.
Step 3: Insert the Tension Wrench
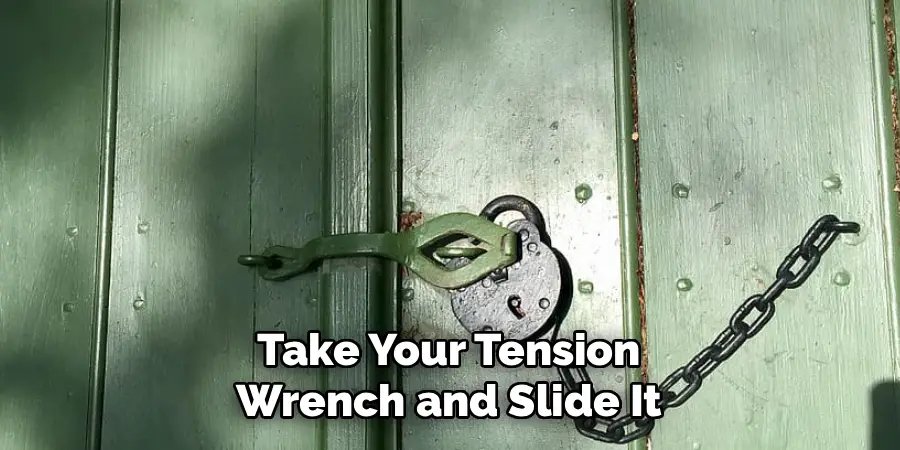
Take your tension wrench and slide it into the bottom of the keyhole. Apply light, steady pressure in the direction you would normally turn the key. This pressure is crucial—it creates a small ledge inside the lock that holds each pin in place once you set it. Don’t push too hard. Too much tension binds the pins tightly and makes them impossible to move. Too little tension and the pins simply fall back down. Aim for a gentle, consistent force that you can maintain throughout the process.
Step 4: Insert Your Pick
With the tension wrench in place, insert your pick into the upper part of the keyway. Slide it all the way to the back of the lock. You’ll feel the pins as your pick brushes past them. These small metal pins are what the key normally pushes up to the correct height. Your goal is to lift each one to the shear line, the point where the lock cylinder can rotate freely. Move slowly and feel your way through. Rushing at this stage causes mistakes.
Step 5: Locate the Binding Pin
Not all pins bind equally. Because of tiny manufacturing differences, one pin will always resist more than the others under tension. Gently press up on each pin with your pick to find the one that feels stiffest. This is your binding pin, and it’s the one you set first. When you push it up to the shear line, you’ll often feel a subtle click and a slight give in the cylinder. That feedback tells you the pin is set. Learning to feel this takes practice, so stay patient.
Step 6: Set the First Pin
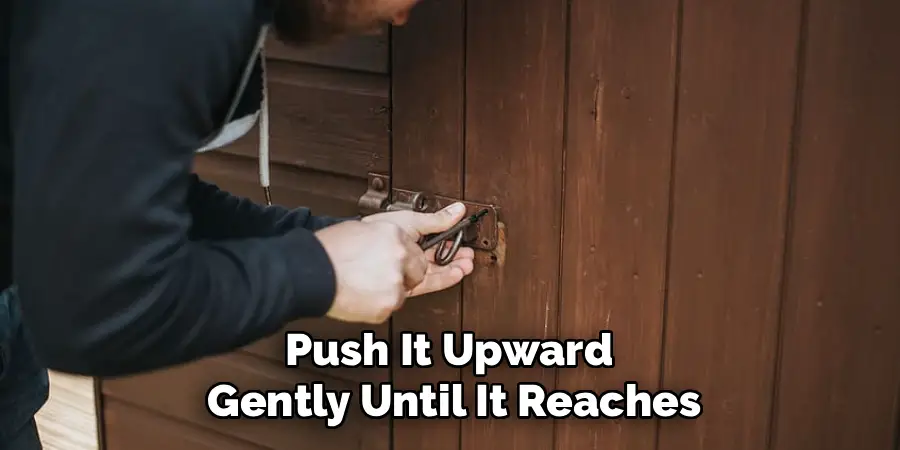
Once you’ve found the binding pin, push it upward gently until it reaches the shear line. Keep steady tension on the wrench the entire time. When the pin sets correctly, it stays in place above the shear line, held by the small ledge you created. You may hear a faint click or feel the cylinder rotate slightly. This tiny movement is your reward. Don’t lift too far, though, as over-setting a pin can undo your progress and force you to start again.
Step 7: Move to the Next Pin
After setting the first pin, the tension shifts to another pin, which now becomes the new binding pin. Repeat the same process: locate the stiffest pin, press it gently to the shear line, and feel for the set. Work through the pins one by one. Each successful set brings you closer to opening the lock. Keep your tension consistent. If you lose focus and let the wrench slip, the set pins may drop, and you’ll have to begin the sequence over.
Step 8: Maintain Consistent Tension
Throughout the entire process, your tension wrench does quiet but vital work. Consistent pressure keeps every set pin resting on its ledge. If you press too hard, later pins won’t budge. If you ease off completely, all your progress collapses. Think of tension as a delicate balance you constantly adjust. Many beginners fail here because they focus too much on the pick and forget the wrench. Split your attention between both tools, and you’ll see much better results.
Step 9: Feel for the Final Pin
As you set the last few pins, the cylinder will start to rotate more freely. You’ll notice increasing give with each set. When you reach the final pin, setting it should allow the cylinder to turn fully. Pay close attention to the feedback through your fingertips. This moment is the payoff for your patience. If the lock resists, one of your earlier pins may have dropped. Don’t get discouraged—simply release tension, let all the pins reset, and start fresh.
Step 10: Turn the Cylinder and Open
With all pins set at the shear line, apply a bit more rotational pressure with your tension wrench. The cylinder should turn smoothly, just as it would with the correct key. The lock disengages, and your garage door is now open. Congratulations! Remove your tools carefully and store them away. Take a moment to note how the lock responded. Each lock has its own personality, and the more you practice, the faster and more reliable you’ll become at this skill.
5 Things You Should Avoid
Steer clear of these common mistakes to protect both your lock and yourself.
- Applying too much tension. Heavy pressure jams the pins and makes picking nearly impossible. Keep your touch light and controlled.
- Rushing the process. Lock picking rewards patience. Moving too fast causes set pins to drop and forces you to start over. Slow down and stay focused.
- Using the wrong tools. Improvised tools like paperclips or bobby pins often break inside the lock. A stuck fragment can ruin the mechanism entirely.
- Forcing the lock. Never try to muscle the cylinder open. Excessive force damages the pins and can permanently jam your lock, leaving you worse off.
- Picking locks you don’t own. This is the big one. Only pick locks you own or have explicit permission to open. Doing otherwise is illegal and can land you in serious trouble.
Conclusion
Learning how to pick a garage door lock is a genuinely useful skill that can save you money, time, and stress. From understanding your lock type to setting that final pin, each step builds on the last and rewards a calm, patient approach. Remember to gather the right tools, maintain steady tension, and never rush the process.
Just as important, always practice responsibly. Only work on locks you own or have permission to open, and use this knowledge to strengthen your home security rather than compromise anyone else’s.
With regular practice, you’ll grow more confident and quick, turning a frustrating lockout into a minor hiccup you can solve on your own. Grab your pick set, find an old lock to practice on, and start building this handy skill today.

I am Rick. I grew up helping my dad with his handyman service. I learned a lot from him about how to fix things, and also about how to work hard and take care of business. These days, I’m still into fixing things- only now, I’m doing it for a living.
I’m always looking for new ways to help people grow and develop. That’s why I have created this blog to share all my experience and knowledge so
that I can help people who are interested in DIY repair.