
Replacing a garage door handle might seem like a small task, but it can make a surprising difference in how your garage looks and functions day to day. A worn-out or broken handle affects both convenience and curb appeal—and if it’s connected to a locking mechanism, it can become a security issue too. The good news? You don’t need to hire a professional to get the job done. With the right tools and a little patience, most homeowners can wrap this up in under an hour.
This guide on how to replace garage door handle covers everything you need—from the tools required to the exact steps involved—so you can replace your garage door handle with confidence. Whether your current handle is cracked, rusted, or just embarrassingly outdated, you’re in the right place.
Understanding Garage Door Handles
Not all garage door handles work the same way, and that distinction matters before you start shopping for a replacement.
Most handles fall into one of two categories: decorative or functional. Decorative handles are attached to the outside panel purely for visual appeal. They’re bolted directly to the door and have no connection to the locking system—simple to remove, simple to replace. Functional handles, on the other hand, are physically linked to a keyed lock or internal latch. Replacing one of these may involve disconnecting interior hardware, which adds a step or two to the process.
Knowing which type you have before purchasing anything will save you a trip back to the hardware store. Take a close look at your current handle—if there’s a keyhole or a mechanism that shifts when you turn the handle, it’s functional. If it just sits there looking nice, it’s decorative.
Tools and Materials You’ll Need
Before you start, gather everything below. Having the right tools within arm’s reach makes the whole job move faster and with far fewer frustrations.

Replacement Garage Door Handle
Choose a handle that suits your door’s style, material, and—critically—bolt hole spacing. Measure the distance between the existing bolt holes before you buy anything. Most standard handles sit at around 3.5 inches apart, but that’s not universal.
Screwdriver (Flathead and Phillips Head)
You’ll likely need both. A magnetic-tip screwdriver is worth using if you’re working in a tight spot and don’t want bolts rolling away.
Adjustable Wrench or Socket Set
A socket set gives you better torque and control when tightening nuts and bolts through the door panel.
Drill with Drill Bits
Only necessary if your new handle has a different bolt pattern than the old one. Match the drill bit diameter to the bolts included with the replacement handle.
Marker or Pencil
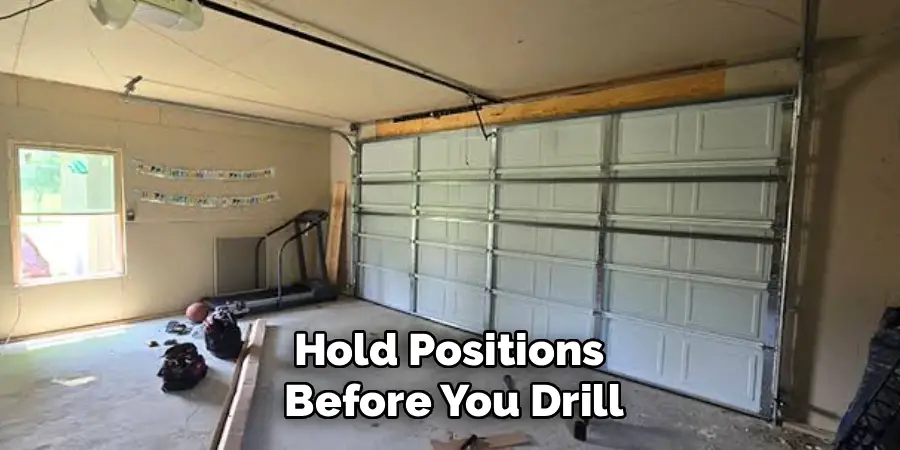
For marking new hole positions before you drill. Eyeballing it is how you end up with a crooked handle.
Safety Gloves
Garage door panels often have sharp metal edges. Gloves are a small precaution that can prevent a genuinely unpleasant cut.
Rust-Resistant Bolts and Washers
If your existing bolts show any sign of corrosion, swap them out now. It takes thirty seconds and spares you from dealing with the same problem six months down the road.
8 Simple Steps on How to Replace Garage Door Handle
Step 1: Gather All Tools and Materials

Lay everything out near the garage door before you start. It sounds obvious, but hunting for a wrench mid-project is how small jobs turn into long afternoons. Double-check that the replacement handle’s bolt spacing matches your existing setup.
Step 2: Disconnect the Garage Door Opener
Unplug the opener from the power source, or pull the emergency release cord to disengage it. This prevents the door from moving while you’re working on it—a safety step that’s easy to skip and genuinely worth doing. If the door is spring-loaded, make sure it’s fully closed before touching anything.
Step 3: Remove the Old Handle
Use your screwdriver or socket wrench to loosen and remove the bolts or screws holding the handle in place. If the bolts pass through the door panel, you’ll need a second pair of hands to hold the nuts from the inside while you work from the outside. Keep all the old hardware in a small container so nothing disappears into the garage floor.
Step 4: Inspect the Door Panel
With the handle off, take a moment to look at the area around the bolt holes. Check for cracks, rust, or any signs that the panel has been warped over time. Stripped holes are also worth noting—if the threads have been worn down, a new handle won’t sit securely no matter how tightly you bolt it. Deal with any damage now rather than discovering it again in a few months.
Step 5: Mark the New Hole Positions (If Needed)
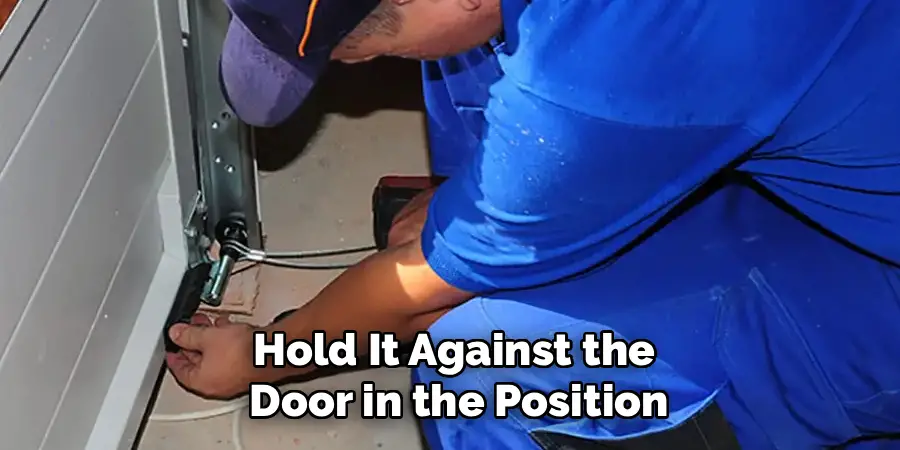
If the replacement handle has a different bolt pattern, hold it against the door in the position you want, then mark through each bolt hole with a pencil. Use a level to confirm the handle is straight before committing those marks to the panel.
Step 6: Drill New Holes (If Required)
Work slowly here. Rushing with a drill on a metal or fiberglass panel can crack or dent it, and that’s a more expensive problem than a misaligned handle. Once you’ve drilled, clear away any metal shavings before moving on—leftover debris around fresh holes accelerates rust formation.
Step 7: Install the New Handle
Align the handle with the bolt holes and insert the bolts through the front of the door. If they pass through to the interior, have your helper hold the washers and nuts in place on the other side. Tighten firmly with your wrench—but stop before you’re tempted to give it “one more turn.” Overtightening can crack the panel or strip the threads, which turns a simple fix into a bigger headache.
Step 8: Test the Handle and Reconnect the Opener
Give the installed handle a firm tug to check for any wobble or shift. If it’s connected to a lock mechanism, test that the locking function engages and releases cleanly. Once you’re satisfied, reconnect the garage door opener and run a full test cycle to confirm the door moves smoothly without catching or jerking.
Following these steps on how to replace garage door handle will help you ensure that your garage door is secure and functioning properly.
Common Mistakes to Avoid
Even a job this manageable can go sideways with a little inattention. The most frequent error? Purchasing a replacement handle without measuring the bolt hole spacing first. The result is a handle that doesn’t fit—and a second trip to the store.
Overtightening the bolts is another common misstep. It feels like the responsible thing to do, but excess torque on a panel that’s already showing wear can introduce cracks or strip the threading entirely. Firm is sufficient.
Perhaps the most overlooked mistake is skipping the panel inspection in Step 4. Installing a new handle on a damaged or rotted panel just defers the problem. The inspection takes two minutes; the repeat repair takes much longer.
How Much Will It Cost?
Replacing a garage door handle sits comfortably on the affordable end of home maintenance tasks. A basic functional handle typically runs between $10 and $30. Decorative or heavy-duty options—those made from cast iron or solid steel, for example—can reach $30 to $80 depending on the brand and finish.
If you already own the necessary tools, the total cost amounts to a little more than the handle itself. No drill? Consider borrowing one or renting from a local hardware store before buying outright. Hiring a handyman to handle the job generally costs between $50 and $150 in labor alone, which makes the DIY route considerably more appealing for a repair this straightforward.
Frequently Asked Questions
How Do I Know What Size Replacement Handle to Buy?
Measure the distance between the bolt holes on your existing handle before purchasing a replacement. Most standard garage door handles have a bolt hole spacing of around 3.5 inches, though this varies by manufacturer. Taking this measurement beforehand ensures a proper fit and avoids unnecessary drilling.
Can I Replace a Garage Door Handle Without Any Prior DIY Experience?
Yes. This is generally considered a beginner-level repair. As long as you follow each step carefully, use the correct tools, and disconnect the opener before starting, most people can complete the job without any prior experience. The main risk areas—overtightening and skipping the panel inspection—are easy to avoid once you know to watch for them.
Do I Need to Replace the Lock When I Replace the Handle?
Not necessarily. If the lock still engages cleanly and the keyway shows no signs of wear, replacing just the handle is fine. That said, if the lock feels stiff or no longer operates correctly, it may be worth replacing both components at the same time rather than returning to the same door again in a few months.
What If My New Handle Has a Different Bolt Pattern Than the Old One?
You’ll need to drill new holes, as outlined in Steps 5 and 6. Mark the positions carefully with a pencil and a level before drilling, and work at a slow, controlled speed to avoid cracking the panel. If the original holes are left exposed, cover them with matching bolts or panel plugs to prevent moisture from getting in.
Is It Safe to Replace a Garage Door Handle on a Spring-Loaded Door?
The handle replacement itself poses no particular risk as long as the door is fully closed and the opener is disconnected before you begin. Avoid adjusting or tampering with the spring mechanism itself—garage door springs are under significant tension and should only be handled by a trained technician.
A Small Fix That Earns Its Keep
Replacing a garage door handle is the kind of repair that rewards a methodical approach. Take the time to measure before buying, inspect the panel before installing, and avoid the temptation to overtighten. None of these steps on how to replace garage door handle are complicated—but skipping any one of them tends to create a follow-up job that didn’t need to exist.
Done right, this repair takes under an hour and improves both the look and the day-to-day function of one of the most-used entry points in your home. If at any point you discover unexpected damage—a cracked panel, a stripped locking mechanism, or corrosion that runs deeper than anticipated—calling in a professional is a reasonable call. There’s no shame in knowing where a DIY project ends, and a specialist’s work begins.

I am Rick. I grew up helping my dad with his handyman service. I learned a lot from him about how to fix things, and also about how to work hard and take care of business. These days, I’m still into fixing things- only now, I’m doing it for a living.
I’m always looking for new ways to help people grow and develop. That’s why I have created this blog to share all my experience and knowledge so
that I can help people who are interested in DIY repair.