

When a storm is bearing down, most people rush to board up windows and stock the pantry. Then they glance at the garage door, that big flat slab facing the driveway, and a knot forms in their stomach. Learning how to hurricane proof garage door setups protects the one opening that How to Hurricane Proof Garage Door
When a storm is bearing down, most people rush to board up windows and stock the pantry. Then they glance at the garage door, that big flat slab facing the driveway, and a knot forms in their stomach. Learning how to hurricane proof garage door setups protects the one opening that so often fails first when the wind roars.
Here’s the part nobody tells you. When a garage door caves in, the trouble rarely stops there.
Wind rushes inside, pressure builds, and the roof can lift right off from within. That single weak point can unravel an entire house.
The good news? Meaningful protection is within reach, whether you hire a pro or roll up your sleeves yourself. This guide walks through why the door matters so much, what you’ll need, and a step-by-step plan to reinforce it before the next storm season.
Why Your Garage Door Is a Hurricane Weak Spot
Before reaching for hardware, it helps to understand why this one door deserves so much attention. It’s usually the largest opening in the entire home, yet it’s often the least reinforced.
That mismatch is the problem in a nutshell. A broad, flat surface takes a beating that smaller, sturdier openings simply don’t.
Treat the door as a real safety priority rather than an afterthought, and the reasoning behind everything that follows starts to click.
How Wind Pressure Attacks the Door
Wind doesn’t just push. It pushes and pulls, hammering the flat face of a garage door with forces from both directions at once.
That combination flexes the panels, buckles the tracks, and can blow the whole thing inward. A standard door, built for daily convenience rather than 130-mile-per-hour gusts, tends to bend and fail long before the walls around it do.
Picture a sail catching a squall. That’s roughly what your garage door becomes in a hurricane, except it’s bolted to your house.
The Domino Effect of a Failed Door
Here’s where a small failure turns catastrophic. Once the door breaches, wind surges into the garage with nowhere to escape.
Internal pressure spikes fast. That trapped force pushes up against the roof and out against the walls, and the structure can come apart from the inside.
So the door isn’t really just a door. It’s a pressure barrier, and its strength ties directly to whether the rest of the house survives the storm intact.
Types of Garage Doors and Their Vulnerabilities
Not every door fails the same way, and knowing your type helps you plan the fix. The two big variables are how the door is built and what it’s made of.
Understanding both before you shop keeps you from buying the wrong bracing or overpaying for protection you don’t need.
Single-Panel vs. Sectional Doors
A single-panel door swings up as one solid slab. Under wind load, it strains as a single large piece, which puts enormous stress on the frame and mounting points.
Sectional doors work differently. They’re made of horizontal panels connected by hinges, so they flex at each joint as the wind works on them.
Each design carries its own weakness. The single-panel fights as one rigid unit, while the sectional has multiple hinge points that can fail one after another if the hardware isn’t up to the job.
Material Matters: Steel, Aluminum, and Wood
Material shapes both the risk and the repair. Heavier steel doors generally handle wind pressure better than lightweight aluminum, which flexes and dents more readily.
Wood brings its own mix. It has weight on its side, but moisture, rot, and swelling can quietly weaken it over the years.
Knowing what your door is made of tells you how much reinforcement it realistically needs. A thin aluminum door and a solid steel one call for very different approaches.
Understanding Wind Codes and Rating Standards
The rules around storm-ready doors sound intimidating, but they’re really just a helpful guide once you break them down. A little familiarity here saves you from installing something that looks strong yet fails the moment it’s tested.
Think of codes as the collected wisdom of every door that already failed in a past storm. They exist so yours doesn’t join the list.
Wind Load Ratings Explained
A wind load rating measures how much pressure a door can take before it gives. Match that number to your local storm risk, and you’re on solid footing.
There’s a wrinkle worth understanding. Ratings usually list both positive and negative pressure, which is just a plain way of describing the pushing force and the pulling, suction-like force a hurricane generates.
You want a door rated for both. A product that handles the push but not the pull leaves you exposed to half of what the wind actually does.
Local Building Codes and Permits
Your region sets the bar. Coastal and high-wind zones have specific requirements, and some upgrades need a permit before you begin.
Take a few minutes to check your local wind zone and the rules that apply. It feels like a chore, but it protects you twice over.
Meeting code doesn’t only keep the door standing. It often keeps your insurance valid too, which matters enormously if you ever have to file a claim after a storm.
Materials and Hardware You Need Before You Start
Here’s some reassurance for the budget-conscious. Hurricane-proofing doesn’t require a warehouse of specialty gear, just the right components matched to the job.
The key is thinking of these parts as a system. A single quick fix rarely holds when the wind gets serious.
Bracing Kits and Reinforcement Hardware
The heart of most upgrades is a vertical bracing system, the sturdy posts that run floor to header and anchor the door against pressure. Alongside those, retrofit reinforcement struts add rigidity across the panels.
Heavy-duty hinges and stronger track brackets round out the setup. Each piece shores up a specific stress point.
Together they distribute the load so no single spot bears the full brunt. That’s why a complete kit beats a lone brace bolted in the middle and hoped for the best.
Fasteners, Tools, and Safety Gear
Then there’s the practical stuff. You’ll want the correct anchors and bolts, a solid drill, a level, and protective gear like gloves and eye protection.
Gather it all before you start. Nothing derails a project faster than realizing halfway through that you’re missing the right anchor for a concrete slab.
Good preparation makes the whole installation smoother and, frankly, safer. A little upfront organizing pays off once the drill is spinning.
How to Hurricane Proof Garage Door: A Step-by-Step Guide
This is the part that pulls everything together. Take it in order, and don’t rush the early steps, because they shape every decision after.
Each stage builds on the last. Beginners often find the work more manageable than they feared once they’re moving through it methodically.
Step 1: Inspect and Assess Your Current Door
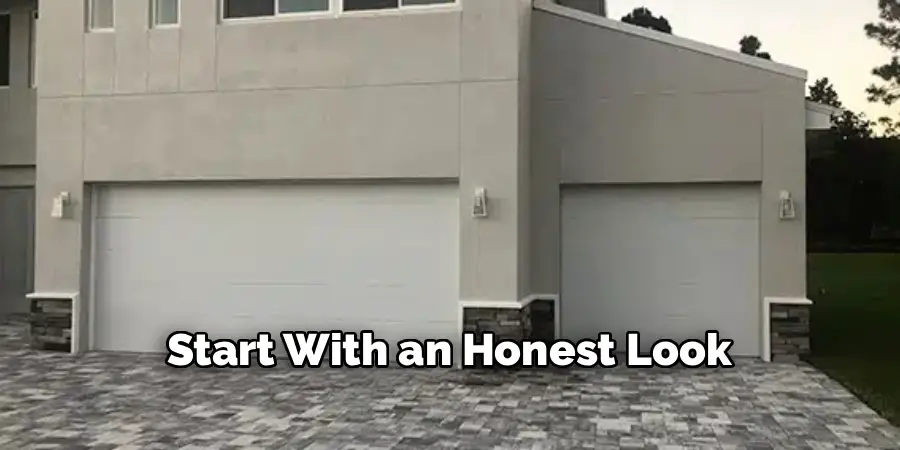
Start with an honest look. Examine the door for its existing wind rating, check the hinges for wear, and test the tracks and hardware for looseness or rust.
What you find here shapes the whole plan. A newer, rated door might need only light reinforcement, while an old, sagging one could make a full replacement the smarter call.
Don’t skip this. A clear starting assessment keeps you from bracing a door that was never worth saving in the first place.
Step 2: Choose the Right Reinforcement Method
Now match a solution to your door and your budget. That might mean a bracing kit, a set of retrofit struts, or upgrading to a factory-rated door.
Several factors drive this call. Door size, material, and your local wind zone all weigh in, so let them guide you rather than guessing.
Commit to the approach that fits your real needs. A tight budget and a modest wind zone might point to bracing, while a coastal home with an old aluminum door leans toward replacement.
Step 3: Install Vertical Bracing Supports
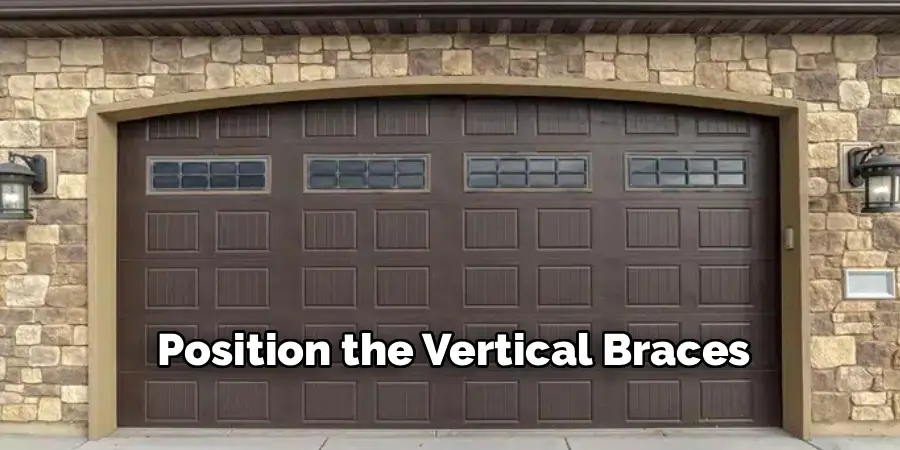
With your method chosen, position the vertical braces so they run from the floor to the header. These are the backbone of the whole reinforcement.
Anchor the brackets firmly into the framing and the slab. A brace that isn’t solidly fixed at both ends does almost nothing when the pressure hits.
Space the braces evenly across the door for balanced support, and check that the door still opens and closes smoothly once they’re in. Bracing that jams the door is bracing you’ll be tempted to remove.
Step 4: Reinforce Tracks, Hinges, and Hardware
Next, work through the connection points. Upgrade to heavier hinges, add stronger track brackets, and tighten every bolt and fastener along the door.
These reinforced components keep the panels from twisting or pulling apart under strain. A door is only as strong as its weakest link, and hinges are a common one.
Move methodically, panel by panel. It’s tedious, but leaving one loose bracket or worn hinge undermines all the bracing you just installed.
Step 5: Test, Inspect, and Maintain
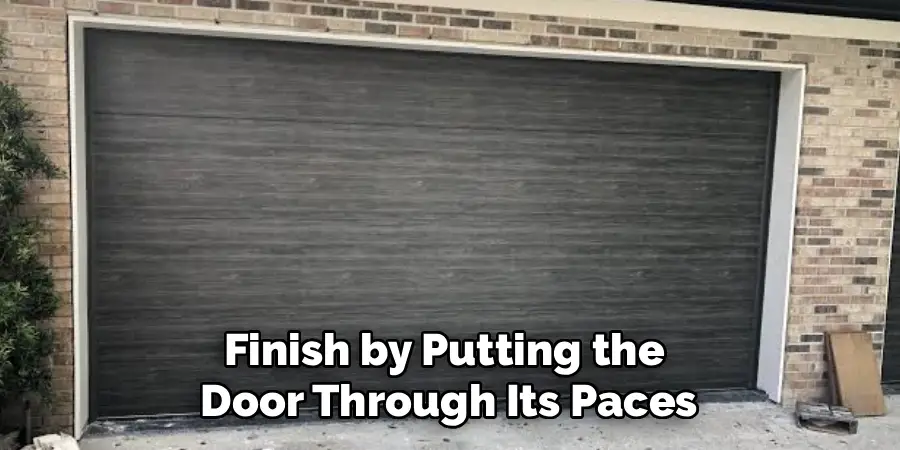
Finish by putting the door through its paces. Open and close it several times, confirming the bracing holds and nothing binds or rattles.
Then do a final walkthrough. Check that every fastener is snug, and the door moves freely across its full range.
The job doesn’t truly end there, though. A quick seasonal check before each storm season keeps the reinforcement reliable year after year, because bolts loosen and hardware ages whether you’re watching or not.
Reinforcement Beyond the Door Itself
A strong door mounted to a weak frame still fails. That’s an easy detail to overlook, and it catches plenty of homeowners off guard.
Protecting the whole opening, not just the panel, is what turns a decent upgrade into genuine protection.
Strengthening the Frame and Anchors
The surrounding framing carries the loads your bracing transfers to it. Reinforcing that framing and using robust anchors into the slab spreads the wind’s force safely instead of concentrating it on a few weak fasteners.
Think of the door and frame as one assembly. Beef up the door alone and the wind simply attacks the next weakest point.
Solid anchoring ties the whole system to the structure of the house. That’s what keeps everything in place when the gusts peak.
Weatherproofing and Sealing Gaps
Sealing isn’t only about comfort. Quality weather seals and closed gaps around the door block wind-driven rain and reduce the pressure points that build up along the edges.
Water intrusion causes its own slow damage, and driving rain in a hurricane finds every crack. Good seals hold it back.
This step supports the structural work already in place. It’s the finishing touch that keeps wind and water from sneaking in around an otherwise ready door.
Common Mistakes to Avoid
Nearly everyone is tempted by a shortcut or two here. Knowing the common ones ahead of time helps you resist them.
Two mistakes undermine more reinforcement jobs than any others. Both are simple to sidestep once you’re aware.
Relying on a Single Center Brace
One brace in the middle feels like progress. It isn’t enough.
A lone center support leaves the rest of the door free to flex, buckle, and fail around it. The wind just works on the unbraced areas instead.
A full bracing system distributing support across the entire door delivers what a single point never can. Spread the load, and no one section takes the whole hit.
Ignoring Wind Rating Requirements
The other trap is installing hardware that doesn’t meet your local wind zone rating. It looks reinforced, so it feels safe.
That’s false confidence, and a storm exposes it fast. Undersized bracing bends or breaks at exactly the moment you need it most.
Match every upgrade to code. It costs a little more upfront, but it’s the difference between reinforcement that holds and reinforcement that only looked the part.
Pro Tips for Maximum Storm Protection
A few extra moves take good protection and make it genuinely dependable. Neither one is complicated.
They mostly come down to investment and timing.
Investing in an Impact-Rated Door
If your door is old or badly rated, a factory impact-rated replacement offers built-in protection that outlasts most retrofits. It’s engineered from the start to handle wind and debris.
Yes, it’s a bigger outlay. But it brings lasting peace of mind and often qualifies for insurance discounts that soften the cost over time.
For homes in serious storm territory, this may be the single most reliable upgrade available. Sometimes replacing beats reinforcing.
Preparing Early Before Storm Season
Timing quietly matters as much as the hardware. Installing and testing your reinforcement well ahead of any warning avoids the frantic last-minute scramble.
There’s a calm that comes from being ready. When a system starts spinning up in the forecast, you’ve already handled the door.
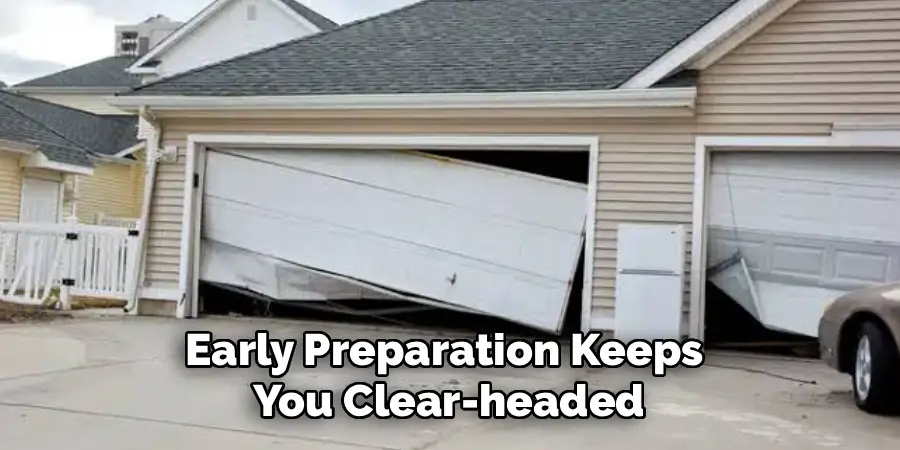
Early preparation keeps you clear-headed. You’re not fighting crowds at the hardware store or rushing a job that deserves care.
Frequently Asked Questions
A couple of questions come up almost every time someone tackles this project. Let’s settle them.
Can I Hurricane Proof an Old Garage Door?
Often, yes. Many older doors can be reinforced with bracing kits and hardware upgrades that bring them up to a respectable standard.
That said, be realistic about the door’s condition. A badly worn, rusted, or rotting door may be better replaced than reinforced, since bracing can’t fix a panel that’s already failing. Let the door’s age and rating guide the decision.
How Much Does Hurricane Proofing a Garage Door Cost?
It ranges widely, which is honest if slightly frustrating. A basic bracing kit is fairly affordable, while a full impact-rated door replacement sits at the higher end.
Door size, the method you choose, and labor all shape the final number. Get a sense of your specific needs first, then plan a budget that fits, knowing even a modest bracing investment beats no protection at all.
Conclusion
Figuring out how to hurricane proof garage door setups really comes down to a few dependable ideas working together. Match the right rating. Install solid, full-width bracing. Reinforce every piece of hardware.

I am Rick. I grew up helping my dad with his handyman service. I learned a lot from him about how to fix things, and also about how to work hard and take care of business. These days, I’m still into fixing things- only now, I’m doing it for a living.
I’m always looking for new ways to help people grow and develop. That’s why I have created this blog to share all my experience and knowledge so
that I can help people who are interested in DIY repair.