
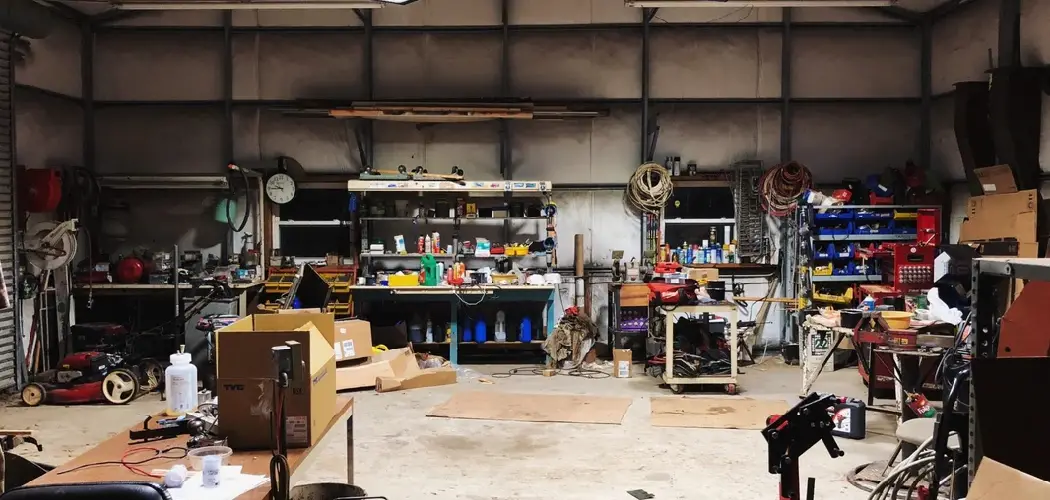
You wheel the welder out for a quick weekend repair and flip the switch. The wire feeds in jerky bursts, the ground clamp wears a crust of orange rust, and the flux-core spool throws spatter everywhere.
Moments like that are usually the first hint that it’s time to learn how to store a welder in garage conditions. Garages are rough on welding gear. They swing between summer heat and winter cold, collect grinding dust, and often trap moisture that goes after circuit boards, cables, and consumables.
Smoother welds and a longer-lasting machine depend on good storage. So do safe handling of gas cylinders and a cleaner workshop.
This guide covers why storage matters, the warning signs of trouble, the main factors to control, and the tools you’ll need. It also walks through a six-step storage routine, common mistakes, and a few expert habits. One afternoon is usually enough to set up a safe, organized spot for your welder.
Why Proper Welder Storage Matters
Protecting Your Investment and Performance
A decent MIG, TIG, or stick welder can cost anywhere from a few hundred dollars to several thousand. That’s real money to leave sitting in a damp corner.
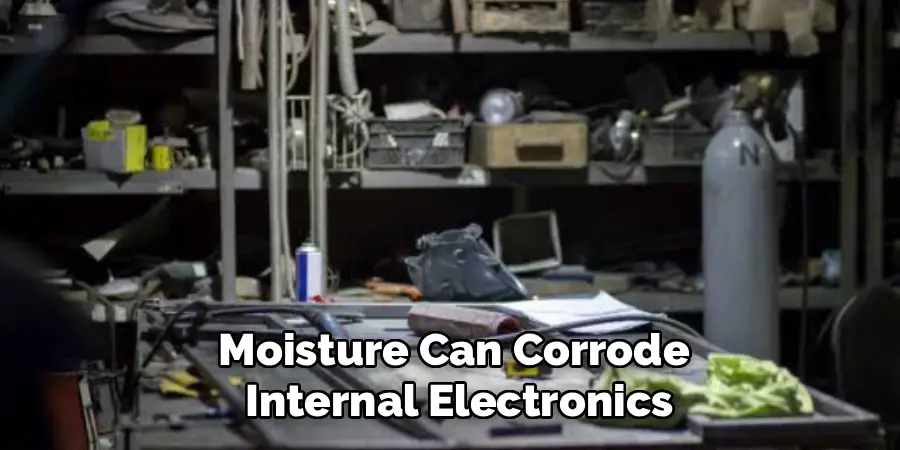
Moisture can corrode internal electronics over time. Dust clogs cooling fans, and rust on contact tips and drive rolls tends to cause erratic wire feed and sputtering arc starts.
Think of a car parked outside all winter versus one kept in a dry, covered space. Both still run, but one ages far faster. Welders follow a similar pattern, and good storage is one of the cheapest forms of protection you can buy.
Keeping Your Garage Safe
Storage isn’t only about the machine. A shielding gas cylinder that tips over and damages its valve can become genuinely dangerous.
Cracked cables create shock risks. A welder parked beside gasoline, paint thinner, or a pile of oily rags raises the fire risk, especially if anyone forgets it’s plugged in.
Kids and pets add another layer of concern. Fortunately, a few simple habits, like chaining cylinders upright and unplugging the machine, remove most of these hazards.
Signs Your Welder Is Being Stored Incorrectly
Rust, Corrosion, and Dusty Buildup
Start with the outside of the machine. Orange rust on the ground clamp, green or white crust on the terminals, and a gray film of grinding dust in the vents all point to storage problems.
Shine a flashlight through the cooling vents. Debris inside is often worse than what you see on the case.
Poor Wire Feed and Unstable Arcs
Rusty wire, flattened drive rolls, and damp consumables can lead to birdnesting, stuttering feed, heavy spatter, and porous welds. Those symptoms are easy to misread.

Many welders blame their technique or settings first. Quite often, though, the real culprit is wire or electrodes that sat unprotected in a humid garage for weeks.
Cracked Cables and Kinked Hoses
Stiff, cracked cable jackets, a kinked MIG gun, and brittle gas hoses usually trace back to how the gear was put away. Tight coils and floor piles do slow damage.
Picture someone who tosses leads into a tangled heap for months. Then, right before a project, they spot a split jacket with bare copper showing through. It happens more often than most people would admit.
Key Storage Considerations for Your Welder
Controlling Moisture and Humidity
Humidity is probably the biggest threat to both welders and consumables. Condensation forms when warm, damp air meets cold metal, and a garage provides plenty of both.

Aim to keep humidity below about 50 percent with a dehumidifier or moisture absorbers. Keep gear off bare concrete, which can wick moisture up from the ground.
Managing Heat and Temperature Swings
Extreme heat stresses electronics and can soften cable insulation. Cold does the opposite, making cables stiff and brittle.
Rapid swings between the two may be worst of all, since they encourage condensation inside the machine. An interior wall away from windows, the garage door, and direct sun usually offers the steadiest conditions.
Shielding From Dust and Debris
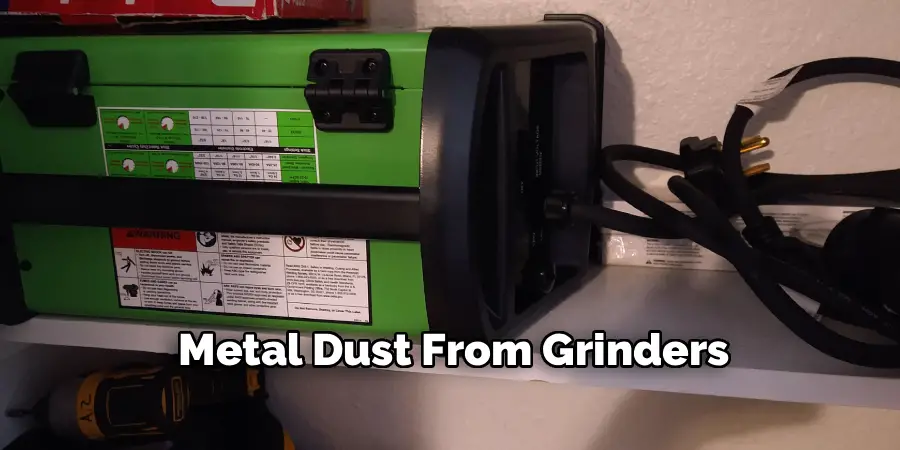
Metal dust from grinders and sawdust from woodworking drift into vents and settle on circuit boards. Over time, that coating can contribute to overheating or even shorts.
A breathable welder cover helps a lot. So does storing the machine away from your cutting and sanding station.
Gas Cylinder and Fire Safety
Shielding gas cylinders should stay upright, chained or strapped to a wall or cart. Close the valve and fit the cap whenever the cylinder isn’t in use.
Keep cylinders away from heat sources and anything flammable. An ABC fire extinguisher mounted nearby is a sensible habit for any garage where welding happens.
Tools and Materials You’ll Need
Essential Tools
Gather a soft brush, compressed air or a small blower, clean shop rags, a wire brush, an adjustable wrench, and a screwdriver set. For mounting brackets, you’ll want a stud finder and a drill with bits. A hygrometer rounds out the kit, and it may be the most useful item here, since it tells you whether your garage is actually dry enough.
Always unplug the welder before cleaning or inspecting it. That rule doesn’t bend.
Storage Materials
Depending on your setup, you may need a welding cart or sturdy shelf, a breathable cover, and cylinder chains or wall brackets. Cable hooks or reels keep leads tidy.
For consumables, plan on airtight bins, silica gel desiccant packs, and a rod oven if you run low-hydrogen electrodes. A dehumidifier, a rubber pad or anti-fatigue mat, and some labels finish the list. Measure your space before buying, because “measure twice, buy once” saves return trips.
Step-by-Step Guide to How to Store a Welder in Garage
These six steps should leave you with a clean, protected machine and a safer garage. Work through them in order, since each one sets up the next.
Step 1: Shut Down, Unplug, and Close the Gas
Turn off the welder, unplug it, and let it cool completely. A warm machine sealed under a cover can trap moisture.
Close the cylinder valve tightly. Then briefly pull the gun trigger to bleed leftover gas from the regulator and hose, and back off the regulator adjustment knob.
For longer storage, remove the regulator and replace the valve cap. These small actions help prevent slow leaks, wasted gas, and accidental starts.
Step 2: Clean the Machine and Accessories
Wipe the outer case with a dry rag. Gently blow dust out of the vents with low-pressure air, since high pressure can push debris deeper.
Remove spatter from the nozzle and contact tip, and brush rust off the ground clamp. Check the electrode holder or TIG torch for buildup as well.
It only takes a few minutes. The next time you start a project, you’ll be grabbing a clean machine instead of a gritty one.
Step 3: Protect Wire, Rods, and Consumables
Release the drive roll tension so the rollers don’t develop flat spots. This step gets skipped a lot, and it’s one of the easiest to do.
For long breaks, remove the wire spool and tuck the loose end into the spool hole. Seal it in an airtight bin with desiccant packs.
Store stick electrodes in sealed containers, and keep low-hydrogen rods like 7018 in a rod oven. Contact tips, nozzles, and tungsten belong in labeled boxes so nothing wanders off.
Step 4: Coil and Hang Cables and Hoses
Inspect every cable and hose for cracks, cuts, or exposed wire before storing them. Damage is far easier to fix now than mid-project.
Coil leads and the MIG gun in large, loose loops. Tight bends can damage internal conductors and gun liners.
Hang the coils on wide wall hooks or cable reels rather than piling them on the floor. Neat cables tend to last longer, and they uncoil without a fight next time.
Step 5: Choose and Prepare the Storage Spot
Pick a dry, stable location along an interior wall. Keep it clear of the garage door, windows, the water heater, and any flammable liquids.
Set the welder on a cart, shelf, or rubber pad so it never rests on bare concrete. Mount cylinder chains or wall brackets into studs, not just drywall.
Check the humidity with your hygrometer. If readings stay above about 50 percent, a dehumidifier is probably worth the investment.
Step 6: Secure, Cover, and Schedule Check-Ins
Roll the welder into place and lock the cart wheels. Chain gas cylinders upright with their caps on.
Drape a breathable cover over the machine. Avoid plastic sheeting, which can seal moisture in rather than keep it out.
Finally, set a monthly reminder to check for rust, pests, and dust. With that done, your welder should fire up smoothly whenever the next job comes along.
Common Mistakes to Avoid
These slip-ups are common, and each one is easy to prevent.
Leaving the Welder on a Bare Concrete Floor
Concrete draws moisture up from the ground and stays cold, which gives condensation a perfect place to form. Lift the machine onto a cart, shelf, or rubber mat. Air can then circulate underneath, and the base stays dry.
Storing Gas Cylinders Unsecured or With Valves Open
A tipped cylinder can snap its valve and release gas under very high pressure. Close the valve completely, cap it for long storage, and chain it upright every single time. There’s no safe shortcut here.
Wrapping the Welder in Plastic
Tarps and garbage bags seem protective, yet they seal in humidity. As temperatures drop overnight, that moisture condenses inside the machine. A breathable fabric cover blocks dust while still letting moisture escape.
Expert Tips for Long-Lasting Welder Storage
A few habits can keep your welding gear performing well for years.
Invest in a Dedicated Welding Cart
A sturdy cart with a cylinder rack, a lower shelf, and locking wheels solves several storage problems at once. It keeps the welder off the floor and secures the gas safely. It also holds your consumables in one place, so you can roll a complete setup straight to the project.
Keep Consumables in a Dry Box
An airtight container with rechargeable desiccant is a simple home for wire spools, flux-core wire, and electrodes. Many desiccants can be recharged in a low oven, which keeps them working for years. Dry consumables generally mean cleaner beads, less spatter, and fewer porosity headaches.
Run the Machine Periodically
During long breaks, power up the welder every month or two and run a short test bead. That warms internal components and may help drive off light moisture. Pair it with a quick look at the cables and cylinder, and small problems tend to surface early.
Frequently Asked Questions
Can I Store a Welder in an Unheated Garage?
Yes, with some precautions. The main threat is condensation from temperature swings rather than the cold itself. Keep the welder off the floor, use a breathable cover, control humidity, and let the machine warm to room temperature before powering it on in winter.
Should I Remove the Wire Spool When Storing a MIG Welder?
For short breaks, leaving the spool in place is usually fine, as long as you release the drive roll tension. For storage longer than a few weeks, remove it. Seal the spool in an airtight bin with desiccant to keep rust away.
How Should I Store Welding Gas Cylinders in a Garage?
Cylinders should stand upright, chained or strapped to a wall or cart, with valves closed and caps installed. Keep them in a ventilated area away from heat, sparks, and flammables. It’s also wise to check your gas supplier’s guidelines and local fire codes.
Conclusion
The routine comes down to a few steady habits. Shut down and bleed the gas, clean the machine, and keep consumables away from moisture. Then coil cables loosely, pick a dry and stable spot, and secure everything with regular check-ins.
Figuring out how to store a welder in garage conditions doesn’t require expensive equipment or a climate-controlled shop. You now have a clear roadmap, from spotting the first signs of rust to finishing all six steps with confidence.
The reward is a welder that strikes a smooth arc every time, cables that uncoil cleanly, and a garage that feels safe and organized. So unplug your welder today, grab a rag and a breathable cover, and take the first step toward gear that lasts for years.

I am Rick. I grew up helping my dad with his handyman service. I learned a lot from him about how to fix things, and also about how to work hard and take care of business. These days, I’m still into fixing things- only now, I’m doing it for a living.
I’m always looking for new ways to help people grow and develop. That’s why I have created this blog to share all my experience and knowledge so
that I can help people who are interested in DIY repair.