
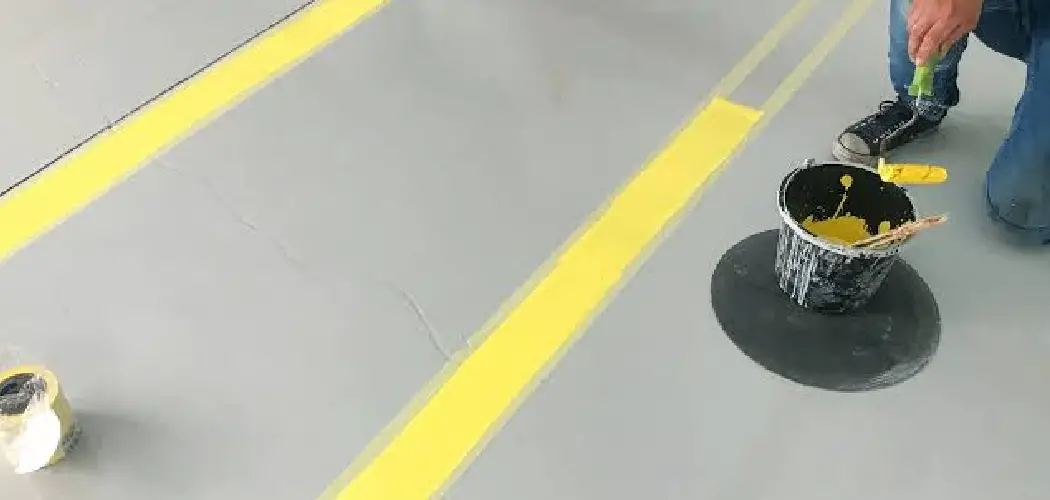
Your garage floor takes a beating. Car tires roll over it, tools drop on it, oil drips stain it, and moisture creeps up through the concrete. So when you decide to give it a fresh epoxy or polyurethane coating, you might be tempted to skip straight to the fun part—rolling on that glossy new finish.
Here’s the truth, though: the coating is only as good as the surface underneath it. A beautiful floor coating applied over a dirty, cracked, or unsealed slab will peel, bubble, and flake within months. All that time, money, and effort? Gone.
This guide on how to prepare garage floor for coating walks you through everything you need to know. Let’s get your garage floor ready for a finish that actually sticks.
What are the Benefits?
Taking the time to prepare your garage floor properly pays off in more ways than one. Here’s what you gain when you do it right.
- Stronger adhesion. Coatings bond to clean, slightly rough concrete far better than to smooth or dirty surfaces. Proper prep opens up the pores of the concrete so the coating grips tight and stays put for years.
- A longer-lasting finish. When you remove old stains, dust, and loose material first, your coating won’t peel or lift. A well-prepped floor can keep its finish for a decade or more with minimal touch-ups.
- A smoother, better-looking result. Filling cracks and grinding down high spots gives you an even surface. The final coat looks professional instead of lumpy or patchy.
- Better protection for your slab. A sealed, coated floor resists oil, chemicals, road salt, and moisture. Prepping the surface makes sure that protective barrier forms correctly and covers every inch.
- Money saved over time. Doing prep right the first time means you won’t have to strip and redo the whole floor in a year. You spend a little extra effort now and avoid a costly do-over later.
- Improved safety. Many coatings include anti-slip additives, but they only work on a properly cleaned and profiled surface. A well-prepped floor holds these additives evenly, cutting down on slick spots.
What Will You Need?
Gather everything before you start. Stopping mid-project to run to the hardware store slows you down and can ruin your timing, especially once you mix the coating.
Cleaning Supplies:
- Broom and dustpan
- Shop vacuum
- Degreaser or concrete cleaner
- Stiff-bristle scrub brush or push broom
- Bucket and mop
- Garden hose or pressure washer
Repair Materials:
- Concrete patch or crack filler
- Putty knife or trowel
- Concrete grinder or sander (rentable)
Surface Profiling:
- Concrete etching solution (or muriatic acid, used carefully)
- Watering can or plastic sprayer
Safety Gear:
- Rubber gloves
- Safety goggles
- Respirator or dust mask
- Knee pads
- Old clothes and closed-toe shoes
Testing and Finishing:
- Plastic sheeting and tape (for a moisture test)
- Rags and towels
- Painter’s tape for edges
Having all of this ready means you can move through each step without interruption.
10 Easy Steps on How to Prepare Garage Floor for Coating
Step 1: Clear Out the Garage
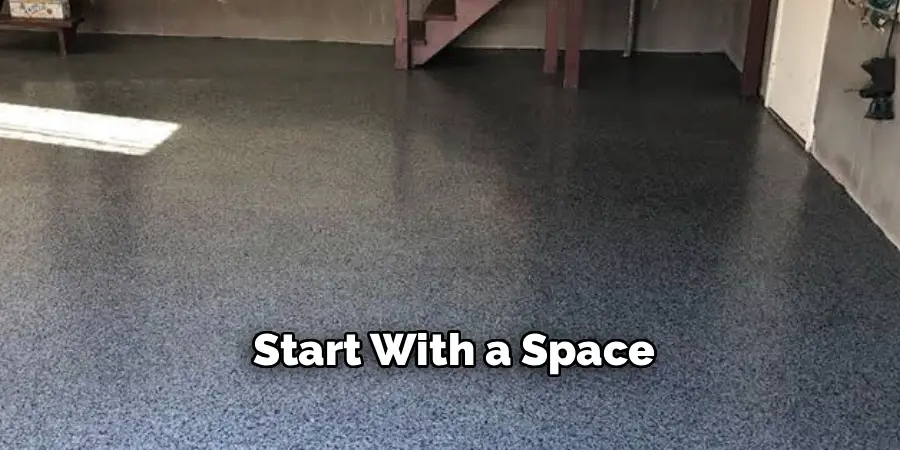
Start with a space. Remove your car, tools, shelving, boxes, and anything else sitting on the floor. You need full access to every square foot, including corners and edges. Move items to your driveway or another room. A clear floor lets you spot every crack, stain, and problem area you’ll need to address. It also keeps your belongings safe from cleaning chemicals and dust. Take this chance to declutter—you don’t want to move junk back onto a fresh new floor.
Step 2: Sweep and Vacuum Thoroughly
Once the floor is empty, sweep up all the loose dirt, dust, leaves, and debris. Use a stiff broom to reach into corners and along the base of the walls. After sweeping, go over the entire floor with a shop vacuum. This picks up the fine dust that a broom leaves behind. Pay special attention to cracks and expansion joints where debris likes to hide. A clean, dust-free surface is the foundation for everything that follows. Skipping this step means dirt will get trapped under your coating.
Step 3: Degrease and Remove Oil Stains
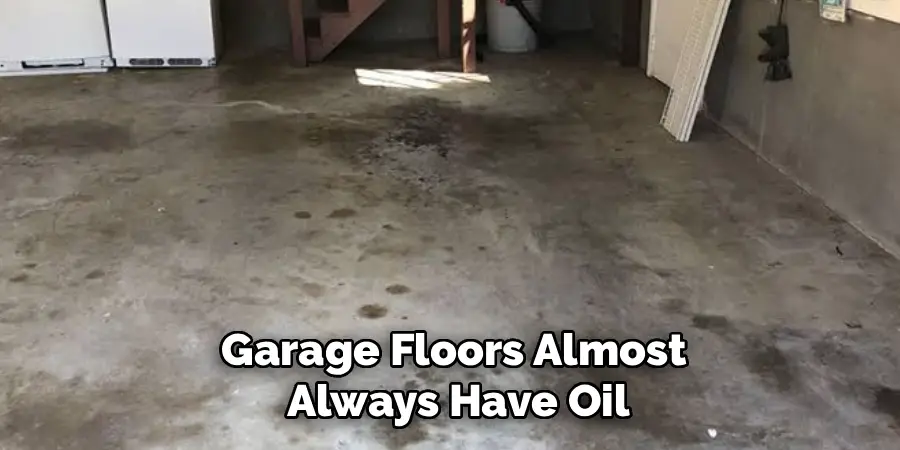
Garage floors almost always have oil and grease stains, especially where the car sits. These spots will stop your coating from bonding, so they have to go. Apply a quality degreaser or concrete cleaner directly to the stained areas. Let it soak in for the time listed on the label, then scrub hard with a stiff brush. For stubborn, deep stains, you may need to repeat this a few times. Cat litter or a commercial oil absorber can pull up fresh oil before you scrub. Don’t rush this—hidden grease is a top cause of coating failure.
Step 4: Wash the Entire Floor
After spot-treating stains, clean the whole floor. Mix your concrete cleaner with water according to the directions and scrub the surface with a push broom or scrub brush. Work in sections so no area dries before you rinse it. This wash removes leftover residue, fine grime, and any cleaner buildup. A pressure washer speeds things up if you have a floor drain or can push water out the door. Take your time and cover every inch. A truly clean surface is non-negotiable for a lasting coating.
Step 5: Rinse and Let It Dry
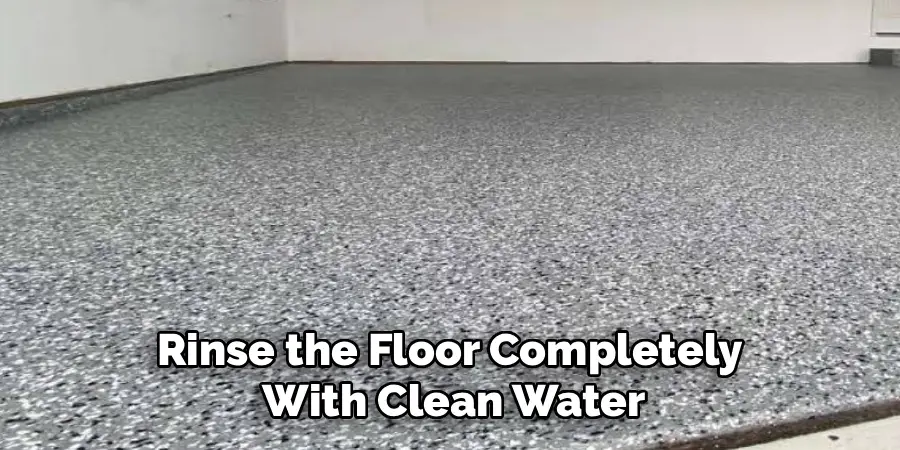
Rinse the floor completely with clean water, making sure no soap or degreaser remains. Leftover cleaner can interfere with the coating just as much as dirt. Push the water toward a drain or out the garage door with a squeegee. Then let the floor dry fully. Depending on humidity and airflow, this can take anywhere from a few hours to a full day. Open the garage door and set up fans to speed drying. Never move on to the next steps while the concrete is still damp.
Step 6: Inspect and Repair Cracks
With a clean, dry floor, you can clearly see every crack, chip, and hole. Small cracks and larger damage both need attention before coating. Use a concrete patch or crack filler and press it firmly into each gap with a putty knife or trowel. Smooth it flush with the surrounding surface. For wide cracks, clean out any loose material first so the filler bonds well. Let all repairs cure completely—check the product instructions for timing. Filling these flaws gives you a smooth, even base and stops moisture from sneaking under the coating later.
Step 7: Grind Down High Spots
Run your hand and eye over the floor to find any raised areas, ridges, or leftover paint and adhesive. These bumps will show through your final coating and weaken adhesion. Use a concrete grinder or sander to level them out. You can rent a walk-behind grinder from most hardware stores for the day. Grinding also roughens the surface slightly, which helps the coating grip. Wear a respirator and goggles, since this step creates a lot of fine dust. Vacuum up all the dust when you’re done.
Step 8: Etch the Concrete
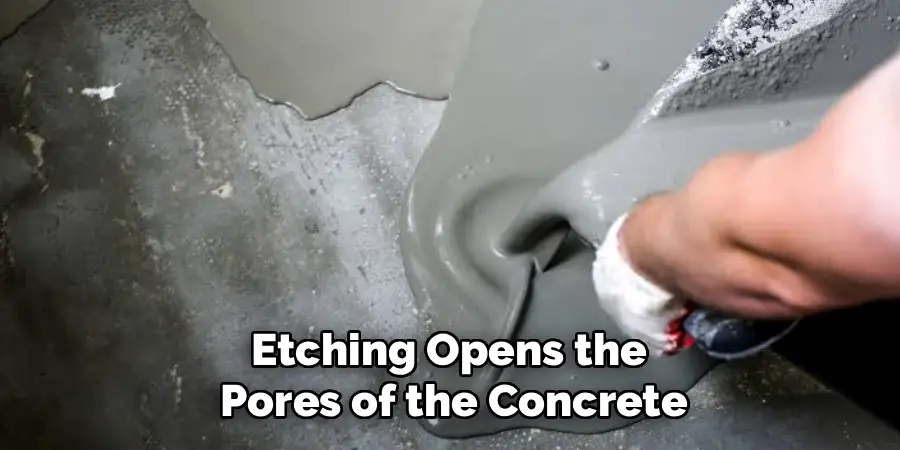
Etching opens the pores of the concrete so the coating soaks in and bonds tightly. Even a clean floor is often too smooth for a good grip. Apply a concrete etching solution—or diluted muriatic acid if you’re experienced and cautious—using a plastic sprayer or watering can. Work in sections and scrub it in with a stiff brush. You’ll usually see slight fizzing as it reacts. Follow the product directions exactly, and always wear gloves and eye protection. Etching gives the concrete a texture similar to fine sandpaper, which is exactly what you want.
Step 9: Rinse and Neutralize
After etching, rinse the floor thoroughly to remove all the etching solution and any residue it lifted. If you used an acid-based etcher, you may need to neutralize it with a baking soda and water mixture—check your product’s instructions. Rinse again with clean water until the surface is completely clear. Any leftover etching chemical can wreck the coating’s bond. Squeegee the water away and inspect the surface. The concrete should feel slightly gritty and look uniform, with no shiny or slick patches remaining.
Step 10: Dry Completely and Do a Moisture Test
The final prep step is making sure the floor is bone dry. Let it air out for at least 24 hours, longer in humid conditions. Before coating, run a simple moisture test: tape a square of plastic sheeting tightly to the floor and leave it overnight. In the morning, check for condensation underneath. If you see moisture, the slab isn’t ready and coating now would trap water and cause peeling. When the plastic stays dry, your floor is fully prepped and ready for the first coat.
5 Things You Should Avoid
1. Skipping the moisture test. Coating over a damp slab is one of the fastest ways to a peeling, bubbling floor. Always confirm the concrete is dry first.
2. Rushing the drying times. Repairs, rinses, and etching all need to fully dry or cure. Moving ahead too soon undoes your hard work.
3. Ignoring old oil stains. Grease you can’t see is still there. Coatings won’t stick to it, so scrub every stain until the concrete is truly clean.
4. Leaving cleaner or acid residue. Any leftover chemical on the surface will block adhesion. Rinse until the water runs clear every time.
5. Coating in bad conditions. Extreme heat, cold, or high humidity can ruin a coating as it cures. Aim for a mild, dry day and follow the product’s temperature range.
Conclusion
How to prepare garage floor for coating might not be the most exciting part of the project, but it’s the part that matters most. Every step—clearing the space, scrubbing away grease, patching cracks, etching the surface, and confirming the floor is dry—builds toward a coating that bonds tight and lasts for years.
Think of it this way: the coating gets all the attention, but the prep does all the work. Skip the shortcuts, respect the drying times, and take each step seriously. A weekend of careful preparation now saves you from stripping and redoing the whole floor down the road.
You don’t need to be a pro to get professional results. With the tools listed here and this step-by-step plan, you’re fully equipped to transform your dull, stained slab into a smooth, durable, great-looking surface. Roll up your sleeves, follow the steps, and get ready to enjoy a garage floor you’ll be proud of for a long time to come.

I am Rick. I grew up helping my dad with his handyman service. I learned a lot from him about how to fix things, and also about how to work hard and take care of business. These days, I’m still into fixing things- only now, I’m doing it for a living.
I’m always looking for new ways to help people grow and develop. That’s why I have created this blog to share all my experience and knowledge so
that I can help people who are interested in DIY repair.