
Your garage is more than a place to park the car. For many people, it doubles as a workshop, a home gym, a hobby space, or even an extra room for hanging out. But there’s one problem that gets in the way of all those plans: temperature. In the summer, a garage can feel like an oven. In the winter, it can turn into a walk-in freezer. Neither extreme makes for a comfortable space to work or relax.
The good news? You don’t have to put up with it. With the right approach, you can keep your garage comfortable all year round. Heating and cooling a garage is easier than most people think, and it doesn’t always require a huge budget or a professional crew. Whether you want a warm spot to tinker on projects during winter or a cool retreat in the peak of summer, this guide on how to heat and cool garage walks you through everything you need to know.
Let’s turn that uncomfortable garage into a space you actually enjoy using.
What Are the Benefits?
Climate-controlling your garage brings a surprising number of perks. Here are the biggest ones worth knowing about.
- Year-round usability. A temperature-controlled garage becomes a room you can use in any season. Instead of avoiding it during heat waves or cold snaps, you can work, exercise, or relax there whenever you like.
- Protection for your belongings. Extreme heat and cold can damage tools, paint, electronics, and stored items. Batteries drain faster in cold weather, and humidity can cause rust. Keeping the space regulated protects everything inside.
- Better car care. Cars start more easily and last longer when they’re not exposed to freezing or scorching temperatures. A stable environment reduces wear on tires, fluids, and the battery.
- Increased home value. A finished, climate-controlled garage is a feature many buyers love. It can boost your property’s appeal and even raise its resale value.
- More comfortable projects. If you use your garage for DIY work, hobbies, or a workout routine, comfort matters. Nobody enjoys sweating through a project or working with numb fingers.
- Energy savings over time. When you insulate and seal a garage properly, you cut down on wasted energy. That means lower bills and a more efficient home overall.
What Will You Need?
Before you start, gather your tools and materials. The exact list depends on your setup, but here’s what most projects call for.
Tools:
- Tape measure
- Utility knife
- Caulking gun
- Screwdriver and drill
- Staple gun
- Ladder
- Safety glasses and gloves
Materials:
- Insulation (fiberglass batts, foam boards, or spray foam)
- Weatherstripping for doors and windows
- Caulk or expanding foam for gaps
- Garage door insulation kit
- Vapor barrier (if needed for your climate)
Heating and Cooling Equipment (Choose What Fits Your Needs):
- Electric space heater or infrared heater
- Mini-split heat pump (heats and cools)
- Portable air conditioner or window AC unit
- Ceiling fan or exhaust fan
- Programmable thermostat
Having everything ready before you begin saves time and keeps the project moving smoothly. Take a few minutes to measure your garage so you buy the right amount of insulation and the correct size heating or cooling unit.
10 Easy Steps on How to Heat and Cool Garage
Step 1: Assess Your Garage and Climate
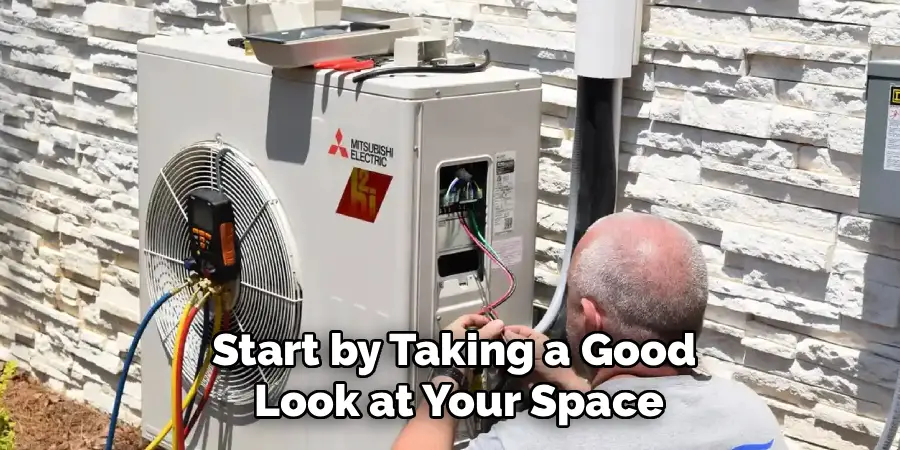
Start by taking a good look at your space. How big is it? What’s the ceiling height? Is it attached to your house or standalone? Note the location of windows, outlets, and the garage door. Think about your local climate too. If you deal with harsh winters, heating will be your priority. If summers are brutal, focus more on cooling. Understanding your starting point helps you choose the right equipment and avoid overspending. Measure the square footage so you can size everything correctly later.
Step 2: Seal All Air Leaks
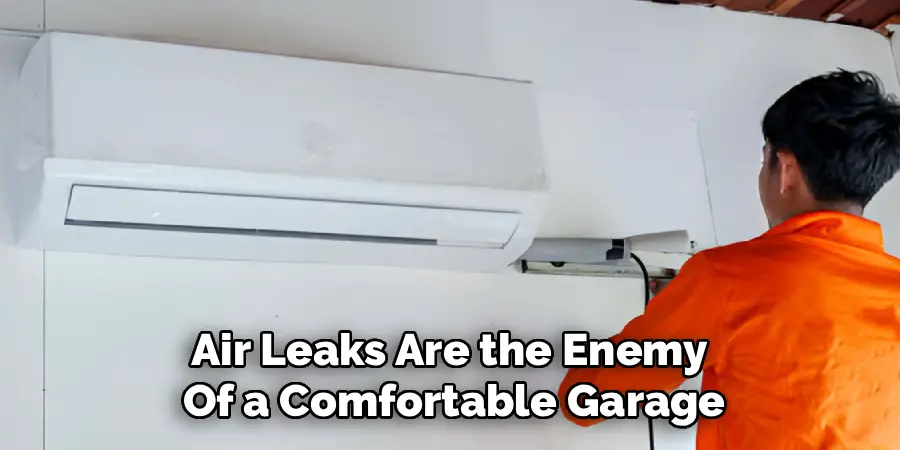
Air leaks are the enemy of a comfortable garage. Warm or cool air escapes through tiny gaps around windows, doors, and where walls meet the floor. Walk around the space and look for cracks, holes, and drafts. Use caulk to seal small gaps and expanding foam for larger ones. Pay special attention to the corners and any spots where pipes or wires enter the garage. Sealing these leaks is one of the cheapest and most effective steps you can take. It makes every other improvement work better.
Step 3: Insulate the Walls
Insulation keeps heat in during winter and out during summer. If your walls are open with exposed studs, adding fiberglass batts is straightforward. Just cut them to fit and press them snugly between the studs. For finished walls, foam board or blown-in insulation may work better. Choose insulation with the right R-value for your climate. A higher R-value means better insulating power. Wear gloves and a mask when handling fiberglass, and take your time to fill every cavity without leaving gaps.
Step 4: Insulate the Garage Door
The garage door is often the biggest source of temperature loss. Most standard doors have little or no insulation at all. Buy a garage door insulation kit that matches your door type. These kits usually include foam or reflective panels that fit into the door’s panels. Installation is simple and takes an hour or two. Once done, your door will hold temperature far better. Don’t skip this step; an uninsulated door can undo much of your hard work elsewhere.
Step 5: Add Weatherstripping
Even a well-insulated door leaks air around the edges. Weatherstripping seals those gaps. Apply new weatherstripping along the sides and top of the garage door, and replace the bottom seal if it’s worn or cracked. Do the same for any entry doors and windows. This step blocks drafts and keeps pests out too. Weatherstripping is inexpensive and easy to install, yet it makes a noticeable difference in comfort. Check it once a year and replace it when it starts to break down.
Step 6: Insulate the Ceiling

Heat rises, so an uninsulated ceiling lets warmth escape in winter. In summer, an attic above the garage can radiate heat downward. Adding insulation to the ceiling helps in both cases. If there’s an attic space, blown-in or batt insulation works well. For a garage with an exposed roof, consider rigid foam boards. A properly insulated ceiling keeps temperatures stable and reduces the load on your heating and cooling equipment.
Step 7: Choose Your Heating System
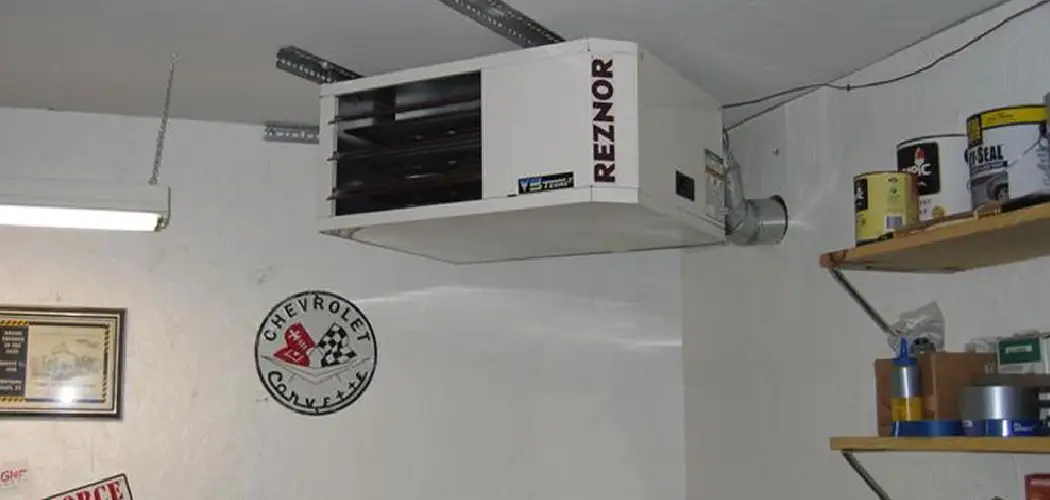
Now for the fun part. Pick a heating option that fits your space and budget. Electric space heaters are cheap and portable, ideal for small garages or occasional use. Infrared heaters warm objects and people directly, which feels great in a workshop. For a permanent solution, a mini-split heat pump provides steady heat and doubles as an air conditioner. Gas heaters offer strong output but require proper ventilation. Match the heater’s capacity to your garage size for the best results.
Step 8: Choose Your Cooling System
Cooling options range from simple to full-featured. A portable air conditioner is easy to move and needs only a window for the exhaust hose. A window AC unit fits into an existing opening and cools efficiently. For year-round climate control, a mini-split system handles both heating and cooling in one unit. Ceiling fans and exhaust fans help circulate air and pull out hot air. Pick the option that matches how often you’ll use the garage and how hot your summers get.
Step 9: Install a Ventilation and Airflow Plan
Good airflow keeps temperatures even and prevents stuffy, humid air. Install an exhaust fan to pull hot air out, especially near the ceiling where heat collects. A ceiling fan helps move air around and makes the space feel cooler. If you run gas equipment or work with chemicals, ventilation is essential for safety. Proper airflow also reduces moisture, which cuts down on rust and mold. Plan where air enters and exits so it moves through the whole space.
Step 10: Set Up a Thermostat and Fine-Tune
Once your equipment is in place, add a programmable thermostat if your system supports one. This lets you set temperatures automatically and avoid wasting energy when the garage is empty. Run your heating and cooling for a few days and pay attention to how the space feels. Adjust settings, add a fan here, or seal a stubborn draft there. Fine-tuning turns a good setup into a great one. Over time, you’ll find the perfect balance of comfort and efficiency.
5 Things You Should Avoid
- Skipping insulation. Trying to heat or cool an uninsulated garage wastes energy and money. Your equipment will run constantly and never quite keep up. Always insulate first.
- Buying the wrong size unit. A heater or AC that’s too small won’t do the job, while one that’s too big wastes energy and cycles inefficiently. Match the unit to your garage’s square footage.
- Ignoring ventilation. Poor airflow leads to stuffy air, moisture buildup, and safety risks with gas appliances. Never seal a garage so tightly that fresh air can’t circulate.
- Using unsafe heaters. Leaving space heaters running unattended or placing them near flammable materials is a fire hazard. Always follow safety guidelines and keep heaters clear of clutter.
- Forgetting the garage door. People often insulate the walls but leave the door bare. Since it’s usually the largest surface, an uninsulated door undermines all your other efforts.
Conclusion
A comfortable garage is well within reach, no matter the season. By sealing leaks, adding insulation, and choosing the right heating and cooling equipment, you can transform a space that once felt unbearable into one you’ll want to spend time in. The steps in this guide build on each other, so start with insulation and sealing before moving on to your heating and cooling units.
Remember, the effort you put in pays off in comfort, protected belongings, lower energy bills, and even added home value. Take it one step at a time, and don’t rush the prep work. A little planning goes a long way toward a garage that stays cozy in winter and cool in summer.
Hopefully, this guide on how to heat and cool garage has given you a better understanding of the importance of insulating and sealing your garage.

I am Rick. I grew up helping my dad with his handyman service. I learned a lot from him about how to fix things, and also about how to work hard and take care of business. These days, I’m still into fixing things- only now, I’m doing it for a living.
I’m always looking for new ways to help people grow and develop. That’s why I have created this blog to share all my experience and knowledge so
that I can help people who are interested in DIY repair.