
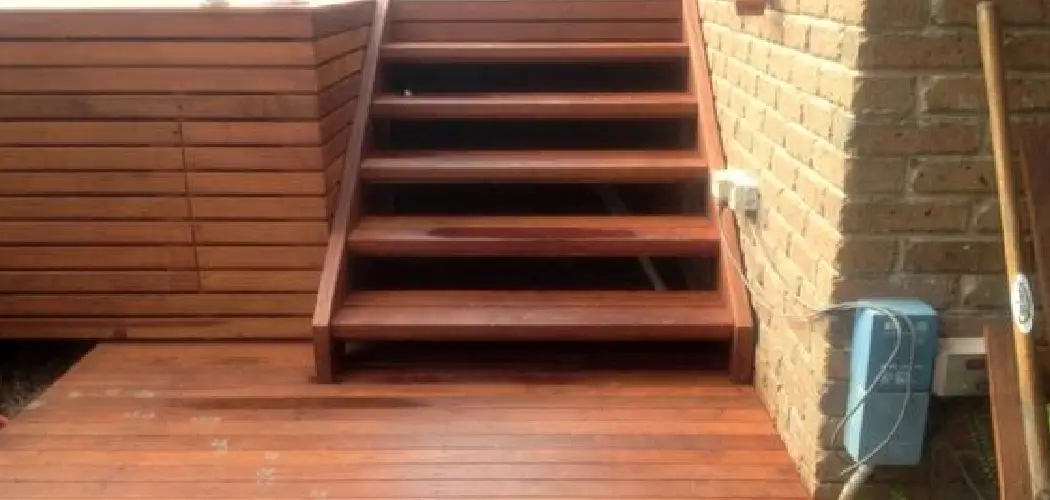
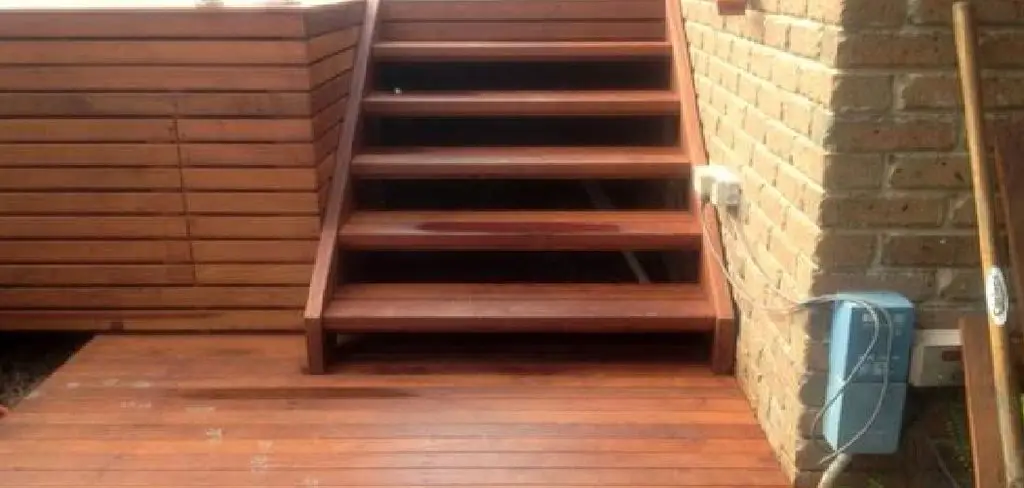
Garage stairs often get overlooked. They’re usually the last thing on your mind when you think about home improvement projects. Yet those bare, unfinished steps take a beating every single day. Muddy boots, heavy tool boxes, dropped groceries, and constant foot traffic all leave their mark. Over time, plain concrete or raw wooden stairs start to look worn, feel unsafe, and drag down the overall appearance of your garage.
The good news? Finishing your garage stairs is a project most homeowners can tackle over a weekend. You don’t need to be a professional contractor or own a truck full of specialized tools. With the right materials, a little patience, and this step-by-step guide, you can transform tired, dull stairs into a clean, durable, and safe part of your home.
In this guide on how to finish garage stairs, you’ll learn exactly why finishing your garage stairs is worth the effort. Let’s get started.
What are the Benefits?
Before you pick up a paintbrush, it helps to understand why this project matters. Finishing your garage stairs offers real, lasting rewards that go far beyond looks.

- Improved safety. This is the biggest reason to finish your stairs. Bare concrete can get slick, especially when wet or dusty. Adding a finish with a non-slip texture gives your feet better grip and lowers the risk of a nasty fall. When you’re carrying heavy items up and down, that extra traction makes a real difference.
- Better durability. A quality finish acts like a shield. It protects the surface from moisture, oil stains, chipping, and everyday wear. Sealed concrete resists cracks, and painted or coated wood stands up to scuffs. This means your stairs will last much longer without needing repairs.
- Easier cleaning. Raw concrete soaks up spills and traps dust in its pores. A finished surface, on the other hand, wipes clean in seconds. Spilled oil, dirt, and grime sit on top instead of sinking in. You’ll spend far less time scrubbing.
- Boosted appearance. Finished stairs simply look better. A fresh coat of paint or a smooth sealed surface makes your whole garage feel more organized and cared for. If you ever sell your home, small touches like this show buyers you’ve kept the property in good shape.
- Added value. A well-maintained garage adds to your home’s overall value. Finishing the stairs is a low-cost upgrade that delivers a big visual payoff, making it one of the smartest small projects you can take on.
What Will You Need?

Gathering everything before you start saves time and keeps the project moving smoothly. Here’s your complete checklist of tools, materials, and supplies.
Tools:
- Broom and dustpan
- Shop vacuum
- Stiff-bristle scrub brush
- Putty knife or scraper
- Paint roller with extension pole
- Angled paintbrush (2 to 3 inches)
- Paint tray and liner
- Painter’s tape
- Safety glasses
- Work gloves
- Dust mask or respirator
- Knee pads (your knees will thank you)
Materials and Supplies:
- Concrete or wood cleaner (degreaser)
- Concrete patch or wood filler
- Sandpaper (80 to 120 grit)
- Primer suited to your surface
- Floor or porch paint, epoxy, or sealer
- Non-slip additive or anti-slip strips
- Drop cloths or plastic sheeting
- Clean rags
- Bucket for cleaning solution
Having quality materials matters. Cheap paint or sealer may save a few dollars now, but it won’t hold up under garage conditions. Choose products made specifically for floors and high-traffic areas.
10 Easy Steps on How to Finish Garage Stairs
Step 1: Clear and Inspect the Stairs
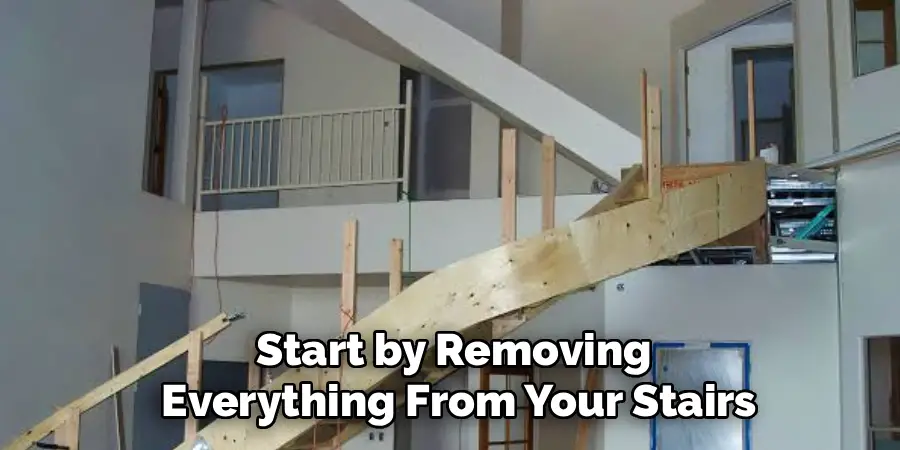
Start by removing everything from your stairs and the surrounding area. Move storage boxes, tools, and any clutter out of the way so you have room to work. Once the area is clear, take a close look at each step. Check for cracks, chips, loose sections, or signs of water damage. Run your hand along the surface to feel for rough spots or crumbling edges. This inspection helps you spot problems early, so you know exactly what repairs you’ll need to make before finishing. A few minutes of careful checking now prevents headaches later.
Step 2: Clean the Surface Thoroughly
A clean surface is the foundation of a lasting finish. Sweep away all loose dirt and debris with your broom, then follow up with a shop vacuum to pull dust from cracks and corners. Next, mix your cleaner or degreaser with water in a bucket and scrub every step with a stiff-bristle brush. Pay extra attention to oil stains and grimy spots, since these can stop paint from sticking. Rinse the stairs well and let them dry completely. Never skip this step; even a thin layer of dust or grease can ruin your finish.
Step 3: Repair Any Damage
Now it’s time to fix the flaws you found earlier. For concrete stairs, use a concrete patch to fill cracks and chips. For wooden stairs, apply wood filler to holes, gouges, and splits. Press the filler in firmly with a putty knife, smoothing it level with the surface. Work carefully so the repairs blend in. Allow the patch or filler to cure fully according to the product instructions. Rushing this step leaves weak spots that will crack or peel down the road, so give it the time it needs.
Step 4: Sand the Steps
Sanding creates a smooth, even surface and helps your finish grip better. Use 80 to 120 grit sandpaper to lightly sand each step. On wood, sand in the direction of the grain to avoid scratches. On concrete, focus on knocking down rough patches and dried filler until everything feels level. Wear your dust mask and safety glasses during this step, since sanding kicks up plenty of fine particles. When you’re done, the surface should feel smooth and slightly dull, which gives primer and paint something to hold onto.
Step 5: Vacuum and Wipe Down
Sanding leaves behind a coat of fine dust that must go before you paint. Vacuum every step thoroughly, reaching into corners and along edges. Then wipe each surface with a slightly damp, clean rag to catch any remaining particles. Let the stairs dry fully before moving on. This step feels small, but it makes a huge difference. Even a little leftover dust can create a bumpy, uneven finish. Take your time and make sure every surface is spotless and completely dry.
Step 6: Apply Painter’s Tape and Protect Nearby Areas
Protecting the surrounding area saves cleanup time and gives you crisp, clean lines. Use painter’s tape along the edges where the stairs meet walls, railings, or floors. Lay drop cloths or plastic sheeting over anything nearby you want to keep clean. If your stairs have railings you’re not finishing, tape those off too. A little prep here keeps your finish looking neat and professional. It also spares you the frustration of scrubbing paint splatters off surfaces later.
Step 7: Prime the Stairs
Primer helps your finish bond to the surface and last much longer. Choose a primer made for your material, whether concrete or wood. Using your angled brush, cut in along the edges and corners first. Then switch to your roller to cover the flat surfaces evenly. Apply a thin, even coat and avoid pooling or drips. Let the primer dry completely, following the time listed on the label. Skipping primer might seem like a shortcut, but it often leads to peeling and uneven color, so don’t leave it out.
Step 8: Apply the First Coat of Finish
Now for the fun part. Stir your paint, epoxy, or sealer well before you begin. Start at the top step and work your way down so you don’t trap yourself. Use your brush for edges and corners, then roll the flat areas with smooth, even strokes. Keep the coat thin, since thick layers take longer to dry and can crack. Work at a steady pace and watch for drips. Once you finish the first coat, let it dry fully before adding more. Patience pays off here.
Step 9: Add a Non-Slip Element
Safety is key on stairs, so build in some traction. You have two easy options. You can mix a non-slip additive into your second coat of finish, which creates a gritty texture across the whole surface. Or you can apply anti-slip strips to each step after the finish dries. Both methods give your feet solid grip, even when the stairs get wet. Choose whichever fits your needs and style. Adding this detail keeps everyone in your household safer for years to come.
Step 10: Apply the Final Coat and Cure
Finish strong with a second coat of your chosen product. Apply it just like the first, working top to bottom with smooth, even strokes. This final layer boosts durability and gives you rich, uniform color. Once you’re done, carefully remove the painter’s tape while the finish is still slightly wet for the cleanest edges. Then let the stairs cure fully before walking on them. Curing can take anywhere from a day to several days, so check the label. Resist the urge to use them early, this final wait ensures a tough, long-lasting result.
5 Things You Should Avoid
Even a simple project can go wrong if you make these common mistakes. Steer clear of them for the best results.
- Skipping the cleaning step. Painting over dirt, dust, or grease is the fastest way to a peeling finish. No matter how good your paint is, it won’t stick to a dirty surface. Always clean thoroughly first.
- Rushing the drying times. Patience matters. Applying a new coat before the last one dries traps moisture and causes bubbling, cracking, and peeling. Follow the dry times on every product, even when you’re eager to finish.
- Using the wrong products. Not all paints and sealers are built for garage stairs. Regular wall paint can’t handle the traffic and moisture. Always pick products designed for floors or high-wear surfaces.
- Forgetting non-slip traction. Smooth, freshly finished stairs can be dangerously slick. Leaving out a non-slip additive or strips puts your family at risk. Never skip this safety feature.
- Applying coats too thick. It’s tempting to slap on thick layers to save time, but this backfires. Thick coats dry unevenly, drip, and crack. Thin, even coats always give a stronger, cleaner finish.
Conclusion:
How to finish garage stairs is one of those projects that delivers far more than you might expect. In just a weekend, you can turn worn, slippery steps into a clean, safe, and durable part of your home.
By cleaning thoroughly, making repairs, priming properly, and adding a non-slip finish, you’re not just improving the look of your garage — you’re protecting your family and adding lasting value to your property. The steps are straightforward, the tools are affordable, and the results speak for themselves.
So don’t put it off any longer. Grab your supplies, follow the process, and take pride in knowing you did it yourself. Your stairs — and everyone who uses them — will be better for it.
