
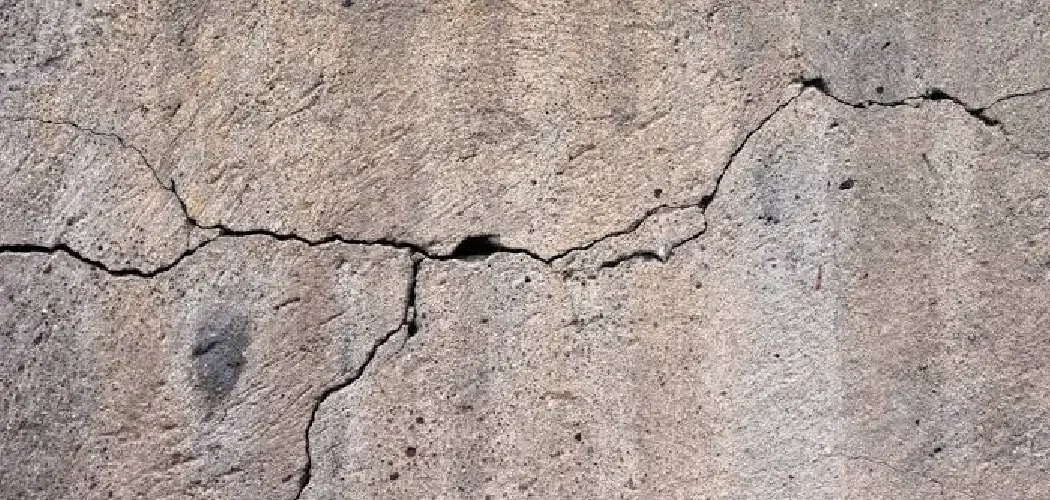
The concrete garage apron is one of the hardest-working parts of your home. It’s that slab of concrete between your garage floor and the driveway, and it takes a beating every single day. Cars roll over it, water pools on it, and harsh weather chips away at it season after season. Over time, cracks form, edges crumble, and small holes start to appear.
Ignoring these problems only makes them worse. A small crack today can turn into a major repair bill down the road. The good news? You don’t need to be a professional to fix it. With the right tools, a bit of patience, and this step-by-step guide, you can repair your concrete garage apron yourself and save money in the process.
This guide on how to repair concrete garage apron walks you through everything you need to know, from gathering supplies to putting on the finishing touches. Let’s get started and bring your garage apron back to life.
What Are the Benefits?
Repairing your concrete garage apron offers more than just a cleaner look. Here are the biggest reasons to tackle this project:
- Saves money. Fixing small cracks now prevents costly full replacements later. A DIY repair costs a fraction of hiring a contractor.
- Boosts curb appeal. A smooth, crack-free apron makes your whole driveway and home look well cared for. This matters even more if you plan to sell.
- Prevents further damage. Water seeps into cracks, freezes, and expands. This cycle widens cracks fast. Sealing them stops the damage in its tracks.
- Improves safety. Uneven concrete and crumbling edges create tripping hazards. Smoothing them out keeps your family and guests safe.
- Protects your foundation. A damaged apron can let water reach your garage foundation, leading to bigger structural problems.
- Extends the life of your driveway. Regular repairs keep the entire concrete surface strong for years to come.
Simply put, a little effort now pays off big in the long run.
What Will You Need?
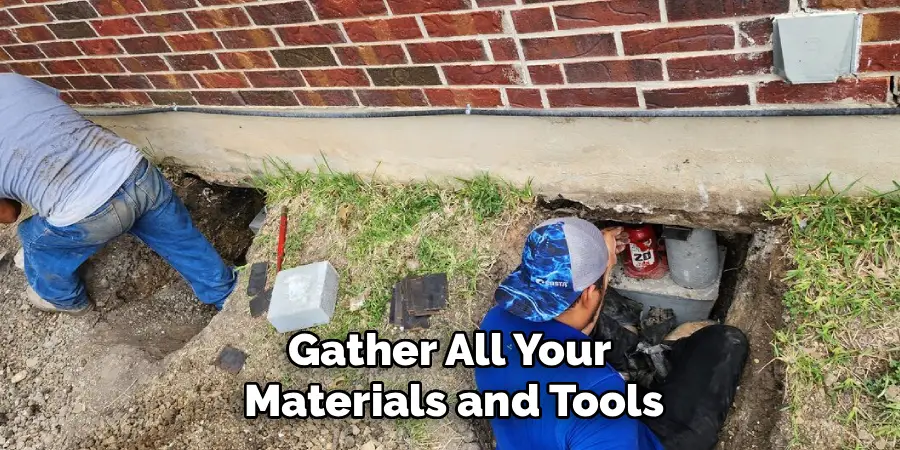
Before you begin, gather all your materials and tools. Having everything ready makes the job smoother and faster.
Materials:
- Concrete patch or repair mix
- Concrete crack filler or caulk
- Bonding adhesive
- Concrete sealer
- Clean water
- Backer rod (for deep cracks)
Tools:
- Wire brush
- Chisel and hammer
- Broom
- Pressure washer or garden hose
- Putty knife or trowel
- Mixing bucket
- Mixing paddle or sturdy stick
- Caulking gun
- Safety glasses
- Work gloves
- Dust mask
- Painter’s tape (optional, for clean edges)
Once you have all of these on hand, you’re ready to roll up your sleeves and get to work.
10 Easy Steps on How to Repair Concrete Garage Apron
Step 1: Inspect the Damage
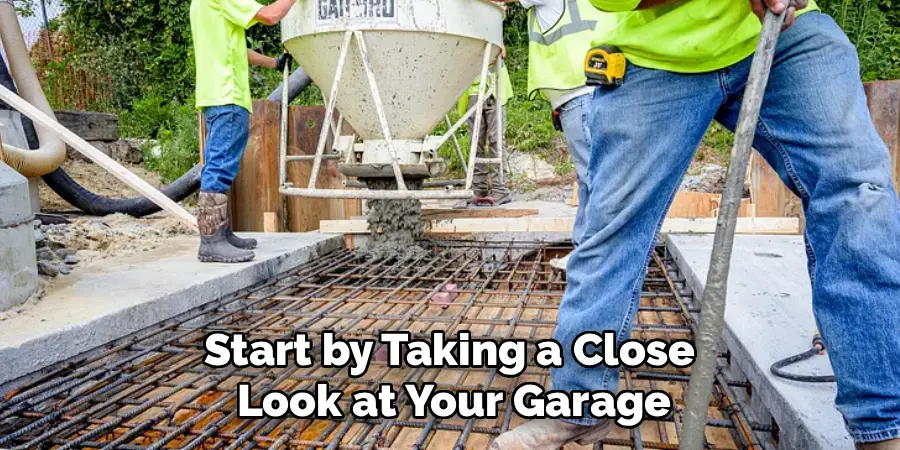
Start by taking a close look at your garage apron. Walk the entire surface and note every crack, chip, and crumbling edge. Small hairline cracks need a simple filler, while wide or deep cracks call for a patch mix. Look for spots where the concrete has sunk or lifted, too.
Understanding the type and size of damage helps you choose the right repair method. Grab a notepad and mark the trouble areas. This quick check saves you time later and makes sure you don’t miss any problem spots.
Step 2: Clear the Area
Before any repair work begins, clear everything off the apron. Move cars, bikes, tools, and any clutter out of the way. You need full, open access to the surface.
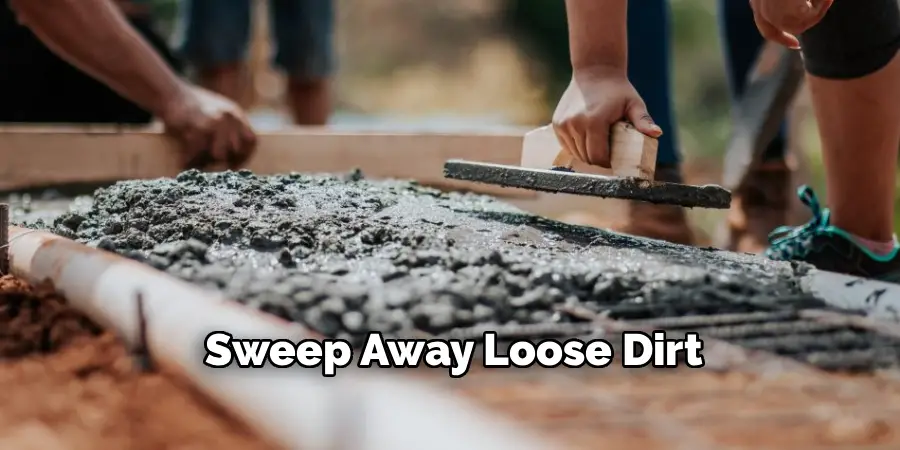
Sweep away loose dirt, leaves, and debris with a broom. A clean, open workspace lets you focus on the repair without dodging obstacles. It also keeps dirt from getting mixed into your fresh concrete later. Take a few minutes here to set yourself up for success.
Step 3: Clean the Cracks and Surface
Now it’s time for a deep clean. Use a wire brush to scrub inside each crack. This removes loose bits of concrete, dirt, and old debris. For stubborn spots, use a chisel and hammer to chip away crumbling edges until you reach solid concrete.
Next, blast the whole surface with a pressure washer or a strong stream from a garden hose. Clean concrete helps the new repair material bond tightly. Skipping this step is a common mistake that leads to weak, short-lived repairs.
Step 4: Let the Surface Dry
After cleaning, give the concrete plenty of time to dry. Damp surfaces stop repair materials from bonding properly. Depending on the weather, this may take a few hours or even a full day.
Check the cracks and low spots for trapped moisture. Sunny, breezy days speed up drying. If you’re in a hurry, you can use a towel or fan for the wet areas. Patience here really pays off, so don’t rush to the next step.
Step 5: Fill the Cracks
For narrow cracks, load your concrete crack filler or caulk into a caulking gun. Squeeze it into each crack, filling from the bottom up. For deep cracks, push a backer rod into the gap first, then apply filler on top.
For wider cracks, use a putty knife to press repair material firmly into the gap. Make sure the filler reaches deep and leaves no air pockets. Smooth the top with your putty knife so it sits level with the surface.
Step 6: Apply Bonding Adhesive
For larger damaged areas that need patching, brush a coat of bonding adhesive over the surface first. This adhesive acts like glue, helping the new concrete stick to the old.
Cover the entire area you plan to patch. Follow the product instructions for timing, as some adhesives need a few minutes to get tacky before you add concrete. This simple step makes a huge difference in how long your repair lasts.
Step 7: Mix the Concrete Patch
Pour your concrete patch mix into a clean bucket. Add water slowly while stirring with a paddle or sturdy stick. Aim for a thick, peanut-butter-like consistency that holds its shape but stays workable.
Mix only what you can use in about 20 to 30 minutes, since concrete sets fast. Follow the exact water ratio on the bag for the strongest results. A good mix is smooth and lump-free, so keep stirring until everything blends well.
Step 8: Apply the Concrete
Using a trowel, scoop the fresh concrete onto the damaged area. Press it down firmly to fill every gap and remove air bubbles. Build the patch up slightly higher than the surrounding surface, since it will settle as it dries.
Work in small sections so the concrete doesn’t dry before you shape it. For crumbling edges, use painter’s tape or a board to create a clean, straight border. Take your time to spread the material evenly.
Step 9: Smooth and Finish
Once the patch is in place, smooth the surface with your trowel. Feather the edges so the new concrete blends into the old. Match the texture of the surrounding apron for a seamless look, using a broom for a lightly brushed finish if needed.
This step is all about appearance and function. A smooth, level surface looks better and prevents water from pooling. Work carefully, and step back often to check your progress.
Step 10: Cure and Seal
Curing is the final and most important step. Keep the repaired area moist for several days by lightly misting it with water and covering it with plastic sheeting. Slow curing makes the concrete much stronger.
After curing fully, which usually takes about a week, apply a concrete sealer over the whole apron. The sealer protects against water, stains, and future cracks. Let it dry completely before parking on the surface, and your repair is done.
5 Things You Should Avoid
Even a simple repair can go wrong if you make these common mistakes. Steer clear of them for the best results.
- Skipping the cleaning step. Applying patch material over dirt or loose debris leads to weak bonds. Your repair will crack or pop out fast.
- Working on a wet surface. Moisture stops concrete from sticking. Always let the area dry fully before you start.
- Mixing too much concrete at once. Concrete sets quickly. Mix small batches so you don’t waste material or rush your work.
- Ignoring the curing process. Letting concrete dry too fast makes it brittle. Keep it moist and give it time to harden properly.
- Parking on the repair too soon. Driving over fresh concrete can crack or dent it. Wait the full curing time before adding any weight.
Avoid these pitfalls, and your repair will stay strong for years.
Conclusion
How to repair concrete garage apron is a project any motivated homeowner can handle. With the right tools, quality materials, and a bit of patience, you can turn a cracked, crumbling surface into one that looks and works like new. The steps are simple: inspect, clean, fill, patch, finish, and seal.
Remember, the small details make the biggest difference. Clean thoroughly, let surfaces dry, mix your concrete right, and always allow proper curing time. Avoid the common mistakes we covered, and your repair will hold strong for many years.
So gather your supplies, set aside a weekend, and give your garage apron the care it deserves. You’ve got everything you need to get the job done right. Happy repairing!

I am Rick. I grew up helping my dad with his handyman service. I learned a lot from him about how to fix things, and also about how to work hard and take care of business. These days, I’m still into fixing things- only now, I’m doing it for a living.
I’m always looking for new ways to help people grow and develop. That’s why I have created this blog to share all my experience and knowledge so
that I can help people who are interested in DIY repair.