

Moisture in the garage is one of those problems that sneaks up on you. One day everything looks fine, and the next you’re dealing with rust on your tools, mold on the walls, and a musty smell that won’t go away.
Whether you use your garage for parking, storage, a workshop, or all three, excess humidity can cause serious damage over time. The good news? Keeping moisture out of your garage is entirely doable with the right approach.
This guide on how to keep moisture out of garage walks you through everything you need to know—from the benefits of a dry garage to the exact steps you can take today to protect your space.
What Are the Benefits?
Controlling moisture in your garage isn’t just about comfort. It has real, practical benefits that protect your property and your wallet.
- Protects your belongings. Tools, sports equipment, electronics, and furniture stored in a damp garage are at risk of rust, rot, and mold damage. A dry environment keeps everything in better shape for longer.
- Prevents structural damage. Moisture seeps into concrete, wood framing, and drywall. Over time, this leads to cracks, warping, and even foundation issues that are expensive to fix.
- Improves air quality. Mold and mildew release spores into the air. If your garage is connected to your home, those spores can spread indoors and affect your family’s health.
- Reduces pest activity. Damp environments attract insects and rodents. Keeping things dry makes your garage far less appealing to unwanted guests.
- Saves money. Preventing moisture damage now is far cheaper than repairing or replacing damaged items later.
What Will You Need?

Before you get started, gather the right tools and materials. Most of these are easy to find at your local hardware store.
- Dehumidifier
- Weatherstripping and door seals
- Concrete sealer or epoxy floor coating
- Caulk and caulking gun
- Ventilation fan or exhaust fan
- Vapor barrier or plastic sheeting
- Waterproof paint
- Moisture meter
- Insulation materials
- Gutter extensions or downspout redirectors
10 Easy Steps on How to Keep Moisture Out of Garage
Step 1: Identify the Source of Moisture
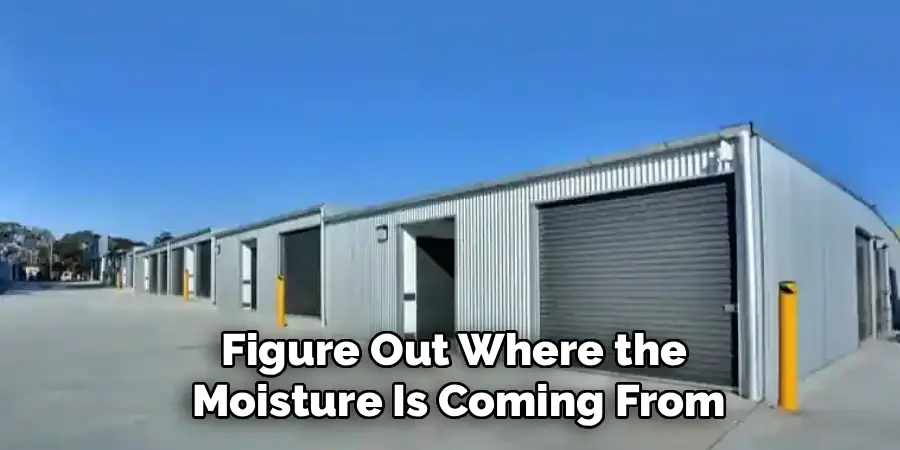
Before fixing anything, figure out where the moisture is coming from. Check for water stains on the floor, walls, and ceiling. Look for gaps around windows, doors, and utility pipes. Test the floor by taping a piece of plastic sheeting down overnight—if moisture collects beneath it, water is rising through the concrete. If it collects on top, the issue is humidity in the air. Knowing the source helps you apply the right fix instead of wasting time and money on the wrong solution.
Step 2: Seal the Garage Floor
Concrete is porous, which means water vapor can pass right through it. Applying a concrete sealer or epoxy floor coating creates a barrier that blocks moisture from rising up from the ground. Clean the floor thoroughly first, fill any cracks with a concrete patching compound, and then apply the sealer according to the manufacturer’s instructions. This is one of the most effective long-term solutions you can make, and it also makes your garage floor easier to clean.
Step 3: Seal Cracks and Gaps in Walls

Walk around your garage and look closely at the walls, especially near the base and around any windows or pipes. Even small cracks can allow significant amounts of moisture to seep in over time. Use a caulking gun and waterproof caulk to fill gaps. For larger cracks in masonry or concrete block walls, use hydraulic cement or a masonry crack filler. Pay attention to corners and areas where the wall meets the floor—these are common weak spots.
Step 4: Install Proper Weatherstripping on Doors
Gaps under and around garage doors are a major entry point for moisture-laden air. Replace worn weatherstripping on the bottom and sides of your garage door. For the side door leading into the house or yard, add a door sweep to the bottom and weatherstripping around the frame. These are inexpensive fixes that make a noticeable difference, especially during rainy seasons or in humid climates.
Step 5: Improve Ventilation
Good airflow is key to managing humidity. If your garage feels stuffy, it’s likely holding moisture. Install an exhaust fan on an exterior wall to push humid air outside. If possible, create cross-ventilation by adding vents on opposite walls. Even opening windows or the main garage door for a few hours on dry days helps refresh the air inside. For attached garages, make sure the ventilation system doesn’t pull damp air into the living areas of your home.
Step 6: Use a Dehumidifier
In particularly humid climates or during wet seasons, a dehumidifier is one of your best tools. Set it up in the center of the garage and empty the water reservoir regularly, or connect it to a drain so it runs continuously. Look for a model rated for the square footage of your space. Aim to keep indoor humidity levels between 30% and 50%. A moisture meter can help you monitor levels and adjust accordingly.
Step 7: Insulate the Walls and Ceiling
Cold surfaces cause condensation—warm, moist air hits a cold wall and turns into water droplets. Insulating your garage walls, ceiling, and even the garage door itself reduces this effect. Use rigid foam board insulation or fiberglass batts, depending on your wall construction. Insulating the garage door is easy with a garage door insulation kit available at most hardware stores. Better insulation also makes your garage more comfortable to work in during winter months.
Step 8: Redirect Water Away From the Garage
Take a look at the area around your garage during or after heavy rain. If water is pooling near the walls or flowing toward the foundation, that’s a problem. Make sure your gutters are clean and that downspouts direct water at least six feet away from the building. You can also regrade the soil around the garage so it slopes away from the structure. Adding a French drain or trench drain at the base of the driveway can help divert runoff before it reaches the garage.
Step 9: Apply Waterproof Paint or Sealant to Walls
If your garage walls are made of concrete block or bare masonry, applying a waterproof masonry paint or sealant adds another layer of protection. These products penetrate the surface and form a barrier against moisture. They’re especially useful in below-grade garages or in areas with heavy rainfall. Apply two coats for maximum protection, and make sure the surface is completely dry and clean before you start.
Step 10: Store Items Properly and Keep the Garage Organized

Even with all the right fixes in place, how you store items matters. Keep belongings off the floor using shelving units, wall-mounted hooks, and ceiling storage systems. Use sealed plastic bins instead of cardboard boxes—cardboard absorbs moisture and becomes a breeding ground for mold. Avoid storing firewood, mulch, or soil inside the garage, as these materials naturally hold moisture. Good organization also makes it easier to spot early signs of a moisture problem before it gets out of hand.
5 Things You Should Avoid
Even with the best intentions, some common mistakes can make moisture problems worse. Here’s what to steer clear of:
- Ignoring small leaks. A tiny drip or hairline crack might seem harmless, but water always finds a way to spread. Address leaks as soon as you spot them.
- Parking wet vehicles inside. When you drive in from the rain and close the door, all that water has nowhere to go. Let wet vehicles air out with the garage door open before closing up for the night.
- Blocking vents or airflow. Stacking items in front of vents or fans defeats the purpose of your ventilation system. Keep airflow pathways clear at all times.
- Skipping floor sealing. Many homeowners overlook the floor as a moisture source. Sealing the concrete is one of the most effective steps you can take—don’t skip it.
- Using the wrong caulk or sealant. Not all caulks are waterproof or suitable for exterior use. Always use a product rated for the specific application, whether that’s masonry, wood, or metal.
Frequently Asked Questions
- Why Does My Garage Floor Get Wet Even When It Hasn’t Rained?
This is usually caused by condensation. When warm, humid air comes into contact with a cool concrete floor, moisture condenses on the surface—similar to how a cold drink sweats on a hot day. This is especially common in spring and fall when outdoor temperatures fluctuate. The best way to fix this is to seal the concrete floor and improve ventilation inside the garage. A dehumidifier can also help regulate humidity levels and prevent condensation from forming in the first place. - How Do I Know if My Garage Has a Moisture Problem?
There are several telltale signs to watch for. Look for white, chalky stains on concrete walls or floors—this is called efflorescence and indicates water is moving through the material. Check for musty odors, visible mold or mildew, rust on metal tools or fixtures, and paint that is peeling or bubbling. You can also use an inexpensive moisture meter to measure the humidity level in your garage. Readings consistently above 60% are a sign that moisture needs to be addressed. - Can Moisture in the Garage Affect My Home?
Yes, it can—especially if your garage is attached to your house. Mold spores and damp air can travel through shared walls, doors, and HVAC systems, reducing the air quality inside your living spaces. Long-term mold exposure can cause respiratory problems, allergies, and other health issues. Moisture can also weaken shared walls over time, leading to structural damage. That’s why it’s important to address garage moisture not just as a storage issue, but as a home health issue that affects the entire household.
Conclusion
How to keep moisture out of garage doesn’t have to be complicated or expensive. By understanding where moisture comes from, taking a few targeted steps, and staying on top of regular maintenance, you can protect your space, your belongings, and your home’s structure for years to come.
Start with the basics—seal your floor, fix the gaps, and improve airflow. Then layer in additional solutions like a dehumidifier, proper insulation, and smart storage habits. Over time, these steps add up to a garage that stays dry, clean, and functional no matter the season.
Don’t wait for mold to appear or rust to set in. Take action now, and your garage will thank you for it.

I am Rick. I grew up helping my dad with his handyman service. I learned a lot from him about how to fix things, and also about how to work hard and take care of business. These days, I’m still into fixing things- only now, I’m doing it for a living.
I’m always looking for new ways to help people grow and develop. That’s why I have created this blog to share all my experience and knowledge so
that I can help people who are interested in DIY repair.