Ready to update and refresh a room in your home? Are you looking to revamp your garage, basement, or shop floor? Grinding concrete and applying an epoxy coating is one of the best ways to achieve a clean and durable surface that will make your space look better.

Not only will you have a beautiful result, but concrete grinding can also increase the value of your home!
Whether you’re a homeowner undertaking this DIY project or a professional contractor with years of experience in concrete grinding, epoxy installation can result in stunning results. In this blog post, we’ll walk you through every step of the process, including grinding techniques, tool selection, and safety precautions, followed by tips on how to grind concrete floors for epoxy for beautiful floors that last.
Read on for our advice and trade secrets about creating stunning epoxy-coated concrete on any scale – from cutting-edge textures to smooth finishes.
Necessary Items for Grinding Concrete Floors
Before you start grinding concrete, gathering all the necessary tools and materials is essential. Here are some of the items that you will need:
- A Grinder: The most crucial equipment for this task is an angle grinder with a diamond grinding wheel or cup attachment. Consider renting a planetary floor grinder if your project is significant or commercial.
- Protective Gear: Grinding concrete is a dusty and noisy, so wear safety glasses, earplugs, dust masks or respirators, and work gloves.
- Diamond Grinding Discs: Different types of diamond grinding discs are available in the market for various applications. Make sure to choose the right grit size according to your project needs.
- Extension Cord: Depending on the size of your project, you may need an extension cord to power your grinder.
- Vacuum Cleaner: A wet/dry vacuum cleaner will help minimize dust and debris while grinding concrete.
Other helpful items include a squeegee, broom, mop, and bucket for cleaning up after grinding.
10 Steps on How to Grind Concrete Floors for Epoxy
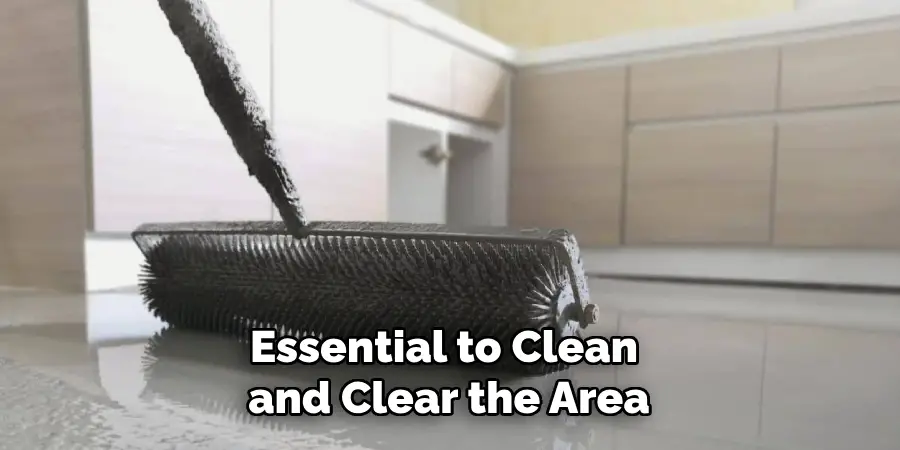
Step 1: Prepare the Area
Before starting, it is essential to clean and clear the area of any obstacles like furniture or debris. Sweep or vacuum the floor thoroughly to remove dust, dirt, or loose particles. Then, use a wet mop to remove any remaining debris and let the floor dry completely.
Step 2: Test the Concrete
Before grinding, it is essential to test your concrete for hardness to determine which diamond grinding disc will work best. You can do this using a MOHS hardness test kit or scratching the surface with a knife. If you make an indentation with little effort, your concrete is soft and will require a more aggressive diamond grit.
Step 3: Set Up Your Tools
Attach the diamond grinding disc to the angle or floor grinder according to the manufacturer’s instructions. Make sure to secure all connections tightly before starting. Also, attach the vacuum hose to your grinder and check if it works correctly.
Step 4: Begin Grinding
Start grinding from one corner of the room and work back and forth, overlapping each pass slightly. Make sure to apply even pressure and keep the grinder moving constantly. This will help prevent uneven spots on the floor.
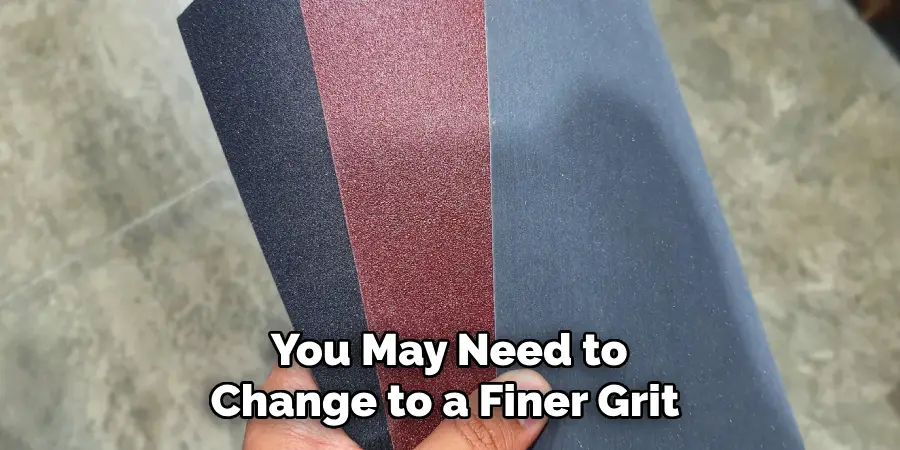
Step 5: Change Grinding Discs
Depending on the size of your project, you may need to change to a finer grit grinding disc several times. Always follow the manufacturer’s instructions for changing discs and secure them tightly.
Step 6: Clean Up Dust and Debris
Periodically stop grinding and use a squeegee or broom to remove any loose dust and debris. This will also allow you to inspect the floor for any uneven spots needing extra attention.
Step 7: Rinse the Floor
Once you have finished grinding, rinse the floor thoroughly with a mop and bucket of clean water. This will help remove any remaining dust particles. Let the floor dry completely before proceeding to the next step.
Step 8: Patch Any Imperfections
Inspect the floor for any cracks or holes that may need patching. Use a concrete patching compound and follow the manufacturer’s instructions carefully. Allow enough time for the patches to dry completely before proceeding.
Step 9: Etch the Surface
Etching is an essential step to ensure proper adhesion of the epoxy coating. You can use a concrete etching solution or create your own by mixing water and muriatic acid according to instructions.
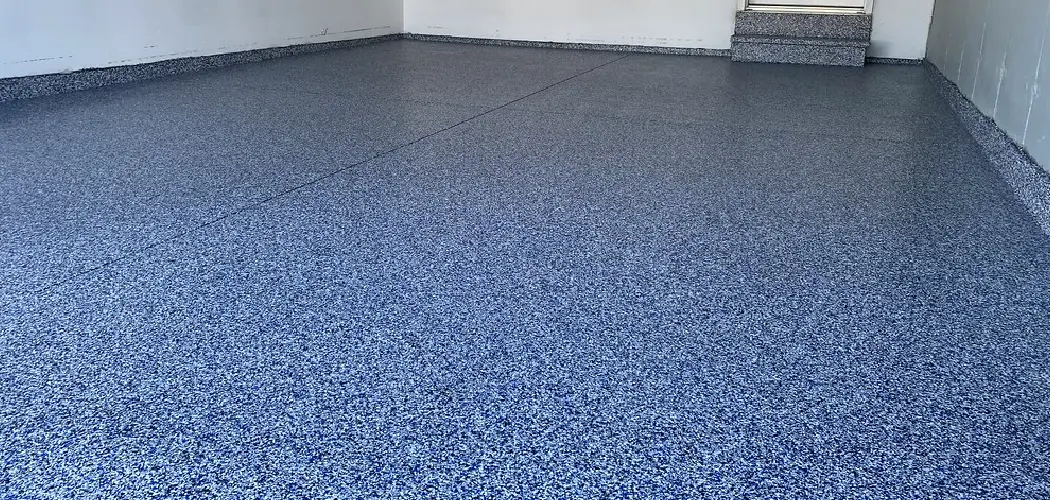
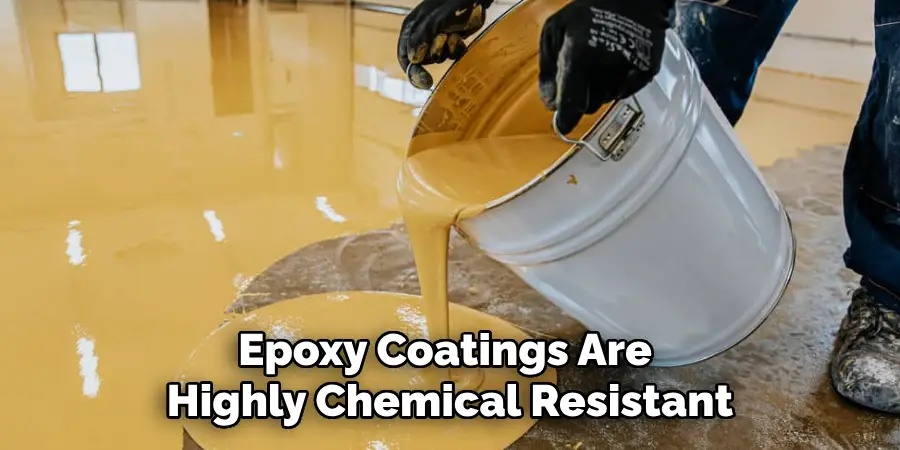
Step 10: Apply Epoxy Coating
Once the floor is prepped and dry, you are ready to apply the epoxy coating. Follow the manufacturer’s instructions carefully for mixing and application. Use a roller or squeegee to apply the epoxy evenly and work in small sections to avoid air bubbles.
8 Care Tips for Epoxy-Coated Concrete Floors
Congratulations! You have successfully ground and coated your concrete floor with epoxy. Now, here are some care tips to ensure that your floors stay looking beautiful for years to come:
1. Avoid Using Harsh Chemicals or Cleaners
Epoxy coatings are highly chemical resistant, but harsh cleaners or solvents can damage the surface and dull its shine. Stick to mild soap and water for regular cleaning.
2. Clean Up Spills Immediately
While epoxy coatings are durable, they are not entirely immune to stains and spills. Make sure to clean up any spills immediately to avoid staining or damage. Spills may cause the floor to become slippery, so use caution when walking in wet areas.
3. Use Soft Bristled Brooms or Mops for Cleaning
Avoid using abrasive materials like steel wool or stiff-bristled brushes for cleaning epoxy-coated floors, as they can scratch and damage the surface. Instead, use soft-bristled brooms or mops for regular maintenance.
4. Place Mats or Rugs in High-Traffic Areas
Place mats or rugs in high-traffic areas like entryways, hallways, and near sinks to prevent wear and tear. This will also help reduce the amount of dirt and debris that can scratch the floor’s surface.
5. Avoid Dragging Heavy Objects
Dragging heavy furniture or equipment across your epoxy-coated floor can cause scratches and damage to the coating. Use furniture pads or lift and carry heavy objects instead. So there will be no dragging mark.
6. Use a Neutral pH Cleaner for Deep Cleaning
Use a neutral pH cleaner designed explicitly for epoxy-coated floors for deep cleaning. This will help remove any stubborn stains or dirt without damaging the surface.
7. Do Not Use Steam Cleaners
Steam cleaners can damage epoxy coatings, so avoiding using them on your floors is best. Stick to traditional cleaning methods for the best results.
8. Regularly Inspect and Maintain Your Floors
Periodically inspect your floors for any signs of wear or damage and address them promptly to prevent further issues. Consider reapplying a topcoat every few years to keep your epoxy-coated floor looking new.
Grinding concrete floors for epoxy coating may seem daunting, but following these steps and care tips can achieve professional-looking results. Always follow the manufacturer’s instructions and take proper safety precautions while using power tools.
5 Things to Avoid
1. Do Not Start Grinding Without Testing
Always test your concrete for hardness before grinding. Starting without doing so can lead to improper grit selection and uneven results.
2. Do Not Skip Steps
Each step in the process is essential to achieve a durable and visually appealing epoxy-coated floor. Skipping steps or rushing through the process can result in a poor outcome.
3. Do Not Overlap Grinding Passes
Overlapping grinding passes excessively can lead to an uneven floor surface. Make sure to overlap each pass slightly for even results.
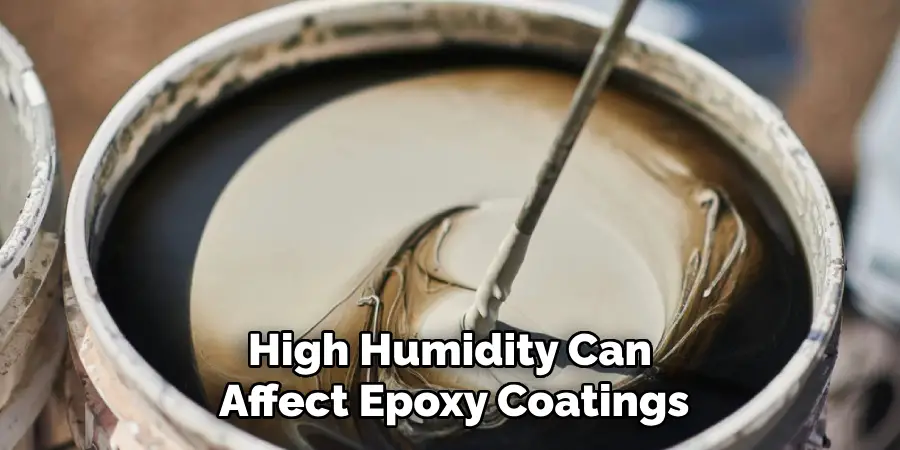
4. Do Not Apply Epoxy Coating in High Humidity
High humidity can affect epoxy coatings’ drying and curing process, leading to bubbles or a cloudy finish. Avoid applying epoxy on days with high humidity for best results.
5. Do Not Neglect Safety Precautions
Grinding concrete floors involves working with power tools and potentially harmful chemicals. Always wear proper protective gear and follow safety precautions to prevent accidents. Finally, have a safe and happy grinding experience! We hope your new epoxy-coated floors bring you many years of enjoyment.
Frequently Asked Questions
Can I Apply Epoxy Coating to Any Concrete Floor?
Yes, you can apply epoxy coatings to most concrete floors. However, ensure the surface is clean, dry, and free of oils or sealants before starting.
How Long Will the Epoxy Coating Last?
With proper maintenance and care, epoxy coatings can last for 7-10 years. However, high-traffic areas may require more frequent touch-ups.
Can I Change the Color of My Epoxy-Coated Floor?
Yes, you can change the color of your epoxy-coated floor by applying a new topcoat or adding color flakes during the coating process. Just make sure to follow the manufacturer’s instructions for best results.
Can Epoxy Coatings Be Used Outdoors?
Yes, epoxy coatings can be used outdoors if they are UV-resistant and formulated specifically for outdoor use. Check with the manufacturer before using it on an outdoor surface.
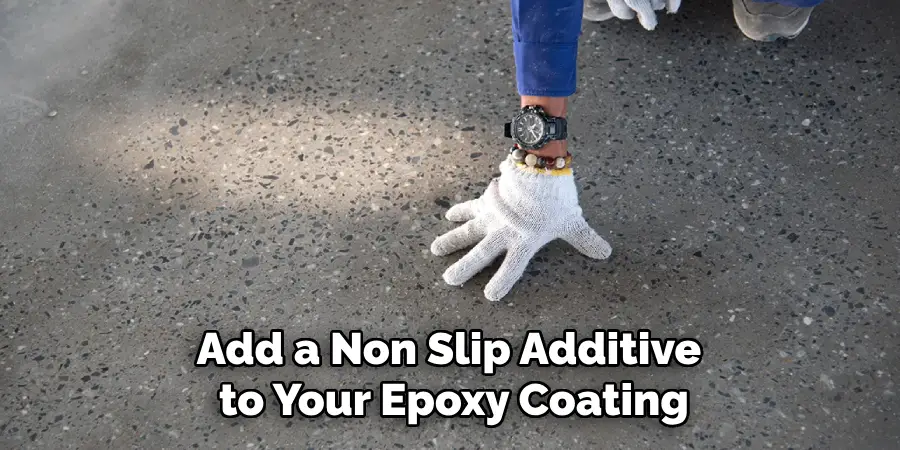
Can I Add a Non-Slip Additive to the Epoxy Coating?
You can add a non-slip additive to your epoxy coating for safety and slip resistance. Follow the manufacturer’s instructions and test the surface for smoothness before applying. Remember these tips and enjoy your beautiful, durable, epoxy-coated floors for years!
Conclusion
In conclusion, epoxy coatings are an excellent way to transform your concrete floors into a stunning and durable surface. Following the proper grinding and coating process and regularly taking care of your floors, you can enjoy beautiful, low-maintenance floors for years. With the right skill and care, grinding concrete floors for epoxy is straightforward.
Taking the time to prepare the surface and familiarize yourself with the necessary steps can help make sure you get the best results. You will be surprised at what a beautiful finish you can achieve with just a few tools and a little know-how to grind concrete floors for epoxy.
What’s more, it can be an incredibly satisfying job when you look at your completed project. As always, safety should come first in DIY projects like this. Ensure you have all the appropriate protective gear before attempting anything that could cause potential harm or injury!
With some hard work and dedication, you will have polished, stunning floors ready to show off to family, friends, and guests in no time! Remember always to follow safety precautions and manufacturer’s instructions for best results.
I am Rick. I grew up helping my dad with his handyman service. I learned a lot from him about how to fix things, and also about how to work hard and take care of business. These days, I’m still into fixing things- only now, I’m doing it for a living.
I’m always looking for new ways to help people grow and develop. That’s why I have created this blog to share all my experience and knowledge so
that I can help people who are interested in DIY repair.