Are you looking for an easy, effective way to update your garage floor and create a professional-looking finish? Epoxy coatings offer the perfect solution, giving you a low-maintenance surface that is durable enough to stand up to everyday wear and tear.
And when you add flakes into the mixture or sprinkle them on top, your garage floor can also have plenty of personality – it’ll be both functional and beautiful!
In this post, we will cover all of the steps required to properly epoxy your garage floor with flakes – from cleaning and prepping the surface to applying the coating. So if you’re ready to get started transforming your space from ordinary into extraordinary, just keep reading to learn about how to epoxy a garage floor with flakes!
Why May You Want to Epoxy a Garage Floor With Flakes?
1 . To Protect Your Floor
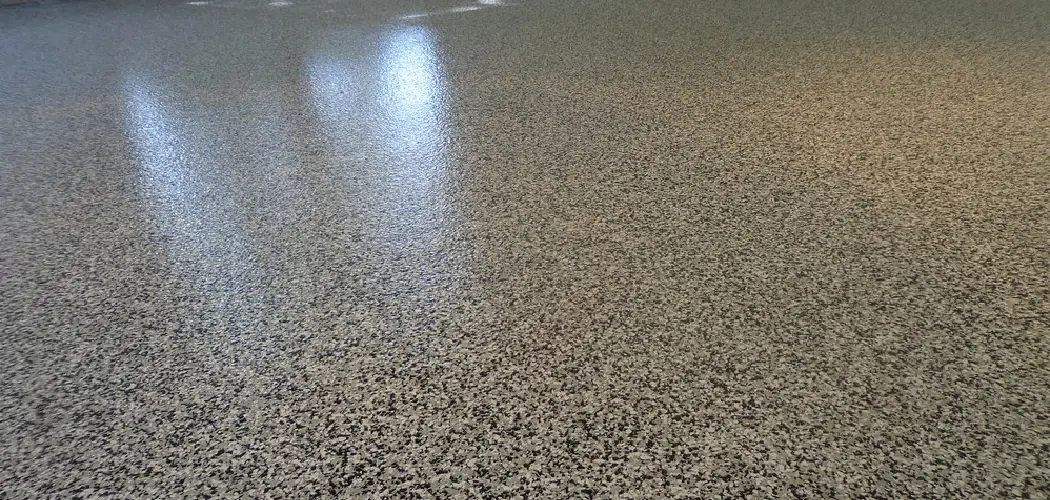
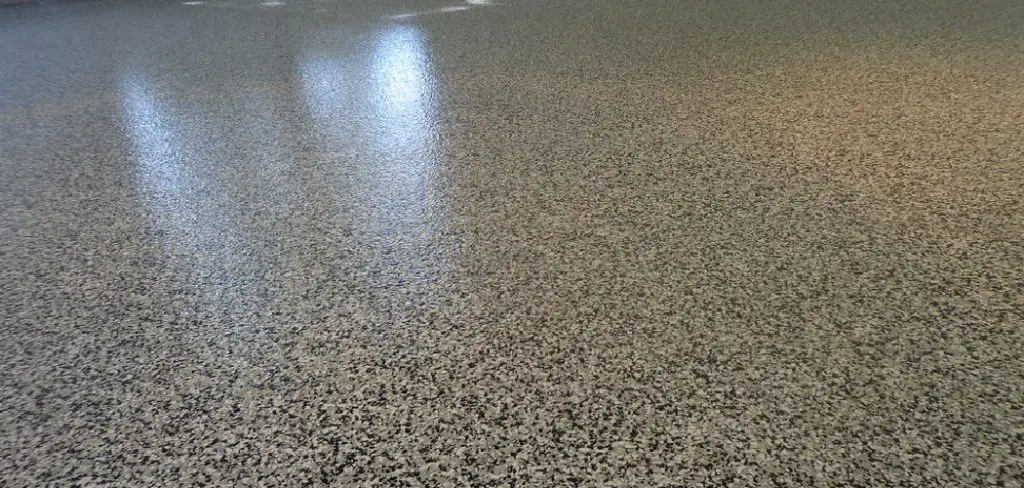
One of the main reasons to epoxy a garage floor is to protect it from damage. Flakes, also known as chips or flecks, are small pieces of vinyl or acrylic chips that can be added to the epoxy coating.
These flakes not only give your floor an attractive look but also provide a textured surface for better grip. This helps prevent slips and falls, making your garage a safer space for you and your family. Additionally, the epoxy coating acts as a barrier against stains, chemicals, and other potential damages that can occur in a garage environment.
2 . To Add Durability
Epoxy flooring is known for its durability and longevity. By adding flakes to the epoxy coating, you can further enhance its strength and resilience. The flakes help to reinforce the coating, making it more resistant to scratches, impacts, and heavy traffic.
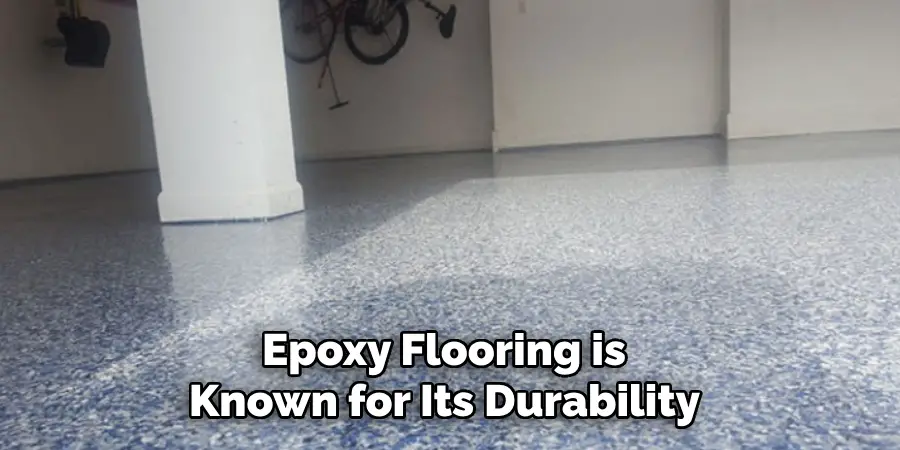
This is especially beneficial for garage floors that endure a lot of wear and tear from vehicles, tools, and equipment.
3 . To Customize Your Floor
Another advantage of using flakes in an epoxy coating is the ability to customize your floor. Flakes come in a variety of colors, sizes, and blends, giving you the freedom to create a unique and personalized look for your garage floor.
You can choose from solid colors or mix different hues to create a multi-colored effect. This allows you to match your floor with the overall aesthetic of your garage or even add some personality and style.
4 . To Cover Up Imperfections
If your garage floor has minor imperfections such as cracks or stains, using flakes in the epoxy coating can help to conceal them. The textured surface created by the flakes helps to hide small flaws and creates a more uniform appearance. This can save you time and money from having to repair or replace your old concrete floor.
5 . To Make Maintenance Easier
Epoxy flooring is known for its low maintenance requirements. And by adding flakes to the coating, you can make cleaning and upkeep even easier. The textured surface created by the flakes helps to hide dust, dirt, and debris, making it less noticeable and easier to clean. Additionally, the protective barrier of the epoxy coating makes spills and stains easy to wipe off without causing damage to the floor.
How to Epoxy a Garage Floor With Flakes in 6 Easy Steps
Step 1: Prepare the Garage Floor
Before you begin to apply epoxy and flakes to your garage floor, make sure it is properly prepared. This means cleaning the floor thoroughly by sweeping or vacuuming up any debris and removing any stains or oil spots with a degreaser.
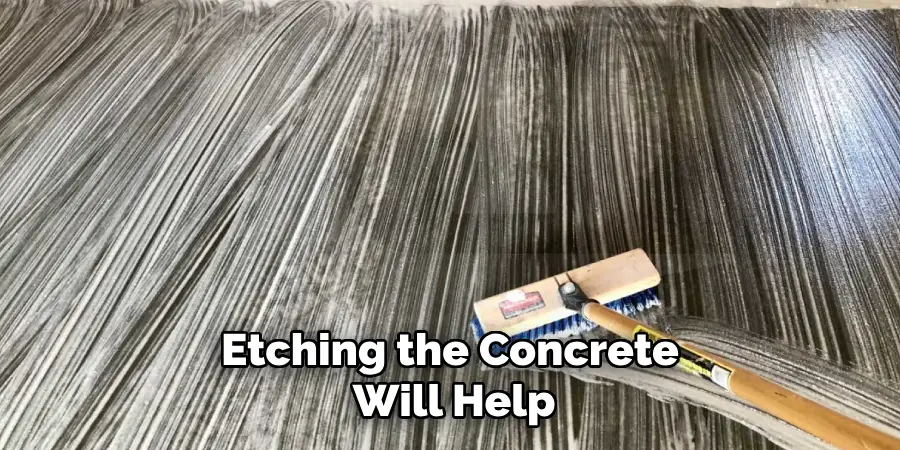
Step 2: Etch the Concrete
Etching the concrete will help open up the pores of the surface, allowing the epoxy to better adhere to the floor. You can use a commercial etching product or create your own by mixing water and muriatic acid.
Step 3: Mix the Epoxy
Follow the manufacturer’s instructions for mixing your epoxy coating. Once it is properly mixed, let it sit for about 30 minutes to allow any air bubbles to rise to the surface.
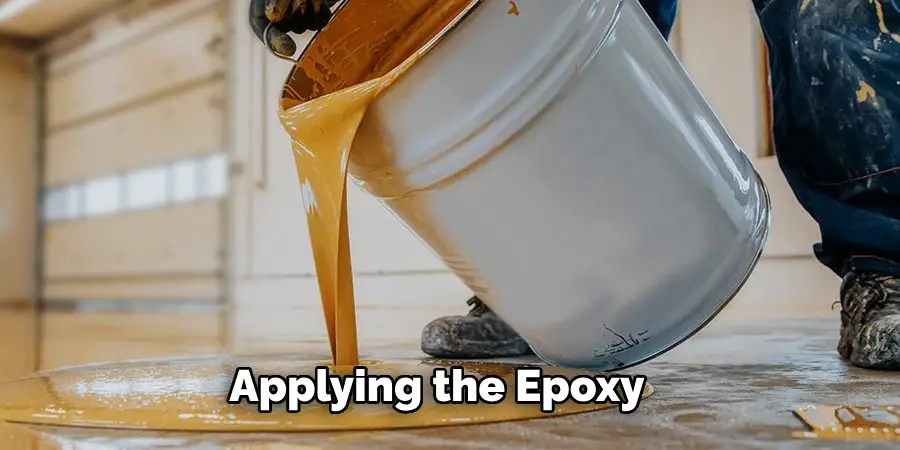
Step 4: Apply the Epoxy
Using a paint roller, start applying the epoxy in small sections. Work quickly as the epoxy will begin to harden within 20-30 minutes. Use a brush to cut in any edges or corners that cannot be reached with the roller.
Step 5: Add Flakes
After applying the epoxy, it’s time to add the flakes. Sprinkle them onto the wet epoxy coating in a consistent and even manner. You can use as many or as few flakes as you’d like to achieve your desired look.
Step 6: Seal the Floor
Allow the epoxy and flakes to dry for at least 24 hours before sealing it with a clear topcoat. This will not only protect the floor from wear and tear but also give it a glossy finish. Also, make sure to follow the manufacturer’s instructions for proper drying and curing times.
Overall, epoxying a garage floor with flakes is a relatively simple process that can greatly enhance the appearance and durability of your garage. With these 6 easy steps, you can transform your dull concrete floor into a beautiful, seamless surface. So why wait? Go ahead and give your garage a much-needed makeover!
Some Extra Tips to Epoxy a Garage Floor With Flakes
1 . Do Not Rush the Process
While epoxy flooring is a relatively simple process, it requires patience and attention to detail. Rushing through the steps can result in an uneven or poorly bonded finish. Take your time to properly prep your floor, mix the epoxy according to instructions, and apply it evenly.
2 . Choose the Right Color Flakes
When selecting flakes for your garage floor, consider the color and style of your overall space. Darker colors tend to make a room feel smaller, while lighter colors can give the illusion of a brighter, larger space. Additionally, consider choosing flakes that complement or contrast with your garage’s walls or other design elements.
3 . Consider Adding Multiple Layers
For added durability and depth, you may want to consider adding multiple layers of epoxy and flakes. This will not only enhance the appearance of your garage floor, but it will also provide additional protection against wear and tear.
4 . Don’t Forget About Maintenance
While epoxy flooring is known for its durability, it still requires maintenance to keep it looking its best. Regularly sweep or mop the surface to remove any debris or spills. Avoid using harsh chemicals or abrasive tools, as they can damage the epoxy finish.
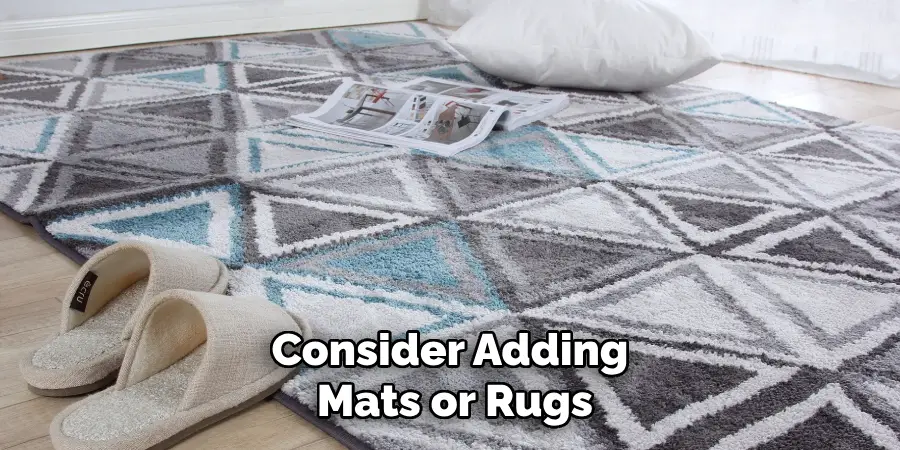
5 . Protect Your Investment
Epoxy flooring is an investment in your garage space, so it’s important to protect it. Consider adding mats or rugs in high-traffic areas to prevent wear and tear. You may also want to add furniture pads under heavy items to avoid scratching or denting the surface.
6 . Consider Hiring a Professional
While epoxy flooring can be a DIY project, it may be worth considering hiring a professional to ensure the best results. They will have experience and specialized tools that can make the process smoother and more efficient. Plus, they can offer advice on color selection and maintenance for your specific space.
By following these additional tips, you can ensure successful and long-lasting epoxy flooring with flakes in your garage. Remember to take your time, choose the right products, and protect your investment for years to come. So, these were some extra tips related to how to epoxy a garage floor with flakes that will help you achieve professional-looking results. Happy renovating!
Frequently Asked Questions
What Precautions Should I Take Before Epoxying My Garage Floor?
Before you start the process of epoxying your garage floor with flakes, there are a few precautions that you should take to ensure that the project goes smoothly and successfully.
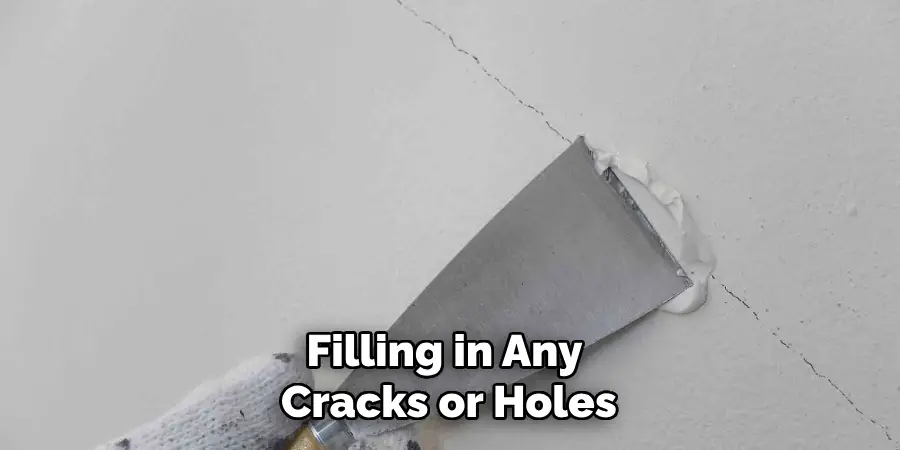
These include: Make sure to thoroughly clean your garage floor before starting the epoxy process. This includes removing any oil or grease stains and sweeping away any dust or debris. Additionally, make sure to check for any cracks or damage on the floor and repair them before proceeding with the epoxy.
How Do I Prepare My Garage Floor for Epoxy?
To prepare your garage floor for epoxy, you will need to follow a specific process. This includes thoroughly cleaning and degreasing the surface, filling in any cracks or holes, and etching the floor to ensure proper adhesion of the epoxy. You may also want to consider using a primer before applying the epoxy, especially if your floor is very porous.
Can I Apply Epoxy Over a Stained or Painted Garage Floor?
Yes, you can apply epoxy over a stained or painted garage floor. However, it is important to note that the stain or paint must be fully cured and properly adhered to the floor. If there are any areas where the stain or paint is peeling or chipping, these should be sanded down and repaired before applying the epoxy.
How Do I Choose a Color for My Epoxy Garage Floor?
Choosing a color for your epoxy garage floor can be a fun and exciting process. You can choose a solid color or mix multiple colors to create a unique pattern. Additionally, you may want to consider using decorative flakes for added texture and design. When choosing a color, it is important to consider the overall style and aesthetic of your garage.
How Do I Maintain My Epoxy Garage Floor?
Proper maintenance is essential for keeping your epoxy garage floor looking its best. Here are a few tips to help maintain your floor: Avoid using harsh chemicals or cleaners on the surface, as they can damage the epoxy. Instead, use a mild soap and water for regular cleaning. Also, make sure to wipe up any spills or stains immediately to prevent staining or damage.
Conclusion
By following these simple steps on how to epoxy a garage floor with flakes, not only will you have a beautiful and unique garage floor that you can be proud of, but you’ll also get the peace of mind of knowing that your new epoxy floor will withstand wear-and-tear for many years. Plus, it was fun to do! So why not take on a DIY weekend project and revive your garage with a stunning epoxy flake flooring.
There’s nothing like taking something ordinary and transforming it into something extraordinary. And when you reach the end result – an eye-catching epoxy flake garage floor – you’ll be glad you committed to learning how to properly apply the flakes correctly in order to create something truly remarkable.
I am Rick. I grew up helping my dad with his handyman service. I learned a lot from him about how to fix things, and also about how to work hard and take care of business. These days, I’m still into fixing things- only now, I’m doing it for a living.
I’m always looking for new ways to help people grow and develop. That’s why I have created this blog to share all my experience and knowledge so
that I can help people who are interested in DIY repair.