It seems like every time your car leaks something; it ends up on your garage floor. Over time, these stains can build up and create an unsightly mess. However, there are a few simple tricks that you can use to remove these stains and keep your garage floor looking clean. For example, use a stiff brush and some detergent to scrub stubborn stains.
You can also treat tough stains with a mixture of bleach and water. Just be sure to leave the mixture on for the recommended amount of time before rinsing it off. You can remove even the most stubborn garage floor stains with a little elbow grease. In this blog post, you will learn in detail how to remove garage floor stains by following the step & tips.
What Are Some Common Causes of Garage Floor Stains?
Many different things can cause garage floor stains. Some common causes include:
- This is one of the most common causes of garage floor stains. Oil and grease can come from your car and other sources like lawn equipment or hobbies that use oil or grease.
- Brake fluid can leak from your car and onto the garage floor, causing stains.
- Antifreeze can also leak from your car and cause staining.
- If you wash your car in the garage, soap and detergent can get on the floor and cause staining.
- If there is any moisture on the floor, mildew can grow and cause stains. This is especially common in humid areas.
- Rust from tools or metal objects can also cause stains on the garage floor.
Knowing what is causing the stain can help you determine the best method for removing it. For example, oil and grease stains will require a different cleaning method than rust stains.
Why Do You Need to Remove Garage Floor Stains?
There are a few reasons why it’s important to remove garage floor stains:
Aesthetics:
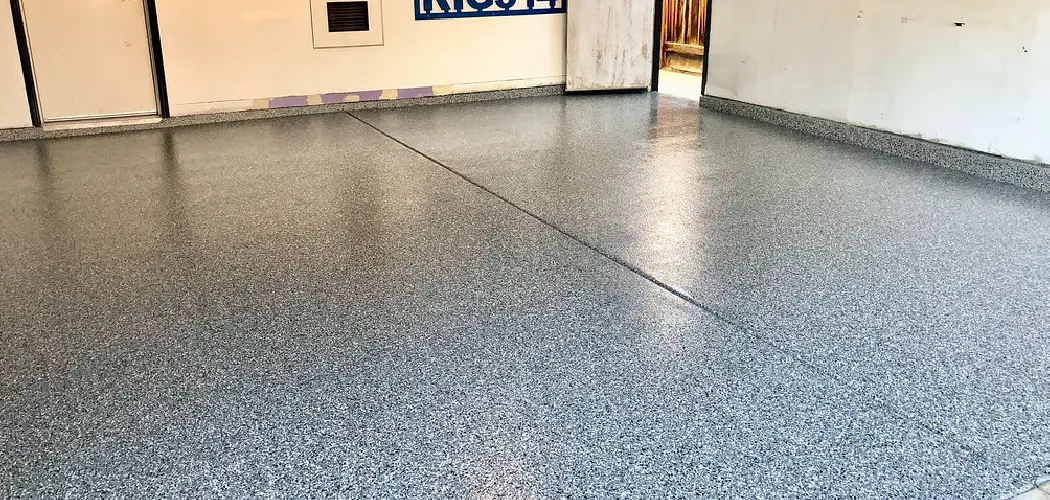
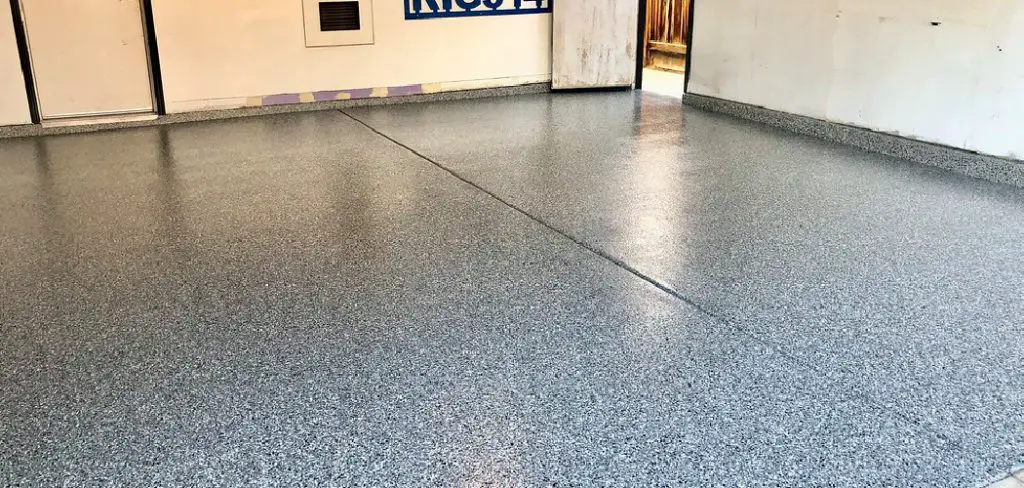
First and foremost, having a clean and stain-free garage floor can improve the overall appearance of your garage. This is especially important if you use your garage as a workshop or storage space.
Safety:
Stains on the garage floor can create slippery and hazardous surfaces, increasing the risk of accidents. This is particularly true for oil and grease stains that can make it easy to slip and fall.
Prevent Damage:
Stains can also cause damage to your garage floor if left untreated. For example, oil and grease stains can penetrate the surface and weaken the concrete, leading to cracks and other structural issues.
Avoid Fines:
Some homeowners associations or city regulations may require you to keep your garage floor clean and free of stains. Failure to do so could result in fines or penalties.
Needed Materials:
To remove garage floor stains, you will need the following materials:
Stiff Brush:
A stiff brush is essential for scrubbing tough stains and lifting them off the floor.
Detergent:
A mild detergent or dish soap can be used to break down oil and grease stains.
Bleach:
Bleach is a powerful stain remover that can be used on tough stains like rust or mildew.
Water:
You will need water to rinse off cleaning solutions and stains.
Protective Gear:
When working with chemicals like bleach, it’s important to protect your skin and eyes by wearing gloves and safety glasses.
Step by Step Processes for How to Remove Garage Floor Stains
Step 1: Determine the Type of Stain
The first step is identifying the type of stain on your garage floor. There are two main types of stains: oil-based and water-based. Leaks from vehicles or other machinery usually cause oil-based stains. Water-based stains are usually caused by spills or tracked in mud and dirt. Identifying the type of stain will help you choose the correct cleaning method.
You can also do a simple water test to determine the type of stain. Pour a small amount of water on the stain and wait for a few minutes. If the water beads up, it’s likely an oil-based stain. If the water absorbs quickly, it’s probably a water-based stain.
Step 2: Gather the Materials Needed
Once you know what type of stain you are dealing with, you can gather the materials you will need to remove it. You will need rags or paper towels, a degreaser, and a pressure washer for oil-based stains. For water-based stains, yeou will need a mild detergent or bleach, a stiff brush, and water. Be sure to wear protective gear when working with chemicals.ou will need rags or paper towels, a cleaner made for concrete floors, and a garden hose.
It’s also a good idea to open up windows and doors for ventilation while you work. But if the stains are particularly stubborn, you may need to use a more powerful cleaning agent like muriatic acid. In this case, it’s crucial to follow safety precautions and carefully read the instructions on the product.
Step 3: Test the Degreaser or Cleaner
Before you start using any cleaners on your garage floor, it is important to test them in an inconspicuous area first. This will help you avoid any unwanted damage to your floor. Follow the instructions on the cleaner and see if it effectively removes the stain without causing any discoloration or damage.
You can also try creating a paste with baking soda and water to use as a gentle cleaner for tougher stains. The baking soda will act as a mild abrasive, helping to scrub away the stain.
Step 4: Start Cleaning
If you are dealing with an oil-based stain, start by blotting up as much of the oil as possible with a rag or paper towel. Once you have removed as much oil as possible, apply a degreaser to the area and let it sit for a few minutes. After a few minutes, use a pressure washer to remove the degreaser and any remaining oil from the floor.
If you are dealing with a water-based stain, start by blotting up as much of the water as possible with a rag or paper towel. Once you have removed as much water as possible, apply a cleaner made for concrete floors to the area and let it sit for a few minutes. After a few minutes, use a garden hose to remove the cleaner and any remaining water from the floor.
Step 5: Seal the Floor
Once you have removed all of the stains from your garage floor, it is important to seal the floor to help prevent future stains. There are a variety of sealers available, so be sure to choose one that is right for your particular floor.
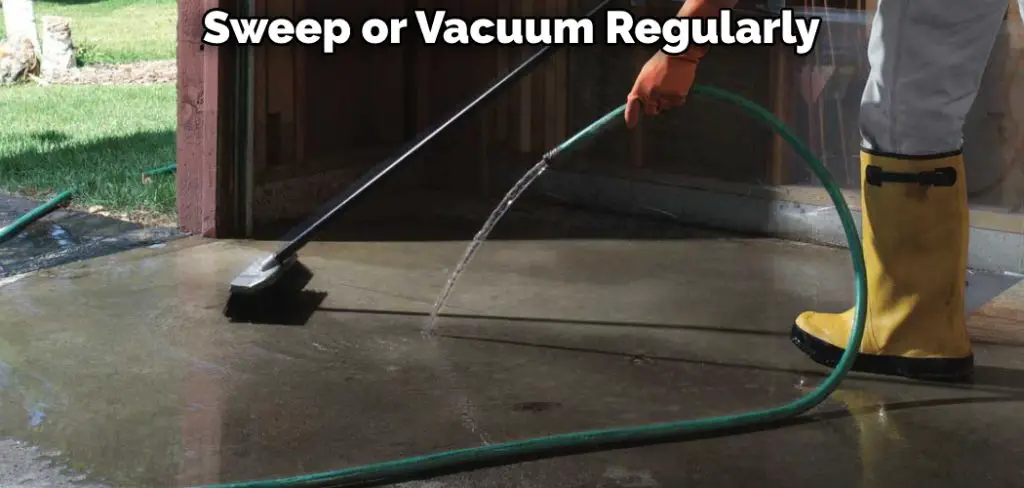
If the stain is still visible after following the steps above, you may need to repeat the process. After you have followed all of the steps above, you should have a clean and stain-free garage floor. Be sure to sweep or vacuum regularly to help keep it looking its best.
Tips for How to Remove Garage Floor Stains
- Always wear protective clothing when working with chemicals. This includes gloves, goggles, and a face mask. Work in a well-ventilated area to avoid inhaling dangerous fumes.
- Never mix different chemicals together. This can create dangerous reactions. Dispose of all chemical products and containers according to local regulations.
- Be sure to read the manufacturer’s instructions carefully before using any product. Never use a power washer to clean a garage floor, as this can damage the surface.
- Always test a small area of the floor before treating the entire surface. Use an acid-based cleaner for oil or grease stains.
- Use a detergent or soap to remove dirt and grime. Use a bleach solution to remove mildew or mold stains.
- Rinse the area thoroughly with clean water after cleaning. Allow the floor to dry completely before walking on it or applying a sealer.
- If using a sealer, apply it according to the manufacturer’s instructions. Do not park cars on the floor until the sealer has had time to dry completely.
- Regularly sweep and mop the floor to keep it clean and debris-free.
How Can You Prevent Garage Floor Stains From Happening in the First Place?
The best way to deal with garage floor stains is to prevent them from happening in the first place. Here are some ways:
- Keep your garage clean and free of debris. This will help reduce the chances of stains forming in the first place.
- Sweep or vacuum your garage floor regularly. This will help pick up any dirt or debris that could potentially cause stains.
- If you spill something on your garage floor, clean it up immediately. The longer a substance sits on the floor, the more likely it is to cause a stain.
- Consider applying a sealer to your garage floor. This will create a barrier that can help prevent stains from penetrating the floor’s surface.
Is It Necessary to Call Any Professional to Remove Garage Floor Stains?
No, it’s unnecessary to call any professional to remove garage floor stains. You can clean your garage floor stains on your own in several ways. One way is to use a pressure washer. You can rent or purchase a pressure washer from most hardware stores. Another way is to use a stiff brush and some soapy water.
You can also use a chemical cleaner, such as trisodium phosphate (TSP). TSP is available at most hardware stores. Be sure to follow the instructions on the package. If you have oil stains on your garage floor, you can try using kitty litter or sawdust to absorb the oil. Let it sit for a few hours, then sweep it up and dispose of it. You can also try using a degreaser to remove oil stains.
Be sure to test the degreaser on a small floor area first to ensure it doesn’t damage the finish. If you have rust stains on your garage floor, you can try using a wire brush to remove them. You can also try using a chemical rust remover. Be sure to follow the instructions on the package and test the product on a small area of the floor first.
How Much Will It Cost to Remove Garage Floor Stains by Hiring a Professional?
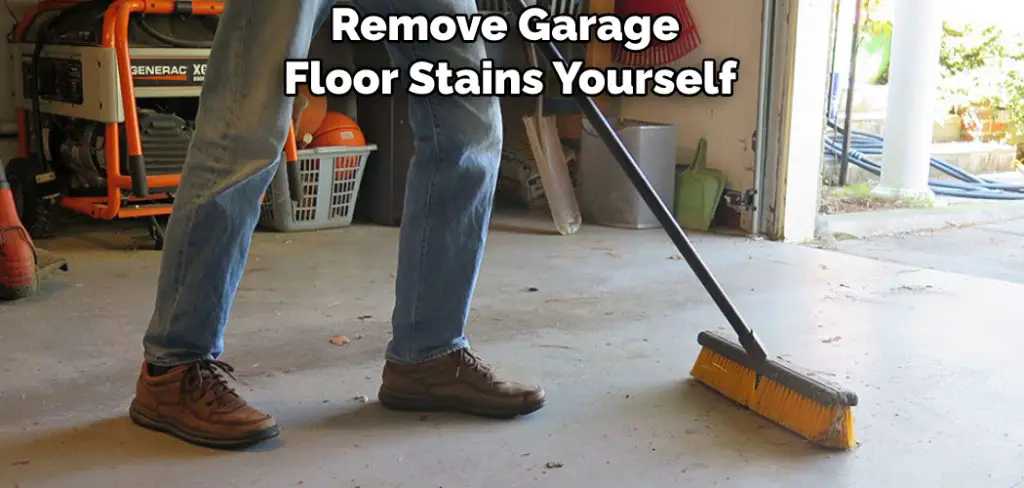
The cost will be minimal if you plan to remove garage floor stains yourself. You will only need to purchase some basic cleaning supplies and rent a power washer if you do not already have one. If you decide to hire a professional to remove the stains, the cost will be higher.
The average cost to remove garage floor stains is between $100 and $300. The price will depend on the size of your garage and the number of stains that need to be removed. If you have a large garage with multiple stains, the cost will be on the higher end.
There are a few things that you can do to reduce the cost of removing garage floor stains. First, try removing as many stains as possible before calling in a professional. Second, if you have a power washer, use it to remove most of the stains and hire a professional to finish the job. This will save you money because the professional will not have to rent a power washer.
Do You Need to Get Help From a Professional?
In most cases, you can successfully remove garage floor stains on your own. However, if you have a large garage with multiple deep and stubborn stains, it may be best to call in a professional. They will have the proper equipment and experience to effectively remove even the toughest stains.
It is also important to consider your own safety when dealing with potentially hazardous chemicals. If you are uncomfortable or inexperienced with handling chemical cleaners, it may be best to leave the job to a professional. Additionally, if the stains cannot be removed using traditional methods and require specialized equipment, a professional may be your best option.
How Much Will It Cost?
The cost of hiring a professional to remove garage floor stains can vary depending on the size of your garage and the severity of the stains. On average, it can cost between $100 and $300 for a professional service. However, this cost can increase if you have a large garage or difficult-to-remove stains.
It’s always best to get quotes from multiple professionals before making a decision. This will give you an idea of the average cost in your area and help you find the best deal.
Frequently Asked Questions:
Q: Can I Remove Garage Floor Stains Myself?
A: Yes, you can remove garage floor stains on your own using basic cleaning supplies and equipment. However, for difficult or stubborn stains, it may be best to call in a professional. I would recommend trying to remove the stains yourself first before seeking professional help.
Q: How Do I Prevent Garage Floor Stains?
A: Keeping your garage clean and free of debris, regularly sweeping and mopping the floor, and promptly cleaning up spills can help prevent stains from forming in the first place. Applying a sealer to your garage floor can also provide an extra layer of protection against stains.
Q: Will Removing Garage Floor Stains Damage My Floor?
A: It’s always best to test any cleaning products or methods on a small area of your garage floor before tackling the entire stain. This will ensure that the product does not damage or discolor your floor. If you’re unsure, it may be best to seek professional help to avoid any potential damage.
Q: How Often Should I Clean My Garage Floor?
A: It is recommended to sweep and mop your garage floor at least once a month, or more frequently if it gets a lot of use and traffic. Regularly cleaning your garage floor can help prevent stains from forming and keep it looking clean and well-maintained. However, spills should be cleaned up immediately to avoid the chances of staining.
Q: Can I Use Household Cleaners to Remove Garage Floor Stains?
A: It is best to use cleaners specifically designed for removing garage floor stains. While household cleaners may work on some stains, they can also damage the finish of your floor. It’s important to read and follow the instructions on any cleaning product before using it on your garage floor.
Overall, with proper care and maintenance, removing garage floor stains should not cause any damage to your floor. So follow the instructions carefully and use caution when dealing with potentiall dangerous chemicals. With a little elbow grease and the right tools, you can have a clean and stain-free garage floor in no time!
Conclusion
If you have been struggling to remove stains from your garage floor, we hope this guide has been helpful. Remember, the key to successful removal is to act quickly and use the right products and tools.
If you are not comfortable tackling the job yourself, hire a professional to get the job done safely and efficiently. I hope this article has been beneficial in learning how to remove garage floor stains. Make the necessary preparations and take steps to rid your floor of unwanted blemishes.
You Can Check It Out Keep Rats Out of Garage
I am Rick. I grew up helping my dad with his handyman service. I learned a lot from him about how to fix things, and also about how to work hard and take care of business. These days, I’m still into fixing things- only now, I’m doing it for a living.
I’m always looking for new ways to help people grow and develop. That’s why I have created this blog to share all my experience and knowledge so
that I can help people who are interested in DIY repair.