
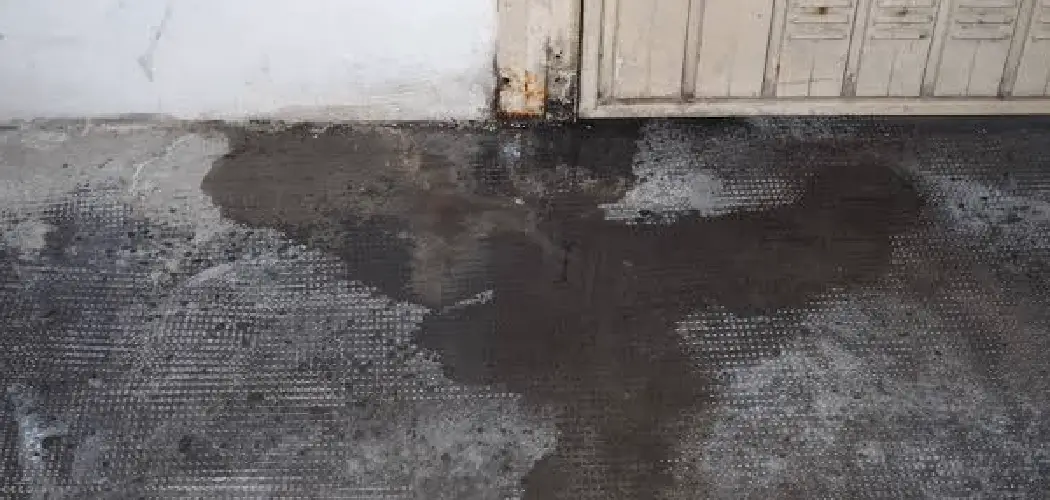
Walk into your garage and catch a whiff of something musty? Notice dark, fuzzy patches spreading across the concrete? That’s mold, and it’s more than just an eyesore. Garage floors are perfect breeding grounds for mold because they collect moisture, stay poorly ventilated, and rarely get the cleaning attention that the rest of your home enjoys.
Mold on your garage floor isn’t only unpleasant to look at. It can damage your concrete over time, create slippery surfaces, and release spores that affect the air you breathe. If left alone, a small patch can quickly grow into a stubborn, widespread problem that’s tough to tackle.
This guide on how to remove mold from garage floor walks you through everything you need to know, from the benefits of a mold-free floor to a simple 10-step process. Let’s get your garage back to being clean, safe, and fresh.
Benefits
Getting rid of mold does more than improve how your garage looks. Here’s what you gain when you take the time to clean it up properly:
- Healthier air quality. Mold spores float into the air and can trigger allergies, coughing, and breathing issues. Removing mold means cleaner air for you and your family.
- Protected concrete. Mold and the moisture that feeds it can slowly break down your garage floor, leading to cracks and surface damage. Cleaning it early saves you costly repairs later.
- A safer surface. Moldy patches can be slick and dangerous. A clean floor lowers your risk of slips and falls.
- A fresher smell. That damp, musty odor disappears once the mold is gone, making your garage a more pleasant space to spend time in.
- Higher home value. A clean, well-kept garage adds appeal if you ever decide to sell. Buyers notice details like this.
- Peace of mind. Knowing your space is clean and safe simply feels good, especially if you use your garage as a workshop or hangout spot.
Now that you know why it’s worth the effort, let’s gather your supplies.
What Will You Need?
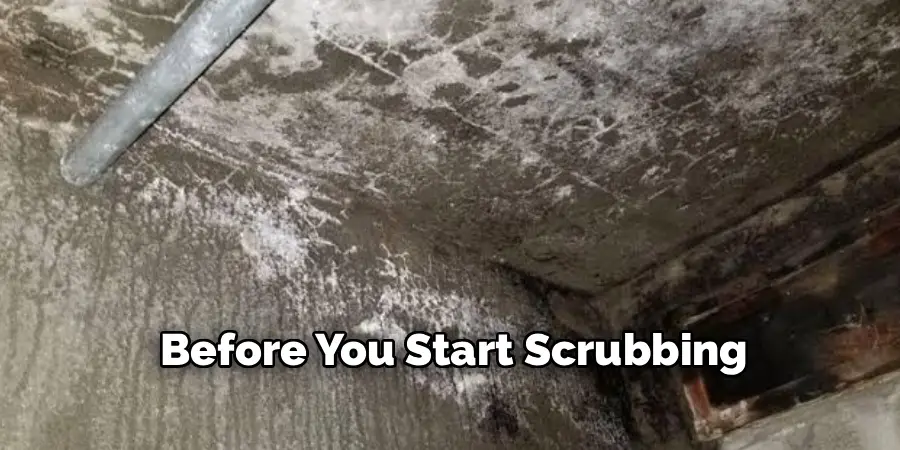
Before you start scrubbing, make sure you have everything on hand. Having the right gear makes the job faster, safer, and far more effective.
Protective Gear:
- Rubber gloves
- Safety goggles
- N95 face mask or respirator
- Old clothes or coveralls
Cleaning Supplies:
- Stiff-bristle scrub brush
- Mop and bucket
- Push broom
- Spray bottle
- Old rags or towels
Cleaning Solutions (Choose Based on Your Preference):
- White vinegar
- Baking soda
- Household bleach
- Commercial mold remover (optional)
- Dish soap
- Warm water
Extra Helpers:
- Garden hose or pressure washer
- Wet/dry vacuum (optional)
- Fan or dehumidifier for drying
- Sealant for concrete (for long-term prevention)
With your supplies ready, it’s time to roll up your sleeves and get to work.
10 Easy Steps on How to Remove Mold from Garage Floor
Step 1: Prepare and Ventilate the Space

Start by opening every door and window in your garage. Good airflow is essential when you’re dealing with mold, because it helps clear spores and any fumes from cleaning products. If you have a fan, set it up to push air out of the garage rather than circulate it inside. Move your car, tools, boxes, and anything else off the floor so you have full access to the affected areas. Clearing the space also protects your belongings from splashes and cleaning solutions. Take a moment to inspect the whole floor so you know exactly where the mold is hiding.
Step 2: Put On Your Protective Gear
Never skip this step. Mold spores can irritate your skin, eyes, and lungs, so gear up before touching anything. Slip on your rubber gloves, safety goggles, and an N95 mask or respirator. Wear old clothes you don’t mind getting dirty, and consider covering your arms and legs fully. If you have sensitive lungs or a large mold problem, a proper respirator is worth the investment. Staying protected keeps this simple chore from turning into a health issue.
Step 3: Sweep and Clear Loose Debris
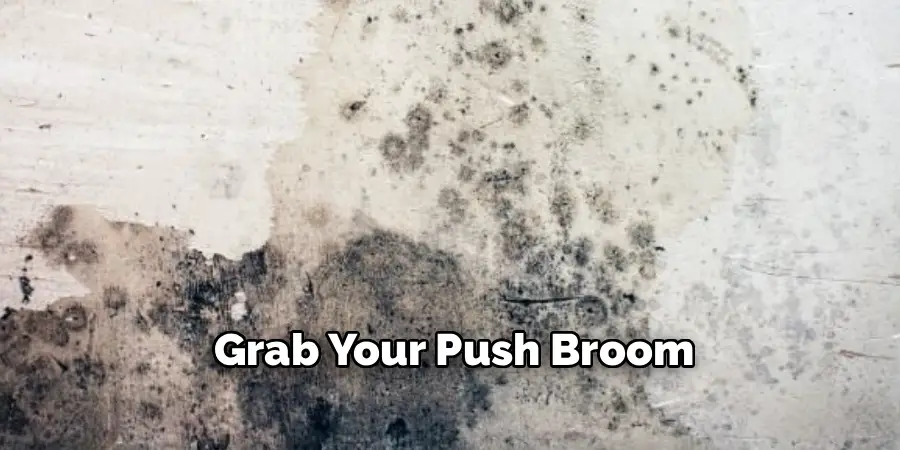
Grab your push broom and sweep the entire floor. Remove dirt, dust, leaves, and any loose debris that could get in the way. Mold often traps grime, so clearing this layer helps your cleaning solution reach the actual mold. Pay attention to corners and edges where dust likes to gather. If you have a wet/dry vacuum, use it to pick up finer particles. A clean starting surface makes the rest of the job far more effective.
Step 4: Mix Your Cleaning Solution
Now prepare your mold-fighting mixture. For a natural option, pour undiluted white vinegar into a spray bottle; it kills most mold types without harsh chemicals. If you prefer bleach, mix one cup of bleach with one gallon of water. For tough spots, make a paste with baking soda and a little water. Whatever you choose, never mix bleach with vinegar or ammonia, since that creates dangerous fumes. Pick one method and stick with it for the whole floor.
Step 5: Apply the Solution to the Mold
Spray or pour your cleaning solution directly onto the moldy areas. Make sure you cover every visible patch, along with a bit of the surrounding surface where hidden spores may live. Don’t be shy; the concrete should be thoroughly wet with the solution. If you’re using a baking soda paste, spread it over the mold with a brush or cloth. Coating the area completely ensures the solution can break down the mold at its roots.
Step 6: Let It Sit and Soak
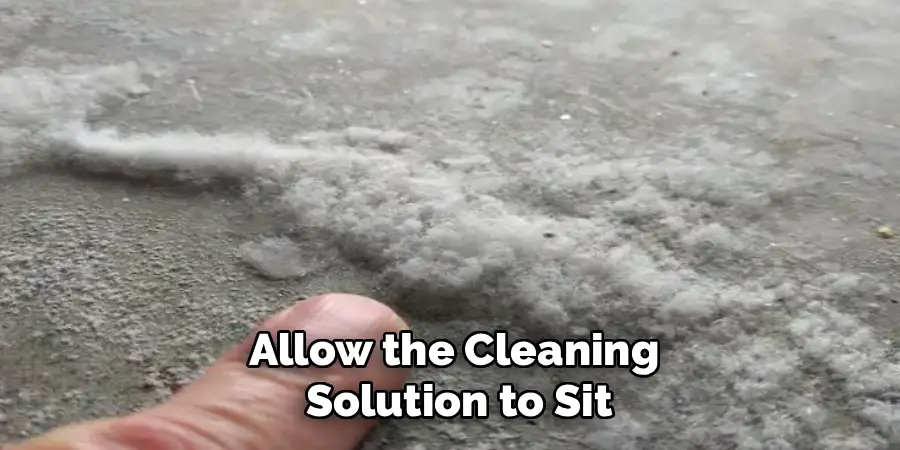
Patience pays off here. Allow the cleaning solution to sit on the mold for at least 10 to 15 minutes. This gives it time to penetrate and kill the mold rather than just wiping it around. For heavy or deep-set mold, let it soak for up to 30 minutes. Keep the area ventilated while you wait. This resting period does a lot of the hard work for you, so don’t rush to the next step.
Step 7: Scrub the Mold Away
Take your stiff-bristle brush and scrub the treated areas firmly. Work in circular motions to lift the mold out of the concrete’s tiny pores. Concrete is porous, so mold can dig in deep, meaning you’ll need some real effort here. Reapply your solution to any stubborn spots and scrub again. Keep going until the dark patches lift and the surface looks clean. For large areas, a long-handled brush saves your back.
Step 8: Rinse the Floor Thoroughly
Once you’ve scrubbed all the mold away, rinse the floor completely. Use a garden hose or pressure washer to flush away the loosened mold and leftover cleaning solution. Make sure the water drains properly and doesn’t pool in low spots. Rinsing removes residue that could attract dirt or leave streaks. If you don’t have a hose, a bucket of clean water and a mop will do the trick; just change the water often.
Step 9: Dry the Area Completely
Mold loves moisture, so drying is one of the most important steps. Use a wet/dry vacuum to suck up standing water, then use towels or a squeegee to remove the rest. Set up fans and open the garage doors to speed up air drying. A dehumidifier works wonders if your garage stays damp. Don’t move anything back until the floor is bone dry. Rushing this step invites mold to return.
Step 10: Inspect and Seal for Protection
Once dry, inspect the floor closely to make sure no mold remains. If you spot lingering patches, repeat the cleaning process on those areas. When the floor is fully clean and dry, consider applying a concrete sealant. Sealing blocks moisture from soaking into the porous surface, which is your best defense against future mold. This final touch keeps your hard work paying off for months to come.
5 Things You Should Avoid
Even with the best intentions, a few common mistakes can slow you down or make things worse. Steer clear of these:
- Mixing bleach and vinegar. Combining these creates toxic chlorine gas. Always use one cleaning agent at a time and never blend chemicals unless the label says it’s safe.
- Skipping protective gear. Breathing in mold spores or splashing cleaner in your eyes can cause real harm. Never treat this as a job you can do bare-handed.
- Leaving the floor damp. Moisture is what caused the mold in the first place. If you don’t dry the area completely, you’re practically inviting the mold back.
- Ignoring the root cause. If you have a leak, poor drainage, or high humidity, cleaning alone won’t keep mold away. Fix the source of moisture, or you’ll be scrubbing again soon.
- Using too little cleaning solution. A light spray won’t cut it on porous concrete. Skimping on solution or scrubbing means the mold survives beneath the surface and returns quickly.
Frequently Asked Questions
- Can I Just Paint Over Mold on My Garage Floor?
No, painting over mold is a temporary cover-up that never solves the problem. The mold keeps growing beneath the paint and will eventually break through. It can also damage the paint and spread further. Always remove the mold completely and dry the floor before applying any coating. Only then should you consider sealing or painting the surface for protection. - How Do I Stop Mold From Coming Back?
Prevention comes down to controlling moisture. Keep your garage well ventilated and fix any leaks in the roof, walls, or foundation. Use a dehumidifier if your space stays humid, especially in wet seasons. Seal your concrete floor to block water absorption. Finally, clean the floor regularly and dry any spills quickly so mold never gets a foothold. - Is Vinegar or Bleach Better for Garage Floor Mold?
Both work, but they serve different needs. Vinegar is natural, safer to handle, and kills most household mold without harsh fumes, making it great for smaller jobs. Bleach acts faster and works well on tough, widespread mold, though it produces strong fumes. Bleach can also lighten stains but may not reach deep into porous concrete. Choose based on the size of your problem and your comfort level.
Conclusion
Mold on your garage floor might feel like a stubborn headache, but as you can see, it’s completely manageable with the right approach. By gathering the proper tools, protecting yourself, and following these ten simple steps, you can turn a grimy, musty floor into a clean and safe surface again. The key is thoroughness; don’t rush the soaking, scrubbing, or drying, and always tackle the source of moisture that let the mold grow in the first place.
Once your floor is spotless, a little regular maintenance and a good sealant will keep mold from making a comeback. Your reward is a healthier space, cleaner air, and a garage you’ll actually enjoy using.
So grab your gloves, mix your solution, and give that floor the fresh start it deserves. You’ve got everything you need to get the job done right.

I am Rick. I grew up helping my dad with his handyman service. I learned a lot from him about how to fix things, and also about how to work hard and take care of business. These days, I’m still into fixing things- only now, I’m doing it for a living.
I’m always looking for new ways to help people grow and develop. That’s why I have created this blog to share all my experience and knowledge so
that I can help people who are interested in DIY repair.