
Your garage floor takes a beating. Over time, that epoxy or paint coating you once loved starts to peel, bubble, or fade. Maybe it’s chipping in the high-traffic spots, or maybe you’re just ready for a fresh look. Whatever the reason, removing an old garage floor coating is the first step toward a cleaner, stronger surface.
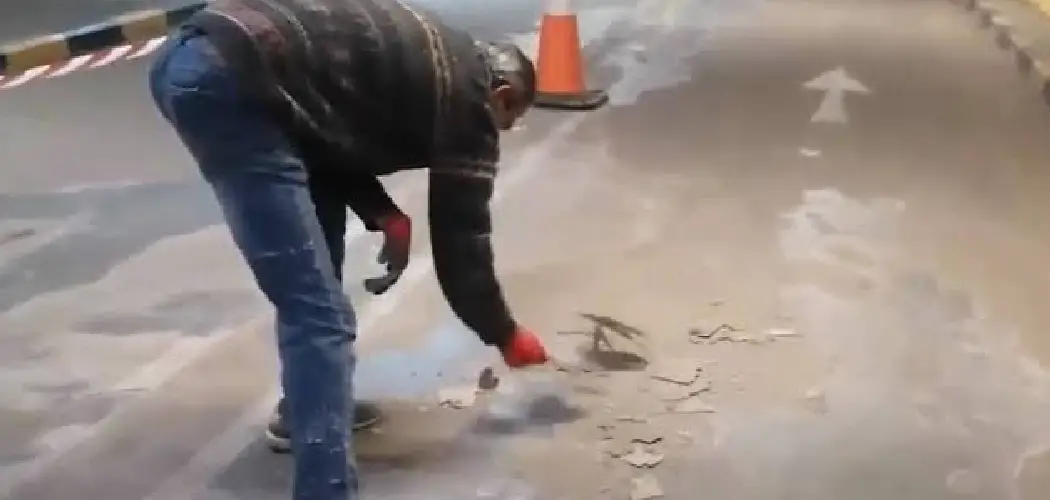
The good news? You don’t need to be a pro to get this done. With the right tools, a bit of patience, and a clear plan, you can strip that old coating yourself and save hundreds of dollars in the process. This guide on how to remove garage floor coating walks you through every part of the job, from prep to cleanup.
Let’s roll up our sleeves and get that floor looking brand new.
What Are the Benefits?
Removing old garage floor coating isn’t just about looks, though a fresh surface certainly helps. There are real, practical reasons to take on this project. Here are the biggest ones.
- A stronger, longer-lasting finish. When you apply new coating over old, damaged layers, the new finish only bonds as well as what’s underneath. If the old coating is peeling, your new one will peel too. Stripping it down to bare concrete gives your next coating a clean surface to grip.
- Better appearance. Cracked, yellowed, or bubbling coating makes even a tidy garage look worn out. A clean slate lets you choose a fresh color or finish that suits your space.
- Improved safety. Peeling coating can create uneven patches and slippery spots. Removing it reduces trip hazards and gives you a chance to add a non-slip finish later.
- Easier maintenance. Damaged coatings trap dirt, oil, and moisture in their cracks. A smooth, properly coated floor is far easier to sweep and wipe clean.
- Higher home value. A well-kept garage adds appeal if you ever sell. Buyers notice details, and a clean floor signals a home that’s been cared for.
- A chance to inspect the concrete. Once the coating is gone, you can spot cracks or moisture problems early and fix them before they get worse.
What Will You Need?
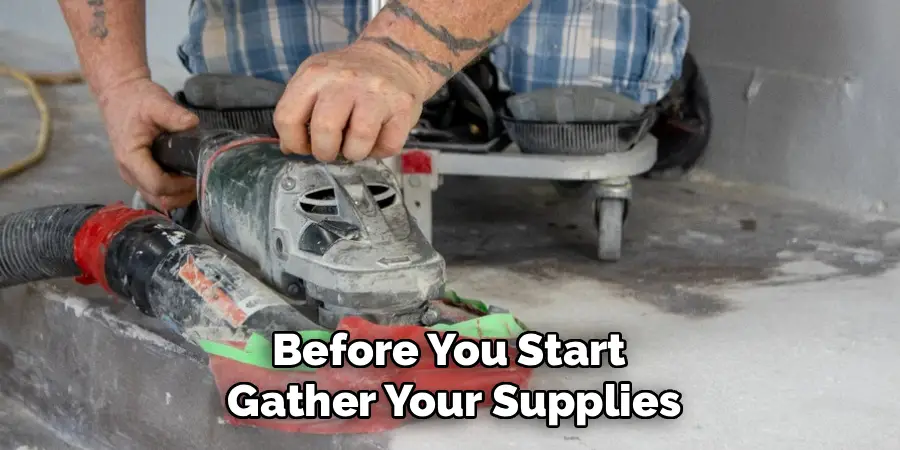
Before you start, gather your supplies. Having everything ready saves time and keeps the job moving. Here’s your checklist:
- Floor grinder or sander (rentable from most hardware stores)
- Chemical coating stripper (choose one made for your coating type)
- Floor scraper with a long handle
- Putty knife for tight corners and edges
- Stiff-bristle brush or push broom
- Wet/dry vacuum
- Buckets and mop
- Degreaser for oil stains
- Safety goggles
- Chemical-resistant gloves
- Respirator or dust mask
- Knee pads
- Long sleeves and old clothes
- Painter’s tape and plastic sheeting to protect walls and belongings
- Fan for ventilation
- Concrete patch for any cracks you find
Not every job needs all of these. The tools you use depend on how the coating comes off. But it’s smart to have options on hand.
10 Easy Steps on How to Remove Garage Floor Coating
Step 1: Clear and Prepare the Space
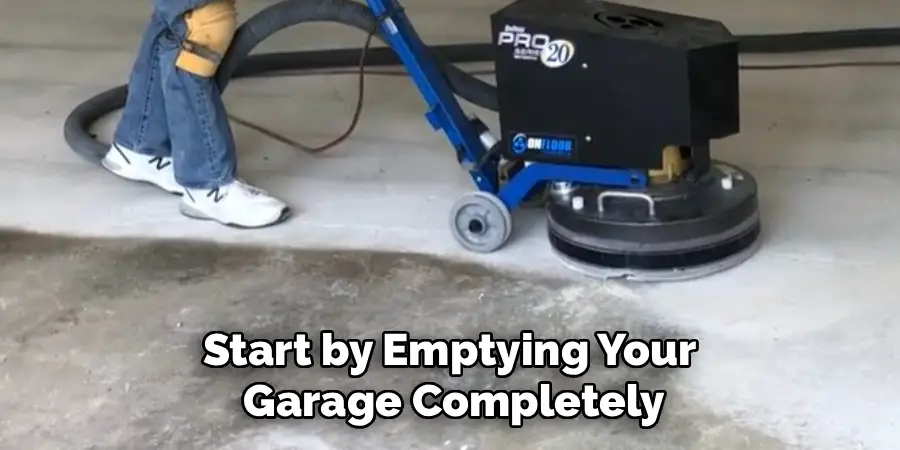
Start by emptying your garage completely. Move out cars, tools, shelving, and anything else on the floor. You need full, open access to every inch of the surface. Once it’s empty, give the floor a good sweep to remove loose dirt and debris. Then use painter’s tape and plastic sheeting to protect the lower walls, outlets, and anything you can’t move. This step feels tedious, but a clean, clear workspace makes everything that follows faster and safer.
Step 2: Test a Small Area First
Before committing to one removal method, test a small, hidden corner. Try scraping it. If the coating lifts easily, you may not need chemicals at all. If it clings hard, you’ll know to reach for a stripper or grinder. Testing also tells you how thick the coating is and how the concrete underneath is holding up. Spend a few minutes here to save yourself hours later. It’s the smartest shortcut in the whole project.
Step 3: Set Up Proper Ventilation
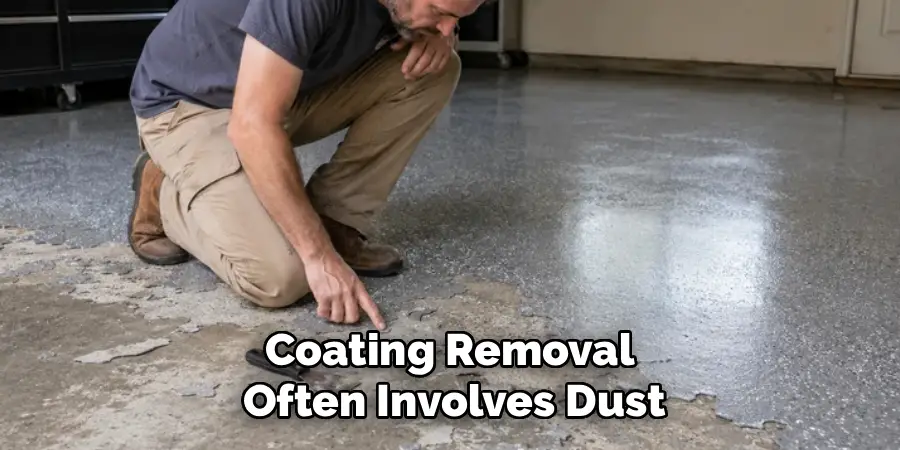
Coating removal often involves dust, fumes, or both. Open your garage door fully and set up a fan to push air out. If you’re using chemical strippers, good airflow isn’t optional; it protects your lungs. Put on your respirator, goggles, and gloves before you begin. Keep windows and doors open the entire time you work. Safety gear may feel like overkill, but breathing in fine concrete dust or chemical vapors can cause real harm.
Step 4: Apply Chemical Stripper (If Needed)
If scraping alone won’t cut it, chemical stripper is your next tool. Read the product label carefully, since directions vary by brand. Pour or brush the stripper onto the floor in an even layer, working in small sections. Let it sit for the time listed on the label, usually 15 to 30 minutes. You’ll see the coating start to bubble and soften. Don’t rush this. The chemical needs time to break the bond between the coating and the concrete.
Step 5: Scrape Away the Softened Coating
Once the stripper has done its work, grab your long-handled scraper. Push firmly and steadily to lift the loosened coating. It should peel up in strips or chunks. For corners and edges, switch to your putty knife. Collect the scraped material into a pile as you go, and dispose of it according to local rules, since some coatings count as hazardous waste. Work section by section so the stripper doesn’t dry out before you reach it.
Step 6: Grind the Stubborn Spots
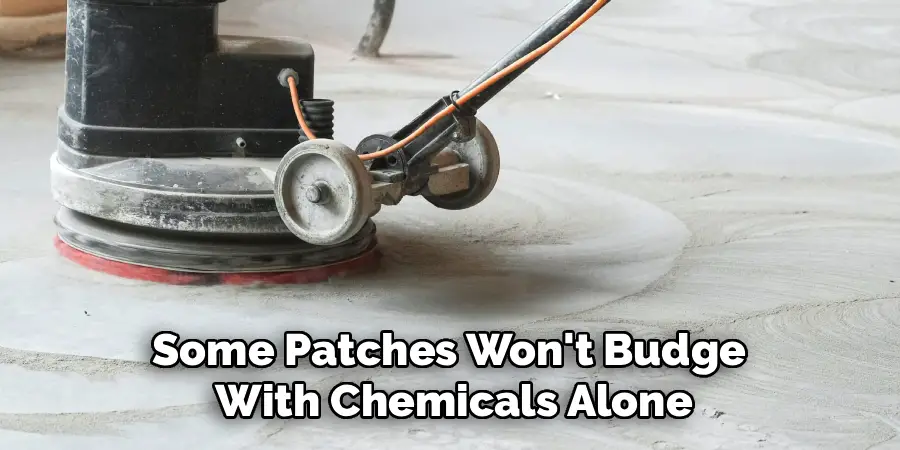
Some patches won’t budge with chemicals alone. This is where a floor grinder earns its rent. Fit it with the right abrasive disc and run it slowly over the tough areas. Keep the machine moving to avoid gouging the concrete. Grinding also roughens the surface slightly, which actually helps new coating stick later. Wear your dust mask and goggles here without fail, since grinding kicks up a lot of fine particles. Take breaks to check your progress.
Step 7: Tackle Grease and Oil Stains
With most of the coating gone, you may spot old grease or oil stains soaked into the concrete. These need special attention. Apply a concrete degreaser directly to the stains and let it sit. Scrub hard with a stiff-bristle brush, then rinse. Deep stains might need a second round. Removing them now matters because oil and grease stop new coating from bonding. A clean, grease-free surface is the goal.
Step 8: Vacuum and Clean Thoroughly
Now it’s time to remove all the dust, debris, and residue. Use a wet/dry vacuum to suck up loose material across the entire floor. Then mop the surface with clean water to lift any fine dust the vacuum missed. If you used chemical stripper, follow the label’s cleanup instructions, since some products need a neutralizing rinse. Keep cleaning until the floor is spotless. Any leftover grit will show up under your next coating.
Step 9: Inspect and Repair the Concrete
With the floor bare and clean, take a close look. Check for cracks, chips, or low spots. Small cracks can be filled with a concrete patch product; just follow the directions and smooth it level. Larger damage may need more attention. This is also the moment to check for moisture problems. Tape a plastic sheet to the floor overnight; if condensation forms underneath, you have moisture that must be addressed before recoating.
Step 10: Let It Dry and Do a Final Check
Concrete needs to be fully dry before any new coating goes down. Depending on humidity and any patching you did, this can take a day or more. Run your fan to speed things along. Once dry, walk the floor one last time. Feel for rough or sticky spots. Sweep away any remaining dust. When the surface is clean, dry, and smooth, you’re finished. Your floor is now ready for whatever comes next.
5 Things You Should Avoid
Even a careful job can go wrong if you fall into common traps. Here are five mistakes to steer clear of.
1. Skipping safety gear. It’s tempting to work without gloves or a mask, especially on a quick job. Don’t. Chemical strippers can burn skin, and concrete dust harms your lungs. Protective gear is cheap insurance.
2. Rushing the chemical stripper. If you scrape too soon, the coating won’t lift cleanly and you’ll double your work. Give the stripper the full time it needs to soften the coating.
3. Ignoring ventilation. Working in a closed garage with fumes and dust is dangerous. Always keep the door open and use a fan, no matter how cold or hot it is outside.
4. Leaving grease behind. Any oil or grease left on the concrete will ruin the bond of your next coating. Take the time to degrease every stain, even the faint ones.
5. Recoating too soon. Applying new coating over damp concrete is a recipe for peeling and bubbling. Wait until the floor is completely dry, even if it tests your patience.
Conclusion
Removing an old garage floor coating might seem like a big project, but it breaks down into manageable steps. Clear the space, test your approach, protect yourself, and work through the floor section by section. Whether you scrape, strip, or grind, the key is patience and attention to detail.
The payoff is worth the effort. You’ll end up with a clean, bare surface that’s ready for a fresh, long-lasting finish. Along the way, you’ll spot and fix any hidden cracks or moisture issues, save money by doing it yourself, and gain a garage floor that’s safer and easier to maintain.
Now that you know how to remove garage floor coating, you’re ready to take on the job with confidence. Grab your gear, set aside a weekend, and give your garage the fresh start it deserves.

I am Rick. I grew up helping my dad with his handyman service. I learned a lot from him about how to fix things, and also about how to work hard and take care of business. These days, I’m still into fixing things- only now, I’m doing it for a living.
I’m always looking for new ways to help people grow and develop. That’s why I have created this blog to share all my experience and knowledge so
that I can help people who are interested in DIY repair.