

Winter is hard on garage floors. Every time you pull in from a snowy drive, your car brings along melted slush, road salt, and enough moisture to quietly wreak havoc on your concrete. Over months—sometimes years—that damage compounds: hairline cracks widen, mold takes hold, and what started as a damp floor becomes a costly repair job.
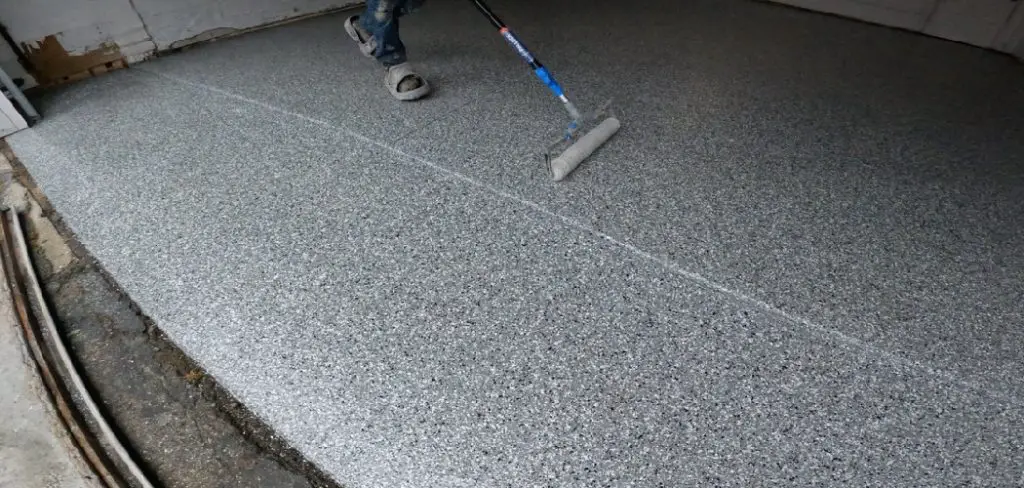
Here’s what most homeowners get wrong: they treat the symptom (a wet floor) without understanding the cause. This guide on how to keep garage floor dry in winter takes a different approach. We’ll walk you through eight practical steps to keep your garage floor dry this winter—and explain why each one actually works.
Understanding Why Garage Floors Get Wet in Winter
Before reaching for a mop, it’s worth knowing what you’re actually dealing with.
Vehicle runoff is the most obvious culprit. Snow and ice pack into your car’s wheel wells and undercarriage, then melt the moment warm air hits them indoors. Road salt speeds that process up—and leaves behind a corrosive residue that may slowly eat through unprotected concrete over time.
Condensation is trickier. When warm, humid air drifts into a cold garage, it hits the concrete floor and settles as surface moisture—the same physics that make a cold glass sweat in summer. Add poor drainage, a worn door seal, and a few existing cracks, and you have a moisture problem that no single fix will solve.
8 Simple Steps on How to Keep Garage Floor Dry in Winter
Step 1: Seal Your Garage Floor
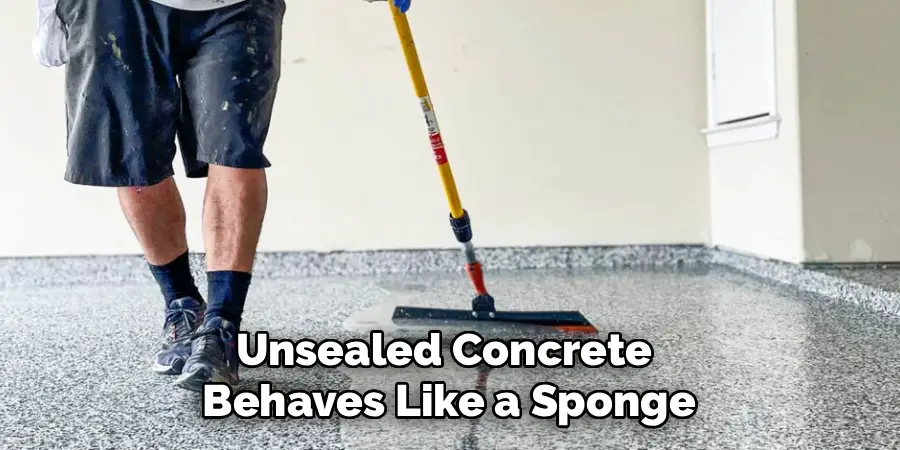
Unsealed concrete behaves like a sponge. Water, salt, and chemical runoff absorb directly into the surface, weakening it from within. A penetrating or epoxy-based sealer closes those pores and creates a moisture-resistant layer that’s far easier to clean and maintain.
Before applying anything, scrub the floor clean—oil stains, old coatings, and grime all prevent proper adhesion. Most sealers need reapplication every one to three years, depending on how much traffic the garage sees. This single step tends to make every other measure more effective.
Step 2: Install a Quality Garage Door Seal
The bottom of your garage door is a surprisingly large gap—one that lets in cold air, water, and wind-driven snow every time conditions turn rough. A worn seal that no longer presses flush against the floor can let moisture pool right at the entrance.
Rubber and vinyl replacement seals are inexpensive and easy to install. Once the bottom is sorted, check the weatherstripping along the sides and top of the door, too. These spots are easy to overlook and just as vulnerable.
Step 3: Use a Garage Floor Mat or Tray

Containment trays and parking mats exist for one reason: to keep the mess your car brings in off your concrete. Heavy-duty polyethylene or rubber trays with raised edges can hold several gallons of liquid before they need emptying.
Position them where your tires and undercarriage will sit. When they fill up, tip them out and rinse them off. It’s straightforward, effective, and far cheaper than patching salt-damaged concrete later.
Step 4: Improve Garage Ventilation
Trapped humid air is a slow-moving problem. It settles onto cold concrete surfaces as condensation, creating persistent dampness that no mat or sealer can fully address on its own.
A small exhaust fan can help significantly. So can vents near the roofline, or simply cracking a window on milder days. If your garage is attached to the house, pay attention to the door between the two spaces—warm, moist household air flowing into a cold garage is a common source of condensation that often goes unnoticed.
Step 5: Run a Dehumidifier
Sometimes ventilation alone isn’t enough, particularly in climates where winters are wet and cold simultaneously. A dehumidifier actively removes excess moisture from the air before it has a chance to settle on your floor.

Target a relative humidity level between 30% and 50%. Models with automatic drainage or a large water tank are worth the extra cost—nobody wants to empty a small reservoir every few hours. In consistently damp garages, the difference can appear within days.
Step 6: Fix Cracks and Gaps in the Floor
A hairline crack might seem harmless. In winter, it isn’t. Water seeps in, freezes overnight, expands, and the crack grows. Left unaddressed, what started as a cosmetic issue becomes a structural one.
Walk the floor before the season sets in and use a concrete crack filler or patching compound wherever you find gaps—especially along the joint where the floor meets the walls, which tends to be a weak point. Early repairs cost a fraction of what late ones do.
Step 7: Ensure Proper Floor Drainage
A flat garage floor, or one that slopes inward, gives water nowhere to go. It sits, soaks into the concrete, and causes damage. The ideal slope is roughly 1/8 inch per foot toward the door or a designated drain.
If regrading isn’t practical, a squeegee after each storm can do a surprising amount of work. Drainage channels along the base of the walls offer another option—they redirect water before it has time to penetrate the surface.
Step 8: Apply a Non-Slip, Moisture-Resistant Floor Coating
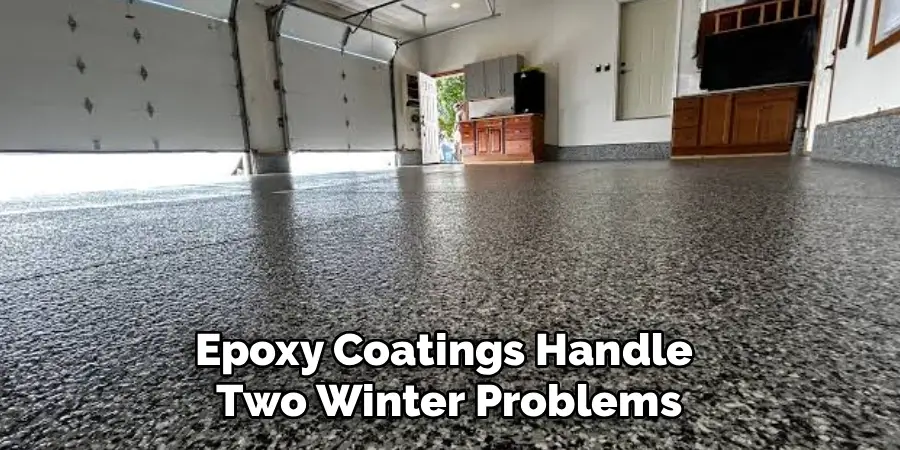
Epoxy coatings handle two winter problems at once: moisture resistance and traction. Unlike bare concrete, a properly cured epoxy surface doesn’t absorb water or salt—and it’s significantly safer underfoot when wet.
Timing matters here. Epoxy adheres and cures best in warmer temperatures, so applying it before winter arrives gives you a full season of protection. Some formulations include aluminum oxide or polymer grit additives for extra grip—a worthwhile consideration for households with young children or older adults.
Following these steps on how to keep garage floor dry in winter will not only protect your garage floor but also create a safer environment for those walking on it.
Common Mistakes to Avoid
Good intentions don’t always translate into good outcomes. A few patterns tend to undermine even the most diligent homeowners.
Waiting for small cracks is perhaps the most common. Concrete damage compounds; early repairs are always cheaper than late ones. Similarly, skipping floor sealing because the surface “looks fine” misses the point—concrete absorbs moisture at a level that isn’t visible to the eye.
Relying on a single solution also falls short. A containment mat alone won’t protect against condensation. A sealer alone won’t stop a worn door seal from letting water pool at the entrance. These steps work best in combination, building overlapping layers of defense rather than depending on any one fix.
Consistency matters throughout the season, not just at the start of it.
Frequently Asked Questions
Q1: What Is the Best Way to Waterproof a Garage Floor for Winter?
The most effective approach combines three measures: sealing the concrete, replacing the bottom garage door seal, and using a containment mat or tray. Sealing blocks moisture absorption, the door seal prevents water entry, and the mat captures vehicle runoff. Together, they address the most common sources of winter moisture without requiring major renovation.
Q2: How Do I Stop Condensation From Forming on My Garage Floor?
Condensation appears when warm, humid air contacts a cold surface. Improving ventilation—through exhaust fans, roofline vents, or open windows on milder days—allows that moist air to escape before it settles. Running a dehumidifier reinforces this further. Insulating the garage door and walls helps stabilize interior temperatures, which narrows the gap that causes condensation in the first place.
Q3: Is an Epoxy Floor Coating Worth It for a Winter Garage?
For most homeowners, yes. Epoxy creates a non-porous surface that resists water and road salt, simplifies cleanup, and improves traction on wet days. The upfront cost is higher than basic concrete sealing, but the durability tends to justify it over time—particularly in high-traffic garages or in regions with harsh winters.
Q4: How Does Epoxy Help With Winter Garage Maintenance?
Epoxy helps with winter garage maintenance in several ways. Firstly, it creates a non-porous surface that resists water and road salt, preventing them from seeping into the concrete and causing damage. This makes cleanup much easier and prevents potential issues such as cracking or weakening of the garage floor.
Additionally, epoxy improves traction on wet days due to its textured surface. This can be especially helpful during winter when floors can become slippery from melting snow or rain. The added traction also provides an extra layer of safety for vehicles and individuals walking in the garage.
Protect Your Garage Floor Before Winter Tightens Its Grip
A dry garage floor doesn’t come from one dramatic intervention. It comes from several small, well-chosen steps on how to keep garage floor dry in winter taken before and during the cold months.
Start with the fundamentals—seal the floor, replace the door seal, and add a containment tray. Then layer in ventilation improvements, crack repairs, and humidity control as needed. Each addition reduces your exposure to damage and, in the long run, saves money. Your garage floor handles a lot over the course of a winter. A little consistent attention goes a long way.

I am Rick. I grew up helping my dad with his handyman service. I learned a lot from him about how to fix things, and also about how to work hard and take care of business. These days, I’m still into fixing things- only now, I’m doing it for a living.
I’m always looking for new ways to help people grow and develop. That’s why I have created this blog to share all my experience and knowledge so
that I can help people who are interested in DIY repair.