
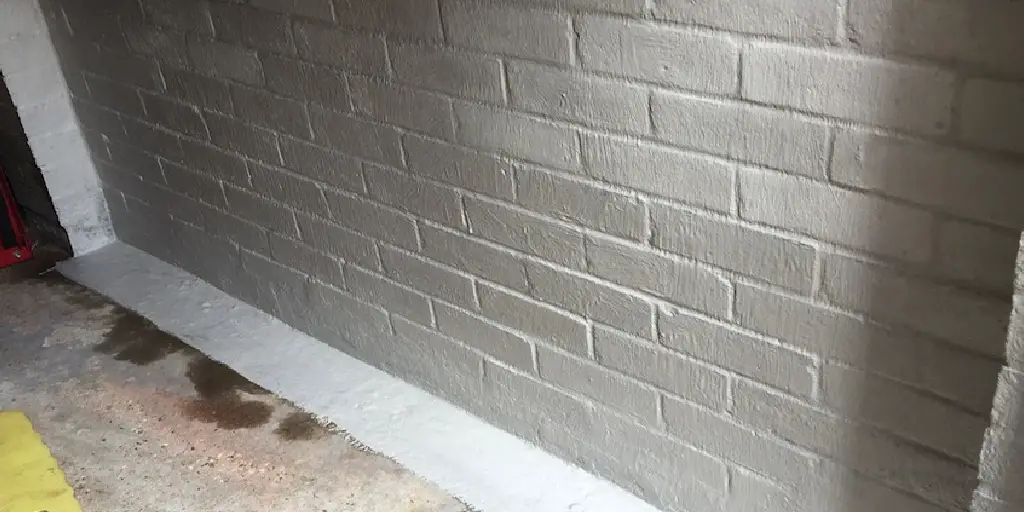
Garage walls take a beating. Rain, groundwater, humidity—any one of these can chip away at a space that most homeowners assume is low-maintenance. This problem gets worse if your garage sits below grade or backs up against a hillside, where water naturally wants to travel downhill and right into your foundation. Moisture seeping through concrete or cinder block doesn’t just look bad. Given enough time, it can lead to mold colonies, paint that bubbles and peels, rusted-out tools, and in the worst cases, damage to the structure itself.
Waterproofing those walls may be one of the smarter investments you make in your home, if only because the alternative—replacing damaged drywall, tools, or framing—tends to cost far more down the line.
This guide on how to waterproof garage walls covers what you actually need to know: finding where the water is coming from, picking a method that fits your specific problem, and getting the job done without wasting a weekend on something that fails in six months. Some of you are dealing with a faint musty smell after a storm. Others might be staring at a wall that’s visibly wet. Either way, the steps below should get you moving in the right direction.
Identify the Source of Moisture First
Don’t reach for a tub of sealant just yet. Before any of that, you need to understand where the water is actually entering the garage. There are several usual suspects here: poor grading outside, gutters clogged with leaves and debris, cracks in the foundation, simple condensation, or groundwater pressure building up against the wall from below. Treat the wrong one of these, and you’ll burn a weekend without fixing anything—the moisture just comes right back.
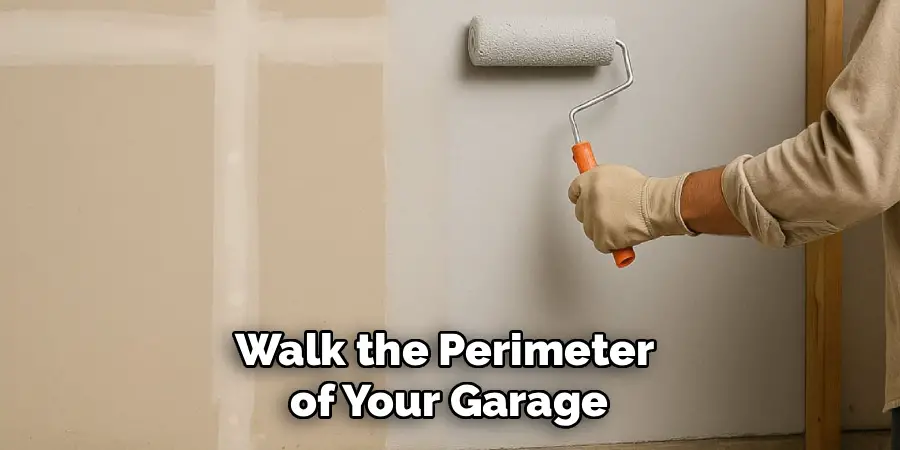
Start outside. Walk the perimeter of your garage and look for standing water, downspouts that empty too close to the foundation, or cracks you can see with the naked eye. Then head inside and check for water stains, that chalky white residue called efflorescence, paint that’s peeling at the edges, or a smell that suggests dampness has been sitting for a while. Getting this diagnosis right matters more than almost anything else in this process. Skip it, and you risk masking a problem rather than solving it.
Choose the Right Waterproofing Method
Once you’ve pinned down where the water’s coming from, the method you choose should follow logically from that. Minor dampness or condensation? A waterproof paint or sealant brushed directly onto the interior wall is often enough to handle it. More serious intrusion—water actually pushing through—tends to call for something heavier: an exterior waterproof membrane, French drains, or regrading the soil around your garage so water drains away instead of toward the foundation.
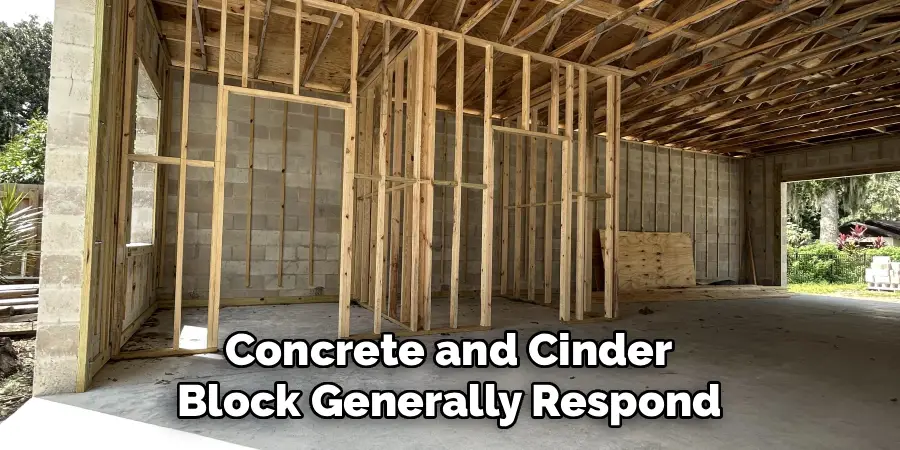
Concrete and cinder block generally respond well to cementitious waterproof coatings. If you’re dealing with small cracks specifically, epoxy-based sealants tend to do a better job sealing those than a broad paint-on coating would. And if groundwater pressure is a recurring headache rather than a one-off, pairing interior sealant with exterior drainage work is probably your best shot at a fix that actually holds.
Tools and Materials Needed
- Wire brush or scrub brush
- Pressure washer or garden hose
- Concrete patch or hydraulic cement
- Waterproof masonry sealant or paint
- Paint roller and brush
- Caulking gun and waterproof caulk
- Safety goggles and gloves
- Dehumidifier (optional, for drying walls)
- Drop cloths or plastic sheeting
8 Simple Steps on How to Waterproof Garage Walls
Step 1: Clear the Garage and Protect Your Belongings
Pull everything out—shelving, tools, the car, all of it. This process involves scrubbing, patching, and applying sealant, and you’ll want room to move around the walls without tripping over a lawnmower. Lay down drop cloths or plastic sheeting to keep drips and spills off the floor.
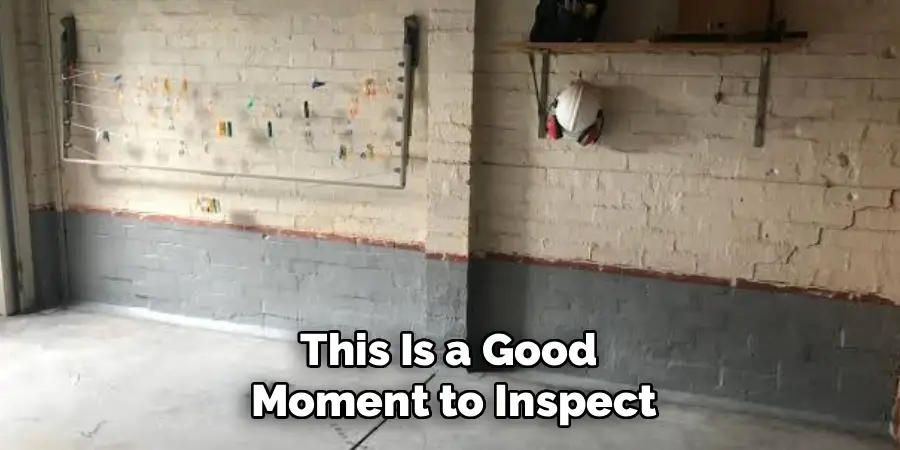
While you’re at it, this is a good moment to inspect whatever you’ve stored for existing water damage. Spot mold or mildew on boxes or furniture? Deal with that separately before any of it goes back into the garage once the walls are sealed.
Step 2: Clean the Walls Thoroughly
Grab a wire brush or scrub brush and get rid of dirt, loose paint, dust, and any efflorescence sitting on the surface. Sealant needs a clean surface to bond properly, so even if the wall looks fine to the eye, don’t skip this.
For walls that are really caked on, a pressure washer or even a garden hose can knock loose the stubborn grime. Give the wall plenty of time to dry fully before moving forward—trapped moisture under a fresh coat of sealant is a near-guarantee of bubbling or peeling later.
Step 3: Repair Cracks and Holes
Look closely for cracks, gaps, or holes—anywhere water might be sneaking through. Small cracks respond well to hydraulic cement or a concrete patching compound, both of which expand slightly as they cure to create a tighter seal. Bigger cracks might need a little chiseling first so the patch actually bonds rather than just sitting on top.
Give patched areas their full cure time, usually somewhere between 24 and 48 hours depending on the product. Rushing this step can undercut the waterproofing layer you’re about to add on top of it.
Step 4: Apply Waterproof Caulk Around Joints
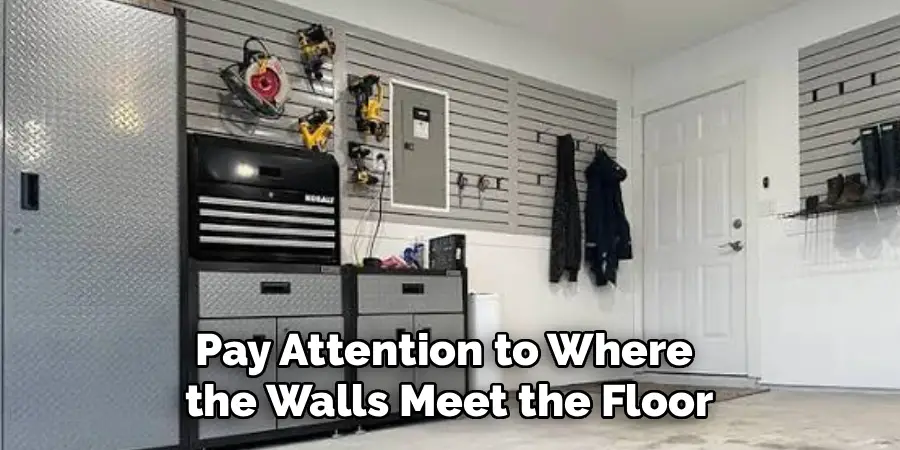
Pay attention to where the walls meet the floor, ceiling, or any window and door frames. These joints are classic entry points for water, particularly once the original caulk has dried out or cracked with age. A caulking gun loaded with waterproof caulk should handle these seams.
Smooth it out with a putty knife or your finger—whichever gets you a cleaner line—and let it cure completely before painting or sealing over it. This small step does a lot of work in creating a continuous moisture barrier.
Step 5: Choose and Prepare Your Waterproof Sealant
Pick a product that matches both your wall material and how bad the moisture problem turned out to be. Cementitious coatings suit concrete block nicely, while elastomeric or masonry waterproof paints tend to work better on smoother surfaces. Read the instructions on the can—some of these products expect a primer coat before the real sealant goes on.
Stir it thoroughly, make sure the space is ventilated, and set out your rollers, brushes, and trays so you’re not hunting for supplies mid-coat.
Step 6: Apply the First Coat of Waterproof Sealant
Roll the sealant onto large, flat areas and use a brush to get into corners and edges. Work section by section so the thickness stays consistent and you’re not left with visible drip marks.
These coatings tend to be noticeably thicker than ordinary paint, so expect a bit more elbow grease than you’re used to. Cover the entire wall, with particular attention near the floor and over any cracks you patched earlier.
Step 7: Let It Dry and Apply a Second Coat
Give the first coat time to dry per the product’s instructions—usually somewhere in the 2-to-4-hour range, though this shifts depending on brand and how humid your garage is. Once it’s dry, scan the wall for thin spots, or anywhere you might’ve missed.
A second coat is worth the extra time. One layer alone rarely builds enough thickness to fully block moisture over the long run, and garage walls see more wear than most interior surfaces.
Step 8: Inspect and Monitor the Walls
Once the final coat has cured—give it 24 to 72 hours depending on the product—check for even coverage and any spots you might’ve skipped. From there, keep watching the walls over the following weeks, especially right after a heavy rain, to confirm the job is actually holding.
New dampness or staining showing up later probably points to an unresolved drainage issue outside rather than a failure of the sealant itself. Fixing grading or gutter problems alongside the waterproofing work tends to produce the best results long-term.
Following these steps on how to waterproof garage walls means you can tackle minor moisture issues before they turn into peeling paint, mold, or damaged stored items. For persistent leaks, wide cracks, or signs of structural movement, bringing in a waterproofing professional is usually the safer call.
Common Waterproofing Mistakes to Avoid
The single most common mistake? Slapping on sealant without ever figuring out where the water’s actually coming from. Sealant might mask a leak for a while, but if pressure keeps building behind that wall, water will eventually force its way through again—often doing more damage than before.
Other errors crop up regularly too: skipping the cleaning or crack-repair steps, sealing a surface that’s still damp, or settling for one thin coat instead of two full ones. Rushing the cure time between coats, or moving belongings back into the garage too soon, can also undercut an otherwise solid job and leave you repeating the work sooner than you’d like.
When to Hire a Professional?
Plenty of garage waterproofing jobs are reasonable DIY projects for a free weekend. That said, some situations genuinely call for a professional. Significant structural cracks, persistent groundwater problems, or any sign the foundation itself is shifting—these are cases where a waterproofing contractor can diagnose things more accurately and suggest solutions like exterior drainage systems or a sump pump.
It’s also worth calling in help if a previous DIY attempt didn’t hold, or if you’re genuinely unsure what’s causing the moisture in the first place. A professional often catches things homeowners miss, which can save you from repeating the same mistake—and the same expense—twice.
Frequently Asked Questions
How Much Does It Cost to Waterproof Garage Walls?
DIY waterproofing generally runs between $200 and $600 for materials—sealant, patching compound, tools, and so on. Hiring a professional can range anywhere from $1,500 to $5,000 or more, depending on how severe the moisture problem is and whether exterior drainage work is part of the job.
How Long Does Waterproof Sealant Last on Garage Walls?
Most waterproof coatings hold up for somewhere between 5 and 10 years, depending on the quality of the product, how well it was applied, and how much moisture exposure the wall sees. Regular inspections and quick crack repairs can stretch that lifespan considerably.
Can I Waterproof Garage Walls from the Inside Only?
Interior waterproofing does a fine job with condensation and light dampness. It may not, however, fully resolve problems caused by heavy groundwater pressure. In those cases, pairing interior sealant with improved exterior drainage tends to offer a more dependable, longer-term fix.
What Is the Best Waterproof Paint for Garage Walls?
Cementitious waterproof coatings are widely considered the strongest option for concrete and cinder block, since they bond directly to masonry and form a durable barrier. Elastomeric waterproof paints are a solid alternative for smoother wall surfaces.
Protect Your Garage for the Long Haul
Waterproofing garage walls isn’t something you handle once and forget about. It’s closer to an ongoing commitment—one that protects your space from moisture damage, mold, and the kind of repairs that get expensive fast. Identify where the water’s coming from, pick the method that actually matches the problem, and work through each step with some patience. Do that, and you end up with a garage that stays dry and usable for years, not months.
If you’ve gone through all of this and the dampness keeps showing up anyway, it might be time to bring in a professional for a closer look. A bit of effort now—whether that’s your own weekend or someone else’s expertise—usually beats dealing with a much bigger mess later. Thanks for reading this guide on how to waterproof garage walls.

I am Rick. I grew up helping my dad with his handyman service. I learned a lot from him about how to fix things, and also about how to work hard and take care of business. These days, I’m still into fixing things- only now, I’m doing it for a living.
I’m always looking for new ways to help people grow and develop. That’s why I have created this blog to share all my experience and knowledge so
that I can help people who are interested in DIY repair.