


A carport keeps the sun and some rain off your car, but that’s about where its usefulness ends. Wind still blows leaves across the hood. Snow drifts in from the sides. Your tools, bikes, and lawn gear sit out in the open where anyone passing by can see them. If you’ve ever wished your carport could do more, you’re not alone, and the good news is that it often can.
Converting a carport into a fully enclosed garage is one of the most practical upgrades you can make to your home. Because the roof and often the slab are already in place, you’re starting with a head start. You don’t have to build from scratch. Instead, you’re adding walls, a door, and the features that turn an open shelter into a secure, weatherproof space.
This guide on how to turn a carport into a garage covers everything you need to know: the benefits, the materials and tools, a clear 10-step process, the mistakes to avoid, and answers to common questions.
What Are the Benefits?
Enclosing your carport offers more than just a place to park. Here are the biggest advantages.
- Better protection for your vehicle. A garage shields your car from hail, snow, falling branches, bird droppings, and UV rays that fade paint and crack dashboards. In cold climates, you’ll also skip scraping ice off the windshield on winter mornings.
- Improved security. An open carport puts your belongings on display. Walls and a locking garage door keep tools, bikes, and equipment out of sight and out of reach.
- Extra storage space. Garages give you wall space for shelves, pegboards, and cabinets. You can finally organize holiday decorations, sports gear, and power tools in one place.
- Higher home value. Many buyers want a garage, and some won’t consider homes without one. A well-built conversion can make your property more appealing and may boost its resale value.
- Room for more than cars. With power, lighting, and insulation, a garage can double as a workshop, home gym, or hobby space.
- Lower costs than new construction. Since the roof and foundation often already exist, a conversion usually costs less than building a garage from the ground up.
What Will You Need?
Your exact list depends on your carport’s size, design, and condition. Here’s a general overview to get you started.
Materials
- Pressure-treated lumber for bottom plates
- Framing lumber (typically 2x4s or 2x6s) for studs, top plates, and headers
- Concrete and rebar for footings, if needed
- Anchor bolts or concrete screws
- Exterior sheathing (OSB or plywood)
- House wrap or weather-resistant barrier
- Siding that matches or complements your home
- Garage door kit with tracks, springs, and hardware
- Entry door and windows (optional but useful)
- Insulation (fiberglass batts, rigid foam, or spray foam)
- Drywall (fire-rated Type X for walls shared with the house)
- Roofing materials such as shingles, underlayment, and flashing
- Electrical wire, boxes, outlets, switches, and light fixtures
- Concrete sealer, epoxy coating, or other floor finish
- Caulk, paint, nails, and screws
Tools
- Tape measure, chalk line, and framing square
- Circular saw and miter saw
- Hammer drill and impact driver
- Nail gun and air compressor
- Level (4-foot and 2-foot)
- Ladders and scaffolding
- Utility knife, staple gun, and caulk gun
- Safety glasses, gloves, hearing protection, and a dust mask
Resources
- Building permits from your local office
- Site plan or drawings (some areas require stamped plans)
- A licensed electrician for wiring work
- A structural engineer if your carport’s posts or roof need assessment
- HOA approval, if you live in a planned community
10 Easy Steps on How to Turn a Carport Into a Garage
Step 1: Assess Your Carport and Plan the Design

Start by taking a close look at what you already have. Measure the length, width, and height of your carport. Check the condition of the roof, posts, and slab. Look for cracks in the concrete, rot in wooden posts, and rust on metal frames.
Next, decide how you’ll use the space. Will it hold one car or two? Do you want a workbench, windows, or a side entry door? Sketch a simple floor plan showing where walls, doors, and windows will go. Your plan should also account for clearance. A standard garage door needs headroom above the opening for tracks and springs, so confirm your ceiling height works with the door you want.
Step 2: Check Local Codes and Get Permits
Almost every carport conversion requires a building permit. Visit or call your local building department and explain your project. They’ll tell you what drawings to submit, what inspections you’ll need, and any rules about setbacks from property lines.
Pay attention to fire codes, especially if the carport is attached to your house. Most codes require fire-rated drywall and a self-closing, fire-rated door between an attached garage and living space. If you have an HOA, get written approval before you start. Skipping this step can lead to fines, forced removal, or trouble when you sell your home.
Step 3: Prepare the Foundation
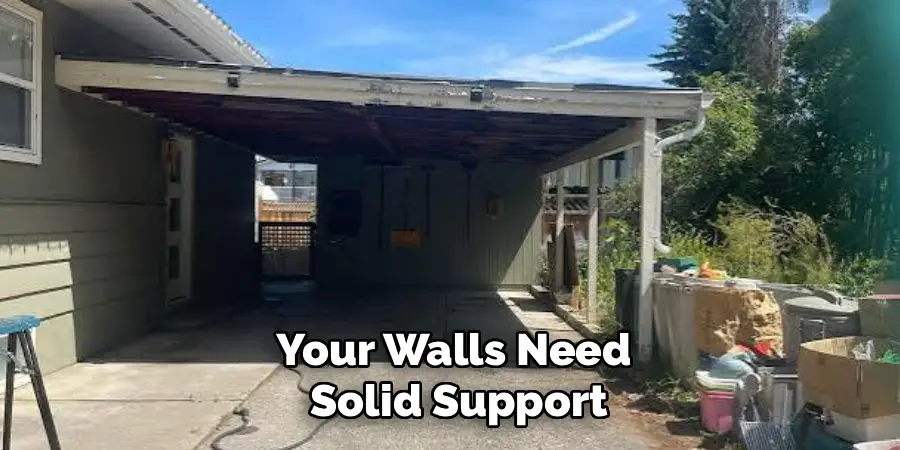
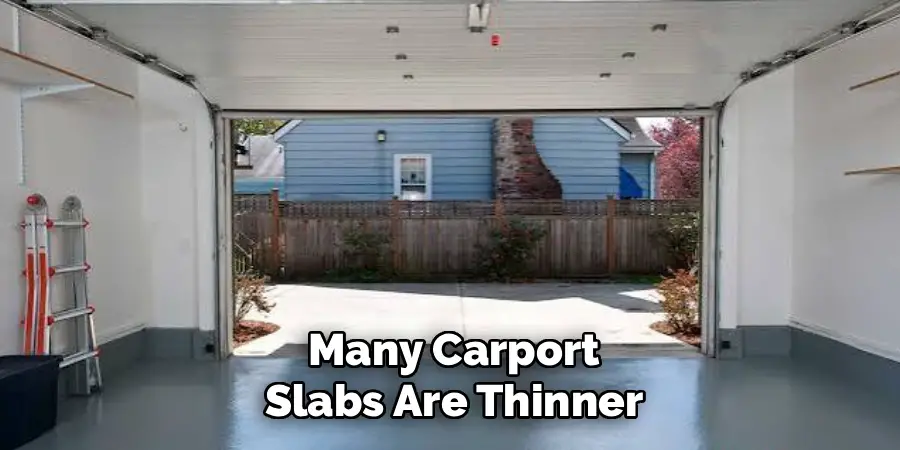
Your walls need solid support. Many carport slabs are thinner than garage slabs and may lack footings along the edges. Your building department or an engineer can tell you whether your slab can handle new walls.
If you need footings, cut along the perimeter of the slab and dig trenches to the depth required by local code, usually below the frost line. Add rebar and pour concrete. Once the footings cure, set anchor bolts where your wall plates will sit. If your slab is in good shape and approved for use, you can anchor directly to it with concrete screws or wedge anchors.
Step 4: Frame the Walls
Now the project starts to look like a garage. Lay pressure-treated bottom plates along the slab edges and secure them to the foundation. Build wall frames on the ground, with studs spaced 16 inches apart, then raise them into place.
Tie the new walls into the existing carport posts and roof structure. Use metal connectors and fasteners rated for structural loads. Check every wall with a level to make sure it’s plumb. Frame rough openings for windows and the entry door as you go, adding headers above each opening to carry the weight.
Step 5: Frame and Install the Garage Door
The garage door opening needs a strong header because it spans a wide gap. Size the header based on the door width and your local code requirements. A 16-foot double door opening needs a much beefier header than a 9-foot single door.
Follow the manufacturer’s rough opening measurements exactly. Install the door frame, jambs, and weatherstripping. Then mount the tracks, panels, and springs. Torsion springs are under extreme tension and can cause serious injury, so many homeowners hire a professional for this part. Add an automatic opener if you want convenience and extra security.
Step 6: Add Sheathing, House Wrap, and Siding
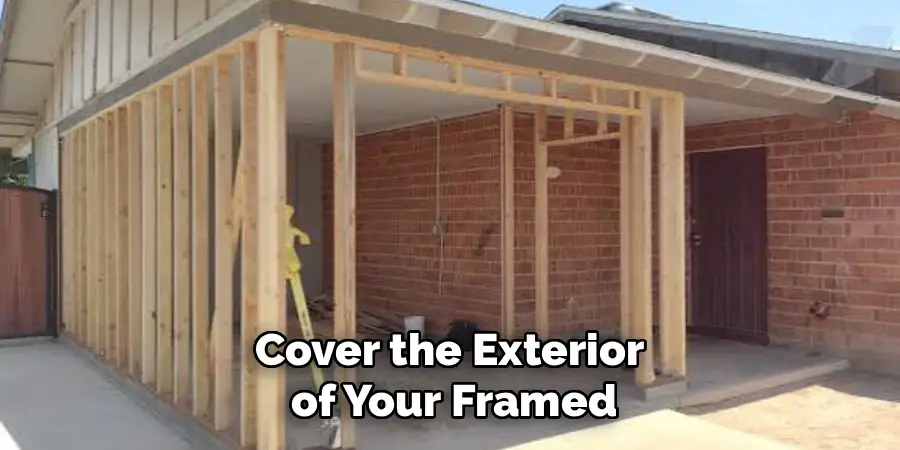
Cover the exterior of your framed walls with OSB or plywood sheathing. This adds strength and creates a surface for siding. Nail it to the studs according to the recommended pattern.
Next, wrap the walls in a weather-resistant barrier. Overlap seams and tape them to keep moisture out. Install flashing around windows and doors. Finally, hang your siding. Choose a style and color that matches your home so the garage looks like it belongs there, not like an afterthought.
Step 7: Upgrade or Repair the Roof
Carport roofs are often built to lighter standards than garage roofs. Inspect the roof structure and decking for sagging, rot, or damage. Some carports have metal or polycarbonate roofs that may need replacing to match your home or meet code.
Replace damaged decking and add underlayment. Install shingles or roofing that matches your house. Pay close attention to where the new walls meet the roofline. Proper flashing and sealing here prevent leaks that could damage your new walls. Add gutters to direct water away from the foundation.
Step 8: Run Electrical Wiring
A garage without power is just a big box. Plan for overhead lighting, wall outlets, and power for the garage door opener. Many codes require GFCI-protected outlets in garages, and some require a dedicated circuit.
Hire a licensed electrician unless you’re qualified and your local rules allow homeowner electrical work. They’ll run wire from your main panel, install boxes, and make sure everything passes inspection. If you plan to use power tools, a workshop setup, or an electric vehicle charger, mention it early so the electrician can plan for the extra load.
Step 9: Insulate and Finish the Walls
Insulation keeps your garage cooler in summer and warmer in winter. It also reduces noise. Fill wall cavities with fiberglass batts, rigid foam boards, or spray foam. Insulate the ceiling too if your climate gets very hot or cold.
Once the rough-in inspection passes, hang drywall over the insulation. Use fire-rated Type X drywall on any wall shared with your home and on the ceiling if there’s living space above. Tape, mud, and sand the seams. Prime and paint the walls with a durable, washable finish.
Step 10: Finish the Floor and Add Final Touches
Clean the concrete slab thoroughly. Fill cracks and patch damaged areas. Then choose a finish. Epoxy coatings resist oil stains and look sleek. Concrete sealer is a budget-friendly option that still protects the surface.
Finish by installing trim, caulking gaps, and adding weatherstripping around doors. Set up shelves, pegboards, or cabinets for storage. Schedule your final inspection, and once you pass, your new garage is ready to use.
5 Things You Should Avoid
1. Skipping permits. Unpermitted work can lead to fines, failed home inspections, and insurance problems. It can even force you to tear down your hard work. Always get approval first.
2. Assuming the existing structure is strong enough. Carport posts and roofs aren’t always designed to support walls, heavy roofing, or snow loads on an enclosed structure. Have the structure checked before you build on it.
3. Ignoring drainage. Water that pools around your new walls can rot framing and crack the slab. Slope the ground away from the garage and install gutters with downspouts that direct water elsewhere.
4. Cutting corners on the garage door. A cheap or poorly installed door can sag, jam, or become a safety hazard. Invest in a quality door, and leave spring installation to a professional if you’re unsure.
5. Forgetting ventilation. Enclosed garages trap car exhaust, fumes, and moisture. Add vents, a window, or an exhaust fan to keep the air fresh and prevent mold growth.
Conclusion
How to turn a carport into a garage gives you better protection for your vehicle, safer storage, and a more versatile space, all while potentially raising your home’s value. Since the roof and slab are often already there, you’re building on a strong head start.
Success comes down to careful planning. Assess your carport’s condition, get the right permits, and make sure the foundation and structure can handle the changes. Follow the 10 steps in order, from framing and doors to roofing, electrical, insulation, and finishing. Steer clear of common mistakes like skipping permits or ignoring drainage, and bring in professionals for the tricky parts.
Take it one step at a time, and you’ll soon have a secure, weatherproof garage you’ll use every day.

I am Rick. I grew up helping my dad with his handyman service. I learned a lot from him about how to fix things, and also about how to work hard and take care of business. These days, I’m still into fixing things- only now, I’m doing it for a living.
I’m always looking for new ways to help people grow and develop. That’s why I have created this blog to share all my experience and knowledge so
that I can help people who are interested in DIY repair.