
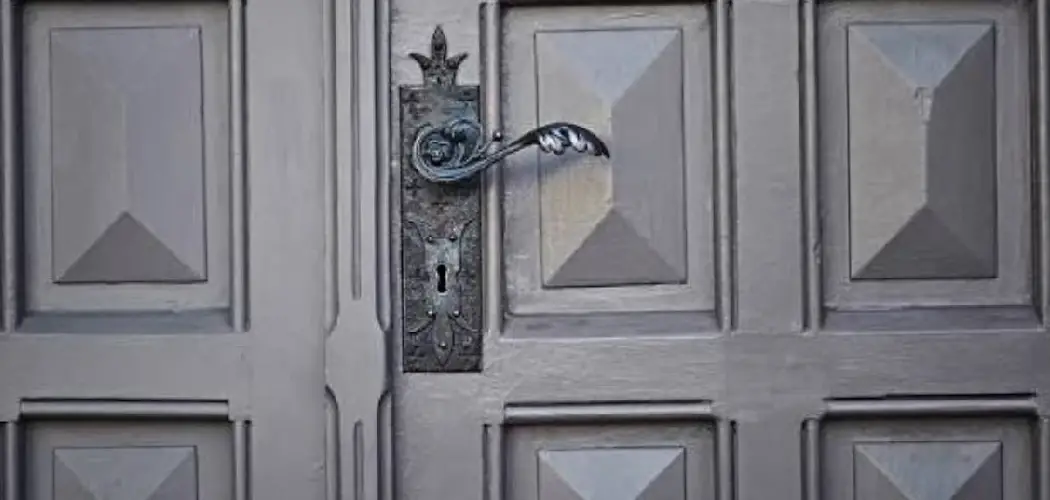
A tired, faded front door can drag down the whole look of your home. The good news? You don’t need to unhinge that heavy metal slab and haul it into your garage to give it new life. Painting a metal front door right where it hangs is completely doable, even if you’ve never picked up a paintbrush before. With a little patience and the right approach, you can transform your entrance in a single afternoon.
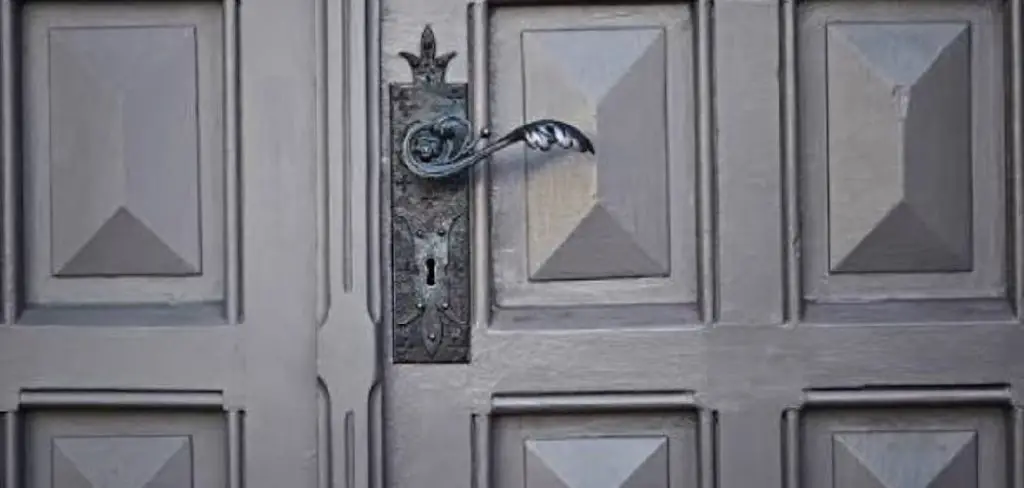
Metal doors take paint beautifully when you prep them properly. They resist warping, they hold color well, and they give you a smooth, professional finish that lasts for years. The trick is knowing how to work around the hinges, handle the edges, and avoid drips while the door stays upright.
That’s exactly what this guide on how to paint a metal front door without removing it covers, step by step, so you can skip the hassle and get straight to the results.
Benefits of Painting a Metal Front Door Without Removing It
Leaving the door in place while you paint comes with real advantages. Here’s why so many homeowners choose this method:
- Saves time and effort. Removing a metal door means dealing with heavy hardware, stiff hinges, and an awkward lift. Skipping that step cuts your project time in half.
- No need for extra hands. Metal doors are heavy. Taking one off usually requires a second person. Painting in place lets you work solo.
- Keeps your home secure. Your entry stays sealed while you paint. You won’t have a gaping hole in your house waiting for a door to dry.
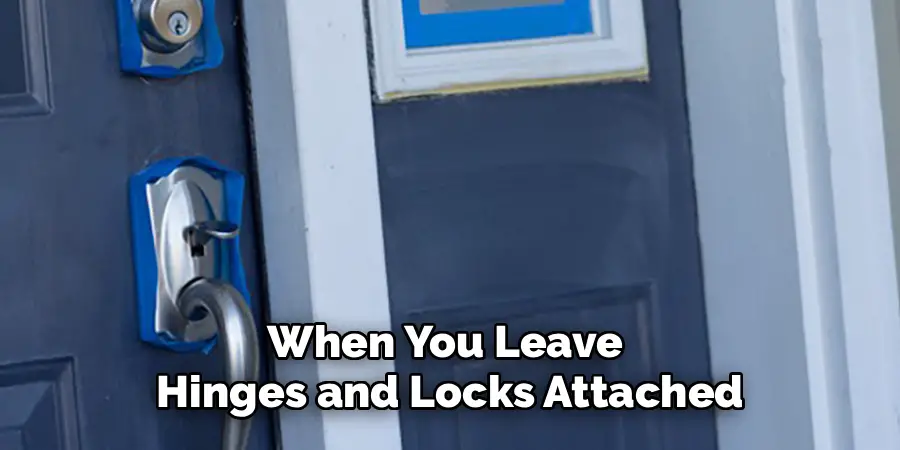
- Protects the hardware. When you leave hinges and locks attached, you avoid the risk of stripping screws or losing small parts.
- Boosts curb appeal fast. A freshly painted door instantly upgrades your home’s exterior and can even raise its value.
- Budget-friendly. This is a low-cost project that delivers a big visual payoff. You skip hiring a pro and use simple tools you may already own.
What Will You Need?
Gather everything before you start so you don’t have to stop mid-project. Here’s your checklist:
- Mild detergent or degreaser
- Bucket and warm water
- Sponge and clean rags
- Fine-grit sandpaper (220-grit) or a sanding block
- Painter’s tape
- Drop cloths or old newspapers
- Screwdriver (for removing or loosening hardware if needed)
- Metal primer (rust-inhibiting if your door shows rust)
- Exterior paint suitable for metal (acrylic latex or oil-based enamel)
- Angled paintbrush (2 to 2.5 inches)
- Small foam roller
- Paint tray
- Tack cloth
- Gloves and safety glasses
- Optional: paint conditioner for a smoother finish
10 Easy Steps on How to Paint a Metal Front Door Without Removing It
Step 1: Clean the Door Surface
Start with a clean slate. Dirt, grease, and grime stop paint from sticking, so this step matters more than you might think. Mix warm water with a mild detergent or degreaser in your bucket. Dip your sponge and scrub the entire door, paying close attention to corners, edges, and the area around the handle where oils build up. Rinse with clean water and a fresh rag. Let the door dry completely before moving on. A wet surface ruins primer and paint, so give it plenty of time.
Step 2: Remove or Cover the Hardware
You have two choices here. You can unscrew the handle, knocker, mail slot, and any decorative pieces with a screwdriver, or you can tape them off. Removing hardware gives the cleanest result, but taping works well if you’re short on time. If you take pieces off, drop the screws into a labeled bag so nothing goes missing. For anything you leave in place, wrap it snugly with painter’s tape to protect it from stray paint.
Step 3: Sand the Surface
Sanding gives the paint something to grip. Use 220-grit sandpaper or a sanding block and work in gentle, even strokes across the whole door. You’re not trying to strip the old finish, just scuff it up. Focus on any glossy areas, chips, or rough spots. If you find rust, sand it down until you reach smooth metal. Sanding also smooths out old drips or bumps from previous paint jobs, setting you up for a flawless finish.
Step 4: Wipe Away the Dust

After sanding, fine dust clings to the door. Grab your tack cloth and wipe the entire surface until it feels clean and smooth. Skipping this step leaves grit under your primer, which shows up as bumps once the paint dries. Run your hand over the door to check for any missed spots. A clean surface is the secret to a smooth, professional look.
Step 5: Protect the Surrounding Area
Lay drop cloths or newspapers on the floor beneath the door to catch drips. Tape off the door frame, weather stripping, hinges, and any glass panels. Take your time here. Careful masking saves you from scrubbing paint off your trim later. Make sure the tape edges are pressed down firmly so paint can’t seep underneath.
Step 6: Apply the Primer
Primer helps the paint bond and blocks stains and rust from bleeding through. Choose a rust-inhibiting metal primer if your door has any rust spots. Stir the primer well, then load your angled brush for the recessed panels, grooves, and edges. Switch to the foam roller for the flat sections to get a smooth, even coat. Work from the top down to catch drips as you go. Apply one thin, even layer rather than a thick one.
Step 7: Let the Primer Dry
Patience pays off. Check the primer can for the recommended drying time, usually one to four hours. Don’t rush this. Painting over damp primer leads to peeling and uneven color. If the weather is humid, allow extra time. Once dry, run the tack cloth over the surface again to remove any settled dust before you paint.
Step 8: Apply the First Coat of Paint
Now for the fun part. Stir your exterior paint thoroughly. Just like with the primer, use the angled brush for detailed areas and grooves, then roll the flat panels for a smooth finish. Follow the natural sections of the door, painting the recessed panels first, then the horizontal and vertical flat areas. Keep your coats thin. Thin coats dry faster and look far better than one heavy layer. Watch for drips and smooth them out immediately.

Step 9: Apply the Second Coat
One coat rarely gives full, even coverage. Let the first coat dry fully according to the paint instructions, then apply a second thin coat the same way you did the first. This layer deepens the color and hides any thin spots. Work in good light so you can spot missed areas. A second coat is what takes your door from decent to stunning, so don’t skip it.
Step 10: Remove Tape and Reattach Hardware
Once the final coat is dry to the touch, carefully peel off the painter’s tape. Pull it away slowly at an angle to avoid lifting any paint. If you removed the hardware earlier, screw everything back into place now. Give the door a full 24 hours to cure before closing it firmly or wiping it down. Step back and admire your brand-new front door.
5 Things You Should Avoid
- Skipping the cleaning and sanding. Painting over dirt or a glossy surface leads to peeling and a patchy finish. Prep work is not optional.
- Applying thick coats. Loading on heavy paint causes drips, runs, and long drying times. Thin, even coats always win.
- Painting in bad weather. Avoid high humidity, direct hot sun, or cold temperatures. These conditions ruin how the paint dries and adheres.
- Rushing the drying time. Closing the door or adding a coat too soon smudges your work. Let each layer fully dry.
- Ignoring the primer. Metal needs primer to hold paint properly. Skipping it means your color won’t last.
Frequently Asked Questions
1. Can You Paint a Metal Front Door Without Removing It?
Yes, you absolutely can — and it’s easier than most people expect. As long as you clean the surface well, sand it lightly, and apply a good metal primer, the paint will bond just as effectively as it would on a door laid flat. The key is working in thin, even coats and taping off the frame, hardware, and any glass so you get clean edges. Thousands of homeowners tackle this as a simple weekend project and walk away with results that look completely professional.
2. What Type of Paint Should I Use on a Metal Front Door?
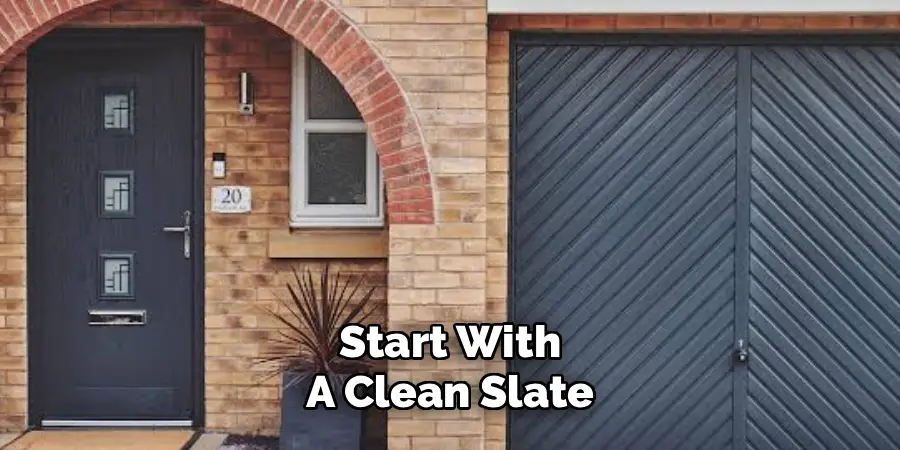
The best choice for a metal front door is exterior paint specifically formulated for metal surfaces. Acrylic latex paint is a popular option because it dries quickly, cleans up easily with water, and holds up well against rain and temperature changes. Oil-based enamel is another strong choice, offering a harder, more durable finish that resists chipping and scratching over time. Whichever type you choose, always pair it with a compatible metal primer — ideally one that inhibits rust — to ensure the paint bonds properly and lasts for years.
3. How Many Coats of Paint Does a Metal Front Door Need?
Most metal front doors need at least two coats of paint for a finish that looks even and lasts well. The first coat lays the foundation and helps the color adhere to the primer, while the second coat fills in any thin or uneven spots and deepens the overall color. Always let each coat dry fully before adding the next — rushing this step leads to streaks, peeling, and a finish that won’t hold up outdoors. In some cases, a third coat may be needed if you’re making a dramatic color change, such as going from a very dark shade to a light one.
Conclusion
How to paint a metal front door without removing it is one of the easiest ways to refresh your home’s appearance. You don’t need pro-level skills or a garage full of tools, just a bit of prep, the right materials, and a little patience. By cleaning, sanding, priming, and applying thin, even coats, you’ll end up with a smooth, durable finish that stands up to the weather and turns heads.
The best part is how much impact this small project delivers. A freshly painted door welcomes your guests, lifts your curb appeal, and gives your whole entryway a polished, cared-for look.
So pick a color you love, set aside an afternoon, and get started. Your beautiful new front door is just a few coats away.

I am Rick. I grew up helping my dad with his handyman service. I learned a lot from him about how to fix things, and also about how to work hard and take care of business. These days, I’m still into fixing things- only now, I’m doing it for a living.
I’m always looking for new ways to help people grow and develop. That’s why I have created this blog to share all my experience and knowledge so
that I can help people who are interested in DIY repair.