
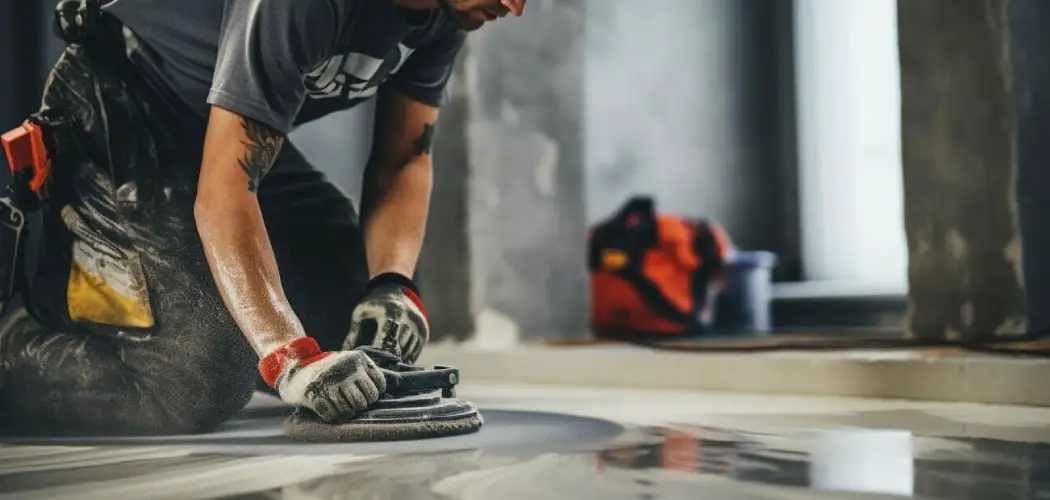
Have you ever run your hand across a concrete floor and come away with a chalky, powdery residue on your fingertips? That fine gray dust is a common headache for homeowners, and it happens more often than you might think. Dusty concrete, sometimes called concrete dusting, occurs when the top surface of a concrete slab breaks down into a soft, powdery layer instead of staying hard and solid.

This problem shows up in garages, basements, workshops, and warehouses. It’s frustrating because the dust never seems to go away. You sweep, you mop, and within days the powder is back, coating your tools, your car tires, and everything you store on those floors.
This guide on how to fix dusty concrete walks you through everything you need to know, from why it happens to the exact steps you should follow.
Benefits of Fixing Dusty Concrete
Taking the time to repair dusty concrete pays off in more ways than one. Here are the key benefits you can expect once the job is done:
- Cleaner spaces. No more constant sweeping or wiping down surfaces. Your garage, basement, or workshop stays tidy with far less effort.
- Better air quality. Concrete dust can float into the air and irritate your lungs. Sealing the surface keeps that fine powder locked down.
- Protected belongings. Cars, tools, furniture, and stored items stay free of that gritty gray film.
- Stronger, longer-lasting floors. Treating the surface hardens it and shields it from wear, water, and stains.
- Improved appearance. A sealed concrete floor looks polished and finished rather than dull and worn.
- Higher property value. Well-maintained floors make a good impression on buyers and renters alike.
- Easier maintenance. Once sealed, cleaning becomes a quick sweep or mop instead of a daily battle with dust.
Fixing the problem now saves you money and hassle down the road. A little work today means a healthier, cleaner space for the long haul.
What Will You Need?

Before you start, gather your supplies. Having everything on hand makes the job smoother and faster. Here’s your checklist:
Tools:
- Stiff-bristle broom
- Shop vacuum (wet/dry vac works best)
- Garden hose or pressure washer
- Stiff scrub brush or floor scrubber
- Paint roller with an extension pole
- Paint tray
- Squeegee
- Safety goggles
- Rubber gloves
- Knee pads
- Dust mask or respirator
Materials:
- Concrete cleaner or degreaser
- Concrete densifier (hardener)
- Concrete sealer (acrylic, epoxy, or penetrating type)
- Concrete patching compound (for cracks or damage)
- Clean water
- Rags or towels
Choosing quality products makes a real difference. A good densifier and sealer will do most of the heavy lifting, so don’t cut corners here.
10 Easy Steps on How to Fix Dusty Concrete
Follow these steps for the best results. Take your time with each one, since proper prep leads to a lasting fix.
Step 1: Clear and Inspect the Area
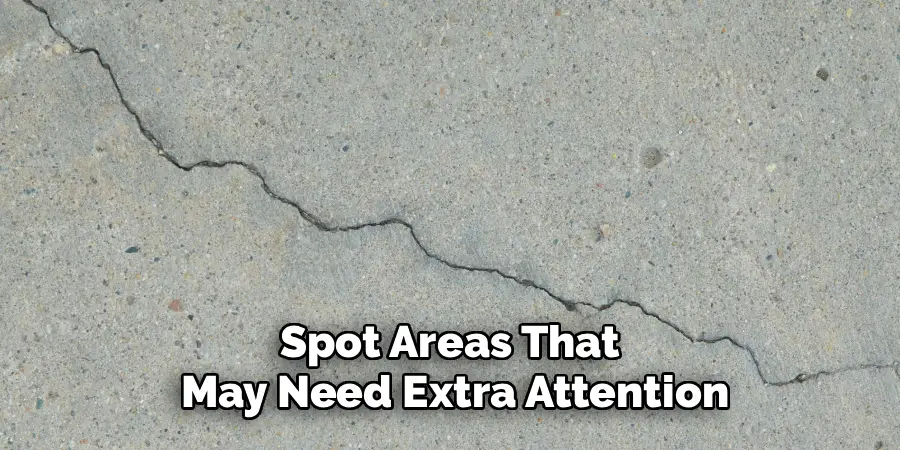
Start by removing everything from the floor. Move furniture, boxes, tools, and any equipment to another room or outside. You need full access to the entire surface. Once the area is empty, take a close look at the concrete. Note any cracks, chips, or spots where the dusting is worst. This inspection helps you plan your repairs and spot areas that may need extra attention. Good lighting makes this easier, so open windows or bring in a work lamp if the space is dim.
Step 2: Sweep Away Loose Debris
Grab your stiff-bristle broom and sweep the entire floor. Work in one direction to gather all the loose dust and dirt into a pile. Concrete dusting means there will be a lot of fine powder, so this step takes patience. Sweep the piles into a dustpan and dispose of them. Wear your dust mask during this part, since sweeping kicks the fine particles into the air. A clean, debris-free surface is the foundation for everything that follows.
Step 3: Vacuum Thoroughly
Sweeping alone won’t remove all the fine dust. Use a shop vacuum to pull up the remaining powder from the surface and any cracks. Run the vacuum slowly across the whole floor, paying extra attention to corners and edges where dust collects. A wet/dry vac with a fine dust filter works best. This step is important because leftover dust can prevent your cleaner and sealer from bonding properly. The cleaner the surface, the better your results.
Step 4: Deep Clean the Surface
Now it’s time to wash the floor. Mix a concrete cleaner or degreaser with water according to the product label. Apply it to the surface and scrub with a stiff brush or floor scrubber. Focus on greasy spots, stains, and heavily dusted areas. The cleaner removes oils, grime, and any residue that could block adhesion. Work in sections so the cleaner doesn’t dry before you scrub. This deep clean sets the stage for a strong, even finish.
Step 5: Rinse and Dry Completely
Rinse the floor with a garden hose or pressure washer to remove all the cleaner and loosened grime. Make sure no soapy residue remains, since it can interfere with the sealer. Use a squeegee to push standing water toward a drain or out the door. Then let the concrete dry fully. Depending on humidity and airflow, this can take 24 to 48 hours. Don’t rush it. Applying products to damp concrete leads to poor results.
Step 6: Repair Cracks and Damage
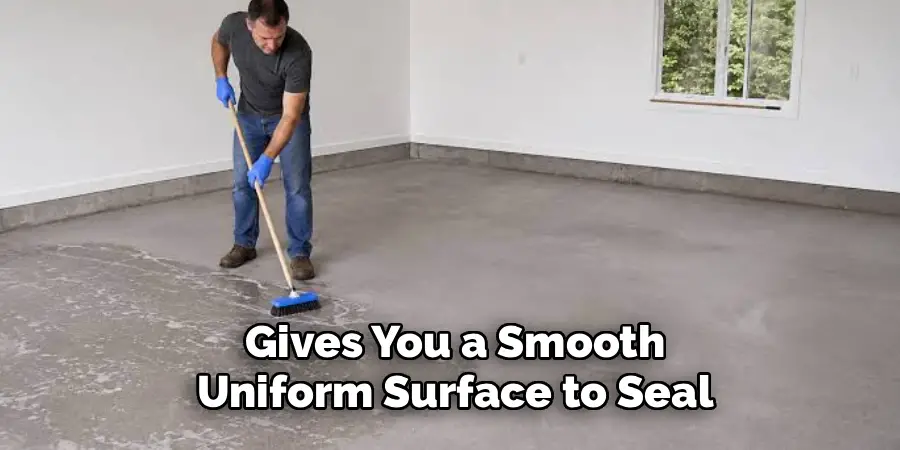
While the floor dries, plan your repairs. Once dry, fill any cracks or chips with a concrete patching compound. Follow the product instructions, pressing the compound firmly into each crack with a putty knife. Smooth the surface so it sits level with the surrounding concrete. Let the patches cure completely before moving on. Fixing damage now prevents future dusting and gives you a smooth, uniform surface to seal.
Step 7: Apply a Concrete Densifier
A densifier is a liquid hardener that soaks into the concrete and strengthens the surface. It reacts with the concrete to fill tiny pores and stop the dusting at its source. Pour or spray the densifier onto the floor, then spread it evenly with a roller or squeegee. Keep the surface wet with the product for the time listed on the label, usually 20 to 40 minutes. This step is the heart of the fix, so apply it carefully and evenly.
Step 8: Let the Densifier Cure
After spreading the densifier, allow it to penetrate and cure. Follow the manufacturer’s recommended time, which is often several hours. Some products require you to rinse off any excess after the reaction finishes, while others simply dry in place. Read the label closely. A properly cured densifier turns a soft, dusty surface into a hard, durable one. Patience here means a floor that resists dusting for years.
Step 9: Apply the Sealer
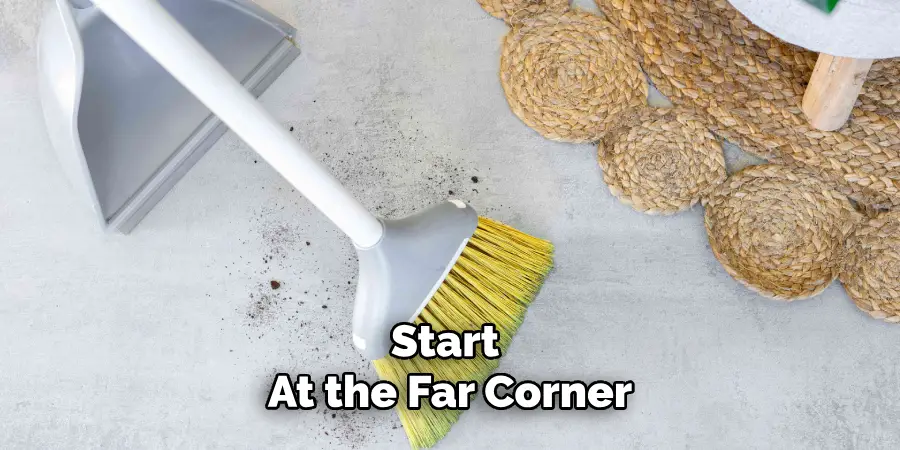
Once the densifier has cured, add a sealer for extra protection. Pour the sealer into a paint tray and use a roller with an extension pole to apply a thin, even coat. Start at the far corner and work your way toward the exit so you don’t trap yourself. Avoid puddles or thick spots, since these can look cloudy when dry. The sealer locks in the surface, repels water and stains, and gives your floor a clean finish.
Step 10: Add a Second Coat and Cure
For the best protection, apply a second coat of sealer once the first is dry to the touch. Roll it on in the opposite direction from the first coat for full coverage. After the final coat, keep the area empty and let it cure completely, usually 24 to 72 hours. Avoid foot traffic and moisture during this time. Once fully cured, your concrete will be hard, sealed, and dust-free. Move your belongings back in and enjoy the clean surface.
5 Things You Should Avoid
Steer clear of these common mistakes to make sure your hard work lasts:
- Skipping the cleaning steps. Applying densifier or sealer over a dirty floor traps grime and weakens the bond. Always start with a spotless surface.
- Rushing the drying time. Sealing damp concrete leads to cloudy, peeling finishes. Give the floor plenty of time to dry between steps.
- Applying sealer too thick. Thick coats look uneven and take forever to cure. Thin, even layers always work better.
- Ignoring ventilation. Many sealers and cleaners give off strong fumes. Open windows and doors, and wear a respirator to stay safe.
- Using the wrong products. Not every sealer suits every floor. Match your product to your concrete type and how the space is used.
Avoiding these pitfalls keeps your project on track and your results looking professional.
Conclusion
How to fix dusty concrete may feel like a never-ending problem, but it’s completely fixable with the right approach. By clearing the space, cleaning it thoroughly, repairing damage, and applying a densifier and sealer, you transform a soft, powdery surface into a hard, durable floor that stays clean for years.
The key is patience. Take your time with each step, let the floor dry fully, and use products suited to your space. Avoid the common mistakes we covered, and you’ll get results you can be proud of. A little effort now means cleaner air, protected belongings, and floors that look great.
Ready to say goodbye to that chalky gray dust? Gather your supplies, set aside a weekend, and give your concrete the treatment it deserves. Your cleaner, healthier space is just a few steps away.

I am Rick. I grew up helping my dad with his handyman service. I learned a lot from him about how to fix things, and also about how to work hard and take care of business. These days, I’m still into fixing things- only now, I’m doing it for a living.
I’m always looking for new ways to help people grow and develop. That’s why I have created this blog to share all my experience and knowledge so
that I can help people who are interested in DIY repair.