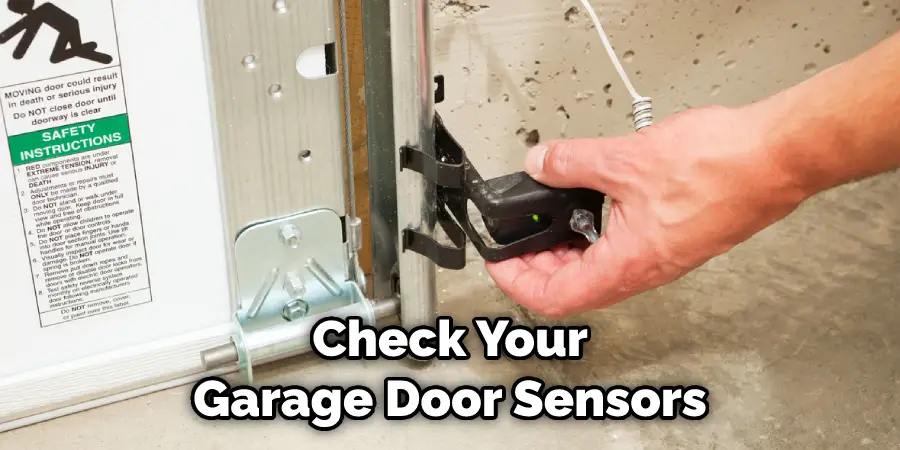
Having a malfunctioning garage door system is undoubtedly one of the most frustrating things that can happen around your home. If the sensors are not working properly, it can be difficult to tell what needs to be fixed and how best to go about doing it.
Fortunately, with the help of a multimeter, you’ll have no trouble locating any issues with your sensor wiring and getting back on track for a smooth-running garage door system! In this blog post, we’ll discuss in-depth how to test garage door sensors with multimeter – so keep reading for all the details!
Testing your garage door sensor with a multimeter is an important way to make sure the opening and closing of your garage door are secure. This in-depth guide will help you understand how a multimeter works, what type of multimeter you should use, different methods for testing your sensors, as well as troubleshooting tips that can save time and money if something goes wrong. So let’s get started taking control of your own safety by learning to test garage door sensors with a multimeter!
Why May You Want to Test Garage Door Sensors With Multimeter?
1. To Check for Any Faulty Connections or Problems
One of the main reasons why you may want to use a multimeter when testing garage door sensors is to check for any faulty connections or problems. This is especially important if your garage door opener has been acting up recently, as a malfunctioning sensor can cause the entire system to be unreliable.
By using a multimeter, you can test the resistance levels of each connection to determine if there is an issue. If you find that one of the connections has too much or too little resistance, then it can indicate a problem and should be addressed immediately.
2. To Ensure Proper Functionality
Another reason why you might want to use a multimeter when testing your garage door sensors is to ensure proper functionality. By running tests on the sensors and connections, you can make sure that everything is working as it should be. This not only helps to prevent future problems with your opener but also makes sure that it continues to operate safely and reliably.
3. To Check for Corrosion
Finally, a multimeter can also be used to check for corrosion, which is a common problem with garage door sensors. By testing the connections and measuring their resistance levels, you can determine whether or not there is an issue. If you do find corrosion on the contacts or wires, then it’s important to clean them immediately to prevent further damage and ensure that your opener continues to function properly.
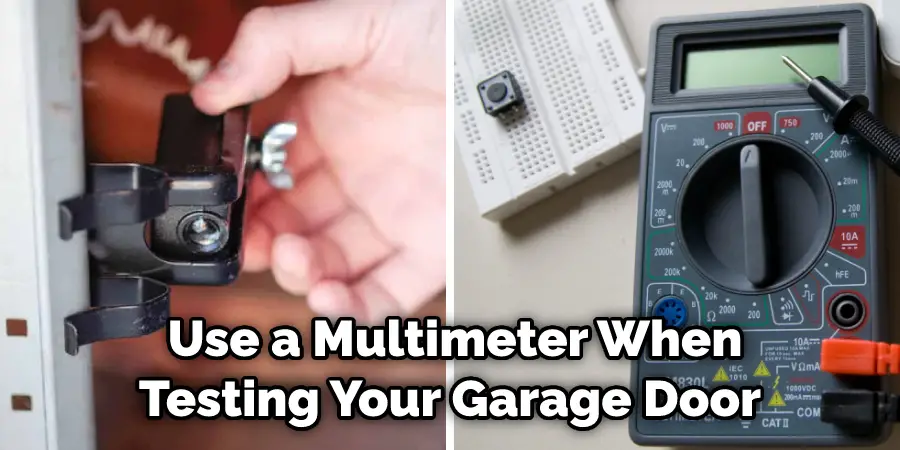
How to Test Garage Door Sensors With Multimeter in 5 Easy Steps
Step 1: Unplug the Power From the Garage Door Opener
The very first step is to make sure the power is disconnected from the garage door opener. This will ensure that there is no electricity running through the system while you are testing and make it much safer.
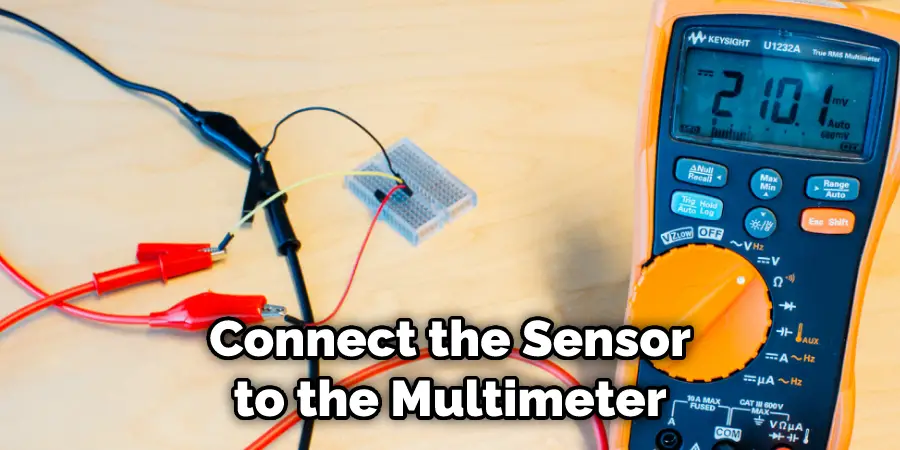
Step 2: Place Your Multimeter on “Ohms”
Once the power has been disconnected, grab your multimeter and set it to read “Ohms”. This setting will allow you to measure the resistance of the sensors, which is essential for determining if they are functioning properly.
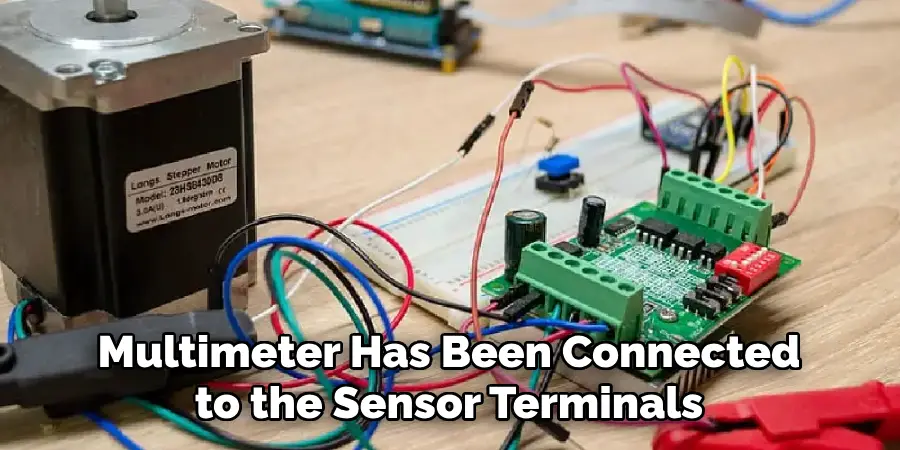
Step 3: Connect the Multimeter Leads to the Sensor Terminals
Now that your multimeter is set up, connect one of its leads to each terminal on the sensor. Make sure that it is connected securely, and that the leads are not touching each other.
Step 4: Read the Multimeter Display
Once the multimeter has been connected to the sensor terminals, it should display a reading on its digital display. If there is no reading, then this indicates that there is an issue with either the sensor or its connection, and you may need to replace it.
Step 5: Test the Second Sensor
The final step is to test the second sensor the same way you did for the first one, by connecting each of its terminals to the multimeter and reading the display for any readings. If both sensors are working correctly, then you should have two readings that match up with what is expected.
Testing garage door sensors with a multimeter is an easy process that can help you quickly diagnose any potential problems before they get worse. By following the steps outlined above, you will be able to accurately determine whether or not your sensors are working correctly and save yourself some time and money!
Some Additional Tips to Test Garage Door Sensors With Multimeter
1. Do Not Touch the Wires
Make sure to keep your hands away from the wires, as this could cause a short circuit. This is very dangerous, so make sure to follow this step. So you have to make sure that the multimeter is set properly and you don’t touch any of the wires.
2. Make sure to check all wiring connections
If there is any loose or frayed wiring, make sure to fix it before attempting a test. This will help you get an accurate reading and avoid unexpected shocks or other potential dangers. Also, check that the wiring is correctly connected to the multimeter.
3. Check your Garage Door Sensors With Multimeter
Once all of the above steps are taken, you can begin testing your garage door sensors with a multimeter. Set the multimeter to measure resistance and make sure that the sensor functions properly by connecting it across each contact on the sensor. If the resistance is too low or too high, the sensor may be damaged and needs to be replaced.
4. Test Continuity
To check if there is continuity in the circuit, switch your multimeter to a setting that will measure voltage and make sure it’s properly connected across both contacts of the garage door sensors. If the voltage is too low or too high, this could indicate a problem with the wiring.
5. Check for Interference
It’s also important to check your garage door sensors for interference from other devices in the area. The multimeter should be used to measure electromagnetic fields and any other signals that might interfere with the sensor’s performance.
6. Troubleshoot Problems
If any of the above steps indicate a problem with your garage door sensors, you can use the multimeter to troubleshoot further. This should help you pinpoint and diagnose the issue so that it can be fixed quickly and efficiently.
Frequently Asked Questions
What Precautions Should be Taken During the Testing Process?
It is important to take all of the necessary safety precautions when using a multimeter to test garage door sensors. Ensure that you are wearing protective gloves, turn off all power sources before testing, and use the appropriate voltage setting for the device being tested.
It is also essential to inspect the wiring for any signs of damage or corrosion before attempting to use the multimeter. Additionally, avoid contact with any live wires and do not attempt to fix any electrical components without professional assistance.
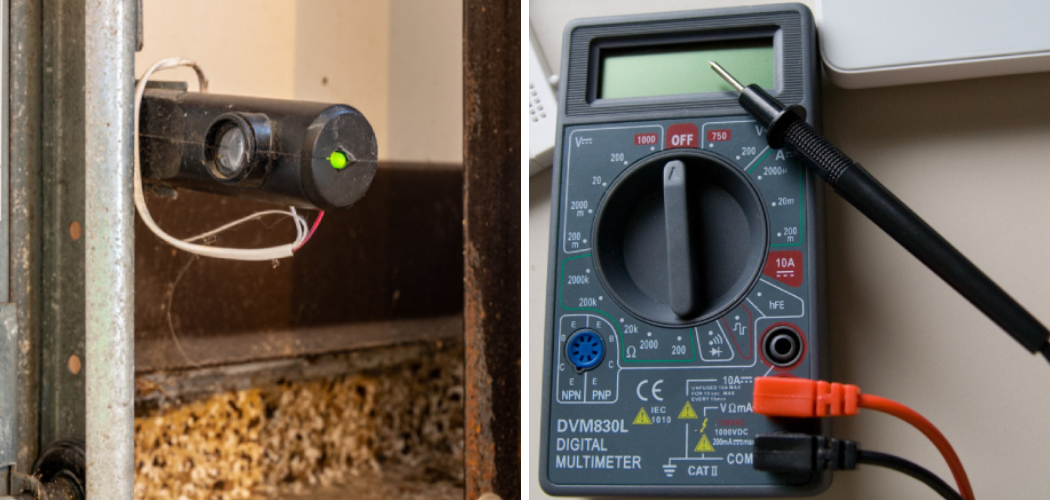
What Are Garage Door Sensors?
Garage door sensors are safety devices that detect when an object is blocking the door from closing. They can prevent accidental entrapment or injury, and they often use infra-red technology to detect obstacles. When used with a multimeter, they can be tested to determine whether or not they are functioning properly.
What Are the Benefits of Testing Garage Door Sensors With a Multimeter?
Testing garage door sensors with a multimeter has several benefits. It is much faster than visually inspecting the sensors, and it can be done without having to open up any part of the system. Additionally, testing with a multimeter allows for more accurate detection of any potential issues as it provides an exact voltage reading. Finally, it is also very cost-effective as there is no need to purchase additional parts or hire a professional for assistance.
Are Garage Door Sensors Easy to Test With a Multimeter?
Yes, testing garage door sensors with a multimeter is relatively straightforward. All you need to do is connect the sensor to the multimeter and adjust the voltage setting accordingly. Once the correct voltage has been set, the readings should indicate whether or not the sensor is working properly. If any issues are detected, the sensor should be replaced for safety purposes.
Conclusion
In conclusion, testing your garage door sensors is a simple and straightforward process. Knowing how to test garage door sensors with a multimeter is key, as understanding the principles behind testing voltage and resistance will help you troubleshoot further problems if the sensors are faulty. Make sure to check your owner’s manual for specific guidance that is tailored to your make and model.
Additionally, regularly checking up on the condition of your garage door’s moving parts is a great way to keep it in top condition. Regular maintenance can save you time and money down the line in terms of expensive repairs or replacements. By arming yourself with knowledge about how multimeters work and understanding what needs to be tested, you can rest assured that your garage door remains safe and secure and that each opening closes properly.
I am Rick. I grew up helping my dad with his handyman service. I learned a lot from him about how to fix things, and also about how to work hard and take care of business. These days, I’m still into fixing things- only now, I’m doing it for a living.
I’m always looking for new ways to help people grow and develop. That’s why I have created this blog to share all my experience and knowledge so
that I can help people who are interested in DIY repair.