
Looking to replace your garage door belt yourself? Well, you’ve come to the right place! Replacing a garage door belt may seem intimidating at first, but with the right instructions and safety precautions, it is actually quite simple.
In this blog post, we will cover everything you need to know on how to replace garage door belt including essential tools that are needed for the job, what type of replacement belt should be used, and any potential maintenance tips so that you can keep both your old and new belts lasting longer.
By following these steps carefully, anyone can quickly learn how to replace their own garage door belts in no time! For homeowners, dealing with a broken garage door can be an incredibly frustrating and stressful experience. Here, we will be covering the topic of how to replace a belt-driven garage door opener – a process that requires some technical know-how but is well within reach of novice DIY’ers.
We’ll go into detail about how to assess your system, identify any problems that need addressing and discuss what tools you may need. With our help, you can save yourself time and money by tackling this repair task on your own!
Why May You Want to Replace Garage Door Belt?
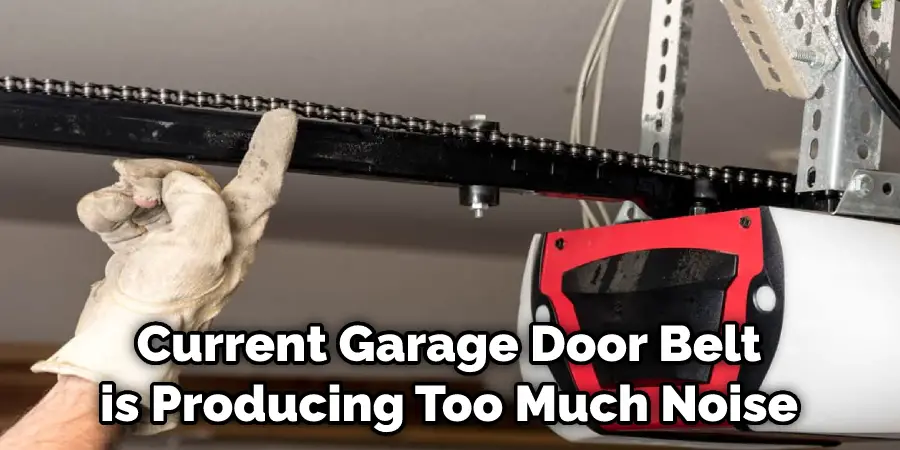
1. To Reduce Noise
If your current garage door belt is producing too much noise, replacing it with a quieter belt can help reduce the sound level in your home or workspace. Also, if you’re living in an apartment complex or a neighborhood with close neighbors, replacing your belt can help keep the noise to a minimum.
2. To Increase Efficiency
Most garage door belts are made of metal and are relatively durable. However, they may require replacement after some time due to wear and tear. Replacing your old belt with a new one can help improve the efficiency of your garage door, as well as reduce energy consumption.
3. To Improve Security
Garage door belts are designed to keep the door secure when in use. By replacing an old or worn-out belt with a new one, you’ll be able to ensure that your home or workspace is secure from intruders.
How to Replace Garage Door Belt in 6 Steps
Now that you know why you might want to replace your garage door belt, let’s take a look at the steps involved in doing so. Here’s how to replace your old garage door belt:
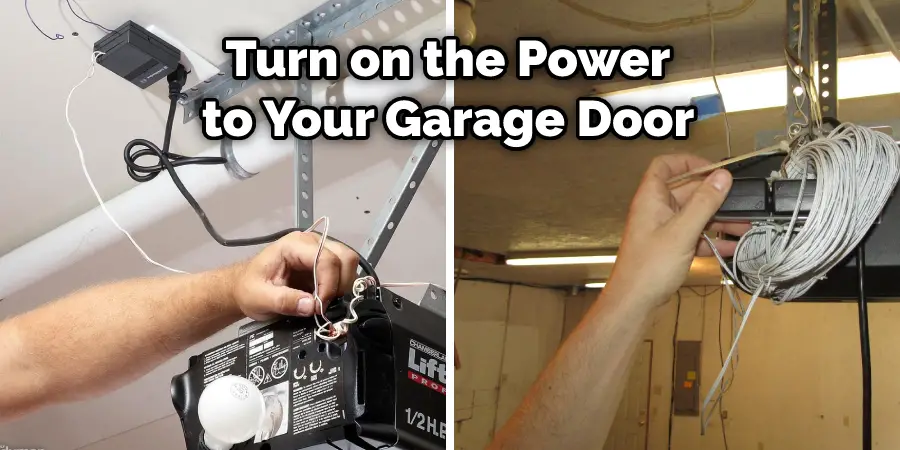
Step 1: Disconnect the Power
Begin by disconnecting the power to the garage door. If it’s set up to an electric opener, unplug the cord or turn off the breaker in your home’s electrical panel. If you don’t want to deal with electricity, then use a manual override switch that disconnects power from your garage door operator.
Step 2: Open the Garage Door
Open your garage door fully and then lock it into place by putting a c-clamp on both sides of the tracks. This will prevent the door from moving when you’re working on it. Also, it’s a good idea to set up a ladder underneath the door so that you can safely climb up and down when needed.
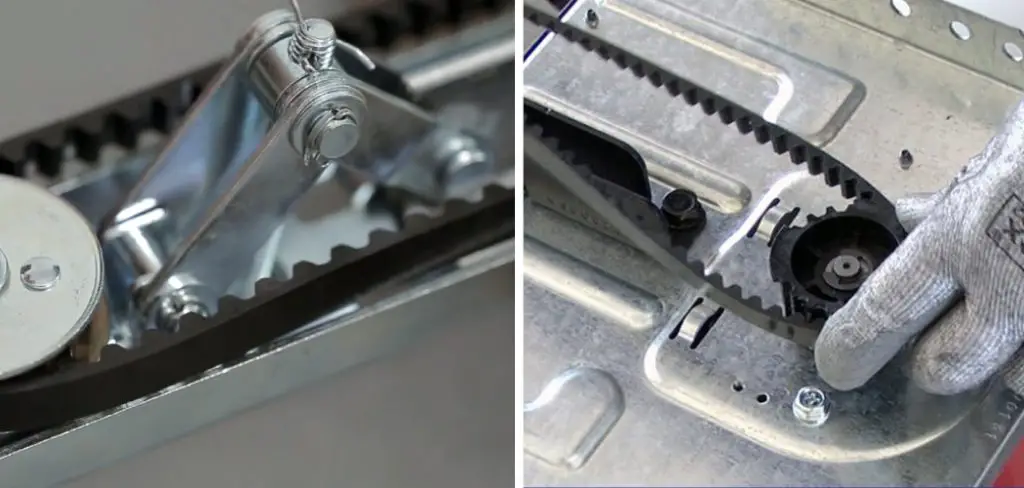
Step 3: Examine the Belt for Wear & Tear
Examine your garage door belt for any signs of damage or wear and tear. If there are any visible cracks or fraying, then it’s time to get a new belt. Make sure to purchase one that is compatible with your garage door model.
Step 4: Remove the Old Belt
To remove the old belt, use an adjustable wrench to loosen and remove the bolts located on either side of the garage door track. Then, detach the existing belt by pulling it away from both sides of the track.
Step 5: Install the New Belt
Carefully fit your new garage door belt into place on both sides of the track. Make sure that it’s firmly attached and that all of the bolts are tightened securely. Make sure you are using the right size bolts for your new belt.
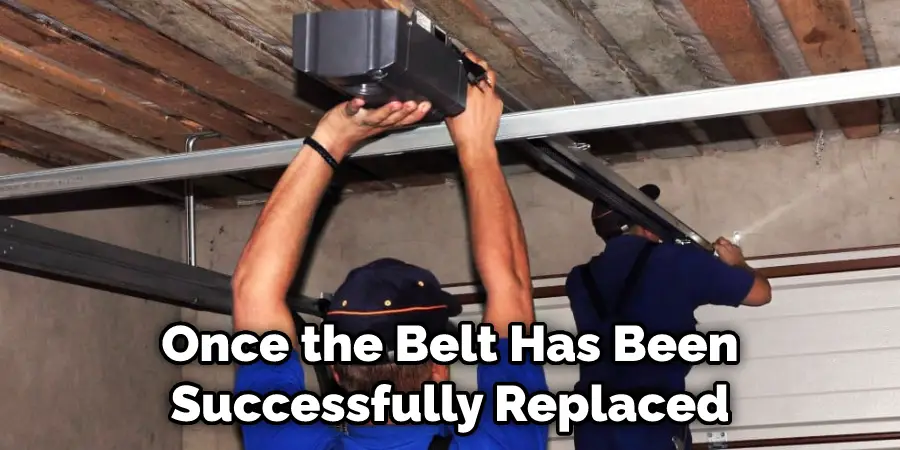
Step 6: Test the Belt
Once the new belt is installed, plug in or turn on the power to your garage door and test out the belt’s operation. If it runs smoothly without any issues, then you’ve successfully replaced your garage door belt!
Some Additional Tips to Replace Garage Door Belt
1. Do Not Over-Tighten the Belt
When replacing a garage door belt, it is important to avoid over-tightening the belt. Over-tightening the belt can cause it to stretch and weaken, eventually leading to failure or breakage.
Also, be sure to refer to the manufacturer’s instructions when tightening the belt, as different models will vary in how tight they need to be.
2. Inspect and Clean Tracks
Garage door tracks should always be inspected and cleaned prior to the installation of a new garage door belt. If the tracks are not clean then dirt, debris, and other contaminants can interfere with the proper operation of the doors.
3. Check For Cracks or Splits in the Belt
Inspect the new replacement belt for any visible cracks or splits, as these can lead to breakage when in use. If there is any doubt about the integrity of the belt then it should be discarded and a new one obtained.
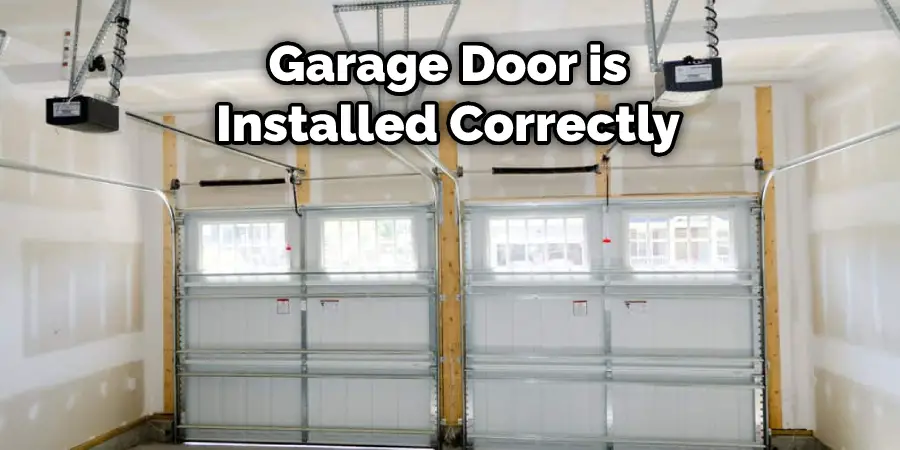
4. Test The Door After Installation
Once the garage door belt has been installed correctly, it is important to test the door for correct operation and alignment. This will ensure that the door is functioning properly and can help to identify any potential problems with the belt prior to long-term use.
Following these simple tips should help you successfully replace your garage door belt, thereby ensuring that it functions correctly for many years to come. If in doubt about how to perform any of the steps involved in replacing the belt, refer to the instructions given by the garage door manufacturer.
If ever you feel uncomfortable or unsafe during any stage of this process, it is advised that you get professional assistance from a qualified technician. This will ensure that your garage door is installed correctly and safely.
Frequently Asked Questions
What Precautions Should I Take Before Replacing My Garage Door Belt?
Before beginning the process of replacing a garage door belt, it is important to take necessary safety precautions. Make sure you have adequate lighting and that the power to the garage has been shut off before attempting any repairs. It’s also a good idea to wear protective gloves and eyewear when handling any moving parts.
How Do I Know If My Garage Door Needs a Belt Replacement?
If the garage door belt is noisy or has visible signs of wear and tear, it may need to be replaced. It’s also important to check the tension on the belt periodically to ensure that it’s operating correctly. If the tension on the belt is too loose or too tight, it can cause the garage door to open and close unevenly.
How Much Does It Cost To Replace a Garage Door Belt?
The cost of replacing a garage door belt will depend on the size, brand, and type of belt being purchased. Generally speaking, most belts for residential garage doors range between $15 to $50. It’s important to note that in some cases it may be more cost-effective to hire a professional for the installation.
Do I Need Any Special Tools To Replace My Garage Door Belt?
Most belt replacements can be completed with basic hand tools such as a wrench, screwdriver, pliers, and adjustable wrench. If the garage door belt requires specialized tools, it is best to consult with a professional. Additionally, some garage door manufacturers may have specific instructions on the type of tools needed for the job.
What Should I Do After Replacing My Garage Door Belt?
Once the belt has been successfully replaced, it is important to test its functionality and make sure it operates as expected. Additionally, if the job was completed by a professional it’s important to ask questions and make sure all safety guidelines have been followed. Lastly, any extra parts should be stored properly in case they are needed for future repairs.
Conclusion
Replacing a garage door belt may be a daunting task. However, this guide on how to replace garage door belt has provided you with all the information and tools needed to tackle the job. It’s important to remember that it is a time-consuming process and requires patience. With proper preparation and care, you should have your new belt up and running in no time.
Plus, you’ll even have the satisfaction of knowing that you upgraded your security system all on your own! In addition to providing tips for replacing garage door belts, it’s beneficial to reference the manufacturer’s instructions as well as local building code requirements if needed. Don’t feel overwhelmed or frustrated when it comes to your repair or installation project: Take advantage of this knowledge today and get started on creating a smarter garage door system. You can do it!
I am Rick. I grew up helping my dad with his handyman service. I learned a lot from him about how to fix things, and also about how to work hard and take care of business. These days, I’m still into fixing things- only now, I’m doing it for a living.
I’m always looking for new ways to help people grow and develop. That’s why I have created this blog to share all my experience and knowledge so
that I can help people who are interested in DIY repair.