
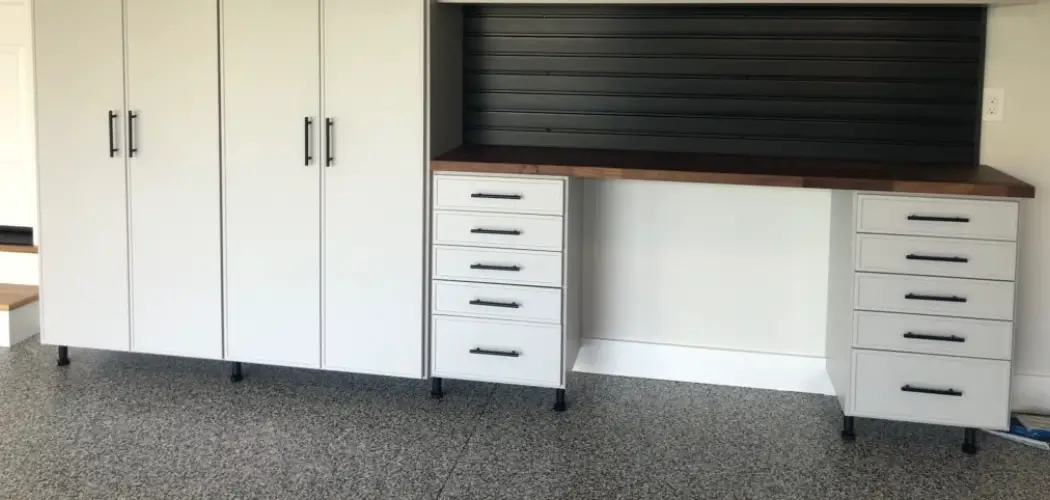
Your garage holds more than just your car. It stores holiday decorations, power tools, sports gear, paint cans, and that box of “someday” projects you can’t quite let go of. Without a proper system, all that stuff ends up scattered across the floor, stacked in wobbly piles, or shoved into corners you can never reach.
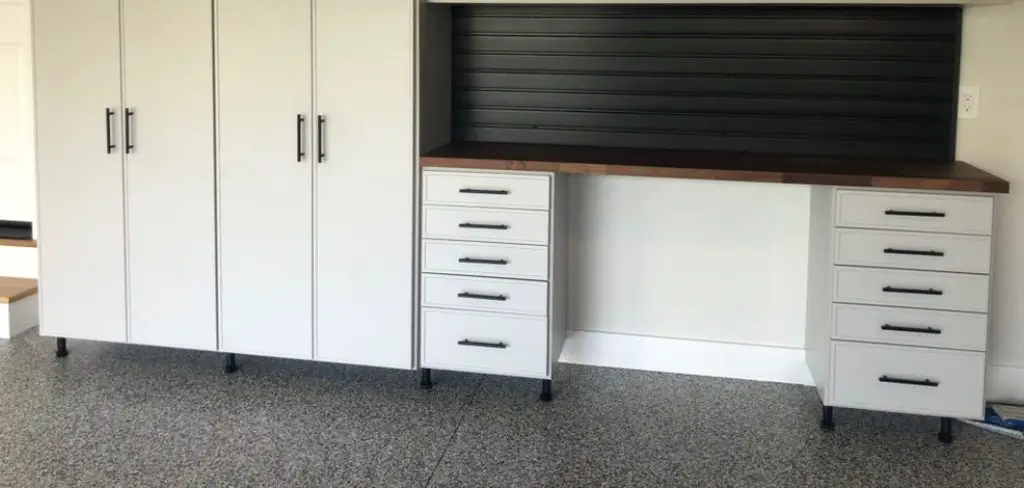
Garage shelves solve that problem fast. They turn wasted wall space into organized storage, clear your floor for actual work, and make it easy to find what you need in seconds. Best of all, installing them yourself is a weekend project most homeowners can handle with basic tools and a little patience.
This guide on how to install garage shelves walks you through everything, from the benefits and materials to a detailed 10-step installation process. By the end, you’ll have the confidence to build sturdy, reliable shelving that lasts for years.
What are the Benefits?
Installing garage shelves does a lot more than tidy up your space. Here are the biggest reasons to get started.
- More usable floor space. Moving items off the ground frees up room for your vehicle, workbench, or larger projects. A clear floor also makes cleaning much easier and reduces trip hazards.
- Better organization. Shelves give every item a designated home. When tools, supplies, and seasonal gear each have a spot, you stop wasting time searching and stop buying duplicates you already own.
- Protection for your belongings. Items stored on the floor face water damage, dust, and pests. Raising them onto shelves keeps them dry, clean, and safe from spills or flooding.
- Increased home value. A well-organized garage with built-in storage appeals to buyers. It signals that the home has been cared for and offers practical functionality.
- Cost savings. Building your own shelves is far cheaper than hiring a contractor or buying premium storage systems. With a modest investment in materials, you get durable storage tailored to your exact needs.
- Customization. When you build your own, you control the height, depth, and spacing. That means you can design shelves to fit oversized bins, tall bottles, or heavy equipment perfectly.
What Will You Need?
Before you start, gather all your tools and materials. Having everything ready saves trips to the hardware store and keeps your project moving.
Tools:
- Tape measure
- Pencil
- Level (2-foot or longer)
- Stud finder
- Drill/driver with bits
- Circular saw or handsaw
- Safety glasses
- Work gloves
- Clamps (optional but helpful)
- Ladder or step stool
Materials:
- 2×4 lumber for framing
- 3/4-inch plywood or MDF for shelf surfaces
- Wood screws (2.5-inch and 3-inch)
- Wall anchors (if not hitting studs)
- Lag bolts (for heavy-duty shelving)
- Wood glue (optional)
- Sandpaper
- Paint or wood sealer (optional)
Optional Upgrades:
- L-brackets or shelf brackets
- Metal shelf standards and clips
- Corner braces for extra support
Choose materials based on how much weight your shelves will hold. For heavy tools and equipment, stick with solid 2×4 framing and thick plywood.
10 Easy Steps on How to Install Garage Shelves
Step 1: Measure Your Wall Space
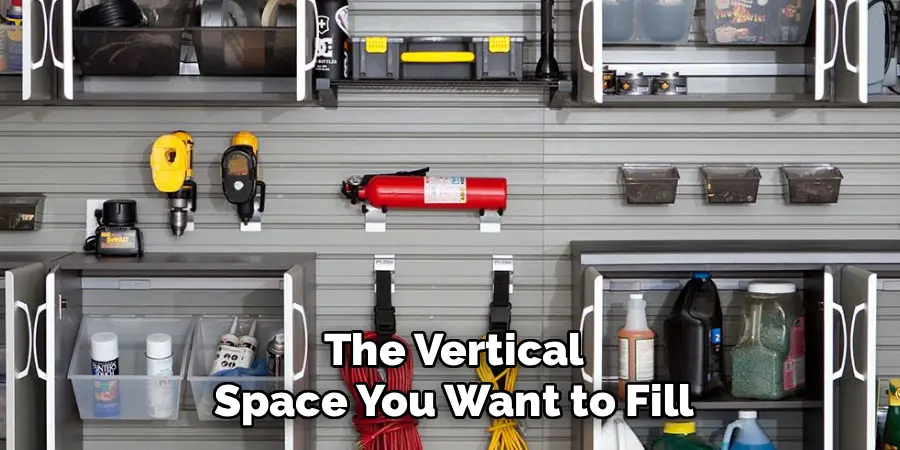
Start by deciding where your shelves will go. Measure the wall’s width and height, and note any obstacles like windows, outlets, or garage door tracks. Write down the total length available for shelving and the vertical space you want to fill. Think about what you’ll store, then plan shelf depth accordingly. A depth of 12 to 16 inches works for most items, while 24 inches suits large bins. Accurate measurements now prevent frustrating mistakes later, so double-check every number before moving on.
Step 2: Locate and Mark the Wall Studs
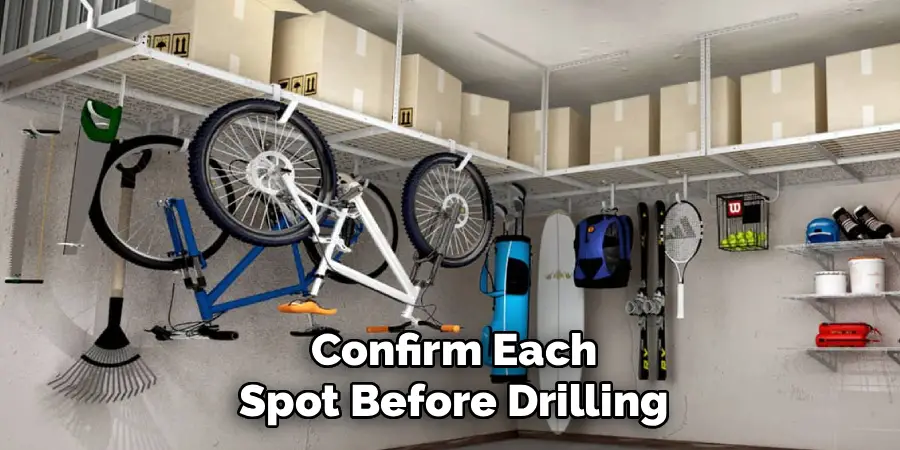
Studs are the vertical framing members inside your wall, and they provide the strongest anchor points for heavy shelving. Run a stud finder horizontally across the wall until it beeps, then mark each stud’s center with your pencil. Studs usually sit 16 inches apart, so once you find one, you can measure to locate the others. Mark every stud along your planned shelf run. Anchoring into studs is critical for weight-bearing shelves, so take your time and confirm each spot before drilling.
Step 3: Plan Your Shelf Layout
Now sketch your design. Decide how many shelves you want and the spacing between them. Leave enough room above each shelf for the tallest items you plan to store. A common layout places shelves 16 to 24 inches apart. Mark the height of each shelf on the wall using your pencil and level, drawing a light horizontal line where each shelf will rest. This visual guide keeps everything straight and evenly spaced as you build. Take a step back and check that the layout matches your storage needs.
Step 4: Cut Your Lumber and Boards
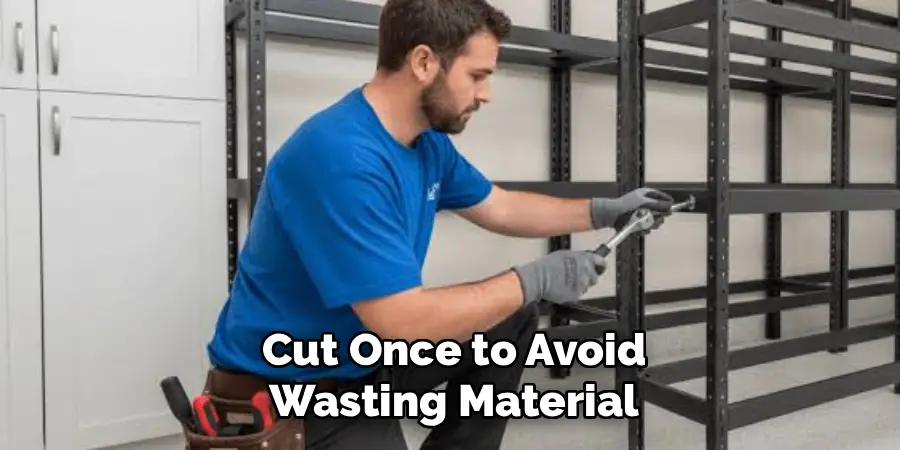
Using your measurements, cut the 2x4s for the wall cleats and vertical supports. The wall cleat is the horizontal board that mounts directly to the studs and carries most of the load. Cut your plywood or MDF to the desired shelf depth and length. Measure twice and cut once to avoid wasting material. Wear safety glasses and gloves while cutting. If your saw skills are rusty, clamp the boards firmly and go slow. Sand any rough edges once your pieces are cut to size.
Step 5: Attach the Wall Cleats
Hold your first 2×4 cleat against the wall, lining it up with the horizontal line you drew. Place your level on top and adjust until the bubble sits centered. Drive 3-inch screws through the cleat and into each stud you marked earlier. Use at least two screws per stud for a secure hold. Repeat this process for each shelf level. The cleats form the backbone of your shelving, so make sure every one is level and tightly fastened before you continue.
Step 6: Install the Vertical Supports
Vertical supports connect your shelves and add stability, especially for freestanding or long shelving units. Cut 2x4s to match your total shelf height and attach them at each end of the cleat run, plus one in the middle for spans longer than four feet. Secure the supports to the cleats with screws, checking that each stands perfectly plumb with your level. These uprights prevent sagging and keep your shelves from bowing under heavy loads. Solid vertical support is what separates a sturdy shelf from a shaky one.
Step 7: Add Front Support Rails
To keep shelves from tipping forward, install front support rails. Cut 2x4s to run along the front edge of each shelf level and attach them to the vertical supports with screws. These rails mirror the wall cleats and share the weight evenly across the frame. For extra strength, add corner braces where the rails meet the uprights. This step creates a complete frame that fully supports the shelf surface. Check that each rail sits level with its matching cleat on the wall.
Step 8: Place and Secure the Shelf Boards
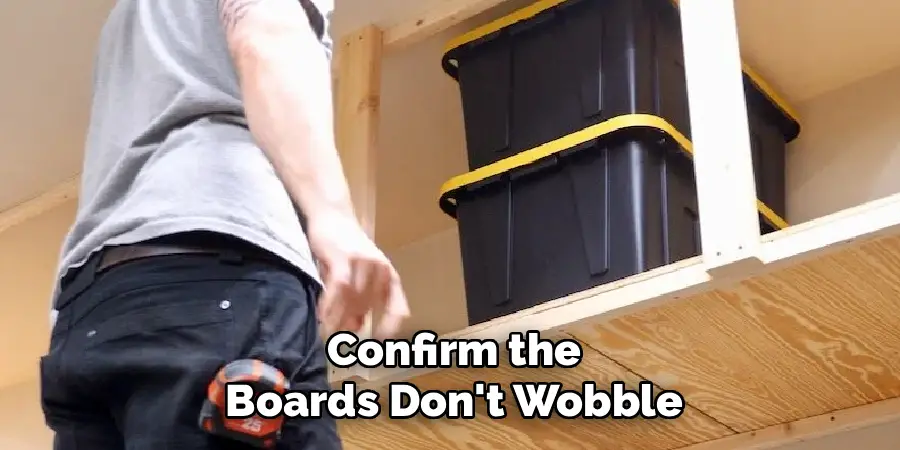
Lay your plywood or MDF boards onto the frame, resting them on the cleats and front rails. Make sure each board fits snugly and sits flat. Drive 2.5-inch screws down through the shelf board into the framing below, spacing them every 12 inches. This locks the surface in place and stops it from shifting or lifting. Wipe away any sawdust and confirm the boards don’t wobble. Once fastened, give each shelf a firm push to test that it holds solid.
Step 9: Check Stability and Reinforce
With all shelves in place, inspect the entire unit. Push and pull on the frame to test for movement. If anything feels loose, add extra screws or corner braces at the weak points. For very heavy loads, swap standard screws for lag bolts at the stud connections. Verify every shelf is still level, since adjustments during assembly can shift things slightly. A few extra minutes of reinforcement now prevents collapses down the road. Your shelves should feel rock solid before you load them up.
Step 10: Finish and Load Your Shelves
Sand any rough edges one final time for a clean, splinter-free surface. If you want a polished look or added protection, apply paint or wood sealer and let it dry fully. Once dry, start loading your shelves, placing the heaviest items on lower levels and lighter items up top. Distribute weight evenly across each shelf rather than piling everything in one spot. Step back and admire your work. Your garage just gained serious storage space, and you built it yourself.
5 Things You Should Avoid
Even a simple project can go sideways. Watch out for these common mistakes.
1. Skipping the studs. Anchoring shelves only into drywall is a recipe for disaster. Drywall can’t hold heavy loads, and your shelves will pull free. Always secure to studs or use heavy-duty anchors.
2. Ignoring weight limits. Overloading a shelf beyond its capacity causes sagging and collapse. Know your materials’ limits and spread heavy items across multiple shelves.
3. Rushing the measurements. Sloppy measuring leads to crooked, uneven shelves. Take your time, use a level often, and double-check before cutting or drilling.
4. Using the wrong materials. Thin particleboard bows under weight and won’t last. Invest in solid lumber and thick plywood for shelves meant to hold real weight.
5. Forgetting safety gear. Cutting and drilling create flying debris. Always wear safety glasses and gloves, and keep your work area clear of clutter.
Conclusion
How to install garage shelves is one of the most rewarding home projects you can tackle in a weekend. You clear your floor, protect your belongings, and gain organized storage that fits your exact needs, all without paying a contractor.
The key is preparation. Measure carefully, anchor into studs, use quality materials, and reinforce weak points. Follow the ten steps in this guide, avoid the common mistakes, and you’ll end up with sturdy shelving that holds up for years.
Now that you know exactly what to do, grab your tools and get started. Your garage and your future self will thank you.

I am Rick. I grew up helping my dad with his handyman service. I learned a lot from him about how to fix things, and also about how to work hard and take care of business. These days, I’m still into fixing things- only now, I’m doing it for a living.
I’m always looking for new ways to help people grow and develop. That’s why I have created this blog to share all my experience and knowledge so
that I can help people who are interested in DIY repair.