
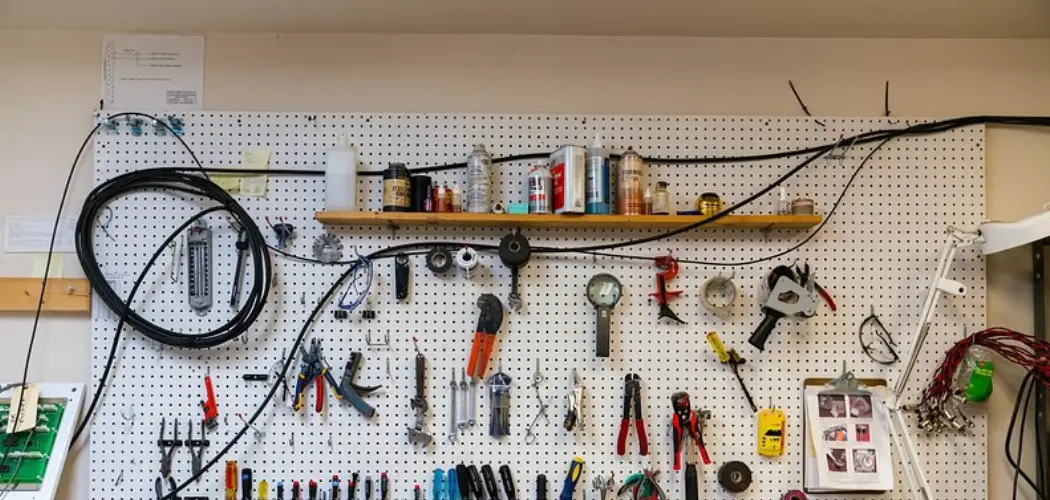
A cluttered garage can turn even the simplest task into a frustrating treasure hunt. You know the feeling—you need a hammer, but instead you spend twenty minutes digging through a pile of cords, screwdrivers, and random bits of hardware. Sound familiar? The good news is that you can fix this mess without spending a fortune or hiring a professional.
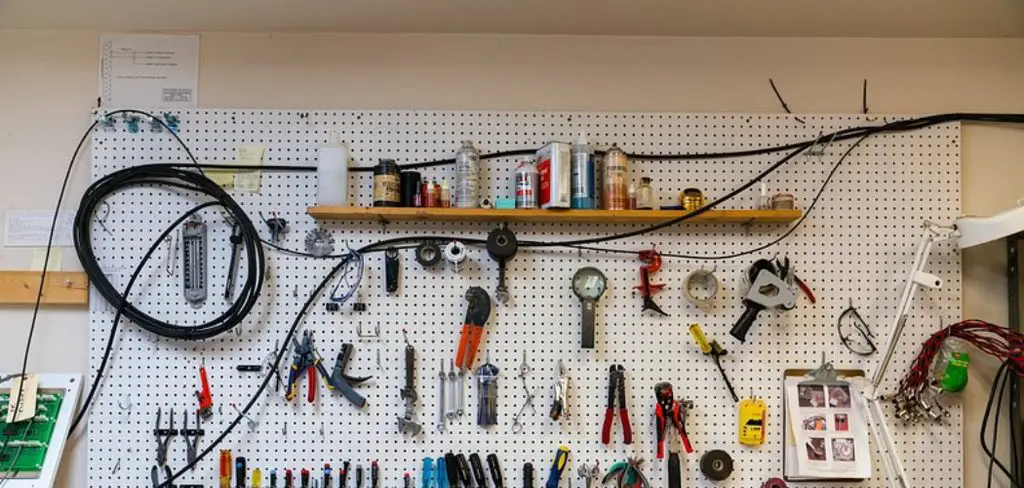
Hanging your tools on the wall is one of the smartest ways to reclaim your garage. It gets everything off the floor, keeps your gear within easy reach, and instantly makes the whole space look cleaner and more organized. Whether you have a small collection of hand tools or a growing arsenal of power equipment, wall storage helps you make the most of every square inch.
In this guide on how to hang tools in garage, we’ll walk you through everything you need to know. By the end, you’ll be ready to build a tool wall that works for you and lasts for years. Let’s get started.
The Benefits of Hanging Tools in Your Garage
Before you grab a drill, it helps to understand why this project is worth your time. Hanging your tools does more than tidy up the room. Here are the biggest advantages.
- You save valuable floor space. Tools scattered on the ground or piled on shelves eat up room fast. Moving them to the walls frees up space for your car, workbench, or larger equipment.
- You find things faster. When every tool has a designated spot, you always know where to look. No more wasting time hunting for the right wrench in the middle of a project.
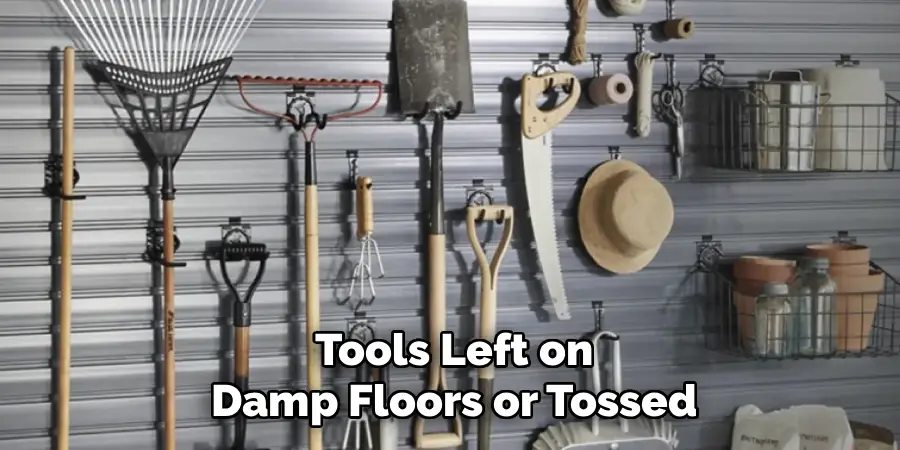
- Your tools last longer. Tools left on damp floors or tossed in bins can rust, chip, or get damaged. Hanging them keeps them dry, protected, and in better shape over time.
- You work more safely. A cluttered floor is a tripping hazard. Sharp tools left lying around can cause injuries. Getting everything off the ground reduces these risks significantly.
- Your garage looks great. There’s real satisfaction in seeing a neat, well-organized wall of tools. It makes the space more inviting and even a little inspiring to work in.
- You may add home value. A clean, functional garage is a selling point. Buyers appreciate a space that feels ready to use and shows the home has been cared for.
What Will You Need?
Gathering your supplies ahead of time makes the whole process smoother. Here’s a list of what you’ll want on hand before you begin.
Storage Hardware:
- Pegboard or slatwall panels
- Wall hooks and pegs (various sizes)
- Tool holders and clips
- Magnetic strips (great for smaller metal tools)
- Wall-mounted shelves or bins
- Screws and wall anchors
Tools for Installation:
- Cordless drill and driver bits
- Measuring tape
- Level
- Pencil for marking
- Stud finder
- Safety glasses
- Ladder or step stool
Optional Extras:
- Wall paint or sealant
- Labels or a label maker
- Furniture cleaner or rag for wiping surfaces
Having these items ready means you won’t have to stop halfway through to run to the hardware store. Take a few minutes to check your list before diving in.
10 Easy Steps on How to Hang Tools in Garage
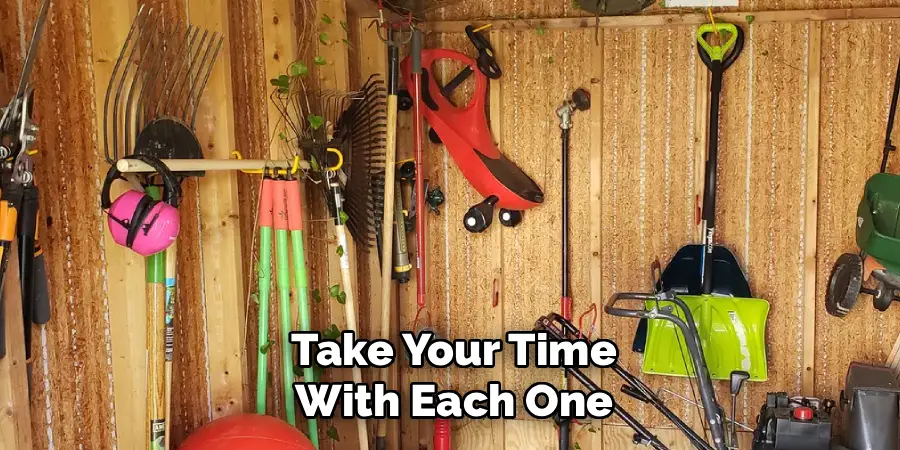
Now for the main event. Follow these ten steps in order, and you’ll have a functional tool wall before you know it. Take your time with each one to get the best results.
Step 1: Sort and Declutter Your Tools
Start by pulling out every tool you own and laying them out where you can see them. This might feel overwhelming at first, but it’s the most important step. Group similar items together—hand tools in one pile, power tools in another, and so on.
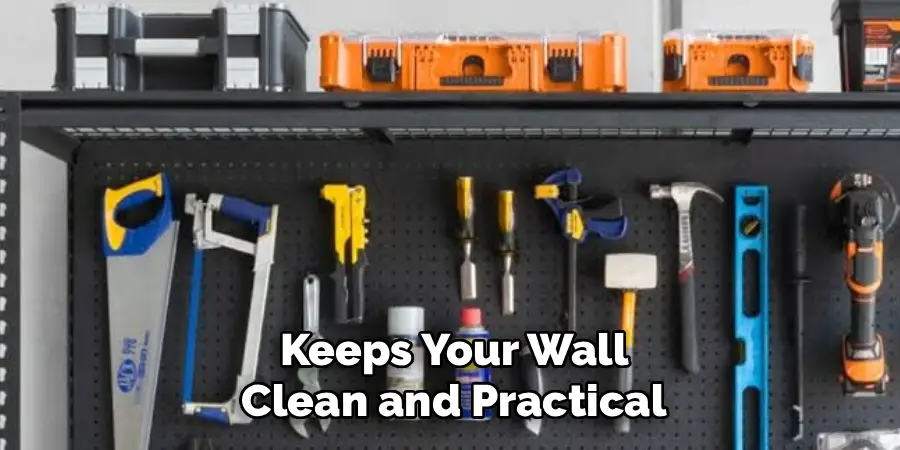
As you sort, be honest with yourself. Do you really need three broken screwdrivers or that rusty saw you haven’t touched in years? Set aside anything damaged, duplicated, or no longer useful. Donate, recycle, or toss these items. Decluttering now means you’ll only hang the tools you actually use, which keeps your wall clean and practical.
Step 2: Measure Your Wall Space
Grab your measuring tape and figure out how much wall space you have to work with. Measure the height and width of the area you plan to use. Write these numbers down so you can plan your layout accurately.
Pay attention to obstacles like windows, outlets, light switches, or doors that swing open. You’ll want to work around these features. Knowing your exact dimensions helps you buy the right amount of pegboard or slatwall and avoids the frustration of coming up short.
Step 3: Plan Your Layout
Before you drill a single hole, sketch out where each tool will go. Think about how you use your tools day to day. Keep the items you reach for most often at eye level and within easy arm’s reach. Heavier tools should sit lower, while lighter items can go higher up.
Group related tools together to make your workflow smoother. For example, keep all your gardening tools in one zone and your automotive gear in another. A little planning here saves you from rearranging everything later.
Step 4: Locate the Wall Studs
Studs are the sturdy vertical beams behind your drywall, and they’re key to a secure installation. Run a stud finder along the wall and mark each stud with your pencil. Studs are usually spaced 16 or 24 inches apart.
Anchoring your storage system into studs gives it the strength to hold heavy tools without pulling away from the wall. If you skip this step and mount only into drywall, your setup could sag or crash down. Take the time to find and mark those studs.
Step 5: Choose Your Storage System
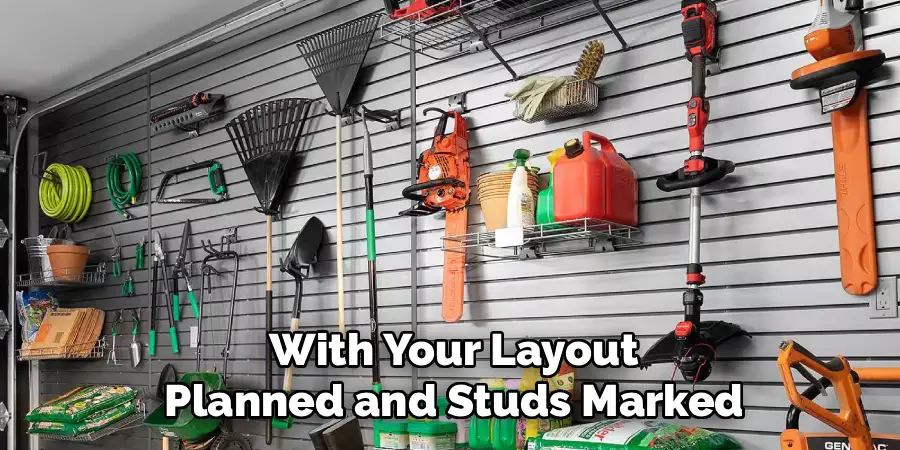
With your layout planned and studs marked, decide which storage system fits your needs. Pegboard is affordable, flexible, and easy to customize with hooks. Slatwall offers a sleek look and can handle heavier loads. Magnetic strips work wonderfully for small metal tools like pliers and wrenches.
Many people use a mix of systems. You might install pegboard for hand tools, add a few shelves for bins, and stick a magnetic strip near your workbench. Pick what makes sense for your collection and your budget.
Step 6: Prepare the Wall Surface
Clean the wall before you mount anything. Wipe away dust, cobwebs, and grime with a damp rag, then let it dry. A clean surface helps your hardware stick and holds better over time.
If you want a fresh look, consider painting the wall or adding a sealant, especially if your garage tends to get damp. This step is optional, but it can make your finished project look more polished and protect the wall from moisture.
Step 7: Mark Your Mounting Points
Hold your pegboard or slatwall panel against the wall in position. Use your level to make sure it sits perfectly straight—a crooked panel will bug you every time you look at it. Once it’s level, mark the spots where your screws will go, lining them up with the studs you found earlier.
Double-check your marks before moving on. Measuring twice and drilling once saves you from mistakes that leave extra holes in your wall.
Step 8: Install the Storage Panels
Now it’s time to mount your panels. If you’re using pegboard, install spacers or furring strips behind it first. These create a small gap so you can insert hooks from behind. Drive your screws into the marked stud points, using wall anchors wherever a screw won’t hit a stud.
Work steadily and keep checking that everything stays level. Tighten each screw firmly, but don’t overtighten to the point of cracking the panel. Once your panels are up, give them a gentle tug to confirm they’re secure.
Step 9: Add Hooks and Holders
With your panels in place, start adding hooks, pegs, clips, and holders. Follow the layout you planned in Step 3. Position each hook so the tool it holds hangs neatly and stays easy to grab.
Test the fit as you go. Hang a tool, step back, and see if it works. Adjust the spacing so tools don’t bump into each other or overlap. This is where your wall really starts to come together, so have fun with it.
Step 10: Organize and Label
The final step is to hang your tools and label their spots. Place each tool in its designated home according to your plan. Once everything is hung, consider adding labels or tracing an outline around each tool. This “shadow board” method makes it obvious where each item belongs and reminds you to put things back.
Step back and admire your work. You now have a clean, organized tool wall that makes every future project easier. Whenever you finish using a tool, return it to its spot to keep the system working.
5 Things You Should Avoid
Even a simple project can go wrong if you’re not careful. Watch out for these common mistakes.
- Skipping the studs. Mounting heavy storage into drywall alone is asking for trouble. Always anchor into studs to keep everything secure.
- Overloading your hooks. Every hook has a weight limit. Hanging tools that are too heavy can bend hooks or pull them out. Match each tool to a hook that can handle its weight.
- Ignoring the layout. Placing tools randomly leads to a messy, hard-to-use wall. Plan your arrangement so your most-used tools are easy to reach.
- Forgetting to level your panels. A crooked pegboard looks sloppy and can throw off your whole setup. Use a level every time you mount something.
- Neglecting future growth. If you fill every inch right away, you’ll have nowhere to put new tools later. Leave some open space for your collection to grow.
Conclusion
Transforming a messy garage into an organized, tool-friendly space is easier than you might think. By hanging your tools on the wall, you free up floor space, protect your gear, and make every project smoother and safer. The ten steps in this guide walk you through the whole process, from sorting your tools to labeling their final homes.
Remember to plan your layout, anchor into studs, and leave room to grow. Avoid the common mistakes we covered, and you’ll build a system that serves you well for years to come. The effort you put in now pays off every single time you step into your garage and find exactly what you need in seconds.
Hopefully, the article on how to hang tools in garage has given you a better understanding of the importance of organization and efficiency in your workspace.
