
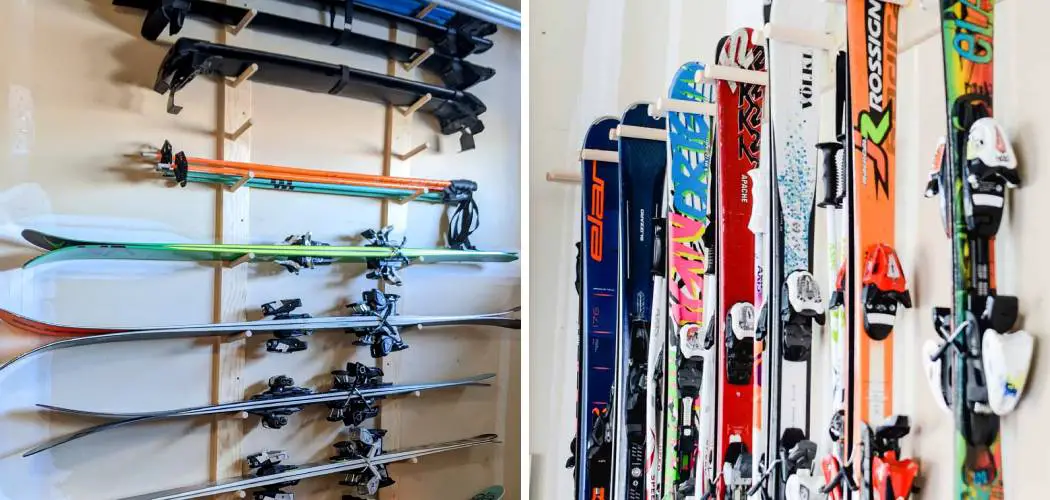
As the snow melts and the season winds down, skiers everywhere face the same annual dilemma: where to put the gear? Skis are awkward. They are long, sometimes heavy, and have sharp edges.
Properly storing your skis isn’t just about organization; it’s about protecting your investment. A good storage system keeps your edges sharp, your camber intact, and your garage floor clear for actual cars. Whether you have a massive quiver of powder boards or just a pair of reliable carving skis, getting them off the ground and onto the wall is the best way to keep your gear safe during the off-season.
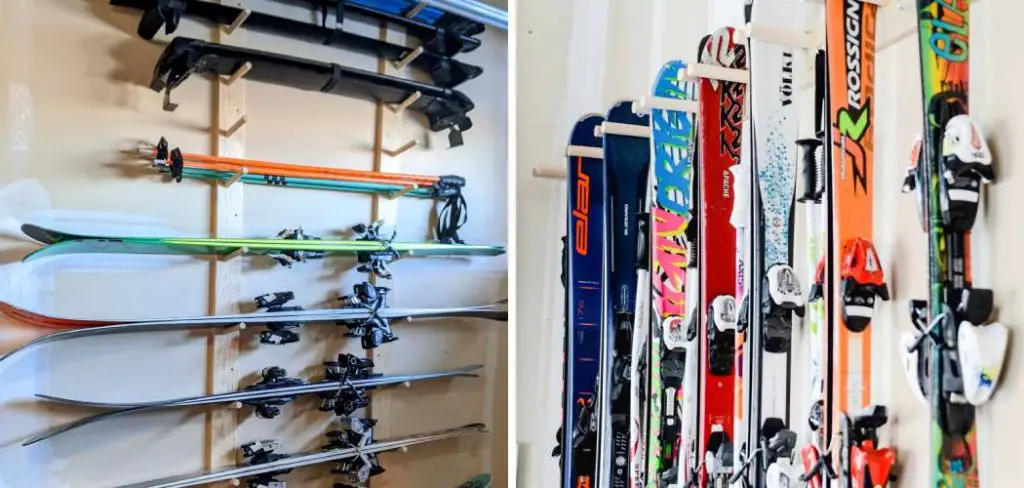
In this guide on how to hang skis in garage, we will walk you through the benefits of vertical storage, the tools you’ll need, and a comprehensive 10-step process to build a reliable ski rack in your garage.
Benefits of Hanging Skis in a Garage
Why go through the effort of mounting a rack? While tossing them in a pile might seem easier, taking the time to hang your skis offers significant advantages.
- Damage Prevention: Leaning skis against a wall puts pressure on the tips and tails, which can distort the camber over time. It also risks the skis sliding down and delaminating the tails or chipping the top sheets. Hanging them securely prevents accidental falls.
- Space Efficiency: Garages are prime real estate for storage. Floor space is valuable for vehicles, lawnmowers, and workbenches. Utilizing vertical wall space frees up the floor and makes the room feel much larger.
- Edge Protection: When skis are piled together, the metal edges can scrape against other skis, dulling them before you even hit the slopes. Separation ensures your tune-up lasts longer.
- Organization and Accessibility: A dedicated rack means you can easily see what you have. When the first big dump of winter arrives, you can grab the right pair and go without digging through a pile of poles and bags.
- Moisture Control: Storing skis off the concrete floor protects them from potential water damage or dampness that often accumulates in garages, reducing the risk of rusty edges.
What Will You Need?
Before you start drilling holes, gather your materials. You can buy pre-made racks, but building a simple wooden rack is cost-effective and customizable. Here is what you will need for a standard DIY wooden dowel rack.
Materials:
- (2) 2×4 lumber boards (length depends on how many skis you have; an 8-foot board holds about 6-8 pairs)
- (1) Box of heavy-duty wooden dowels (3/4 inch or 1 inch thick) or sturdy metal utility hooks
- Wood glue
- (1) Box of 3-inch wood screws or lag bolts (for mounting to studs)
- Sandpaper (medium grit)
Tools:
- Stud finder
- Power drill and drill bits (spade bit matching dowel size)
- Tape measure
- Level
- Pencil
- Saw (circular or hand saw)
- Hammer or rubber mallet
10 Easy Steps on How to Hang Skis in Garage
Follow these steps to create a sturdy, functional ski rack that will last for years.
Step 1: Measure Your Space and Skis
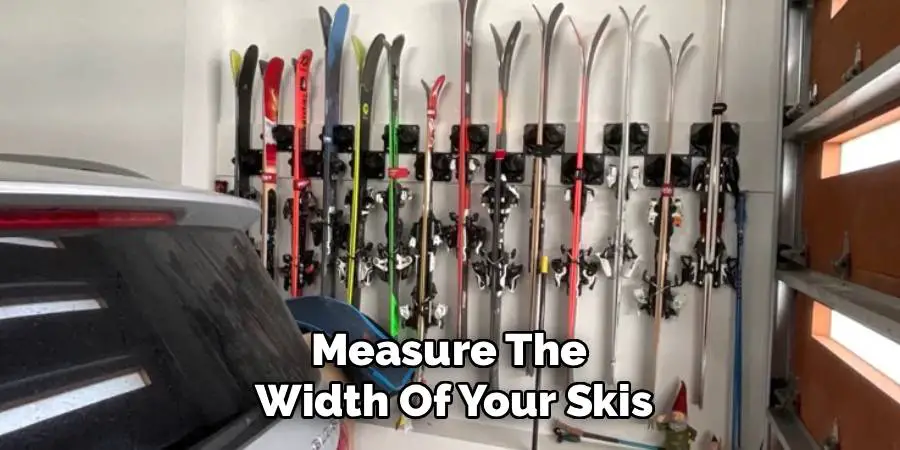
Before cutting any wood, you need to know how much wall space you have and the dimensions of your gear. Measure the width of your skis at the shovel (the widest part near the tip). You need to ensure the gap between your dowels or hooks is wide enough to hold the skis by the tips but narrow enough so they don’t slide through. A standard gap is usually around 2 to 3 inches, but powder skis might require more space. Also, measure the available wall space in your garage to determine how long your 2×4 backboard needs to be.
Step 2: Locate the Wall Studs
This is a crucial step for structural integrity. Skis can be heavy, especially if you are hanging multiple pairs. You cannot rely on drywall anchors alone. Use your stud finder to locate the studs in the wall where you intend to hang the rack. Mark the center of each stud with a pencil. Studs are typically spaced 16 inches apart. You will want to mount your backboard across at least two, preferably three, studs for maximum support.
Step 3: Cut and Prep the Backboard
Take your 2×4 lumber and cut it to your desired length based on your measurements from Step 1. If you are building two separate racks (one for the top and one for the bottom to hold tails), cut two identical pieces. Sand down any rough edges or splinters on the wood to prevent scratching your skis or getting splinters during installation. You can also paint or stain the wood at this stage if you want the rack to look polished.
Step 4: Mark the Dowel or Hook Placement
Lay your 2×4 flat on the ground or a workbench. You need to mark where the dowels (or hooks) will go. For each pair of skis, you will need two dowels spaced slightly wider than the waist of the ski but narrower than the tip. A good rule of thumb is to space the pairs about 10 to 12 inches apart along the board to allow room for bindings. Use your pencil to mark the exact center points for drilling.

Step 5: Drill Holes for Dowels
If you are using wooden dowels, select a spade bit or Forstner bit that matches the diameter of your dowels exactly (usually 3/4 inch). Drill holes into the 2×4 at your marked locations. Pro Tip: Do not drill perpendicular to the wood. Drill at a slight upward angle (about 10 to 15 degrees). This slight angle ensures that gravity helps keep the skis sliding toward the wall, rather than slipping off the end of the dowel. Drill about halfway through the 2×4, not all the way through.
Step 6: Cut and Install the Dowels
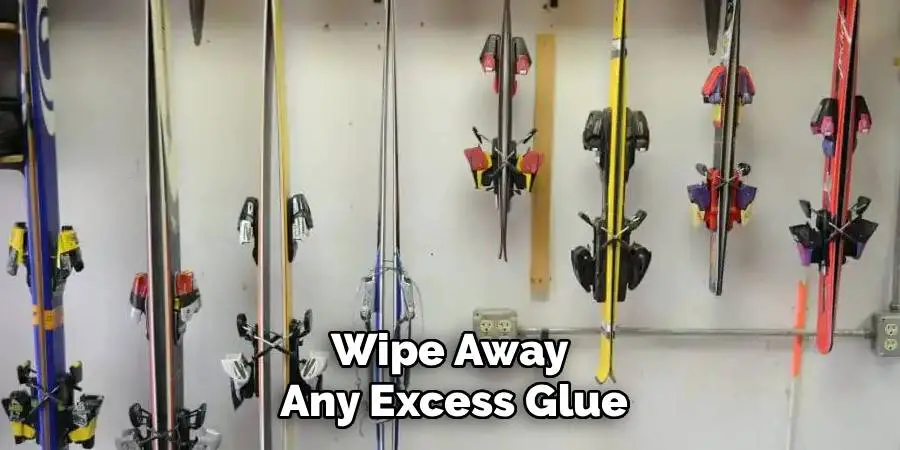
Cut your wooden dowels into 6 or 7-inch lengths. Apply a generous amount of wood glue to the end of each dowel and insert them into the angled holes you just drilled. Use a hammer or rubber mallet to tap them in securely. Wipe away any excess glue that squeezes out. Let the glue dry completely according to the manufacturer’s instructions—usually overnight—before putting any weight on them. If you are using metal hooks instead, simply screw them into the marked locations.
Step 7: Create a Protective Padding (Optional)
While wood is softer than metal, it can still scratch your top sheets over time. To add an extra layer of protection, consider wrapping the dowels in foam pipe insulation, old bicycle inner tubes, or felt. If you are using metal utility hooks, this step is mandatory to prevent metal-on-metal scraping. Simply wrap the material around the holding points and secure it with electrical tape or zip ties.
Step 8: Pre-Drill Mounting Holes
To prevent the wood from splitting when you mount it to the wall, pre-drill holes in the 2×4 backboard. These holes should align with the stud marks you made on the wall in Step 2. Measure the distance between the studs on your wall and transfer those measurements to your backboard. Drill a pilot hole through the 2×4 at each stud location.
Step 9: Mount the Rack to the Wall
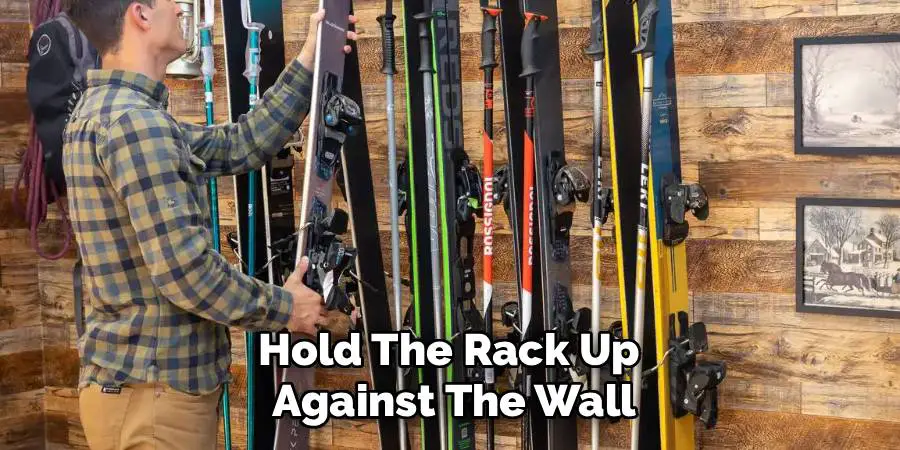
It is time to hang the rack. This is easier with a helper. Hold the rack up against the wall, aligning your pre-drilled holes with the stud marks. Place a level on top of the rack to ensure it is perfectly horizontal. Drive your 3-inch wood screws or lag bolts through the rack and into the wall studs. Tighten them until the rack is firmly pulled against the drywall, but be careful not to over-tighten and crack the wood.
Step 10: Test and Load
Give the rack a firm tug to ensure it is secure. It should not wiggle or pull away from the wall. Once you are confident in the installation, hang your skis. Slide the skis between the dowels so they hang by their curved tips. The bases should be facing each other. Check that the bindings don’t interfere with the wall or neighboring skis. Step back and admire your organized, floor-free garage.
5 Things You Should Avoid
- Hanging by the Bindings: Never hang skis solely by the toe piece of the binding. Bindings are designed to hold boots, not the static weight of the ski against a hook. This can stress the mounting screws and the binding springs. Always hang by the tips or store standing on the tails.
- Storing Near Heat Sources: Avoid placing your ski rack near a water heater, furnace, or in direct sunlight. Excessive heat can dry out the bases, degrade the epoxy holding the ski layers together, and melt your wax.
- Ignoring Moisture: Do not hang skis immediately after a day on the slopes if they are still soaking wet. Wipe them down with an old towel first. Storing wet skis, especially against a wall, encourages rust on the edges.
- Compressing the Camber: If you use a strapping system (like Velcro straps) to hold skis together, do not strap them so tightly that the camber (the natural arch of the ski) is flattened. This kills the “pop” and life of the ski.
- Using Drywall Anchors: Skis are heavy. A pair of alpine skis can weigh 10-15 pounds. A rack holding four pairs is a significant weight. Plastic drywall anchors will eventually pull out, causing the rack to crash down. Always mount to studs.
Conclusion
Building a proper storage system in your garage is one of the best things you can do for your skiing gear.
By getting your equipment off the floor and onto the wall, you protect the edges, preserve the camber, and reclaim valuable floor space. Whether you build a simple wooden rack or install a high-end metal system, the result is an organized space that makes getting to the mountains easier. Take an afternoon to set this up, and you will thank yourself when the first snow falls.
Hopefully, you’ve found this guide on how to hang skis in garage helpful in organizing and storing your skiing gear.

I am Rick. I grew up helping my dad with his handyman service. I learned a lot from him about how to fix things, and also about how to work hard and take care of business. These days, I’m still into fixing things- only now, I’m doing it for a living.
I’m always looking for new ways to help people grow and develop. That’s why I have created this blog to share all my experience and knowledge so
that I can help people who are interested in DIY repair.