
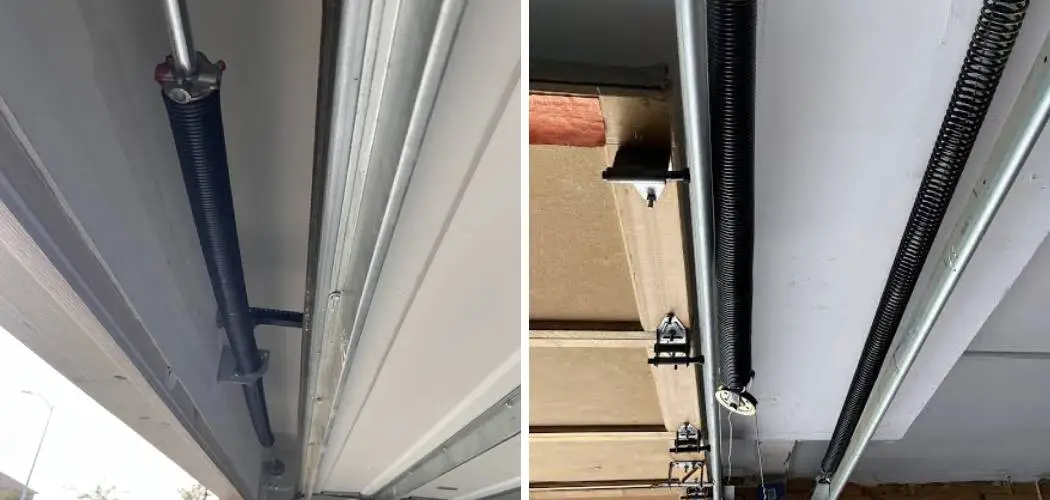
Your garage door is the largest moving object in your home. It relies on a complex system of pulleys, cables, and springs to lift that heavy door with ease. When those springs fail, the door becomes dead weight, potentially trapping your car inside or, worse, becoming a dangerous hazard.
While many homeowners are comfortable painting walls or fixing a leaky faucet, garage door repair often feels like uncharted territory. The tension involved in the springs can be intimidating.
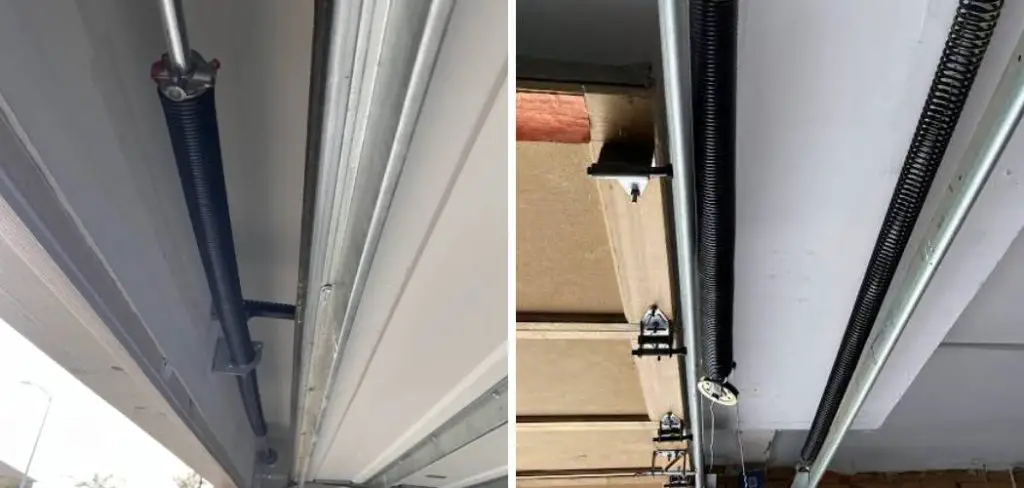
This guide on how to install extension springs on a garage door focuses specifically on extension springs—the kind that run parallel to the ceiling tracks—rather than torsion springs, which are mounted above the door header.
What Will You Need?
Before you begin, gather all necessary tools and materials. This is not a project where you want to be scrambling for a wrench while holding a heavy door.
Tools:
- C-Clamps or Vise Grips: Essential for locking the door in place to prevent it from sliding down while you work.
- Adjustable Wrench: For loosening and tightening bolts on the pulley system.
- Socket Set: A standard set will help with lag screws and nuts.
- Stepladder: A sturdy 6-foot or 8-foot ladder to reach the tracks comfortably.
- Safety Glasses: Non-negotiable. Springs are under high tension.
- Gloves: Leather work gloves will protect your hands from pinch points and sharp metal edges.
- Tape Measure: To ensure you are installing the springs at the correct extension.
Materials:
- New Extension Springs: Ensure you buy the correct weight rating for your specific door. Springs are color-coded based on the weight they can lift.
- Safety Cables: If your system doesn’t have them, buy them. These run through the center of the spring and catch it if it snaps.
- New Pulleys and Eyebolts (Optional but Recommended): If the springs are old, the pulleys are likely worn too. It is best practice to replace the hardware simultaneously.
10 Easy Steps on How to Install Extension Springs on a Garage Door
Step 1: Secure the Garage Door
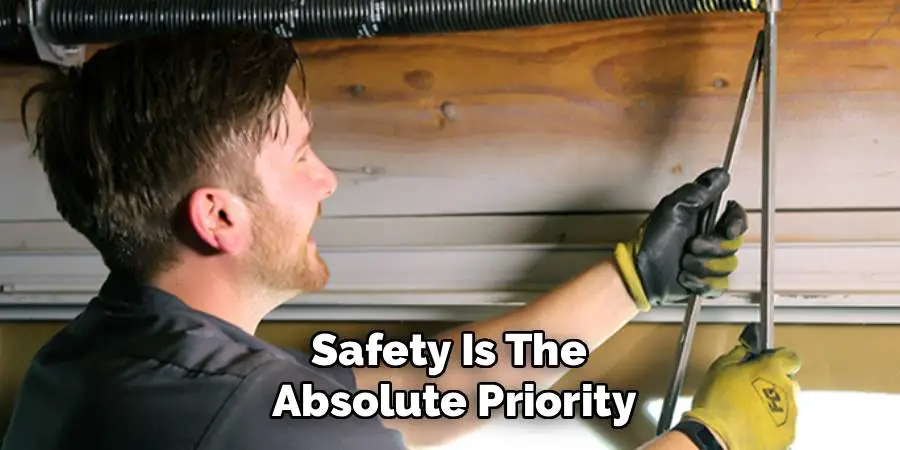
Safety is the absolute priority here. Before you touch any hardware, you must ensure the garage door is fully open and locked in place. Lift the garage door to its fully open position. Once it is up, place C-clamps or Vise Grips on the track just below the bottom roller on both sides. This acts as a physical stop, preventing the door from crashing down while you are disconnecting the tension system. Additionally, unplug your electric garage door opener to prevent anyone from accidentally activating it while you are working.
Step 2: Identify and Relieve Tension
Extension springs are under the most tension when the door is down and the least tension when the door is up. By opening the door in Step 1, you have already removed most of the tension. However, you must double-check. Look at the spring. It should be contracted (short) and loose. If it still looks stretched, the door is not open far enough. Do not attempt to disconnect a spring that is still stretched. Verify that the cable is slack.
Step 3: Disconnect the Safety Cable
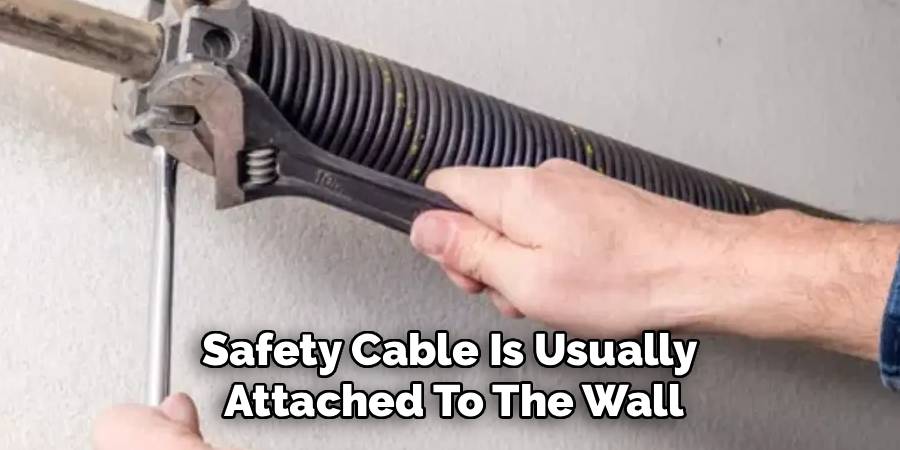
If your existing system has safety cables (steel cables running through the center of the spring), you need to remove them first. The safety cable is usually attached to the wall or the track support bracket at the back of the garage and laced through the spring to the front track support. Detach the end of the safety cable from the bracket. You don’t necessarily need to remove the entire cable from the wall if you are reusing it, but you must unthread it from the old spring.
Step 4: Remove the Old Extension Spring
With the safety cable out of the way and the main cable slack, you can now remove the old spring. Locate the pulley at the end of the spring (the end furthest from the garage door opening). You will need to disconnect the spring from the eyebolt or the track support hanger. You might need your adjustable wrench here to undo the bolt holding the pulley to the spring clip. Once the rear end is free, unhook the other end of the spring from the track support bracket or the eyebolt near the garage opening. Carefully lower the old spring and set it aside.
Step 5: Install the New Spring to the Rear Track Hanger
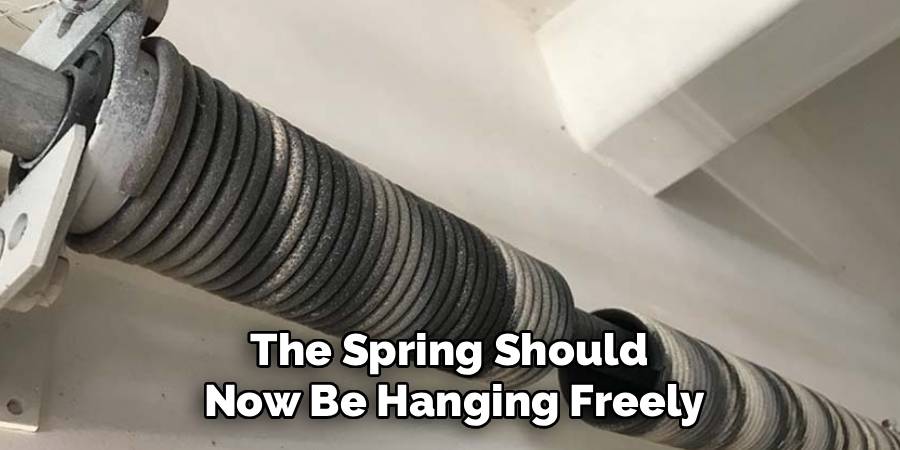
Take your new extension spring. Hook one end of the spring onto the heavy-duty eyebolt or the dedicated hole in the rear track hanger (the metal framing that holds the horizontal track to the ceiling). Ensure the open end of the spring hook is facing away from the track to prevent it from snagging. If you are replacing the eyebolt, make sure it is secured tightly with a washer and nut. The spring should now be hanging freely from the back of the garage, parallel to the track.
Step 6: Attach the Pulley to the Other End
Now move to the free end of the new spring (the end facing the garage door). You need to attach the pulley system here. Most setups use a U-shaped clevis strap that holds the pulley wheel. Bolt this strap securely to the loop at the end of the extension spring. Ensure the bolt is tightened properly so the pulley can spin freely but is securely attached to the spring. This pulley is what the lift cable will wrap around.
Step 7: Thread the Lift Cable
Locate the lift cable. This is the steel cable that runs from the bottom bracket of the garage door, up over the stationary pulley attached to the front wall/track, and back toward the spring. Take the end of this lift cable and thread it around the pulley you just attached to the new spring in Step 6. Pull the cable back toward the front of the garage. The cable should create a “V” shape as it goes from the front wall pulley, around the spring pulley, and back to the front wall adjustment clip.
Step 8: Secure the Lift Cable
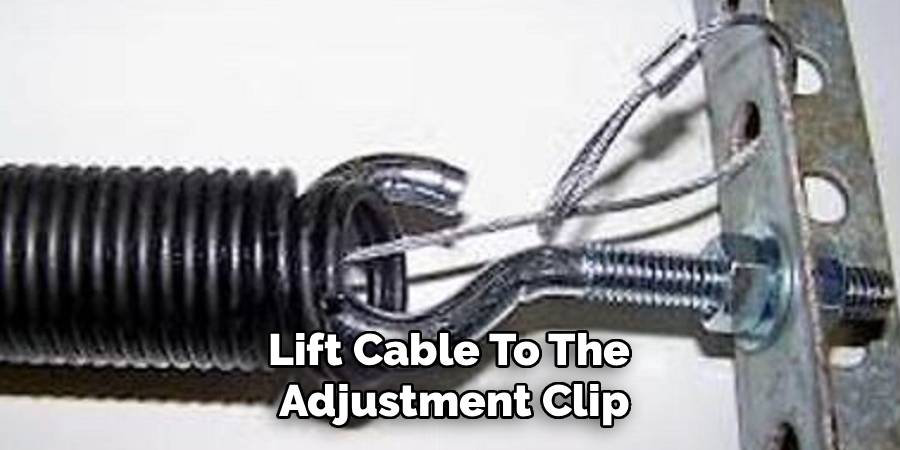
Tie the end of the lift cable to the adjustment clip or S-hook attached to the front track support (near where the horizontal and vertical tracks meet). This is where you adjust the tension. For now, thread it through a hole that provides a similar length to the old setup. You want the cable to be taut, but not stretch the spring yet. Tie a secure knot or use the cable clamp if provided.
Step 9: Install the Safety Cable
Do not skip this step. Take your safety cable and thread it through the center of the new spring. Run it from the rear support bracket, through the entire length of the spring, and through the pulley strap. Secure the other end of the safety cable to the front wall bracket or track support. The safety cable should be taut enough that it doesn’t droop and interfere with the door, but loose enough that it doesn’t restrict the spring’s movement. If the spring breaks in the future, this cable will keep it from flying across the room and injuring someone or damaging your car.
Step 10: Repeat and Test Balance
Repeat Steps 3 through 9 for the other side of the garage door. It is crucial to replace both springs at the same time to ensure even tension. Once both sides are done, remove the C-clamps from the track. Lower the door manually (do not use the opener yet). Lower it halfway and let go. A perfectly balanced door should stay in place. If it falls, the springs are too loose (tighten the cable knot). If it flies up, the springs are too tight (loosen the cable knot). Once balanced, re-engage the opener.
5 Things You Should Avoid
Even with a guide, DIYers often make common mistakes that can jeopardize the project or their safety. Steer clear of these errors.
1. Mismatched Springs
Never guess the weight of your door. Garage door springs are color-coded (e.g., White for 110lbs, Red for 150lbs). Installing a spring rated for 100lbs on a 200lb door will cause the spring to stretch too far and fail. Conversely, a spring that is too strong will pull the door up too fast, potentially jumping the tracks. Check the color on your old springs or weigh your door using an analog scale before buying parts.
2. Skipping the Safety Cables
It is tempting to save $15 and skip the safety cables, thinking, “I’ll do it later.” Don’t. An extension spring is a tightly wound coil of steel under immense pressure. When they break, the metal fatigues and snaps, releasing all that energy instantly. Without a safety cable to contain it, a broken spring acts like a whip or a missile. It can easily shatter a windshield or cause severe physical injury.
3. Working with the Door Closed
This is the most dangerous mistake. When the door is closed, extension springs are fully stretched and under maximum tension. Attempting to unhook a pulley or bolt while the spring is stretched is a recipe for disaster. Always open the door fully to relieve tension before loosening any hardware connected to the spring system.
4. Replacing Only One Spring
If one spring breaks, the other is likely near the end of its life cycle as well. Replacing only one creates an imbalance because the new spring will be stronger and tighter than the old, stretched-out one. This imbalance causes the door to rack (twist) in the opening, leading to track damage and roller wear. Always replace them in pairs.
5. Ignoring Worn Hardware
While you are focused on the springs, look at the pulleys, cables, and S-hooks. If the pulley bearings are wobbling or the cables are fraying, replace them now. Putting a brand new spring on a frayed cable is pointless; if the cable snaps, the door falls just as fast as if the spring broke. Do the job right and replace the supporting hardware.
Conclusion
Replacing garage door extension springs is a task that commands respect but is entirely achievable for the handy homeowner. It transforms a noisy, struggling door into a smooth-operating entryway, securing your home and protecting your vehicle.
By following the steps outlined above on how to install extension springs on a garage door—and prioritizing safety measures like C-clamps and containment cables—you can restore your garage door to peak performance.
Remember, the goal is not just to fix the door for today, but to ensure it operates safely for years to come. If at any point you feel unsure or the hardware looks rusted and seized, do not hesitate to call a professional.

I am Rick. I grew up helping my dad with his handyman service. I learned a lot from him about how to fix things, and also about how to work hard and take care of business. These days, I’m still into fixing things- only now, I’m doing it for a living.
I’m always looking for new ways to help people grow and develop. That’s why I have created this blog to share all my experience and knowledge so
that I can help people who are interested in DIY repair.