
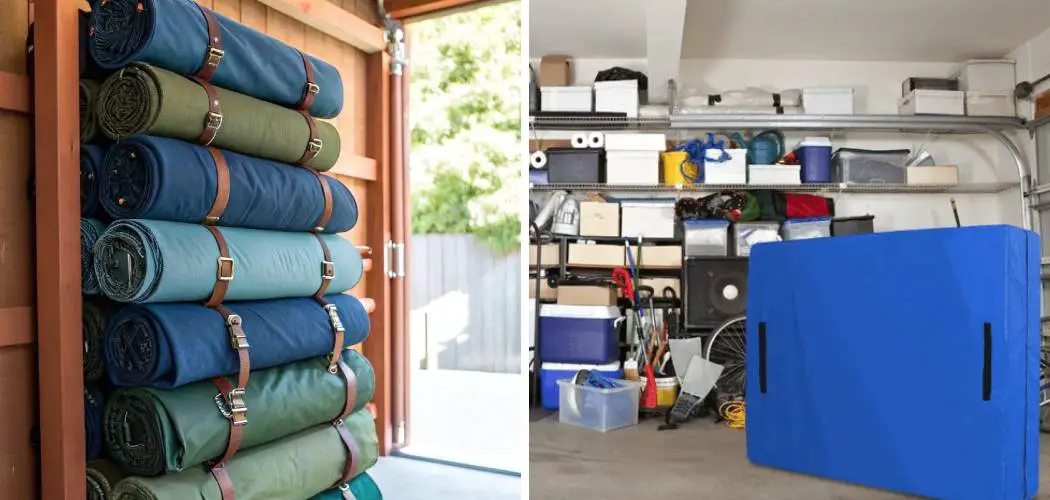
Tarps are the unsung heroes of home maintenance. They protect our woodpiles from rain, cover our boats during the off-season, and serve as makeshift hauling devices for autumn leaves. But once the job is done, these massive sheets of polyethylene or canvas often become a nuisance. We shove them into corners, wad them into balls behind the workbench, or leave them in a heap on the floor.
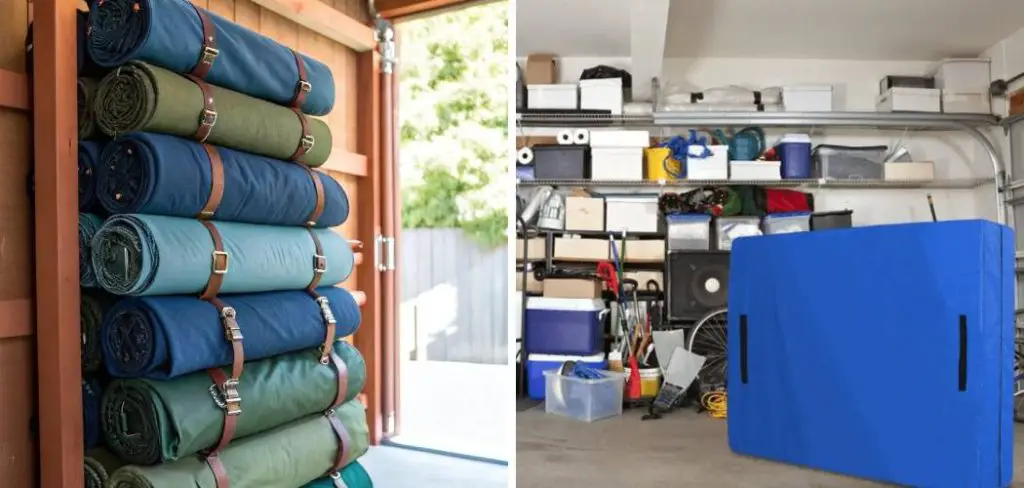
The result is almost always the same: a musty, moldy mess that is difficult to unravel the next time you need it. Improper storage doesn’t just make your garage look cluttered; it significantly reduces the lifespan of the tarp itself.
This guide on how to store tarps in garage will walk you through the entire process, ensuring your garage stays organized and your equipment stays in prime condition.
Why Proper Storage Matters
Before diving into the “how,” it is helpful to understand the “why.” Throwing a tarp in the corner seems like a time-saver, but it usually costs you more time and money in the long run.
- Longevity: Correct storage prevents the material from degrading. UV rays, moisture, and sharp creases are the enemies of tarp integrity.
- Pest Control: A crumpled tarp on the garage floor is a luxury hotel for mice, spiders, and insects. Proper storage keeps critters out.
- Space Efficiency: A folded and organized tarp takes up a fraction of the space of a wadded-up one.
- Odor Prevention: Trapped moisture leads to that distinct, pungent mildew smell that can permeate your entire garage.
What Will You Need?
To do this job right, gather a few supplies before you drag the tarp out to the driveway.
- Cleaning Supplies: A garden hose with a spray nozzle, a bucket of warm water, and mild dish soap.
- Scrub Brush: A soft-bristled brush or a push broom for larger tarps.
- Repair Kit: Tarp tape or an adhesive patch kit.
- Space: A driveway, large deck, or clean patch of grass.
- Storage Vessel: A heavy-duty plastic bin, a bungee cord, or large PVC pipes (depending on your chosen method).
10 Easy Steps on How to Store Tarps in Garage
Storing a tarp isn’t just about folding it; it is about preparation. The following steps will take you from a dirty, used sheet to a perfectly preserved piece of equipment.
Step 1: Deep Clean the Surface
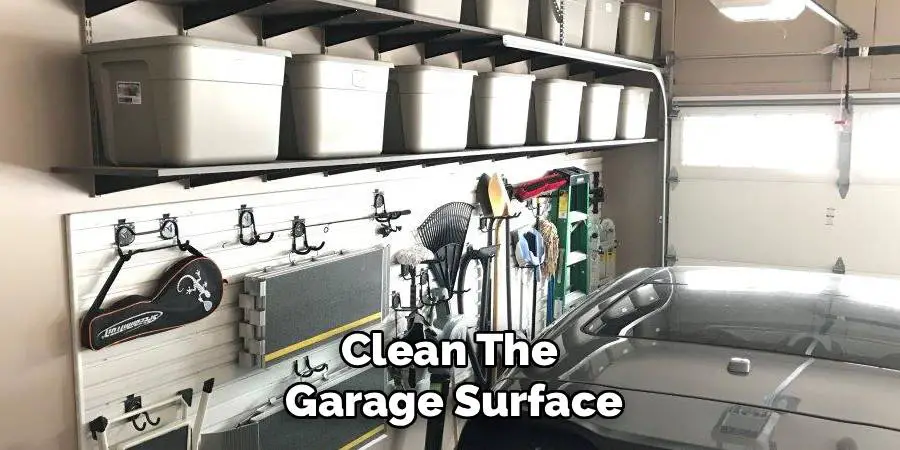
The most critical error people make is storing a dirty tarp. Dirt, sap, bird droppings, and mud are abrasive. Over time, these particles grind into the waterproof coating, causing it to fail. Lay your tarp out flat on a clean surface like a driveway. Using a garden hose, spray off the loose debris. Mix a solution of mild dish soap and warm water—avoid harsh chemicals like bleach as they can weaken the fibers. Use a soft-bristled brush or a broom to scrub both sides of the tarp gently. If you are cleaning a canvas tarp, be even gentler to avoid stripping the wax finish.
Step 2: Ensure Complete Dryness
Moisture is the silent killer of stored fabrics. Even a few drops of water trapped inside a folded tarp can generate mold and mildew within days. Once you have washed the tarp, leave it out in the sun. The UV rays help kill bacteria while drying the surface. If the weather isn’t cooperating, drape the tarp over a fence, a clothesline, or even some patio chairs in the garage. You must flip it over to ensure both sides are bone dry. Run your hand over the seams and grommets, as water tends to hide in these crevices. Do not proceed to the next step until you are certain every inch is dry.
Step 3: Inspect for Damage and Wear
Before you pack it away, give the tarp a thorough physical exam. It is incredibly frustrating to unfold a tarp during an emergency only to find it riddled with holes. Hold sections of the tarp up to the light to spot pinholes or thinning areas. Check the grommets (the metal rings around the edges) to see if they are pulling away from the fabric or rusting. If a tarp is severely damaged—shredded edges or massive tears—it might be time to recycle it and buy a new one. However, most minor damage is easily salvageable if you catch it now.

Step 4: Perform Necessary Repairs
If your inspection revealed rips or holes, fix them immediately. Do not rely on standard duct tape; the adhesive often fails when exposed to extreme temperatures or moisture, leaving a sticky residue behind. Instead, invest in specialized tarp tape, which is designed to bond with polyethylene. For canvas tarps, you may need a sewing kit or an iron-on patch. Clean the area around the tear with rubbing alcohol to remove oils, then apply the tape to both sides of the tear. This reinforces the weak point and ensures the repair is waterproof.
Step 5: The Accordion Fold Technique
Folding a massive square of material can be like wrestling an alligator if you don’t have a strategy. The “accordion fold” is the most effective method for manageable storage. Start by grabbing two corners on one side and walking them over to meet the opposite corners, folding the tarp in half. Repeat this process until the tarp is a long, narrow strip about 18 to 24 inches wide. Do not just randomly bunch it; smooth out the air pockets as you go. This strip serves as the base for the final roll or fold, making the tarp easy to handle and easy to deploy later.
Step 6: Roll, Don’t Crease
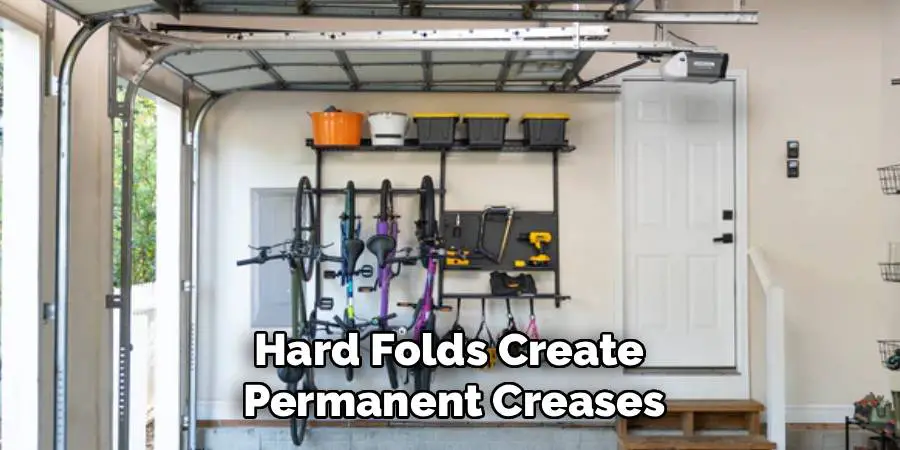
Once you have your long, narrow strip, you face a choice: fold flat or roll. For long-term storage, rolling is superior. Hard folds create permanent creases, which become weak points where the fabric can crack over time. Start at one end of the strip and roll it up tightly, similar to how you would roll a sleeping bag. If the tarp is slippery, you might need a partner to help keep the roll tight. This cylinder shape is compact, prevents hard creases, and is generally easier to stack or slide onto a shelf.
Step 7: Secure the Bundle
Now that your tarp is a tight cylinder, you need to keep it that way. If you leave it loose, it will unravel the moment you move it. Use heavy-duty bungee cords or adjustable velcro straps to secure the roll at both ends. Avoid using thin string or wire, which can cut into the fabric if pulled too tightly. If you have multiple tarps, you can use color-coded straps to identify them without unrolling (e.g., red straps for the 10×10, blue for the 20×20).
Step 8: Select the Right Container
Never leave your rolled tarp sitting directly on the garage floor. Concrete holds moisture, and temperature fluctuates near the ground, encouraging pests. Place the rolled tarps inside a heavy-duty plastic bin with a latching lid. This creates a micro-environment that is dry and dust-free. If you are short on floor space, consider a heavy-duty canvas duffel bag. This allows the fabric to breathe slightly while keeping spiders and dust out.
Step 9: Utilize Vertical Storage
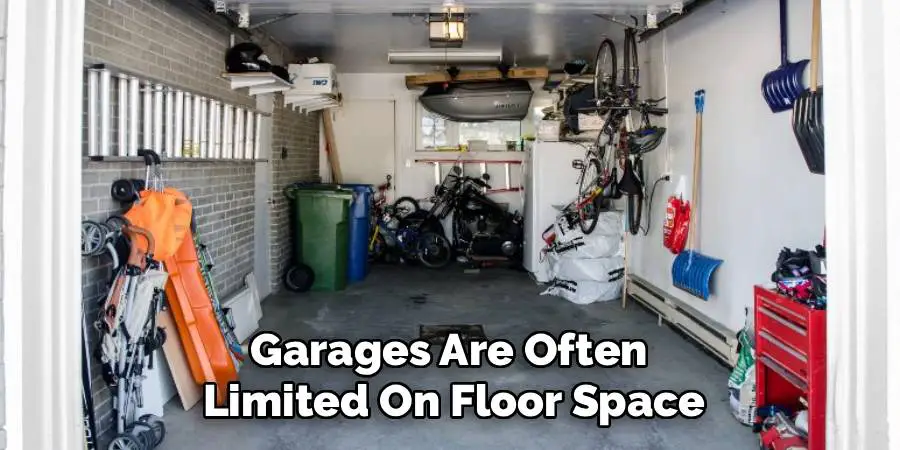
Garages are often limited on floor space, so look up. One of the cleverest ways to store rolled tarps is using PVC pipes. Mount short sections of 4-inch or 6-inch PVC pipe horizontally on your garage wall studs. You can then slide the rolled tarps into the pipes like wine bottles in a rack. This keeps them off the floor, easily accessible, and visually organized. Alternatively, overhead storage racks are excellent for bulky seasonal items like heavy canvas tarps that you don’t need to access weekly.
Step 10: Labeling and Inventory
The final step is organization. It is impossible to tell the difference between a heavy-duty 20-foot tarp and a lightweight 8-foot tarp when they are both rolled up. Use a permanent marker on a piece of masking tape or a luggage tag attached to the bungee cord. Write down the dimensions (e.g., “12×16”) and the weight (e.g., “Heavy Duty”). This simple step saves you from having to unroll and reroll three different tarps just to find the one you need for a specific job.
5 Things You Should Avoid
Even with the best intentions, certain habits can ruin your tarps. Steer clear of these common mistakes.
- Storing Wet: This is the cardinal sin of tarp storage. Never put a damp tarp in a bin; mold will destroy it.
- Using Bleach: Harsh chemicals break down the UV coating and waterproofing agents on the fabric. Stick to mild soap.
- Dragging the Tarp: When moving your folded tarp, carry it. Dragging it across concrete creates micro-abrasions that lead to leaks.
- Direct Sunlight: While drying in the sun is fine, long-term storage in front of a window degrades the plastic. Store in a dark, cool place.
- Food Proximity: Don’t store tarps near bird seed or pet food. The smell attracts rodents, who will view your tarp as perfect nesting material.
Conclusion
A garage is meant to be a workspace, not a storage unit for crumpled plastic. By taking the time to clean, repair, and properly roll your tarps, you protect your investment and reclaim your floor space.
The next time a storm rolls in, or you need to haul a load of mulch, you’ll be thankful for a clean, accessible tarp that is ready for action.
Hopefully, these tips on how to store tarps in garage have helped you understand the importance of tarp maintenance and organization. Remember to regularly inspect your tarps, keep them clean and dry, and properly roll or fold them when not in use. With proper care, your tarps can last for years and serve their purpose effectively whenever needed.

I am Rick. I grew up helping my dad with his handyman service. I learned a lot from him about how to fix things, and also about how to work hard and take care of business. These days, I’m still into fixing things- only now, I’m doing it for a living.
I’m always looking for new ways to help people grow and develop. That’s why I have created this blog to share all my experience and knowledge so
that I can help people who are interested in DIY repair.