Dried joint compound on a garage floor is one of those post-project messes that looks worse than it usually is. Whether it dripped during a drywall job or splattered across a wide section of the floor, the good news is that standard joint compound is water-soluble — which means patience and the right technique go a long way.
Knowing how to scrape dried joint compound off garage floor surfaces without damaging the concrete, coating, or sealant underneath is the key challenge here. Rush it with the wrong tool and you’ll scratch an epoxy coating or grind white residue deeper into the pores of bare concrete. This guide walks you through every step carefully — from identifying your floor type to the final wipe-down — so you get a clean result without making a new problem in the process.
Why Compound Off Garage Floor Matters
Dried joint compound doesn’t bond to concrete the way mortar or thinset does, but that doesn’t mean you can scrape it carelessly. The method that works on bare concrete can scratch a painted or epoxy-coated floor badly enough to require a full recoat. Even on uncoated concrete, aggressive grinding or acid cleaning can pit the surface or leave a dull, damaged patch that’s harder to clean in the future.
Beyond the surface, dried compound that sits too long can absorb oil, grease, and dirt — making it harder to remove cleanly and more visible against a garage floor. Acting with the right approach protects your floor’s condition, saves you from costly repairs, and gives you a clean, professional-looking result without the guesswork. A few simple tools and the right order of operations make this a manageable job for almost any homeowner.
Step-By-Step Guide To How To Scrape Dried Joint Compound Off Garage Floor
Step 1: Identify What Type Of Floor Surface You Have
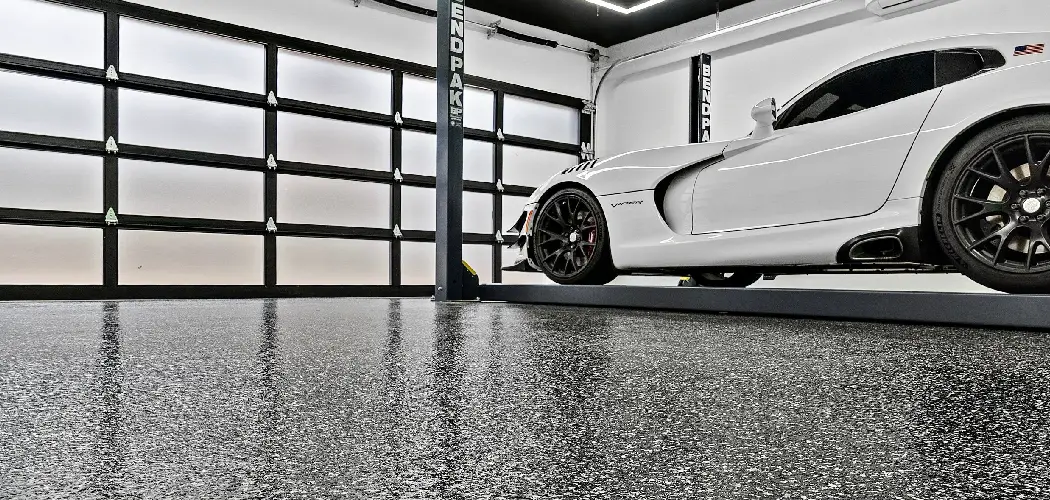
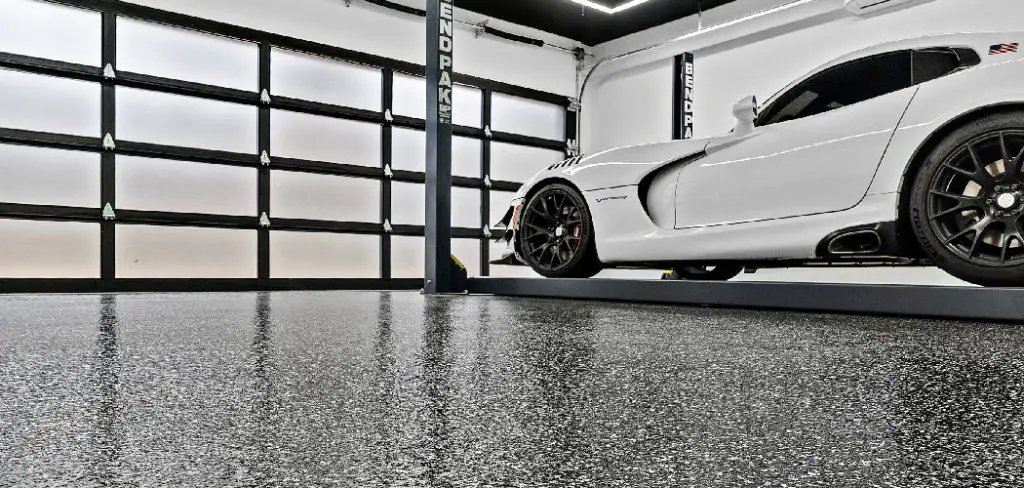
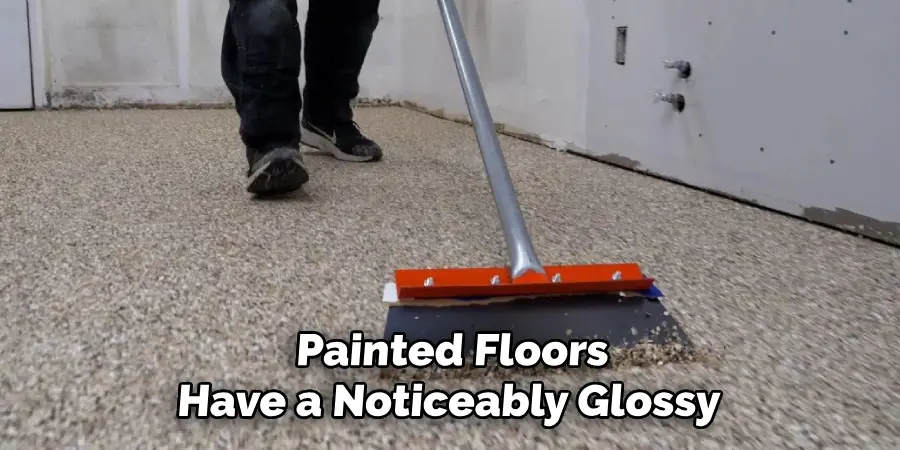
Before you touch the compound, take a moment to assess what you’re working with. Run your hand across the clean area of the floor near the mess. Bare concrete feels rough and slightly porous. Sealed concrete has a subtle sheen and feels smoother. Epoxy-coated or painted floors have a noticeably glossy or satin finish and often feel harder underfoot.
This matters because each surface type has a different tolerance for scraping tools and moisture. A metal razor scraper is low-risk on bare concrete but can leave permanent scratches on epoxy or paint. Excess water soaks into bare concrete harmlessly but can seep under a failing coating and lift it. Knowing your surface shapes every decision that follows.
Step 2: Start Dry — Use A Plastic Scraper Or Stiff Putty Knife First
Always begin with dry scraping before introducing any water. A plastic scraper or stiff plastic putty knife is your first tool of choice, particularly on coated or sealed floors. Hold the tool at a low angle — around 20 to 30 degrees — and push into the edge of the compound with steady, even pressure rather than short jabbing motions.
Dried joint compound often releases from smooth surfaces in large flakes or sections with this method, especially if it was applied thickly. Work from the outer edge of the deposit toward the center so you’re not spreading it further. Sweep or vacuum the flakes as you go so loose debris doesn’t get dragged across the floor and scratch the surface.
Step 3: Move To A Metal Scraper Only When The Surface Can Handle It
If the plastic scraper isn’t removing the compound efficiently and you’re working on bare or lightly sealed concrete, a metal razor scraper is a reasonable next step. Keep the blade flat and sharp — a dull blade requires more pressure and is more likely to gouge. Hold the scraper at a low, nearly flat angle and use smooth, deliberate strokes.
Avoid metal scrapers entirely on epoxy-coated, painted, or high-gloss sealed floors. Even a single pass with a metal edge can leave a visible scratch in those coatings that’s difficult to fix without recoating the entire section. When in doubt, stay with plastic and add water before escalating to metal.
Step 4: Soften The Residue With Warm Water Because Joint Compound Is Water-Soluble
Standard drywall joint compound — the pre-mixed, air-drying type — softens significantly when exposed to moisture. Pour a small amount of warm water directly onto the remaining residue and let it sit for three to five minutes. You’ll notice the edges of the compound begin to lighten in color and soften in texture as the water penetrates.
Don’t flood the area. A few tablespoons of water is enough to rehydrate the residue without soaking into surrounding areas of the floor or seeping under coatings at edges or cracks. After soaking, go back with your plastic scraper — the softened compound should lift much more easily, often as a thick paste rather than a brittle chunk.

Step 5: Understand The Limitation If Setting-Type Compound Was Used
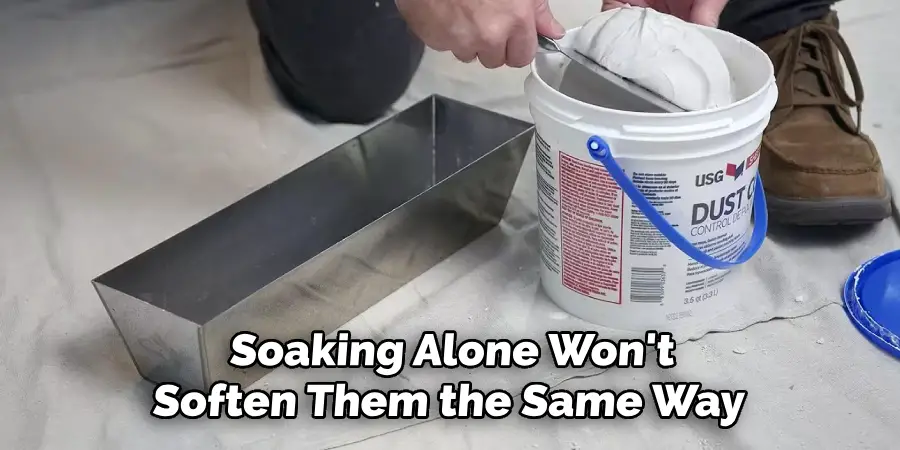
Not all joint compound behaves the same way. Setting-type compounds — sold under names like “easy sand” or “hot mud” — cure through a chemical reaction rather than simple drying. Once cured, they are significantly harder and more water-resistant than standard pre-mixed compound. Soaking alone won’t soften them the same way.
If warm water makes no visible difference after five to ten minutes, you may be dealing with a setting-type product. In that case, mechanical scraping with a metal blade on bare concrete becomes more necessary. On coated floors, extended soaking with warm water is still worth trying in longer intervals, but realistic expectations matter — very hard setting compound on an epoxy floor may require professional refinishing to remove completely without damage.
Step 6: Residue With Gentle Brushing
After the bulk of the compound has been lifted by scraping, a thin white haze or slurry often remains. Use a stiff-bristle scrub brush — not a wire brush — with a small amount of warm water to work this residue loose. Scrub in a circular motion and keep the area small so the water stays concentrated on the compound rather than spreading across the floor.
Wipe up the wet slurry promptly with a clean rag or sponge. If you let the slurry dry again, you’ll be back to square one with another layer of dried residue. Work in stages — wet a small section, scrub, wipe, and then move to the next section. This controlled approach prevents the residue from migrating to clean areas of the floor.
Step 7: Test Any Stronger Cleaner Carefully And Avoid Harsh Acids
If a faint stain or thin film remains after scraping and scrubbing, a pH-neutral floor cleaner or a diluted solution of dish soap and warm water is a safe next step. Apply it, let it dwell for a few minutes, scrub gently, and wipe clean. Always test any new product in an inconspicuous corner of the floor before applying it to the affected area.
Avoid muriatic acid or other strong acid cleaners unless you’re already planning to etch and refinish the floor entirely — acids can permanently discolor concrete, damage coatings, and leave uneven patches. Similarly, avoid grinding equipment unless the floor is being resurfaced anyway. For most dried joint compound situations, warm water and mechanical scraping are genuinely sufficient.
Frequently Asked Questions
Will Water Damage My Garage Floor When Softening Joint Compound?
A small amount of warm water used to soften joint compound is unlikely to damage a structurally sound concrete floor. The risk is with coated surfaces that have edge cracks or peeling areas, where water can seep underneath and lift the coating. Use water sparingly, wipe up slurry promptly, and avoid soaking large areas at once.
Can I Use A Pressure Washer To Remove Dried Joint Compound From Concrete?
A pressure washer can work on bare, uncoated concrete for loosening softened joint compound residue, but it’s not the best first step. The force can spread slurry across a wider area and may damage coatings, sealants, or partially adhered paint. Start with manual scraping and warm water before escalating to pressure washing.
How Do I Know If The Joint Compound Left A Stain On The Concrete?
Once the compound is fully removed, rinse the area and let it dry completely. A stain will appear as a lighter or whiter patch compared to the surrounding concrete. This usually happens when compound soaked into porous bare concrete. Light sanding or a concrete cleaner designed for mineral deposits can help reduce the appearance.
Is Setting-Type Joint Compound Harder To Remove Than Regular Joint Compound?
Yes, significantly. Setting-type compound cures chemically and becomes much harder and more water-resistant than standard air-drying compound once fully set. It responds poorly to soaking and typically requires more aggressive mechanical scraping. On coated floors, complete removal without surface damage may not be possible without professional help or floor refinishing.
Should I Seal The Concrete After Removing The Joint Compound?
If you’re working with bare concrete that absorbed compound residue or looks uneven after cleaning, applying a concrete sealer afterward is a good idea. Sealing protects the surface from future stains, makes cleanup easier, and gives the floor a more uniform appearance. Allow the floor to dry fully for at least 24 hours before applying any sealer or coating.

Conclusion
Dried joint compound on a garage floor is a common post-project frustration, but it’s one of the more manageable messes to clean up when you approach it with the right tools and realistic expectations. Start with a dry plastic scraper, add warm water to soften stubborn residue, work in controlled sections, and wipe up slurry before it dries again.
Knowing how to scrape dried joint compound off garage floor surfaces without damaging the coating underneath is mostly about patience and matching your tools to your floor type. Avoid harsh acids, skip the grinder unless you’re refinishing anyway, and test anything new in a small corner first. Take it one layer at a time, and you’ll have a clean floor without creating a more expensive problem than the one you started with.
I am Rick. I grew up helping my dad with his handyman service. I learned a lot from him about how to fix things, and also about how to work hard and take care of business. These days, I’m still into fixing things- only now, I’m doing it for a living.
I’m always looking for new ways to help people grow and develop. That’s why I have created this blog to share all my experience and knowledge so
that I can help people who are interested in DIY repair.