
Gaps in the corners of your garage door let in more than you might expect. Cold drafts, rainwater, insects, dust, and even small rodents can work their way through those small openings — and your energy bills quietly reflect the difference. Most homeowners notice the gaps but aren’t sure where to start or what products actually work.
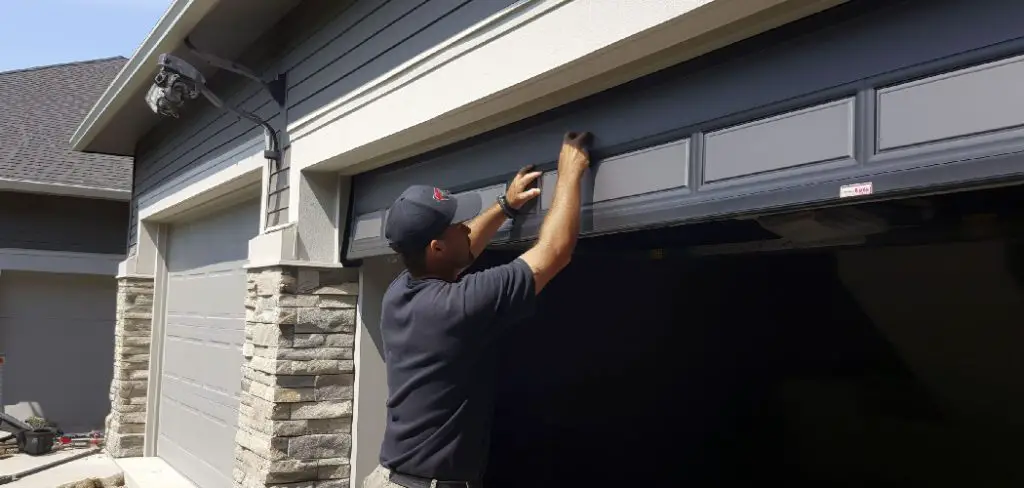
Knowing how to seal garage door corners is a straightforward home maintenance task that pays off quickly in comfort, protection, and lower heating and cooling costs. The key is identifying exactly where the gap is forming and choosing the right sealing method for that location — because not all corner gaps have the same cause or the same fix. This guide walks you through everything, step by step, so you can tackle the job with confidence.
Why Seal Garage Door Corners Matters
Garage door corners are some of the most overlooked gaps in a home’s envelope. The corners are where the bottom seal meets the side weatherstripping, and they’re also where the door frame meets the floor — two transitions that rarely stay perfectly tight over time as the door settles, the floor shifts, or old seals wear down.
Leaving these gaps unaddressed has real consequences. Water infiltration can damage flooring, stored belongings, and even your home’s foundation over time. Uncontrolled airflow raises heating and cooling costs year-round. Gaps at floor level are also easy entry points for pests. Sealing them is one of the highest-return maintenance tasks a homeowner can perform — it’s typically inexpensive, takes a few hours, and the results are immediate. Done correctly, a properly sealed garage door stays weather-tight for years before needing attention again.
Step-By-Step Guide To How To Seal Garage Door Corners
Step 1: Inspect The Door In Daylight To Find Every Gap
Before buying any materials, take time to understand exactly where air and light are getting through. Close the garage door fully, turn off the interior lights, and look for daylight coming in around the perimeter — especially at the bottom corners where the floor seal ends and the side seal begins.
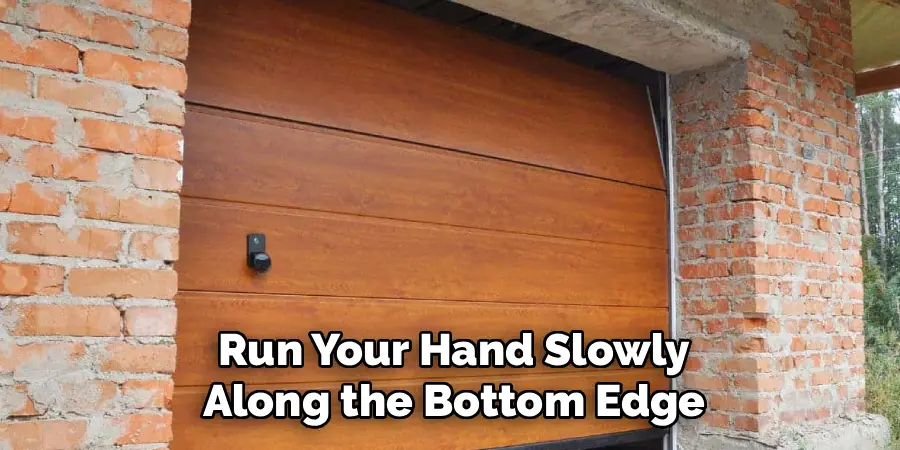
Run your hand slowly along the bottom edge and up the sides near the corners, feeling for airflow. If you have a helper, have them shine a flashlight along the outside edge while you watch from inside. Mark any gaps you find with painter’s tape so you don’t lose track of them when you move on to the next stage.
Step 2: Check The Condition Of Your Existing Side Weatherstripping
The side weatherstripping — also called door stop molding or side seals — runs vertically along each side of the garage door frame. Over time, this seal compresses, shrinks, or pulls away from the frame, which creates gaps that are particularly noticeable at the top and bottom corners where the seal terminates.
Examine the full length of each side seal. Look for cracking, flattening, separation from the frame, or missing sections. Press the door closed and check whether the seal makes consistent contact with the door panel along its entire length. If the seal is compressed flat with no spring-back, it has lost its ability to close the gap and needs replacement before any corner-specific work makes sense.
Step 3: Inspect The Bottom Seal And Floor Level At The Corners
The bottom seal stretches across the full width of the door and contacts the floor when the door closes. Corner gaps often form not because the seal itself is bad but because the floor is uneven or slightly sloped away from the door, leaving a triangular gap at one or both corners.
Close the door and look at where the bottom seal contacts the floor. If there’s a visible gap at one corner but not the other, the floor isn’t level in that area. A standard bottom seal can’t fully compensate for significant floor irregularities — this is where a threshold seal installed on the floor itself becomes important, because it raises the contact point to meet the door rather than relying on the door seal alone.
Step 4: Assess Door Alignment Before Committing To Repairs
If your door looks straight but still has persistent corner gaps, the door itself may be slightly out of alignment. A door that sags on one side, has a bent bottom section, or has one roller sitting higher than the other will leave uneven gaps at the floor corners regardless of how good your seals are.
Open the door fully and look at the gap between the door panels and the vertical tracks on each side — they should be consistent from top to bottom. Also check whether the door closes flush with the stop molding on both sides. If one corner consistently seals and the other doesn’t, you may need a technician to adjust the spring tension or realign the tracks before seals will work correctly.

Step 5: Choose The Right Seal Materials For Each Gap Location
Different gaps call for different products. For the corners where the side seal meets the bottom seal, a flexible corner seal or vinyl stop molding extension is typically the right solution — these pieces wrap around the corner transition and close the gap where two separate seal systems meet.
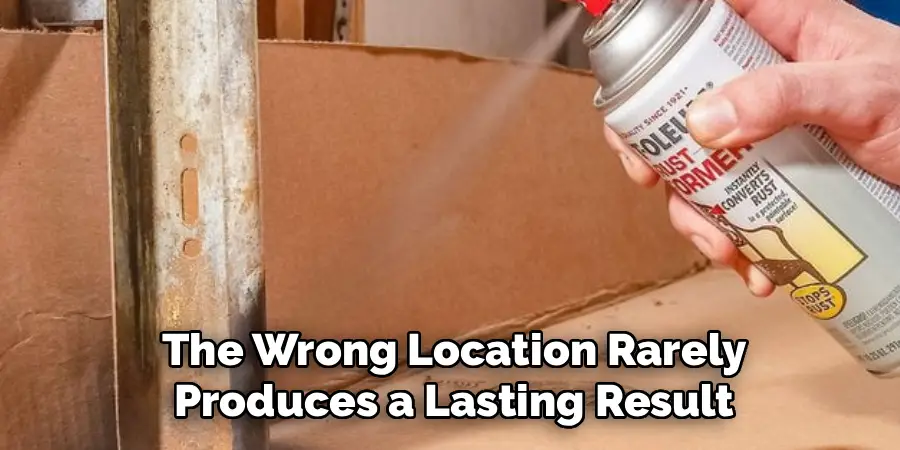
For floor-level gaps caused by an uneven surface, a rubber or vinyl threshold seal bonded to the floor works better than any door-mounted product. For gaps between the door stop molding and the frame itself, self-adhesive foam tape or V-strip weatherstripping fills the void effectively. Match the product to the gap type — using the wrong seal in the wrong location rarely produces a lasting result.
Step 6: Clean Surfaces And Install Your Selected Seals
Proper surface preparation is what separates a seal that lasts from one that peels away within weeks. Scrub the mounting surface with a stiff brush and remove all dirt, oil, old adhesive residue, and peeling paint. For concrete floor areas where a threshold seal will be installed, clean the surface thoroughly and allow it to dry completely before applying adhesive.
Follow the manufacturer’s instructions for your specific product. For adhesive-backed seals, press firmly along the full length and hold for the recommended time. For threshold seals, apply the recommended adhesive in a continuous bead, set the threshold in place, and weight it down for at least a few hours before use. For screw-mounted stop molding, pre-drill to avoid splitting and ensure the molding sits flush against the door when closed.
Step 7: Test For Light And Water After Installation
Once everything is installed and fully cured, perform the same tests you did at the beginning. Close the door, turn off the interior lights, and look for daylight around the perimeter — especially at the corners. Run your hand along the seals feeling for airflow. If you have a garden hose, run water gently along the outside corner areas and check inside for any moisture getting through.
Learning how to seal garage door corners properly means verifying the result, not just trusting that it worked. If a gap remains after installation, check whether the seal is making consistent contact across its full width or whether the mounting surface shifted during curing. Small adjustments at this stage are far easier than redoing the job later.
Frequently Asked Questions
What Is The Best Material For Sealing Garage Door Corners?
Flexible vinyl or rubber corner seal kits work well for most residential doors because they accommodate slight movement and temperature changes without cracking. For gaps at the floor line, a rubber threshold seal bonded to the concrete provides the most consistent contact. The right material depends on where the gap is located and what’s causing it.
Can I Seal Garage Door Corners Without Replacing The Full Weatherstripping?
Yes, if the existing weatherstripping is still in good condition along most of its length and the gap is isolated to the corners, targeted corner seal products or short extensions can fix the problem without a full replacement. However, if the side seals are cracked, flattened, or pulling away from the frame, replacing them entirely will produce a better and longer-lasting result.
How Do I Know If My Garage Door Needs Realignment Instead Of New Seals?
If one corner has a gap and the other does not, or if the gap appears even when new seals are installed, the door may be misaligned. Check whether the door sits evenly in the frame and whether the bottom edge is parallel to the floor. Persistent asymmetric gaps after sealing are a reliable sign that track adjustment or spring balancing is needed.
How Long Do Garage Door Corner Seals Typically Last?
Quality rubber or vinyl seals typically last five to ten years under normal residential use, depending on climate and how frequently the door is operated. Exposure to extreme heat, UV light, and harsh winters accelerates wear. Inspecting the seals once a year — particularly at the start of winter — lets you catch deterioration before it turns into a significant gap.
Will Sealing The Corners Make My Garage Fully Weatherproof?
Sealing the corners significantly reduces air, water, and pest infiltration, but it doesn’t make the garage airtight or fully weatherproof on its own. The door panels, roof, walls, and any windows or vents also contribute to the garage’s overall envelope. Corner sealing is one important part of a complete weatherproofing approach, not a standalone solution for every infiltration problem.

Conclusion
Corner gaps are small, but they’re responsible for a surprising amount of energy loss, water intrusion, and pest access in residential garages. The good news is that most of these gaps are fixable with the right diagnosis, the right materials, and a methodical approach — no specialized skills required.
The process comes down to finding where the gaps actually are, checking whether the door and floor conditions will allow a seal to work, choosing the correct product for each location, and verifying the result once everything is installed. Following a careful approach to how to seal garage door corners means you’re addressing the real source of the problem rather than covering it temporarily. Take the time to do it right, inspect your work thoroughly, and you’ll have a tighter, more comfortable, and better-protected garage for years to come.
I am Rick. I grew up helping my dad with his handyman service. I learned a lot from him about how to fix things, and also about how to work hard and take care of business. These days, I’m still into fixing things- only now, I’m doing it for a living.
I’m always looking for new ways to help people grow and develop. That’s why I have created this blog to share all my experience and knowledge so
that I can help people who are interested in DIY repair.