
Your garage is more than just a place to park your car. For many, it’s a workshop, a home gym, a storage unit, or even a laundry room. Yet, it is often the most neglected part of the house when it comes to climate control. In the winter, it’s a freezer; in the summer, it’s a sauna.
If you’ve ever walked into your garage and seen your breath in the air, you know the struggle. But the thought of insulating it often brings up visions of expensive contractors and complicated renovations. The good news is that you don’t need a professional crew or a massive budget to make a significant difference.
This guide on how to insulate a garage cheaply will walk you through the process of insulating your garage cheaply and effectively.
What Will You Need?
To keep costs down, we’ll focus on materials that offer the best bang for your buck. Fiberglass batt insulation is generally the most cost-effective option for walls, while rigid foam works well for garage doors.
Materials:
- Fiberglass Batt Insulation: Look for R-13 or R-15 for standard 2×4 walls.
- Rigid Foam Insulation Boards: Ideal for garage doors or thin walls.
- Vapor Barrier (Polyethylene Sheeting): Essential for preventing moisture buildup.
- Spray Foam (Great Stuff): For sealing gaps and cracks.
- Weatherstripping: To seal the garage door and windows.
- Adhesive or Construction Glue: For attaching foam boards.
- Staples: For securing insulation and vapor barriers.
- Tape: Tyvek tape or similar for sealing seams.
Tools:
- Utility Knife: With plenty of spare blades.
- Straight Edge or T-Square: For cutting insulation cleanly.
- Tape Measure: Accuracy is key.
- Staple Gun: Heavy-duty is best.
- Caulk Gun: For applying sealant.
- Safety Gear: Dust mask/respirator, safety glasses, gloves, and long sleeves (fiberglass itches!).
- Ladder: For reaching high spots.
10 Easy Steps on How to Insulate a Garage Cheaply
Now, let’s get to work. This section breaks down the process into manageable chunks. Remember, safety first—always wear your protective gear when handling insulation.
Step 1: Clear and Prep the Area
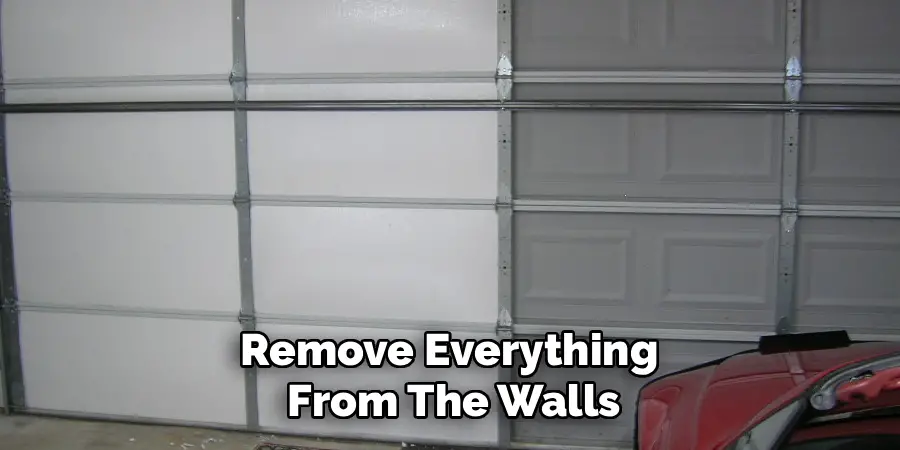
Before you buy a single roll of insulation, you need a clean slate. Remove everything from the walls—hooks, shelves, nails, and cobwebs. If you have drywall up already, but it’s uninsulated, you’ll need to decide if you want to remove it or use a “drill and fill” method (which is usually professional territory). For this guide, we are assuming you have exposed studs or are removing old paneling.
Sweep the floors and clean out any debris in the stud bays. This is also the perfect time to inspect for mold, rot, or pest infestations. Ignoring these problems will only make them worse. If you find any cracks in the exterior wall, seal them with caulk or spray foam now to prevent air leaks later.
Step 2: Seal the Gaps and Cracks
Air sealing is just as important as the insulation itself. Small gaps around windows, doors, and the sill plate (where the wood frame meets the concrete floor) allow drafts to enter.
Grab your can of expanding spray foam (like Great Stuff) and a tube of caulk. Go around the perimeter of the garage. Look for daylight peeking through gaps. Fill larger holes with the spray foam and use caulk for smaller cracks (less than 1/4 inch). Don’t forget to check around electrical outlets and pipes that penetrate the walls. This step is incredibly cheap but drastically improves the effectiveness of the insulation you’re about to install.
Step 3: Measure and Cut Fiberglass Batts
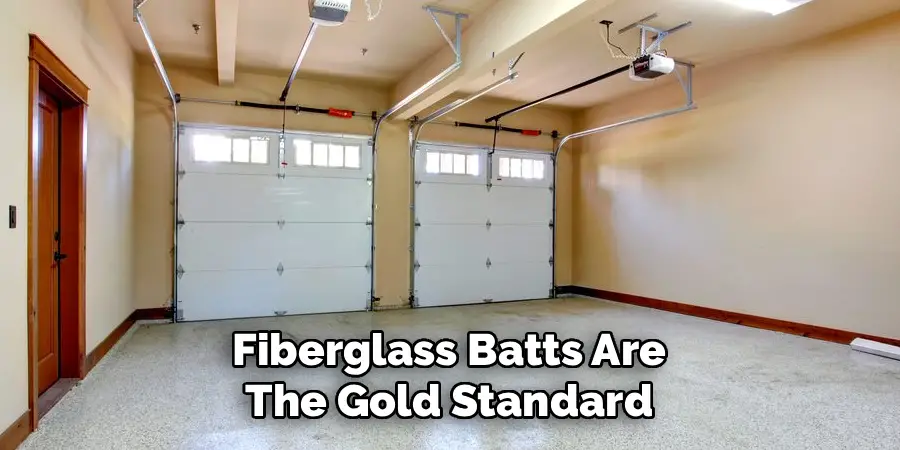
For standard wood-framed walls, fiberglass batts are the gold standard for budget insulation. They come in pre-cut widths designed to fit between standard 16-inch or 24-inch stud spacing.
Measure the height of your wall cavities. Roll out your insulation on the floor (faced side down if it has a paper backing). Mark your measurement and use a straight edge to guide your utility knife. You want the fit to be snug but not compressed. Compression reduces the R-value (insulating power) of the fiberglass. It’s better to cut it slightly long and trim it than to have it be too short.
Step 4: Install Insulation in Wall Cavities
Place the cut insulation into the stud bay. If you are using faced insulation (which has a paper vapor retarder), the paper side should face toward you (the heated side of the room).
Start at the top and tuck the insulation into the corners. Gently push it into the cavity so it fills the space. Be careful not to jam it in too tightly. Fluff the edges so they touch the studs on either side. If electrical wires are running through the wall, split the batt thickness in half and slide one half behind the wire and the other in front. This ensures no air pockets form around the wire.
Step 5: Staple the Flanges
If you are using paper-faced insulation, you will see paper flanges on the sides. These are meant for stapling.
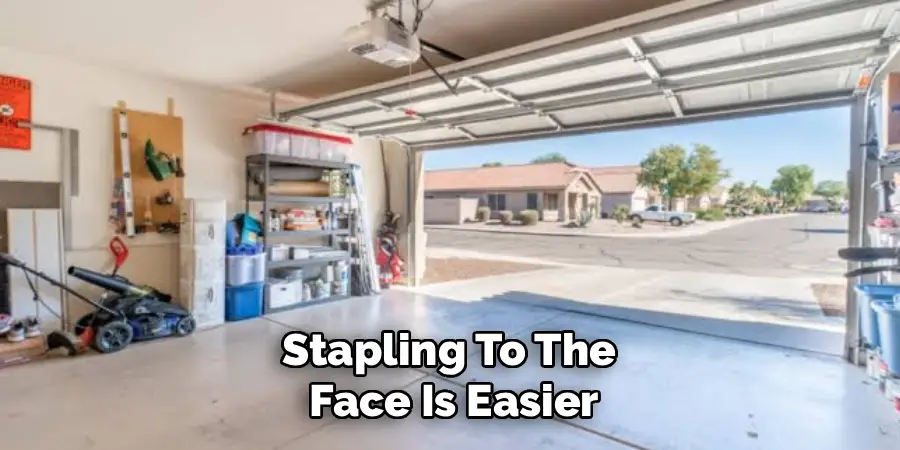
Using your staple gun, secure the flanges to the face or the side of the studs. Stapling to the face is easier, but it can make installing drywall later slightly uneven. Stapling to the inside edge of the stud (side stapling) creates a recessed pocket that is great for drywall but harder to do. Place a staple every 8 to 12 inches. Ensure the paper is taut but not ripping. If you rip the paper, patch it with a piece of tape to maintain the vapor barrier.
Step 6: Insulating Around Outlets and Obstructions
You will inevitably encounter electrical boxes, switches, and pipes. Do not simply stuff insulation over them.
For electrical boxes, hold the insulation batt up to the cavity and gently press it against the box to make an impression. Take the batt down and cut around that impression with your utility knife. When you reinstall the batt, it should fit snugly around the box. You can fill small gaps around the box with a tiny bit of spray foam or loose fiberglass scraps. For pipes, slide the insulation behind the pipe if there is room; if not, carefully cut a channel in the insulation so the pipe nests inside it.
Step 7: Apply a Vapor Barrier (If Needed)
If you used “unfaced” insulation (no paper backing), you generally need to add a separate vapor barrier to prevent warm, moist air from inside the garage from condensing on your walls and causing rot.
Buy a roll of 6-mil polyethylene sheeting. Staple this over the studs, covering the insulation entirely. Seams should overlap by at least 6 inches and be sealed with tape. Note: Check your local building codes. In some hot, humid climates, vapor barriers are installed on the exterior side, or not at all.
Step 8: Insulate the Garage Door
The garage door is often the biggest source of heat loss because it’s essentially a giant moving wall of thin metal.
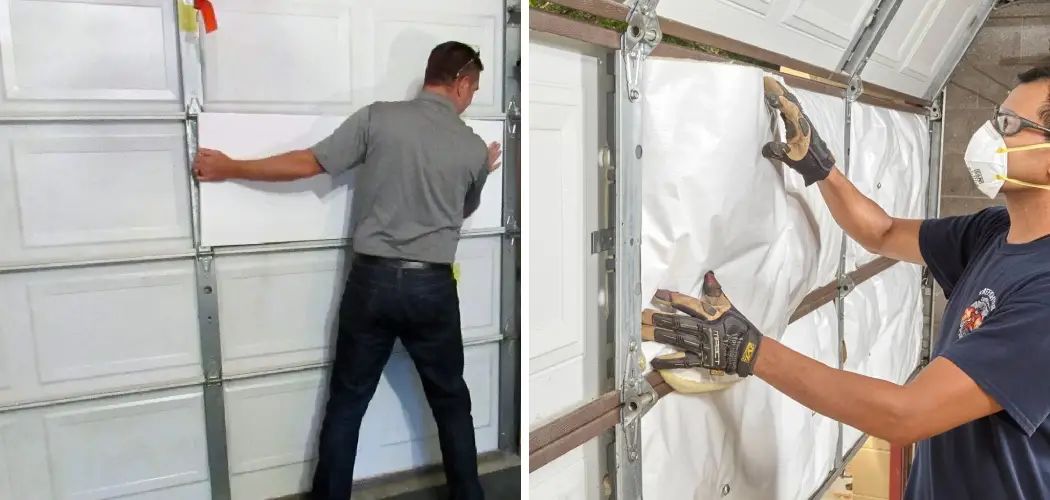
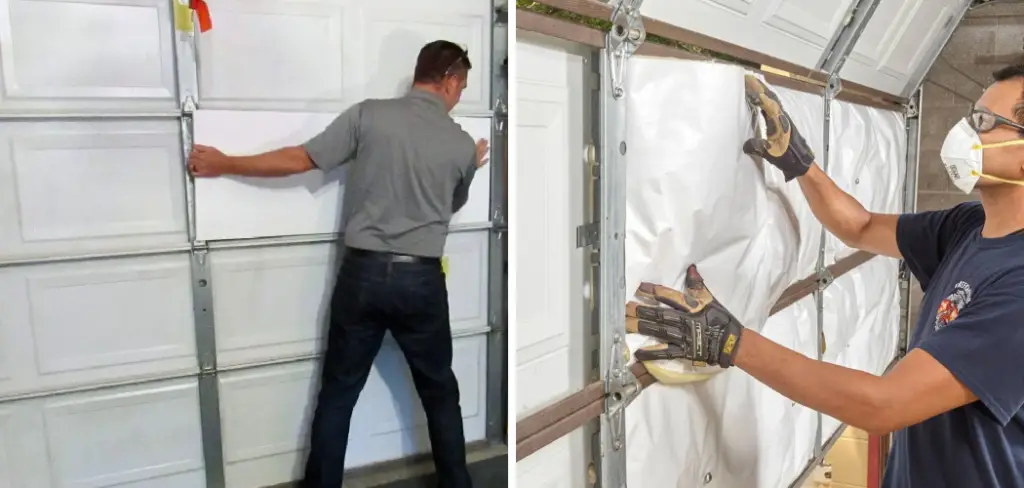
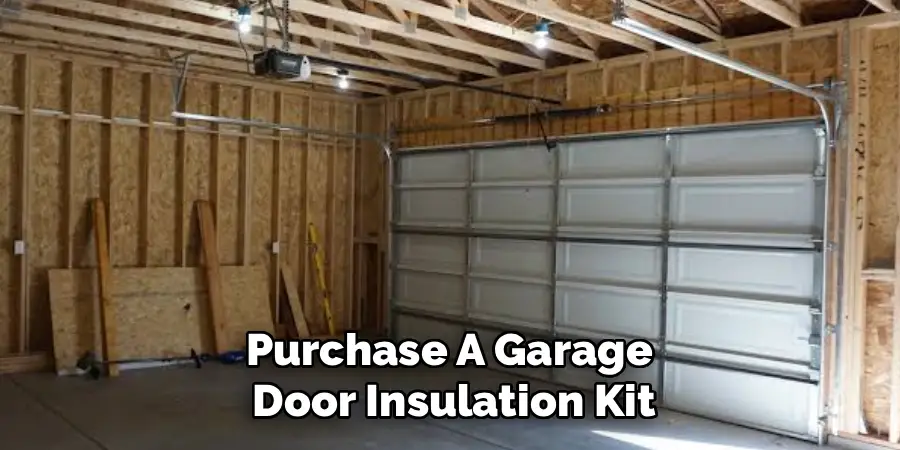
Purchase a garage door insulation kit or buy rigid foam boards (polystyrene). Measure the panels of your garage door. Cut the foam board to size using your utility knife. Apply a construction adhesive specifically designed for foam to the back of the board, then press it firmly into the garage door panel. Alternatively, some kits come with clips or tape. This adds significant thermal resistance and also makes the door much quieter when opening and closing.
Step 9: Weatherstrip the Doors and Windows
Insulating the walls doesn’t help much if the wind is whistling under the door. Inspect the rubber seal on the bottom of your garage door. If it is cracked, brittle, or missing, replace it. You can buy a universal garage door bottom seal at any hardware store.
Next, apply self-adhesive weatherstripping foam around the sides and top of the garage door frame. When the door closes, it should press against this foam to create an airtight seal. Do the same for any windows or the pedestrian door leading outside.
Step 10: Cover the Insulation (Optional but Recommended)
While insulation does the work, it isn’t pretty, and exposed fiberglass can be a health hazard if disturbed. To finish the job cheaply, you don’t necessarily need premium drywall.
You can use budget-friendly options like OSB (Oriented Strand Board) or plywood sheets. These are durable and allow you to mount hooks and shelves easily later. Simply screw them into the studs over your insulation. If you are on an extreme budget, you can leave faced insulation exposed in some areas (check fire codes), but covering it protects the insulation from damage and makes the space look finished.
5 Things You Should Avoid
When trying to save money, it’s easy to cut corners that end up costing you later. Here are five common pitfalls to avoid during your garage insulation project.
- Ignoring Ventilation: An airtight garage can trap fumes from cars, paints, or chemicals. Ensure you have working vents or a plan for air exchange. Do not cover existing soffit vents or exhaust ports with insulation.
- Compressing the Fiberglass: It is tempting to jam a thick batt into a small space to “get more insulation.” This actually lowers the R-value because fiberglass works by trapping air pockets. If you squeeze out the air, you lose the insulation.
- Using the Wrong Vapor Barrier: Installing a vapor barrier on the wrong side of the wall (or installing two vapor barriers, trapping moisture in the middle) leads to mold and rot. Always follow local building codes regarding vapor control layers.
- Leaving Gaps: Insulation works like a thermal blanket. If you leave gaps around outlets, corners, or the floor, heat will bypass your insulation completely. Take the time to be precise with your cuts and air sealing.
- Forgetting the Ceiling: Heat rises. If your garage has an attic space or open rafters, insulating the walls alone won’t be enough. If the garage ceiling is unfinished, insulate between the joists just like you did the walls.
Conclusion
Insulating your garage is one of the most rewarding DIY projects you can undertake. It immediately changes the utility of the space, turning a cold, damp storage area into a functional part of your home. By following these steps and using cost-effective materials like fiberglass batts and rigid foam, you can achieve professional results on a shoestring budget.
Don’t let the fear of cost or complexity stop you. With a free weekend and a trip to the hardware store, you can lower your energy bills and finally have that comfortable workshop you’ve always wanted.
Hopefully, this guide on how to insulate a garage cheaply has given you the confidence and inspiration to tackle insulating your garage.

I am Rick. I grew up helping my dad with his handyman service. I learned a lot from him about how to fix things, and also about how to work hard and take care of business. These days, I’m still into fixing things- only now, I’m doing it for a living.
I’m always looking for new ways to help people grow and develop. That’s why I have created this blog to share all my experience and knowledge so
that I can help people who are interested in DIY repair.