
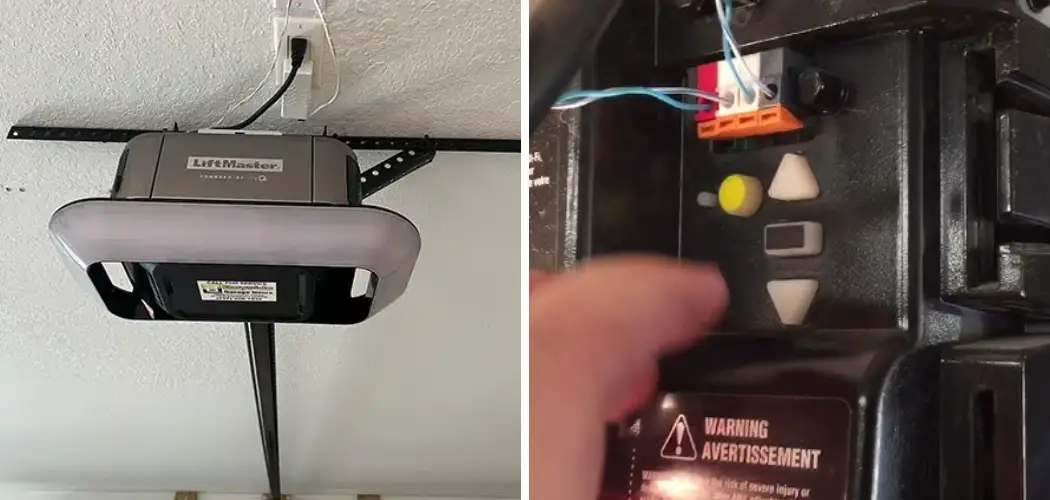
A garage door opener that won’t respond to your remote, keeps reversing unexpectedly, or behaves erratically is frustrating — especially when you’re not sure where the problem starts. Before calling a technician, a reset is often the logical first step. Knowing how to reset LiftMaster garage door opener settings correctly can clear outdated remote codes, restore proper communication with your keypad, and get your system working again without spending money on a service call.
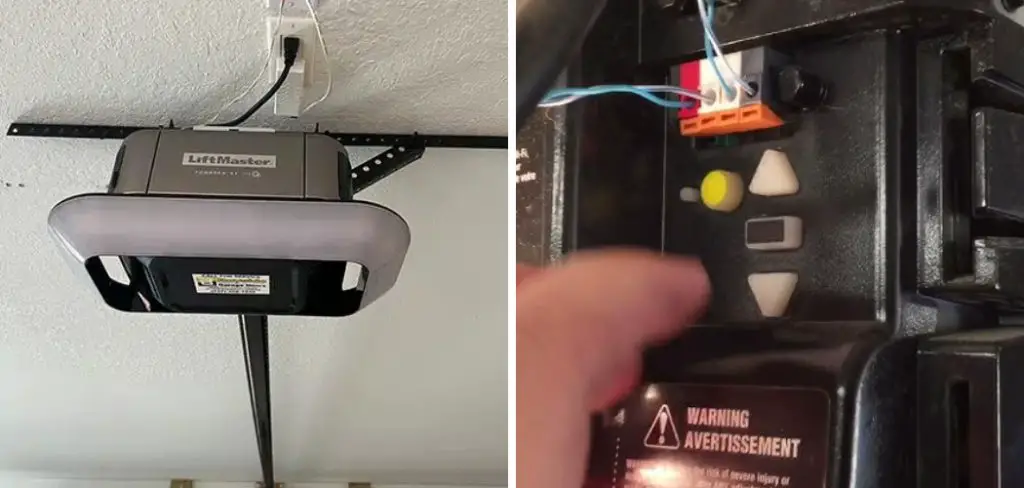
That said, a reset isn’t a universal fix. Some issues go deeper than stored memory or programming conflicts. This guide helps you understand what a reset actually does, walks you through each step clearly, and helps you identify when the real problem is something a reset won’t solve — so you’re not wasting time on the wrong solution.
Why Liftmaster Garage Door Opener Matters
LiftMaster openers are reliable, but they’re also programmable systems that store remote codes, keypad PINs, and operational settings in memory. Over time, those settings can become corrupted, outdated, or conflicted — especially after a power surge, a battery replacement, or when adding new remotes to an already full memory.
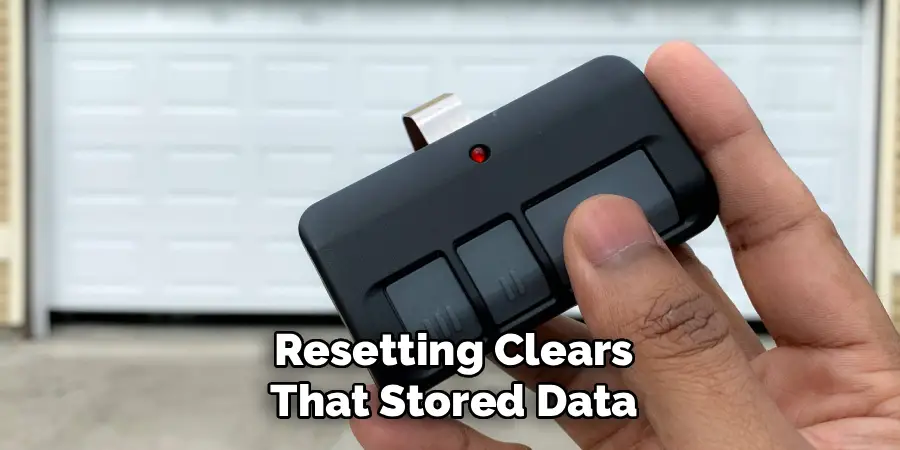
Resetting clears that stored data and gives the opener a clean slate. It’s also the first step when you move into a home with an existing LiftMaster system, since you’ll want to erase any codes the previous owner programmed. Beyond security and programming, some operational behaviors — like door travel limits and auto-reverse sensitivity — may need reinitializing after a reset as well.
Step-By-Step Guide To How To Reset LiftMaster Garage Door Opener
Step 1: Identify Your Opener Model And Learn Button Color
Before doing anything else, locate your LiftMaster opener unit mounted on the ceiling or wall of your garage. Find the Learn button — it’s typically on the back or side panel of the unit. The color of this button tells you which generation and security protocol your opener uses: yellow or orange for older Security+ models, purple for Security+ 2.0, and green or red for other configurations.
Write down the color and your model number before proceeding. Different models follow slightly different reset procedures, and using the wrong steps can cause more confusion. Your owner’s manual or LiftMaster’s website can confirm the exact process for your specific unit if anything in this guide doesn’t match what you’re seeing.
Step 2: Diagnose The Problem Before You Reset
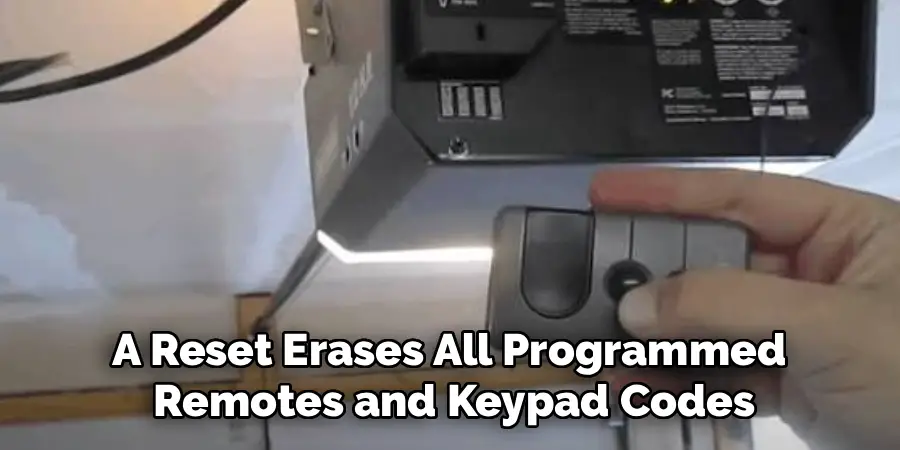
A reset erases all programmed remotes and keypad codes, so don’t do it until you’ve confirmed it’s actually needed. If one remote stopped working but others still function, the issue is likely that remote’s battery or internal programming — not the opener’s memory. If the door reverses unexpectedly, the problem may be safety sensor alignment or travel-limit settings, which a reset won’t fix.
Ask yourself a few clear questions: Has anything changed recently, such as a power outage, a new remote, or a surge? Are all remotes and the keypad affected, or just one? Is the door moving correctly when it does respond? Answering these questions first helps you use a reset only when it’s the right tool for the problem you’re actually dealing with.
Step 3: Safely Disconnect Power If You Need To Power-Cycle
Some LiftMaster issues benefit from a simple power cycle before attempting a full memory reset. Unplug the opener from the ceiling outlet, or switch off the circuit breaker that controls the garage if the outlet isn’t accessible. Wait a full 30 seconds — not just a few seconds — before restoring power. This allows residual charge in the system to clear completely.
Once power is restored, observe whether the opener initializes normally. Some models will run a brief self-test when power comes back on. If the behavior that was causing problems has resolved, you may not need to go further. If the issue persists, continue to the next steps to clear and reprogram stored codes.
Step 4: Clear All Remote Controls And Keypad Memory
To erase every programmed remote and keypad code stored in the opener, press and hold the Learn button on the unit until the indicator light next to it turns off — this typically takes about six seconds. On some models, the light blinks before going out. Releasing the button at that point confirms the memory has been cleared.
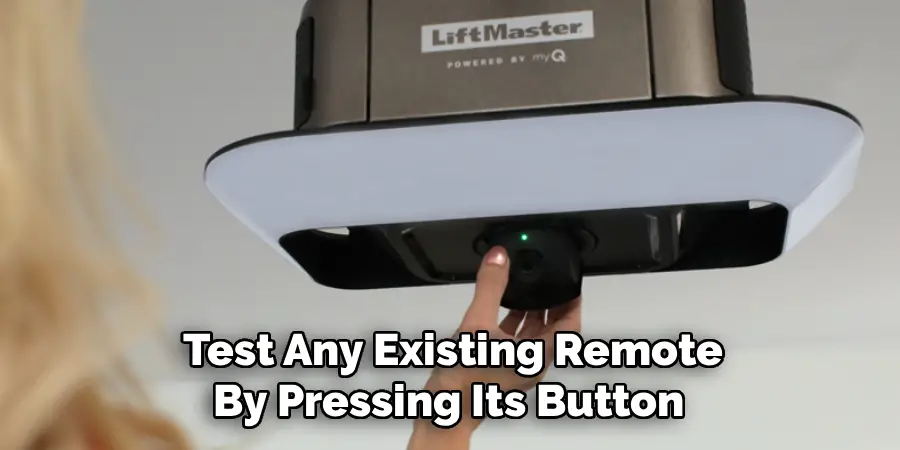
After clearing memory, test any existing remote by pressing its button while standing near the opener. The door should not respond, confirming all previous codes have been erased. This step is essential when setting up the opener in a new home or after a security concern, since it ensures that no previously programmed remotes retain access to your garage.
Step 5:Garage Door Opener Remotes And Keypads
With memory cleared, reprogram your remotes one at a time. Press the Learn button once — don’t hold it — and release it when the indicator light comes on. You have about 30 seconds to press and hold the button on the remote you’re programming until the opener’s light blinks or you hear two clicks, confirming it’s been accepted.
Repeat this process for each remote. For the exterior keypad, press Learn once, then go to the keypad and enter your desired PIN followed by the Enter or asterisk button, holding it until the opener confirms the connection. Test each remote and the keypad before moving on — confirming each device works individually prevents troubleshooting headaches later.
Step 6: Test Door Travel, Auto-Reverse, And Safety Sensors
After reprogramming, test the full operation of your garage door. Open and close it using each remote and the keypad, watching for smooth, consistent movement throughout the full travel range. If the door reverses before closing completely or stops before fully opening, the travel limits may need adjustment using the limit adjustment controls on the opener — typically small dials or buttons labeled “Up” and “Down.”
Test the auto-reverse safety feature by placing a flat 2×4 piece of wood flat on the floor in the door’s path. Close the door — it should reverse automatically when it contacts the board. Also check sensor alignment by looking for solid green and amber lights on the two sensor units near the bottom of the door tracks. Blinking lights indicate a misalignment that needs correction.
Step 7: Know When The Problem Goes Beyond A Reset
A reset resolves programming and memory issues, but it won’t fix hardware problems. If your opener still behaves erratically after completing all the steps above — grinding without moving, clicking repeatedly, or not responding to the wall button at all — the issue may involve the logic board, motor, or internal wiring rather than stored settings.
Similarly, if sensors remain misaligned after adjustment, check the wiring running from the sensors to the opener unit for damage, pinching, or loose connections. Travel limit problems that persist after adjustment may indicate a worn gear or mechanical fault inside the unit. At that point, the honest and safe choice is contacting a licensed garage door technician rather than continuing to troubleshoot blindly.
Frequently Asked Questions
Will Resetting My LiftMaster Erase The Myq App Connection?
Yes, clearing the Learn button memory typically disconnects devices paired through the MyQ app as well. After resetting, open the MyQ app and follow the in-app prompts to reconnect your opener to your home Wi-Fi network and re-pair it with your account. The process takes only a few minutes and restores full smart home connectivity.
How Do I Know If My LiftMaster Has A Purple Or Yellow Learn Button?
Check the back or side panel of your opener unit directly. Yellow or orange buttons indicate older Security+ models. Purple buttons indicate Security+ 2.0, which supports rolling-code technology for added security. If the color is unclear due to age or lighting, look up your model number on LiftMaster’s official website for confirmation.
Can I Reset Just One Remote Without Clearing All Of Them?
No, the Learn button clears all stored remotes and keypads at once. There is no option to erase a single remote from the opener itself. If one remote is lost or needs to be deactivated, you must clear the full memory and then reprogram all remaining remotes and keypads individually afterward.
Why Is My Garage Door Reversing After I Reprogram Everything?
Unexpected reversing after reprogramming usually points to a sensor or travel-limit issue, not a programming conflict. Check that both safety sensors at the base of the door tracks have solid indicator lights — blinking means misalignment. Also verify that no object is partially blocking the sensor beam, and test the travel-limit adjustment settings on the opener.
How Often Should I Clear And Reprogram My LiftMaster?
There’s no required schedule for routine resets under normal use. You should clear memory when moving into a new home, after losing a remote, after a security concern, or when troubleshooting a persistent programming problem. Regular battery replacement in remotes and keypads prevents most programming issues without requiring a full reset.
Conclusion
A LiftMaster that isn’t responding correctly is almost always fixable — the key is matching the right solution to the actual problem. Start by identifying your model and Learn button type, diagnose the symptom carefully, and only clear the memory when it’s genuinely the right step. Reprogram each device methodically, test door travel and sensor function afterward, and you’ll have a fully operational system in most cases.
When you understand how to reset LiftMaster garage door opener settings properly — and when not to — you avoid unnecessary frustration and protect your equipment. Handle the steps in order, don’t skip the sensor and travel tests at the end, and call a technician if hardware issues show up after a clean reset. A little patience up front saves a lot of time in the long run.

I am Rick. I grew up helping my dad with his handyman service. I learned a lot from him about how to fix things, and also about how to work hard and take care of business. These days, I’m still into fixing things- only now, I’m doing it for a living.
I’m always looking for new ways to help people grow and develop. That’s why I have created this blog to share all my experience and knowledge so
that I can help people who are interested in DIY repair.