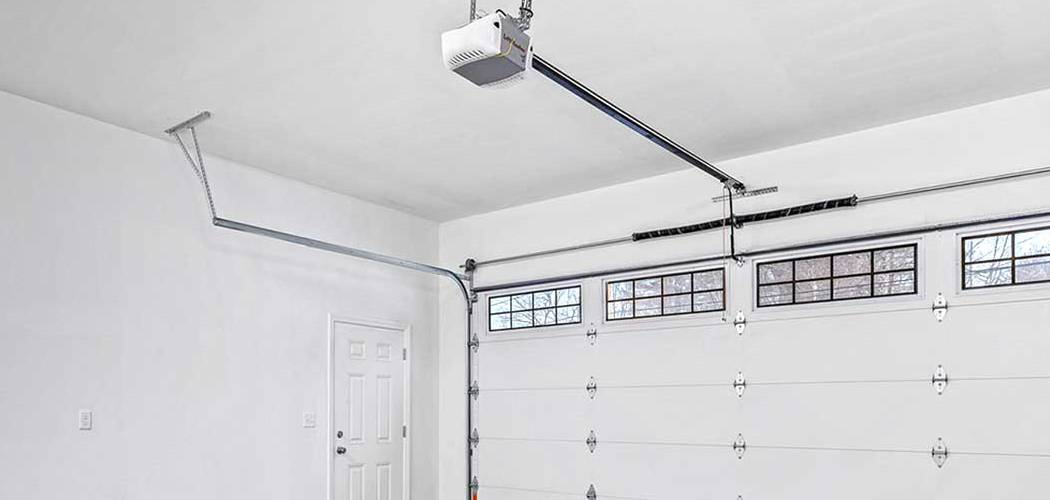
A power outage can disrupt many things in your home, and your garage door opener is often one of them. Once the power returns, you might find that your Craftsman garage door isn’t responding to the remote or the wall-mounted button. This is a common issue caused by the opener’s internal memory losing its settings during the power loss. Fortunately, learning how to reset a craftsman garage door after power outage is a straightforward process that most homeowners can handle without calling a professional. This guide will walk you through the simple steps to get your garage door back in working order safely and efficiently.

When a power outage occurs, it’s not uncommon for your Craftsman garage door opener to lose its programmed settings, including the remote control pairing. Thankfully, you don’t need specialized tools or expertise to address this problem. With just a few simple steps, you can reprogram your garage door opener and ensure it functions properly once again. Here’s what you need to know before starting the process.
Why It Matters
Knowing how to reset your garage door opener after a power surge or outage is more than just a convenience—it’s a matter of security and safety. When an opener’s logic board loses its programming, it may not close properly, leaving your home vulnerable. Furthermore, the safety reversal system, which prevents the door from closing on an object or person, may also need to be re-calibrated. A door that doesn’t reverse when it should is a significant safety hazard. By performing a reset, you re-establish the correct opening and closing limits and ensure all safety features are functioning as intended, giving you peace of mind.
Step-by-Step Guide on How to Reset A Craftsman Garage Door After Power Outage
Getting your garage door back on track is a simple process. Follow these detailed steps to safely reset the system and reprogram its travel limits and force settings.
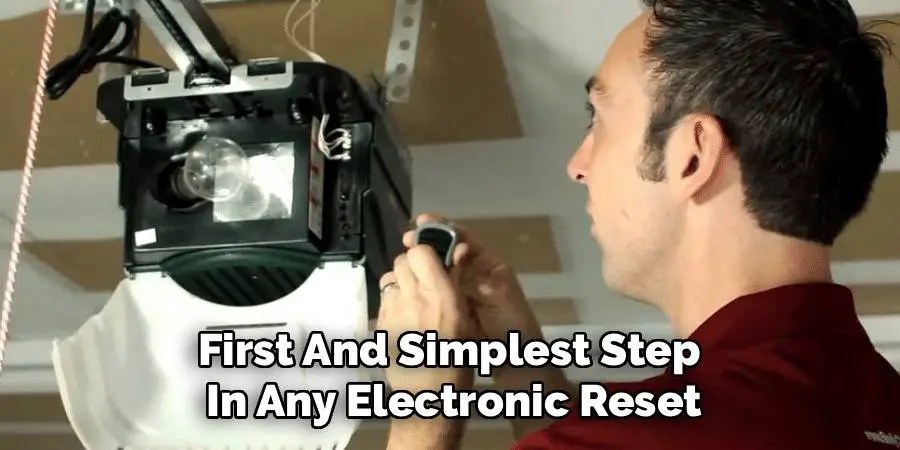
Step 1: Unplug and Re-plug the Opener
The first and simplest step in any electronic reset is to perform a power cycle. Unplug the main Craftsman garage door opener unit from the ceiling outlet. Wait for at least 60 seconds. This allows the internal capacitors to fully discharge and clears any residual memory glitches from the logic board. After waiting, plug the opener back into the outlet firmly. The small LED light on the unit should illuminate or blink, indicating that it is receiving power and has re-initialized. This simple action often resolves minor issues without any further steps.

Step 2: Manually Open and Close the Door
Before reprogramming, it’s essential to ensure the door moves smoothly on its tracks without the motor’s help. Locate the red emergency release cord hanging from the trolley mechanism on the garage door rail. Pull this cord down and back to disengage the door from the opener. Now, carefully lift the garage door by hand until it is fully open, then lower it until it is completely closed. It should move smoothly without sticking or requiring excessive force. This step confirms that the problem is electronic and not a mechanical issue with the door’s springs or tracks.
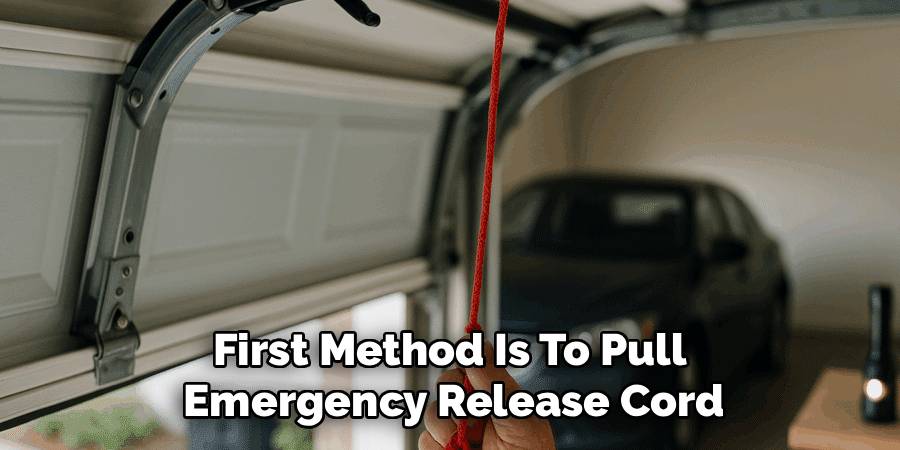
Step 3: Re-engage the Garage Door Trolley
Once you’ve confirmed the door moves freely, you need to reconnect it to the opener’s trolley system. You can do this in two ways. The first method is to pull the emergency release cord down and toward the door to reset the spring-loaded release lever. Then, press the wall-mounted button to run the opener. The trolley will move along the track and automatically lock back into the door mechanism. Alternatively, you can close the garage door and use the remote or wall button to run the opener until the trolley connects with the carriage on the door.
Step 4: Locate the “Learn” Button on the Opener
To begin the reprogramming process, you will need to find the “Learn” or “SRT” button on the main opener unit. This button is typically located on the back or side of the motor housing, often near the antenna wire for the remote control. It is usually a small, square button and may be purple, red, orange, or green, depending on the model of your Craftsman opener. You might need a step ladder to access it safely. This button is the key to clearing old settings and programming new ones.
Step 5: Erase Previous Remote Control Codes
A power outage can sometimes scramble the connection between your opener and your remotes. To start fresh, it’s a good idea to erase all previous codes from the opener’s memory. Press and hold the “Learn” button on the motor unit for about six seconds, or until the adjacent LED light turns off. This action will clear the memory, and none of your existing remotes or keypads will work. This step is crucial for ensuring a secure and clean connection when you reprogram the remotes later in the process.
Step 6: Reprogram the Up and Down Travel Limits
Now it’s time to teach the opener how far the door should travel. Locate the “Up” and “Down” arrow buttons on the motor unit, near the “Learn” button. Press and hold the “Up” arrow button until the door is in the fully open position. Then, press and hold the “Down” arrow button until the door is fully closed. Fine-tune the positions by pressing the buttons in short bursts. This process, a key part of how to reset craftsman garage door after power outage, establishes the new travel limits for your door. Once set, the opener will remember these positions.
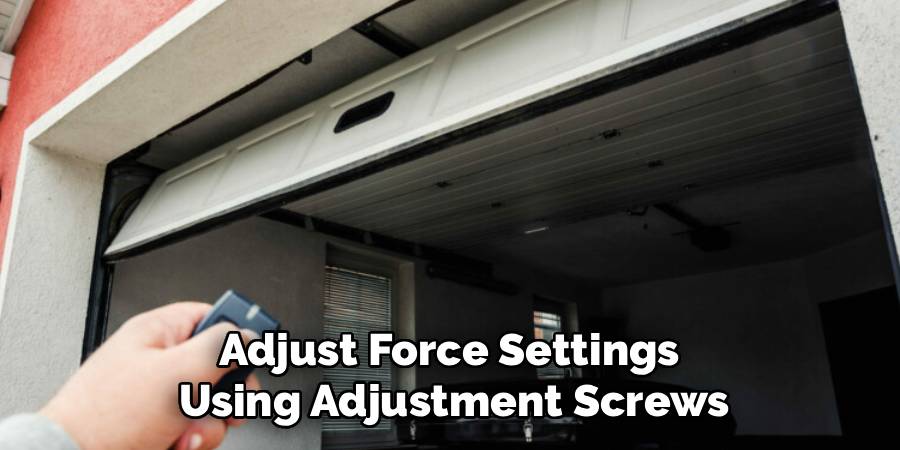
Step 7: Reset the Safety Reversal System
With the travel limits set, you must test the safety reversal system. Place a 2×4 piece of wood flat on the ground in the center of the garage door’s path. Press the wall button or remote to close the door. When the door makes contact with the wood, it should immediately stop and reverse to the fully open position. If it does not, you may need to adjust the force settings using the adjustment screws on the motor unit. This test is vital to ensure the door is safe for your family and vehicles.
Step 8: Reprogram Your Remotes and Keypad
Now that the opener is reset, you need to reconnect your accessories. To program a remote, press and release the “Learn” button on the motor unit. The LED indicator will glow steadily for 30 seconds. Within that time, press and hold the button on your remote control that you wish to use. The opener’s lights will blink, or you will hear a click, confirming the remote has been programmed. Repeat this process for any additional remotes and for your wireless keypad, following the specific instructions for keypad programming.
Frequently Asked Question
Why Did My Garage Door Stop Working After a Power Outage?
Power outages and subsequent power surges can scramble the memory on your garage door opener’s logic board. This can cause it to “forget” the programmed travel limits for opening and closing, as well as the codes for your remote controls. Essentially, the opener’s brain gets wiped clean and needs to be retaught how to operate correctly. A full reset and reprogramming cycle is the standard way to fix this.
Is It Safe to Manually Open My Garage Door?
Yes, it is generally safe to manually open your garage door after pulling the emergency release cord, provided your garage door springs are in good condition. The springs are designed to counterbalance the door’s weight, so it should not feel excessively heavy to lift. If the door feels very heavy or slams shut when you try to lower it, do not use it. This indicates a problem with the springs, which requires professional repair.
My Garage Door Remote Is Not Working After the Reset. What Should I Do?
If your remote isn’t working after the reset, start by checking its battery. If the battery is good, you may need to repeat the remote programming step. Make sure you are pressing and releasing the “Learn” button on the opener unit and then pressing the remote button within the 30-second window. If it still doesn’t work, ensure your remote is compatible with the “Learn” button color on your specific Craftsman model.
How Do I Know What Color My “Learn” Button Is?
You will need to look at the motor unit itself, typically on the back or side panel where the antenna wire is located. You may need a ladder and a flashlight to see it clearly. The color of this square button (e.g., purple, red, orange, green) is important because it corresponds to the specific radio frequency and technology used by your opener, which determines which remotes are compatible with your system.
What if My Garage Door Reverses After Closing Partway?
If the door reverses for no apparent reason, it usually means the safety sensors at the bottom of the door’s tracks are misaligned or obstructed. Check to make sure nothing is blocking the sensors’ line of sight. Also, check the small LED lights on both sensors; they should both be lit steadily. If one is blinking, it indicates they are not aligned correctly. Adjust them by hand until both lights are solid.
Conclusion
Losing power can be frustrating, but getting your garage door back in action doesn’t have to be a complicated ordeal. By following these steps, you can confidently reset your system, ensuring your door operates smoothly and safely. From the initial power cycle and manual check to reprogramming the travel limits and syncing your remotes, you now have the knowledge to tackle the job yourself. Understanding how to reset craftsman garage door after power outage not only saves you time and money but also empowers you as a homeowner to manage one of your home’s most important access points.
I am Rick. I grew up helping my dad with his handyman service. I learned a lot from him about how to fix things, and also about how to work hard and take care of business. These days, I’m still into fixing things- only now, I’m doing it for a living.
I’m always looking for new ways to help people grow and develop. That’s why I have created this blog to share all my experience and knowledge so
that I can help people who are interested in DIY repair.