
Framing a gambrel-roof garage means calculating dual-pitch angles, assembling custom trusses on the ground, lifting them into position, securing them to the top wall plates, and covering everything with roof sheathing. Gusset plates at every joint are non-negotiable — they create the signature barn-style profile and give the loft space above its structural backbone.
Building a gambrel roof over a garage is one of those projects that rewards careful planning far more than brute effort. The dual-pitch geometry gives you noticeably more headroom than a standard gable would, and that difference translates directly into usable square footage — a proper loft for storage, a workshop, or even a spare room. It’s not a beginner-friendly build, but it’s also not the kind of structural puzzle that should intimidate anyone who has framed walls before and understands basic roof geometry.
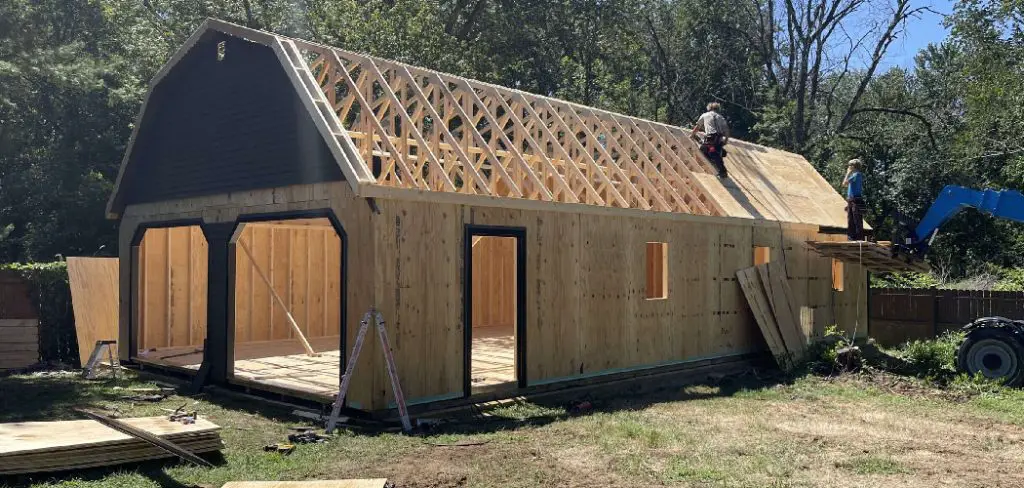
What the process demands, more than anything else, is precision at the calculation stage. Get the angles right, build consistent trusses, and the rest of the work follows a logical sequence. Rush the math, and you’ll pay for it in lumber waste and structural headaches. This guide on how to frame a gambrel roof garage walks through each stage from initial layout to final sheathing, with attention to the details that tend to catch people off guard.
Tools and Materials You’ll Need
To frame a gambrel roof garage, you’ll need the following tools and materials:
- Tape Measure
- Chalk Line
- Framing Square
- Circular Saw
- Hammer
- Speed Square or Combination Square
- Level (4-ft minimum)
- Pry Bar
- Ladder or Scaffolding (if working at heights)
- Safety Gear (gloves, safety glasses, hard hat, etc.)
7 Steps on How to Frame a Gambrel Roof Garage
Step 1: Calculate the Roof Dimensions and Angles
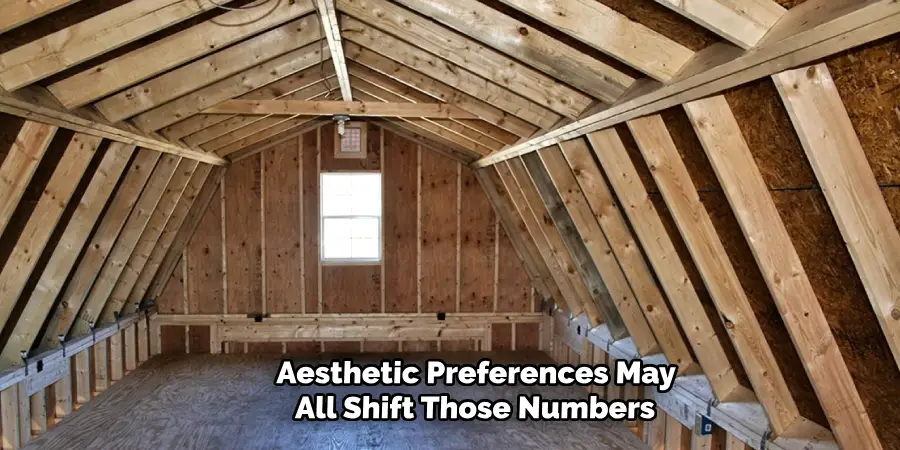
This is where the project either gets off to a good start or runs into trouble early. A gambrel roof has two distinct slopes on each side — a steeper lower section and a shallower upper section — and both need their rise and run calculated from your garage’s actual width before any lumber gets touched.
A common configuration uses roughly a 60-degree angle (close to a 12/12 pitch) for the lower slope and around 30 degrees (approximately a 4/12 pitch) for the upper. Those aren’t universal standards, though. Your local snow load, preferred loft height, and aesthetic preferences may all shift those numbers. A construction calculator helps, but verifying your figures against your specific building dimensions is worth doing twice. One miscalculation here tends to cascade through every truss you build afterward.
Step 2: Build a Truss Template on the Ground
Rather than attempting to cut and fit pieces at elevation, the cleaner approach is to build a full-scale template on the garage floor itself. Clear the concrete slab and use a chalk line to draw out the exterior wall dimensions and the gambrel profile you’ve just calculated. This chalk outline becomes a life-size working drawing.
Lay your raw lumber directly over the lines to check angles and fit. Once everything lines up, fix temporary wooden stop blocks around the truss perimeter to create a rigid jig. Every truss you build inside that jig will come out identical to the one before it — which matters a great deal when you’re placing them 16 or 24 inches on center and expecting the sheathing to land squarely on each one.
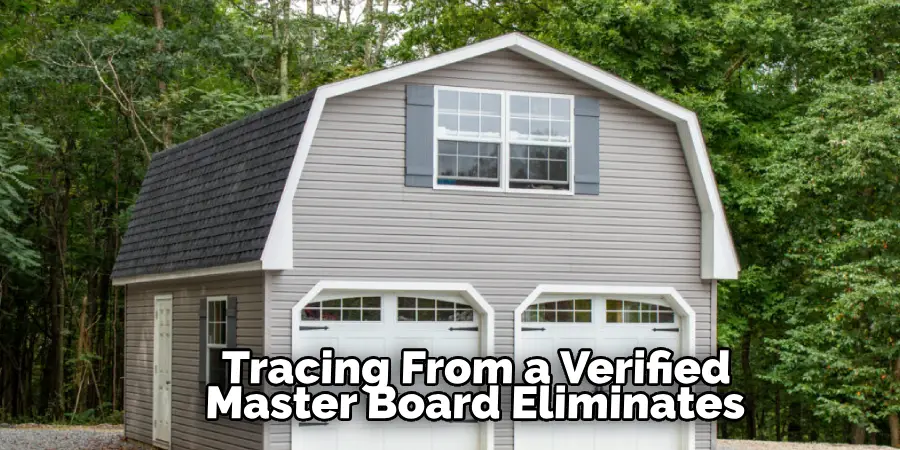
Step 3: Cut the Lower and Upper Rafters
With the jig fixed to the floor, start measuring and cutting rafter sections for both slopes. The ends need plumb cuts and seat cuts sized to fit flush at the gambrel joints and at the ridge. Even small angular errors accumulate quickly when you’re cutting a dozen or more trusses, so the most reliable method is to cut one complete set, test it in the jig, and then use those pieces as pattern boards for every subsequent cut. Tracing from a verified master board eliminates the minor variations that come from repeated tape measure use.
Step 4: Assemble the Gambrel Trusses
Place the cut rafter sections into the floor jig, checking that joints fit tightly with no gaps. Apply construction adhesive at the connection points, then install gusset plates — metal or ½-inch plywood — over every joint on one face. Drive galvanized nails through the gussets into the rafters following the fastener spacing your local code specifies. Then, with a second person, carefully flip the entire assembly and repeat the gusseting process on the opposite face.
The gambrel joint — where the lower and upper slopes meet — carries a disproportionate share of the load. Undersized or poorly nailed gussets at that specific location are a known failure point. It’s worth spending an extra few minutes confirming that the fastener pattern there meets or slightly exceeds minimum requirements.
Step 5: Install the Gable End Trusses
The two gable end trusses go up first. They sit flush with the front and rear exterior walls and establish the reference lines that everything else will follow. Lift them using scaffolding or a mechanical material lift, align them with the outside edge of the top plates, and fasten them with hurricane ties and framing nails.
Because gable ends take wind loads more directly than interior trusses, they need immediate temporary diagonal bracing running down to the floor or lower wall framing. Check plumb with a long level before moving forward. If a gable end is even slightly out of vertical, that error will carry through every truss you set against it.
Step 6: Lift and Set the Remaining Trusses
With both gable ends plumb and braced, work inward from one end, setting interior trusses at your layout spacing — typically 16 or 24 inches on center. Align each truss with the marks on the top plate and secure it with hurricane ties as you go. Don’t wait until everything is up to fasten them.
As each new truss goes in, run a temporary 1×4 or 2×4 brace horizontally across the ridge and gambrel joints, tying the new truss back to the already-secured ones. This bracing keeps the structure from racking or shifting while it’s still open and unsheathed. A row of unsecured trusses on a windy day can move more than you’d expect.
Step 7: Install the Roof Sheathing
Once every truss is set and tied together with temporary bracing, sheathing locks the structure into its final geometry. Begin at the bottom edge of the lower slope, running ½-inch or ⅝-inch exterior plywood horizontally across the rafters. Sheet ends should land at the center of a truss, not between them.
Nail into every rafter using 8d galvanized nails — approximately 6 inches apart along panel edges and 12 inches through the field. Work up toward the gambrel joint, then continue sheathing the upper slope to the ridge. At this point, the roof develops its true rigidity; the temporary bracing can come down after the sheathing is complete.
Following these steps on how to frame a gambrel roof garage will ensure a sturdy and well-built structure that can withstand the elements for years to come.
Common Mistakes to Avoid
Angle calculation errors cause more failed gambrel roof frames than anything else. Even a degree or two of slop at the joint produces a profile that’s visibly off and, depending on how it falls, structurally weaker than the design intended.
Undersized gusset plates are a close second. The gambrel joint is a natural hinge point — it needs well-attached gussets on both faces to resist that tendency. Skimping on plate size or nail count, there is a gamble that rarely pays off.
A third issue that shows up on job sites is inadequate temporary bracing during truss installation. The weight of assembled trusses is substantial, and an unbraced row can shift or topple with less provocation than most people anticipate. Bracing isn’t optional — it’s what keeps the crew safe between the first truss going up and the sheathing going down.
Do You Need Professionals?
Honest answer: it depends on what you’re bringing to the project. If you have prior framing experience, understand roof geometry, own or can rent the lifting equipment, and have at least two capable helpers, this is a buildable DIY project. The skills it demands are real, but they’re learnable.
If heights are a concern, your geometry is shaky, or you’ve never framed a roof before, hiring a licensed framing contractor is probably the sounder choice. Beyond the safety considerations, a professional crew will know your local code requirements for snow and wind loads — details that affect fastener schedules, gusset sizing, and hurricane tie placement in ways a general guide like this can’t fully anticipate for your specific location.
How Much Will It Cost?
Costs vary with building size, current lumber prices, and whether you’re doing the labor yourself. For a typical two-car garage, materials — lumber, sheathing, metal gussets, and fasteners — generally run somewhere between $2,500 and $5,500.
Labor, if you hire an experienced framing crew, may add another $3,000 to $7,000 depending on your region and the specifics of the roof design. Neither figure is fixed; get a local quote before budgeting.

Building Your Gambrel Roof
Agambrel-rooff garage is a genuinely useful structure — more so than it might look on paper. The extra square footage overhead tends to change how people use a garage entirely. Getting there takes careful angle work, consistent truss assembly, and patient installation.
Take your time in the planning phase, don’t skip temporary bracing, and the result should serve the building well for decades. Thanks for reading this guide on how to frame a gambrel roof garage.
I am Rick. I grew up helping my dad with his handyman service. I learned a lot from him about how to fix things, and also about how to work hard and take care of business. These days, I’m still into fixing things- only now, I’m doing it for a living.
I’m always looking for new ways to help people grow and develop. That’s why I have created this blog to share all my experience and knowledge so
that I can help people who are interested in DIY repair.