
Your garage floor takes a beating — oil drips, tire scuffs, heavy foot traffic, and moisture all wear it down over time. A polyaspartic coating protects the concrete while giving it a clean, professional finish that holds up far better than standard paint or even epoxy. The best part is that you don’t need to hire a contractor to get impressive results.
Learning how to apply polyaspartic garage floor coating DIY gives you control over the timeline, the finish style, and the cost. Polyaspartic coatings cure faster than epoxy, resist UV yellowing, and handle temperature swings well — but they also have a short working time that punishes poor preparation. This guide walks you through every stage clearly and honestly, so you go in with realistic expectations and come out with a floor you’re proud of.
Why Garage Floor Coating DIY Matters
Hiring a professional floor coating crew is expensive — most jobs run between $3 and $7 per square foot in labor alone. Doing it yourself cuts that cost significantly while still delivering a durable, attractive result when done correctly.
Beyond savings, polyaspartic coatings offer real performance advantages. They cure in hours rather than days, which means less downtime for your garage. They resist chemicals, abrasion, and UV exposure better than many alternatives, and they bond well to properly prepared concrete. Understanding the process also protects your investment — a failed coating caused by skipped prep steps costs more to fix than the original job. Approaching this project with the right knowledge means your floor looks great and performs well for years, not months.
Step-By-Step Guide To How To Apply Polyaspartic Garage Floor Coating DIY
Step 1: Check Your Slab Condition And Test For Moisture
Before buying a single product, inspect your concrete slab carefully. Look for large cracks, spalling, flaking previous coatings, or areas that feel soft or crumble underfoot. These issues need to be addressed before coating — polyaspartic won’t hide structural problems, and it won’t bond properly to a compromised surface.
Moisture is the biggest threat to adhesion. Tape a piece of plastic sheeting to the floor, seal the edges, and leave it for 24 hours. If you find condensation underneath, your slab has moisture transmission issues that must be resolved before you coat. Applying any coating over a wet slab leads to peeling and bubbling — no product can overcome that problem.
Step 2: Clean, Degrease, And Repair The Surface
Oil and grease are coating killers. Scrub any stained areas with a concrete degreaser and rinse thoroughly. For stubborn oil spots, a second application may be necessary. The floor must be completely free of contaminants before surface preparation begins — any residue left behind will block adhesion right where you need it most.
Once the floor is clean and dry, repair cracks and spalled areas using a concrete patching compound rated for floor use. Follow the product’s cure time before moving forward. Small hairline cracks can often be filled during the coating process, but larger gaps or deep spalls need proper repair first. Skipping this step almost always shows up in the finished result.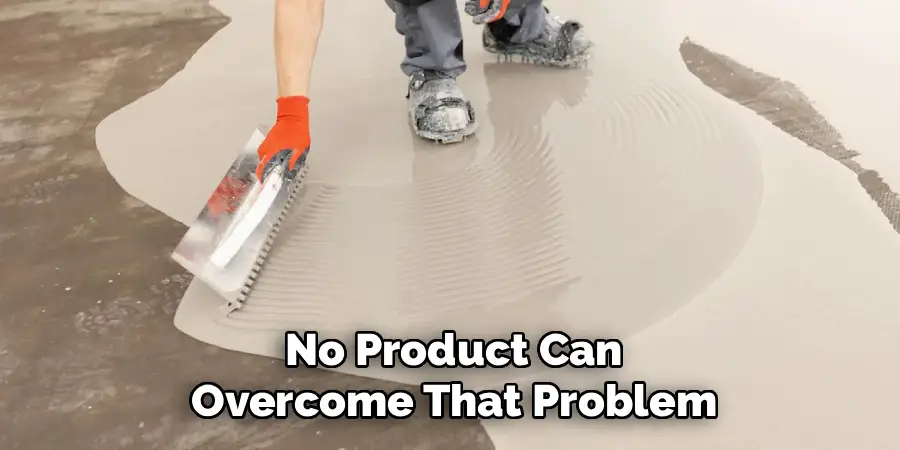
Step 3: Prepare The Surface By Grinding Or Acid Etching
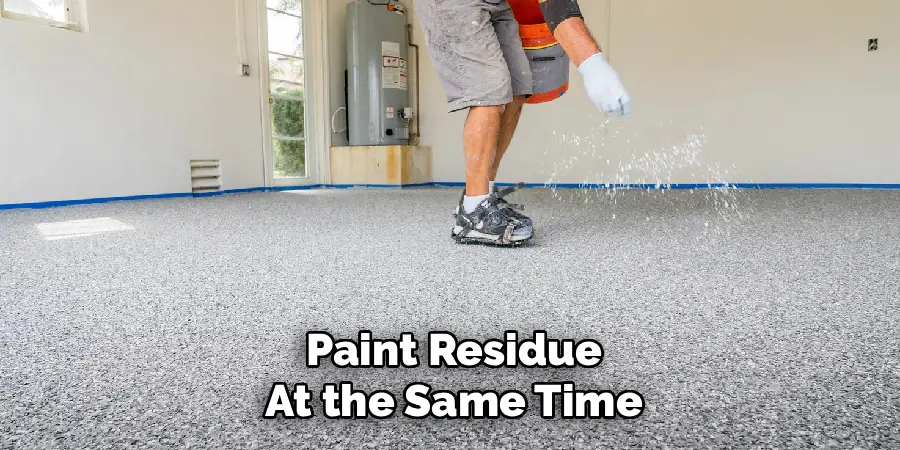
Polyaspartic coatings need a surface profile to grip — smooth, polished, or sealed concrete won’t hold them. Mechanical grinding with a rented floor grinder fitted with diamond pads is the most reliable method. It opens the pores of the concrete evenly and removes any existing sealer or paint residue at the same time.
Acid etching with muriatic or phosphoric acid is a lower-cost alternative for bare, uncoated slabs. Follow the product directions carefully, wear chemical-resistant gloves and eye protection, and neutralize the floor thoroughly after etching. The surface should feel like medium-grit sandpaper when properly prepared. Rinse completely and allow the floor to dry for at least 24 hours before coating.
Step 4: Understand Mixing Constraints And Working Time
This is where polyaspartic differs most from epoxy, and where preparation pays off the most. Most polyaspartic coatings have a pot life of only 20 to 45 minutes once mixed — some fast-cure formulas are even shorter. That means you mix, apply, and move on without stopping. There’s no going back to touch up a section once the window closes.
Read the technical data sheet for your specific product before mixing anything. Note the mix ratio, the pot life at your working temperature, and how temperature affects cure speed. Warm temperatures shorten the working time considerably. Mix only as much as you can apply confidently within the pot life window, and have your tools staged and ready before you open a single container.
Step 5: Floor Coating DIY — Cut In The Edges First
Start at the perimeter of the garage — along the walls, around posts, and at the garage door threshold — using a brush or small roller to cut in a 3 to 4 inch border. Working the edges first gives you a clean line and ensures no area gets missed when you move to the main field.
Work from the far corner toward the garage door exit so you’re never painting yourself into a corner. Keep the cut-in sections wet and consistent in thickness — a heavy edge line will be visible in the cured finish. Move quickly but deliberately, and don’t stop mid-section. Consistency in this step makes the transition into rolling the main floor much smoother.
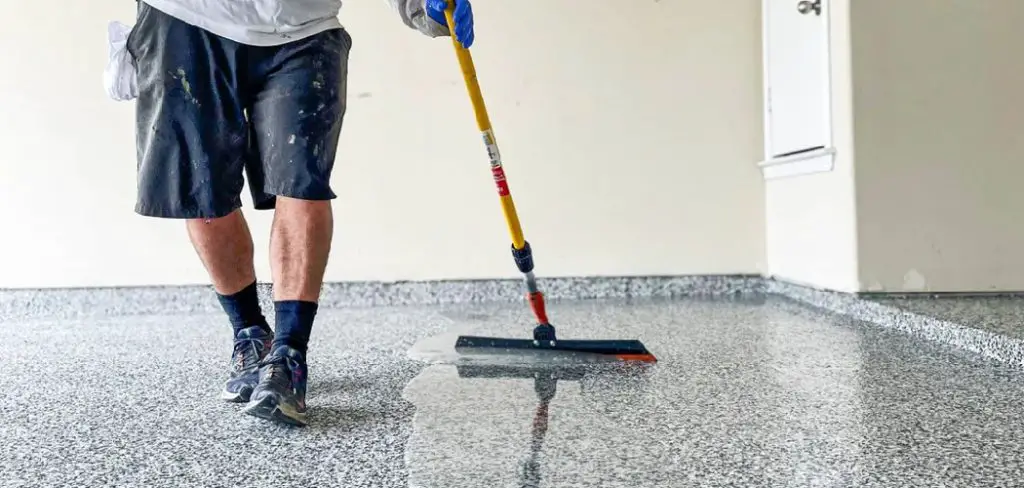
Step 6: Roll The Coating Evenly And Broadcast Flakes If Desired
Using a 3/8-inch nap roller on an extension handle, apply the coating in long, even passes across the floor in one direction, then cross-roll lightly in the opposite direction to even out the texture. Maintain a wet edge throughout — letting sections dry before connecting them creates visible lap marks in the finished surface.
If you want decorative vinyl flakes, broadcast them immediately after rolling each section while the coating is still wet. Toss them from waist height for an even spread and let them fall naturally rather than pressing them in. After the coating cures, sweep or vacuum off any loose flakes before applying a topcoat if your product requires one. Flakes add grip and visual depth with very little extra effort.
Step 7: Ventilate Properly And Respect The Cure Time
Polyaspartic coatings release fumes during application and initial cure. Keep the garage well ventilated throughout the process — prop the side door open, use a fan to move air across the floor and out of the space, and wear a respirator rated for organic vapors. Don’t rely on the garage door alone for ventilation, especially in a closed space.
Even though polyaspartic cures faster than epoxy, respect the manufacturer’s stated cure times before returning to foot or vehicle traffic. Light foot traffic may be possible within 6 to 12 hours, but parking a car typically requires 24 to 72 hours depending on the product and ambient temperature. Rushing this step risks tire marks, indentations, and adhesion failures that are difficult to repair cleanly.
Frequently Asked Questions
How Long Does A Polyaspartic Garage Floor Coating Last?
When applied to a properly prepared surface, polyaspartic coatings typically last 10 to 15 years in residential garage settings. Longevity depends on surface prep quality, the number of coats applied, and how much traffic and chemical exposure the floor sees. Routine cleaning and avoiding harsh solvents help maximize the lifespan of the finish.
Can I Apply Polyaspartic Over Old Epoxy Or Paint?
You can in some cases, but only if the existing coating is fully bonded, intact, and not peeling anywhere. Any loose or failed areas must be removed first. The old surface still needs to be abraded to create a profile for adhesion. When in doubt, removing the old coating entirely gives you the most reliable result.
What Temperature Is Best For Applying Polyaspartic Coatings?
Most polyaspartic coatings perform best when both the air and concrete surface temperatures are between 50°F and 90°F. High temperatures dramatically shorten the working time, while temperatures below 50°F slow the cure and can affect adhesion. Check the product’s technical data sheet for your specific formula’s temperature range before scheduling the job.
Do I Need A Topcoat Over A Polyaspartic Coating?
Not always. Some polyaspartic systems are formulated as single-coat or two-coat systems that don’t require a separate topcoat. Others, particularly those used with decorative flakes, benefit from a clear polyaspartic topcoat to seal the flakes and add gloss and durability. Read your specific product system’s instructions to determine whether a topcoat is recommended.
How Do I Clean A Polyaspartic-Coated Floor?
Routine maintenance is straightforward. Sweep or dust mop regularly to remove grit that can scratch the surface over time. For deeper cleaning, a mop with warm water and a pH-neutral floor cleaner works well. Avoid harsh acidic or solvent-based cleaners, as these can dull or degrade the finish. Clean up oil spills promptly to prevent staining.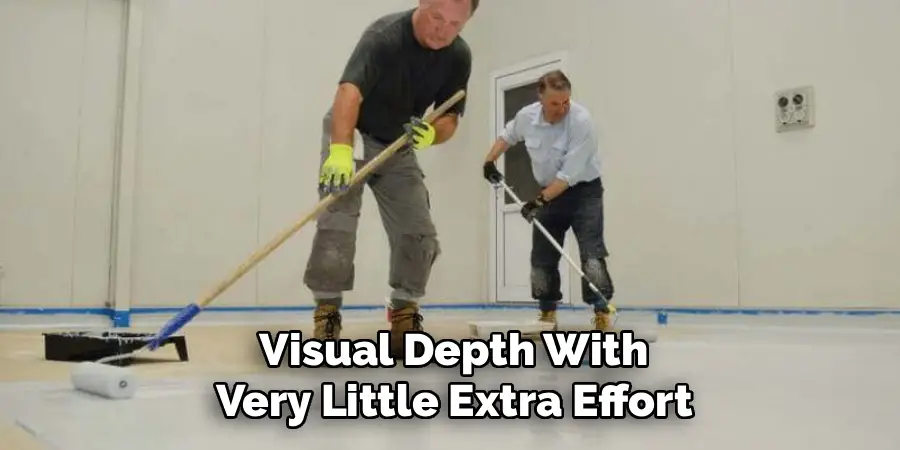
Conclusion
A well-coated garage floor is one of the most satisfying home improvement results you can achieve on a weekend — durable, clean, and noticeably transformed. The process rewards preparation above all else: fixing moisture issues, cleaning thoroughly, and profiling the concrete correctly account for most of the difference between a coating that lasts and one that peels within a year.
Following a careful, step-by-step approach to how to apply polyaspartic garage floor coating DIY means you understand not just what to do, but why each stage matters. Respect the short working time, ventilate properly, and give the coating the cure time it needs before putting the space back in service. Done right, this project is well within reach for a patient, prepared homeowner — and the result speaks for itself every time you pull into the garage.
I am Rick. I grew up helping my dad with his handyman service. I learned a lot from him about how to fix things, and also about how to work hard and take care of business. These days, I’m still into fixing things- only now, I’m doing it for a living.
I’m always looking for new ways to help people grow and develop. That’s why I have created this blog to share all my experience and knowledge so
that I can help people who are interested in DIY repair.