

To lower humidity in a garage gym, seal gaps around doors and windows, apply an epoxy floor coating to block ground moisture, and run a high-capacity dehumidifier. Adding exhaust fans and insulating your walls will further protect your workout equipment from rust, mold, and long-term water damage.
Working out in a damp garage is one of those problems that sneaks up on you. At first, it’s just a faint musty smell. Then you notice your barbell feels slightly tacky. A few weeks later, you’re staring at orange rust creeping across your weight plates and wondering how things went sideways so fast. The answer, almost always, is unmanaged humidity.

Excess moisture doesn’t just make your training sessions uncomfortable — though it absolutely does that. It quietly destroys expensive equipment, creates conditions where mold can establish itself on rubber flooring and drywall corners, and turns what should be a motivating space into somewhere you’d rather avoid. The good news is that this is a solvable problem, and you don’t need to rebuild your garage from scratch to fix it.
What follows is a practical breakdown of why garage gyms accumulate humidity, how to recognize when levels are getting dangerous, and the specific steps on how to lower humidity in garage gym you can take to bring your environment under control.
What Is Humidity in a Garage Gym?
Humidity, in the technical sense, refers to the concentration of water vapor in the air. The figure most people encounter is relative humidity — the percentage of moisture the air currently holds relative to the maximum it could hold at that temperature. Warm air holds more moisture than cold air, which is why summer tends to be the worst season for garage gym owners.
Most garages were never designed with climate control in mind. They lack the insulation, air sealing, and ventilation that a conditioned living space would have. This means moisture that originates from the soil beneath your slab, from rain-soaked outdoor air, or from your own body during exercise has nowhere useful to go. Once relative humidity climbs past roughly 50 percent, the air starts to feel genuinely heavy. Sweat stops evaporating efficiently from your skin, which affects how hard exertion feels. Above 60 percent, metal surfaces begin to corrode and biological growth — mold, mildew — becomes a realistic concern.
What Are the Signs of High Humidity in a Garage Gym?
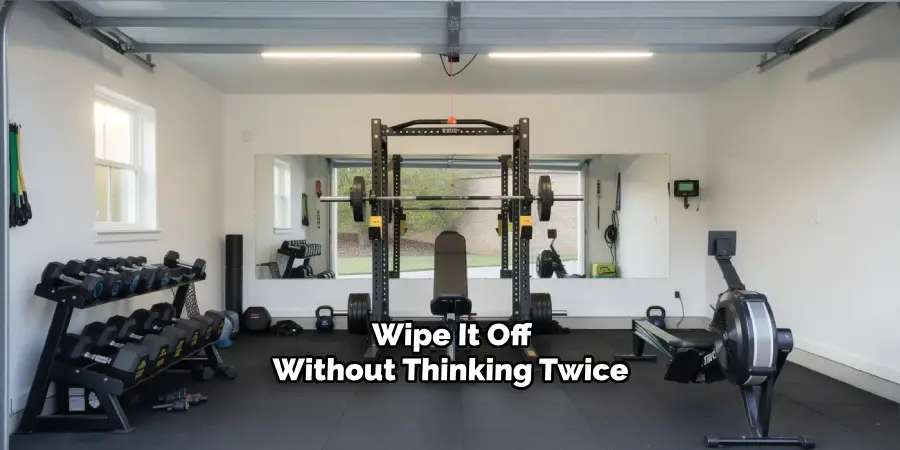
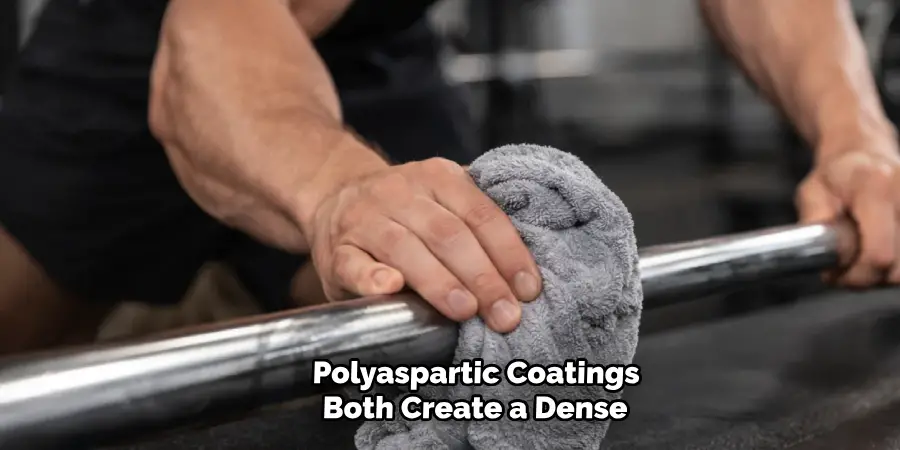
The earliest warning sign is usually condensation on metal surfaces, particularly in the morning when overnight temperature drops cause the air to release moisture onto anything cold: barbells, dumbbell handles, the faces of weight plates. You might initially mistake this for normal morning dampness and wipe it off without thinking twice.
From there, the signs tend to compound. A persistent musty odor that doesn’t clear even when you open the main door suggests mold or mildew has already started colonizing something — often the back of drywall, underneath rubber flooring tiles, or in a corner you don’t check often. Rust appearing on bare steel is another clear signal. So is noticing that a training towel left in the gym still feels damp two days later. These aren’t minor inconveniences; they’re indicators that the environment is actively working against both your equipment and your health.
What Causes High Humidity in a Garage Space?
Several factors tend to converge in a typical garage. Poor ventilation is the most common culprit — stagnant air with no path out of the space allows moisture to accumulate rather than dissipate. Ground moisture is another major contributor that often goes overlooked. Concrete appears solid, but it’s genuinely porous, and groundwater migrates upward through the slab continuously, evaporating into the air above.
Temperature swings between warm afternoons and cool nights accelerate condensation cycles on metal surfaces and uninsulated walls. Your workouts themselves add meaningful moisture — heavy breathing and sweating during a hard training session can introduce a surprising volume of water vapor into the air in a relatively short time. The problem tends to be cumulative: each of these sources is manageable in isolation, but together they can overwhelm an unprotected space quickly.
6 Step-by-step Guidelines on How to Lower Humidity in Garage Gym
Step 1: Seal Your Doors and Windows
The building envelope — the boundary between your conditioned indoor space and the outdoor air — is worth addressing first, because any dehumidification effort you make inside the gym will be undermined if humid air is freely flowing in from outside.
Standard garage doors typically have visible gaps along the bottom edge and at the sides. A heavy-duty rubber threshold seal, installed directly where the door meets the concrete floor, blocks both rainwater runoff and humid drafts. It’s a simple fix that makes a noticeable difference. Side entry doors and windows deserve similar attention: high-quality weatherstripping on the door frame and a bead of silicone caulk around exterior window frames will close the microscopic gaps where moisture intrudes during rainstorms. This step won’t solve a humidity problem on its own, but it creates the conditions that allow your other interventions to actually work.

Step 2: Apply a Protective Floor Coating
Bare concrete is one of the most underestimated sources of garage humidity. It functions somewhat like a wick, drawing moisture up from the soil and releasing it into the air above. The practical solution is an impermeable floor coating — epoxy floor sealers and polyaspartic coatings both create a dense, waterproof barrier that stops vapor transmission at the source.
Step 3: Install an Exhaust Fan for Ventilation
Stagnant air is where condensation gets its foothold. Active airflow changes the equation by continuously exchanging the humid indoor air with drier outside air — assuming outdoor conditions are cooperating.
A dedicated exhaust fan, mounted near the ceiling where warm moist air collects, is the standard approach. Wall-mounted or attic-venting fans rated for garage-sized spaces are widely available. For effective cross-ventilation, pair the exhaust fan with an intake vent positioned on the opposite wall, so air is actually cycling through the room rather than simply being displaced. Running the fan during your session and for 20 to 30 minutes afterward clears the moisture your breathing and sweating introduced. This is particularly useful in climates that are humid seasonally rather than year-round, where a fan alone may be sufficient for most of the year.
Step 4: Run a High-Capacity Dehumidifier
For climates where passive measures don’t quite keep up, a mechanical dehumidifier is the most direct solution. The key is sizing it appropriately — units marketed for small bedrooms are typically underpowered for a garage. Look for something rated to extract 50 to 70 pints of water per day, which is the range commonly labeled for large basements or crawl spaces.
Placement in a central location, away from walls, allows the unit to draw air from all directions efficiently. The more practical upgrade, if you want to avoid emptying a bucket every 24 to 48 hours during summer, is to route a standard garden hose from the unit’s drain port to a floor drain or outside. Set the onboard hygrometer to maintain relative humidity between 40 and 50 percent — low enough to meaningfully slow rust formation on cast iron, while still being comfortable to breathe during intense effort.
Step 5: Insulate the Walls and Ceiling
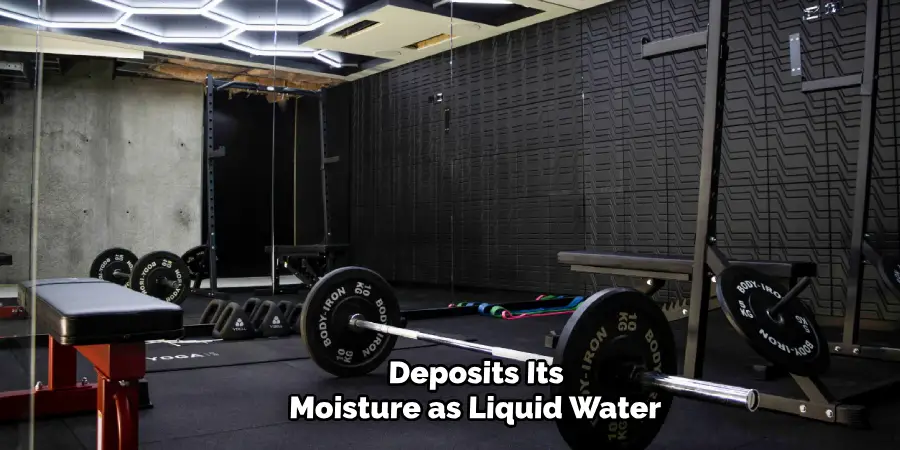
Insulation often gets framed purely as a winter comfort measure, but its role in humidity management is arguably more important in summer. When warm, humid interior air contacts a cold, uninsulated metal wall or garage door panel, the air cools rapidly and deposits its moisture as liquid water — exactly what you don’t want. Insulating those surfaces keeps them closer to room temperature and breaks that condensation cycle.
Fiberglass batts, rigid foam board, or spray foam are all viable options depending on your wall construction and budget. The garage door itself deserves specific attention; thin aluminum panels are particularly prone to sweating. Insulation kits with a radiant barrier foil layer are designed specifically for garage doors and can make a meaningful difference without requiring a full door replacement.
Step 6: Use Desiccants for Spot Treatment
Even in a well-managed space, localized moisture pockets can form in areas where air circulation doesn’t reach — inside storage bins, underneath equipment, in corners. Desiccants like silica gel packets, calcium chloride buckets, or activated charcoal bags are useful precisely because they work at close range.
Small silica gel packets tucked into chalk buckets, shoe cubbies, or lifting belt bags will prevent the clumping and odor that come from trapped moisture. Larger calcium chloride buckets placed in the corners of the room or underneath equipment catch dampness that fans and dehumidifiers might miss. Desiccants aren’t a substitute for the steps above, but as a supplementary layer of protection for your more sensitive accessories, they earn their keep.
Following these steps on how to lower humidity in garage gym will not only help protect your equipment but also create a more comfortable and enjoyable workout space.
What Are the Common Mistakes to Avoid When Managing Gym Humidity?
The most common error is buying an undersized dehumidifier — one rated for a 500-square-foot bedroom won’t keep pace with a 400-square-foot garage that also has a concrete slab and poor air sealing. Another frequent mistake is relying on fans alone while ignoring floor moisture; all that does is circulate damp air. Leaving the main garage door open on humid or rainy days actively imports the problem you’re trying to solve. And don’t assume lower humidity means you can skip equipment maintenance — bare steel still benefits from a light coat of oil, even in a well-controlled environment.
What Are Some Budget-Friendly Solutions for Gym Humidity?
If a mechanical dehumidifier isn’t feasible right now, strategically placed box fans creating a cross-breeze can still reduce moisture meaningfully. Calcium chloride moisture absorbers from a hardware store are inexpensive and effective in smaller spaces. A silane-siloxane concrete sealer costs significantly less than a full epoxy system but still reduces vapor migration through the floor. Wiping down metal equipment after each session with a microfiber cloth and a light application of 3-IN-ONE oil is cheap, takes two minutes, and extends equipment life considerably.
What Advanced Solutions and Upgrades Lower Humidity?
For anyone building toward a high-performance home facility, a mini-split air conditioning system is the most comprehensive upgrade. It actively cools the air while removing large amounts of moisture simultaneously, offering year-round climate stability. Smart ventilation systems with integrated humidity sensors can automatically trigger exhaust fans when moisture spikes — a set-it-and-forget-it approach that works well for busy training schedules. Upgrading to a fully insulated, heavy-gauge steel garage door with premium rubber gaskets addresses both thermal and moisture intrusion at the source.
Frequently Asked Questions
Q1: What Is the Ideal Humidity Level for a Garage Gym?
The target range is 40 to 50 percent relative humidity. This keeps the air comfortable for hard breathing during training while staying dry enough to significantly slow rust development on cast iron and bare steel.
Q2: Will a Space Heater Reduce the Humidity in My Garage?
Not really. A space heater raises air temperature, which lowers the relative humidity reading — but it doesn’t actually remove water vapor from the space. Once the heater shuts off and the room cools, that moisture is still present and will condense onto whatever cold surfaces are available.
Q3: How Often Should I Empty My Dehumidifier in a Garage Gym?
During peak summer humidity, an internal collection bucket may fill within 24 to 48 hours. The more sustainable solution is attaching a drainage hose to the unit’s rear port and routing water directly outside or into a floor drain, eliminating the maintenance task entirely.
Take Control of Your Garage Gym Climate
Humidity is one of those problems that rewards whoever addresses it earliest. The longer moisture goes unchecked, the more damage accumulates — on your equipment, your walls, and eventually your motivation to train in the space at all. Start with the steps that fit your current budget and situation: seal the obvious gaps, treat the floor if you can, and get airflow working in your favor. Build from there.
A well-controlled garage gym isn’t a luxury — it’s just the result of treating the space seriously, which your training probably already deserves. Thanks for reading this guide on how to lower humidity in garage gym.

I am Rick. I grew up helping my dad with his handyman service. I learned a lot from him about how to fix things, and also about how to work hard and take care of business. These days, I’m still into fixing things- only now, I’m doing it for a living.
I’m always looking for new ways to help people grow and develop. That’s why I have created this blog to share all my experience and knowledge so
that I can help people who are interested in DIY repair.