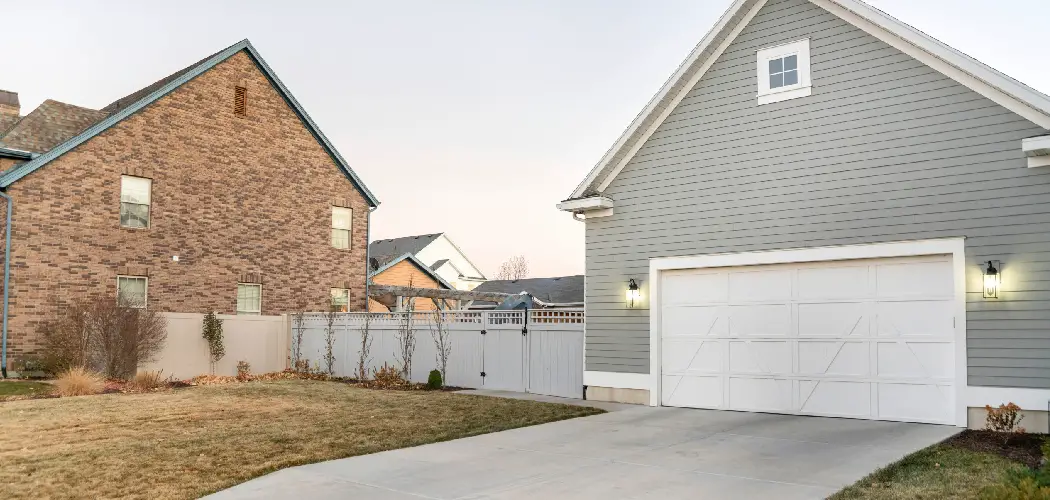
Running power to a detached garage means planning an underground route, digging a trench to the required depth (18 to 24 inches depending on your wiring method), installing PVC conduit, pulling UF-B or THWN-2 wire, and connecting a new subpanel. You’ll need local permits and must follow the National Electrical Code throughout.
Bringing electricity to a separate structure changes how the space works entirely. What was once a dim storage shed can become a fully functional workshop, a home office, or a proper vehicle bay — all because you added lighting and a few outlets. Done yourself, the project can save thousands of dollars. That said, it does require a working understanding of home electrical systems and a genuine respect for what can go wrong.

Safety and code compliance aren’t optional here. A 240-volt main panel carries real risk if you cut corners. Breaking the work into clear phases makes it manageable, and following each one carefully means you end up with a legal, inspected, and genuinely safe installation. In this guide on how to run power from house to detached garage, we’ll cover the basic steps and considerations to ensure a successful project.
Safety and Legal Considerations Before You Start
Before you buy a single piece of conduit, visit your local building department and pull the required electrical permit. Most municipalities require one for any new feeder run to a detached structure, and inspectors need to review your plan against current National Electrical Code requirements. Skipping this step may seem tempting, but the consequences — fines, voided homeowner’s insurance, and potential fire hazards — aren’t worth the shortcut, especially when you go to sell the property.
Once you have a permit in hand, call 811 (the national utility locate service) before any digging begins. Underground gas lines, water mains, and communication cables are more common than people expect, and striking one is both dangerous and expensive. When you’re ready to open the main panel, shut off the main breaker and verify the power is completely off using a non-contact voltage tester. Not just probably off — confirm it.
Overhead vs. Underground: Choosing Your Wiring Method
Two delivery methods exist for getting power to a detached structure. Overhead wiring runs cables between anchor masts mounted on each building. It’s sometimes less expensive upfront, but the exposure to wind, ice, and falling branches makes it a less appealing long-term choice for most homeowners.

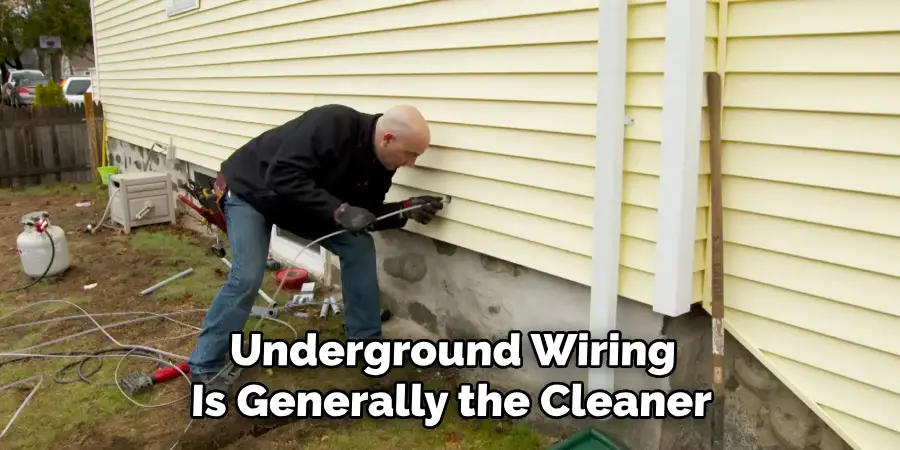
Underground wiring is generally the cleaner and safer approach. The typical method involves pulling individual THWN-2 copper conductors through schedule 40 or schedule 80 PVC conduit buried beneath the surface. Alternatively, you can run direct-burial UF-B (Underground Feeder) cable without conduit, though conduit offers better protection against moisture and ground movement. It also makes future upgrades simpler — if you ever need heavier wire, you pull it through the same pipe rather than digging again.
Tools and Materials You’ll Need
In order to properly install an underground electrical wire, you will need the following tools and materials:
- PVC conduit (schedule 40 or schedule 80)
- THWN-2 copper conductors or UF-B cable
- Conduit fittings such as elbows, couplings, and connectors
- Electrical tape
- Cable ties
- Wire cutters/strippers
- A shovel for digging trenches (if using conduit)
- A hacksaw for cutting PVC conduit to length
- Fish tape or a pulling tool (if using conduit)
6 Simple Steps on How to Run Power From House to Detached Garage
Step 1: Plan the Underground Route
Walk the property and map the most direct path between the main panel and the garage. Mark the proposed line with landscaping paint, steering clear of large tree roots, rocky ground, and any known utilities. Identify exactly where the conduit will exit the house and enter the garage — these entry and exit points determine your material list.
Once the path is set, measure total linear footage carefully. That number drives everything else: conduit lengths, wire quantities, junction hardware. Precision here prevents both shortfalls and wasteful overbuying.
Step 2: Dig the Trench
Digging is the hardest physical part of the project. The National Electrical Code sets minimum burial depths based on wiring method. THWN-2 wire inside rigid PVC conduit requires at least 18 inches of cover from the pipe top to the surface. Direct-burial UF-B cable without conduit requires 24 inches. These aren’t suggestions — they’re code minimums.
For runs under 30 feet in soft soil, a trenching shovel works fine. Beyond that, renting a gas-powered trencher from a local equipment yard saves several hours of labor and is usually worth the $150 to $200 daily rental fee. Clear the trench bottom of sharp rocks before laying pipe; stones that seem harmless now can damage PVC or cable over years of ground movement and temperature cycling.
Step 3: Install Conduit and Pull Wire
Assemble the PVC conduit in sections inside the trench, starting at the house and working toward the garage. Use PVC primer followed by cement on every joint, and at direction changes, always use long-radius sweeping elbows — never standard plumbing 90s. A sharp bend makes pulling thick conductors through the pipe extremely difficult and can damage insulation.
After the cement cures, push a metal fish tape through the conduit from the garage end until it reaches the house. Attach the THWN-2 conductors to the fish tape hook with electrical tape and pull them steadily while a helper feeds wire into the opposite end to avoid tangles. Leave several feet of excess at both ends. You’ll need that slack when making connections inside each panel.
Step 4: Mount and Wire the Garage Subpanel
Choose an accessible interior wall — ideally near the point where the conduit enters the building — and secure the subpanel box to wall studs with heavy wood screws. Route the incoming feed wires through a knockout clamp into the panel box.
Strip the conductor ends and land them on the main lugs inside the subpanel. The grounding system deserves careful attention here. Drive an 8-foot copper grounding rod into the earth just outside the garage, run a bare copper ground wire to the panel, and connect it securely to the ground bus bar. This local ground is what protects the building against lightning and electrical surges.
One point many DIYers miss: in a detached subpanel, the neutral bus bar must float independently from the metal enclosure. Remove the bonding screw that ties neutral to ground — failing to do this is a code violation that can cause dangerous current on the equipment ground.
Step 5: Run Interior Circuits
With the subpanel in place, distribute power through the garage using 12-gauge or 14-gauge Romex cable, depending on the circuit amperage. Bore holes through the center of wall studs with an auger bit to route cables cleanly. Keep the runs neat — it makes future troubleshooting far easier.
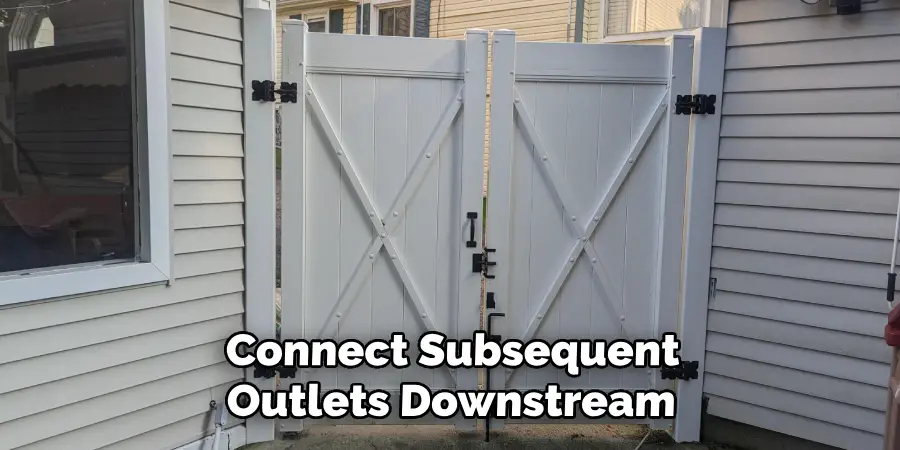
Garages require GFCI protection on outlets because the environment tends toward moisture. Install GFCI receptacles as the first device on each circuit, and connect subsequent outlets downstream. Route circuit wires back to the subpanel and connect them to appropriately sized branch breakers.
Step 6: Connect the Main Panel and Test
With everything wired at the garage end, return to the house panel. Shut off the main breaker, route the feeder wires in through an appropriate knockout, and connect neutral and ground to their respective bus bars. Attach the two hot conductors to a new 240-volt double-pole breaker and snap it into the panel.
Restore main power, flip the new garage breaker on, then walk out and test the subpanel lugs with a digital multimeter. Confirm you’re reading the correct voltage — roughly 240 volts across the hots, 120 volts from each hot to neutral. Then test every outlet and switch inside the garage to verify each branch circuit works as expected.
Following these steps on how to run power from house to detached garage, you should now have a fully functioning electrical system in your garage.
Common Mistakes to Avoid
Beyond the neutral-ground bonding error mentioned above, the most frequent problem is undersizing the wire. Homeowners often underestimate their actual electrical load and pull conductors that are too small for the job.
This leads to a voltage drop under load and, in worse cases, overheating. Size your wire for what you might realistically need in five years, not just what you need today.
What’s It Likely to Cost?
A basic DIY installation — 60-amp subpanel, roughly 50-foot underground run — typically falls between $600 and $900 in materials.
Hiring a licensed electrician for the same job usually runs $1,500 to $3,000, reflecting labor rates and overhead. Add $150 to $200 per day if you rent a mechanical trencher.
Planning for Future Upgrades
If there’s any chance you’ll eventually run heavy woodworking machinery, a welder, or an EV charger, install a 100-amp subpanel from the start. The marginal cost difference is small compared to digging a second trench later.
Oversized 1-inch or 1.25-inch conduit also allows you to pull fiber optic internet cable alongside your power conductors at any point in the future — a detail worth building in now.
When to Call a Licensed Electrician?
If you’ve never worked inside a main breaker panel, this project may be the line where DIY ends. Connecting heavy-gauge conductors in a live panel — even with the main breaker off — carries real risk if done incorrectly.
Additionally, if your current panel is already at capacity or limited to 100 amps of service, a professional may need to coordinate a service upgrade with your utility before a subpanel addition is even feasible.
Ongoing Maintenance
Test GFCI outlets monthly using the “Test” button — they can fail silently. Keep the area around the subpanel clear of stored materials so you can reach breakers quickly. Twice a year, check the exterior conduit at both entry and exit points for cracks from lawnmower strikes or ground settling. Small issues caught early are far less disruptive than failures that happen mid-project.

Final Thoughts
Running power to a detached garage is a meaningful home improvement project — one that adds real usability and likely some property value. The work is straightforward when approached methodically: plan the route, dig to the correct depth, install conduit properly, size your subpanel for future needs, and don’t skip the permit.
Get the inspection signed off, and you’ll have a safe, legal electrical system that should serve the building for decades. Thanks for reading this guide on how to run power from house to detached garage.
I am Rick. I grew up helping my dad with his handyman service. I learned a lot from him about how to fix things, and also about how to work hard and take care of business. These days, I’m still into fixing things- only now, I’m doing it for a living.
I’m always looking for new ways to help people grow and develop. That’s why I have created this blog to share all my experience and knowledge so
that I can help people who are interested in DIY repair.