
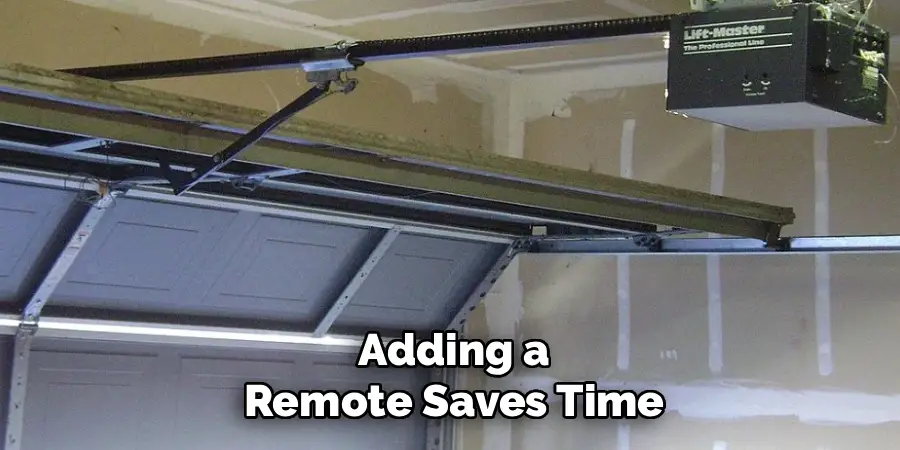
Adding a second remote, programming your car’s HomeLink system, or replacing a lost clicker are all situations where you need to copy or re-program a LiftMaster garage opener. The process isn’t complicated, but it does require knowing which generation of opener you have and which method applies to your setup.
Knowing how to copy a garage opener LiftMaster correctly means you’re not guessing your way through button sequences that may or may not work on your specific model. LiftMaster openers span several decades and use different security technologies — including fixed code, Security+ 1.0, and Security+ 2.0 — and each one programs differently. This guide walks you through the right approach for each scenario, from checking compatibility to testing your newly programmed remote, so you can get the job done without frustration or repeated failed attempts.
Why Opener LiftMaster Matters
Having a properly programmed remote isn’t just a convenience — it’s a practical security issue. A remote that doesn’t respond reliably, or a lost remote still floating around in someone else’s hands, creates real vulnerabilities. Knowing the correct programming process protects your home by ensuring only authorized remotes can operate your opener.
Beyond security, copying or adding a remote saves time and money. Rather than calling a technician for a task that most homeowners can handle in under 15 minutes, you can take care of it yourself. It also gives you the ability to manage your remote access directly — erasing old remotes when needed and adding new ones without waiting for outside help. Understanding the process puts you in control of who can enter your garage and when.
Step-By-Step Guide To How To Copy A Garage Opener LiftMaster
Step 1: Identify Your LiftMaster Opener Model And Security Type
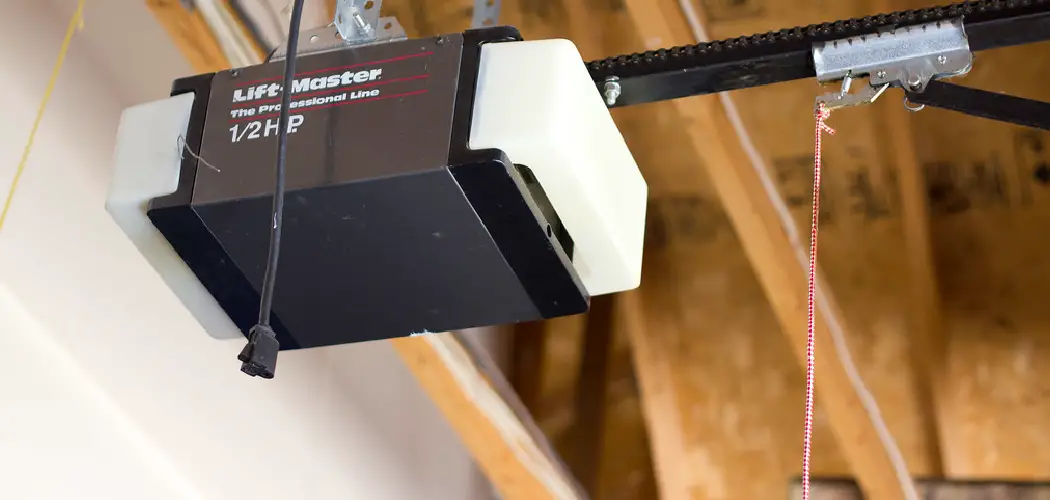
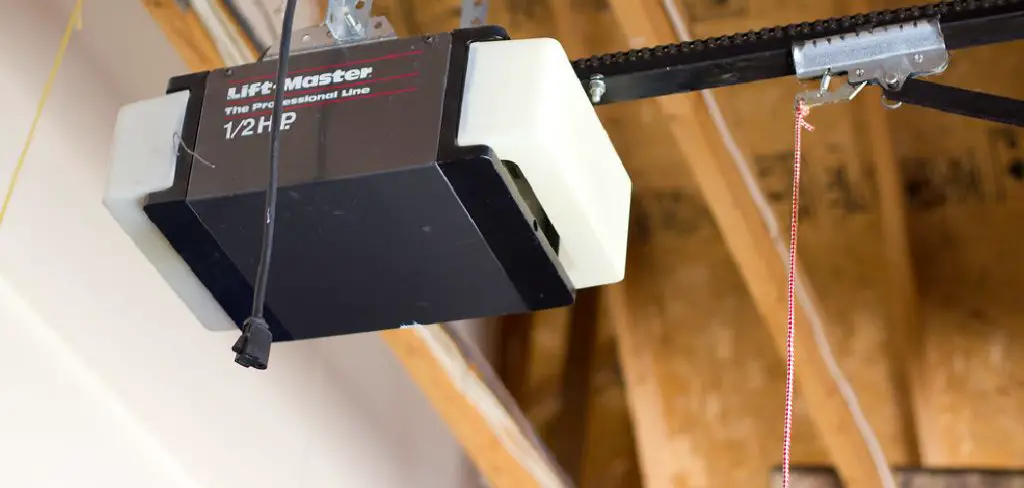
Before pressing a single button, find out what type of LiftMaster opener you have. Look for a label on the motor unit mounted to your garage ceiling — it usually shows the model number and manufacture date. LiftMaster openers made before the mid-1990s typically use fixed-code technology, while newer units use rolling-code Security+ or Security+ 2.0 systems that require specific programming steps.
The security type matters because fixed-code remotes can often be copied directly using a compatible universal remote with DIP switches. Rolling-code systems cannot be duplicated this way — they require direct interaction with the opener’s learn button. Knowing your generation before you start prevents wasted effort and keeps you from using the wrong method entirely.
Step 2: Check That Your New Remote Or Vehicle System Is Compatible
Not every remote works with every LiftMaster opener. LiftMaster recommends using their own branded remotes — such as the 891LM, 893MAX, or 895MAX — which are designed to pair with specific opener generations. If you’re programming a vehicle’s built-in HomeLink system, check that your car’s HomeLink version is compatible with your opener’s security protocol.
For Security+ 2.0 openers, HomeLink compatibility sometimes requires a HomeLink Compatibility Bridge if your vehicle has an older HomeLink system. Look up your vehicle’s HomeLink generation and cross-reference it with LiftMaster’s compatibility resources before proceeding. Starting with a compatible remote or system eliminates the most common source of programming failure before you invest time in the steps ahead.
Step 3: Using The Learn Button
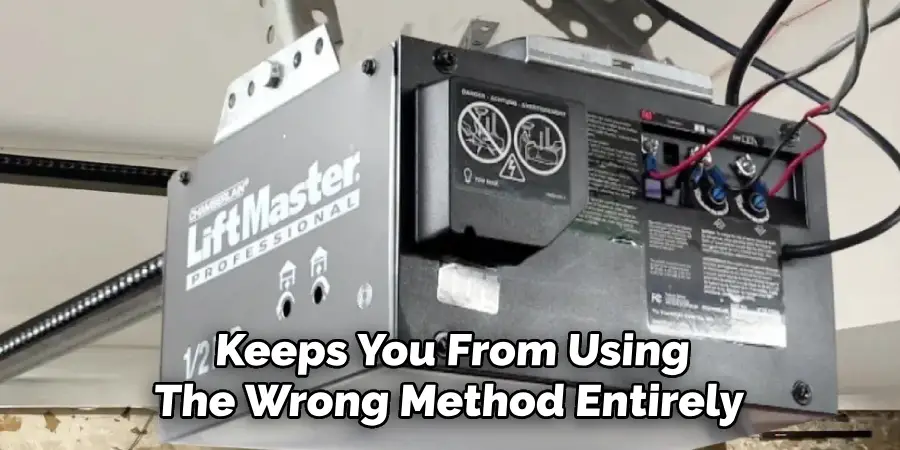
The learn button is the primary programming method for rolling-code LiftMaster openers and the most reliable approach for most homeowners. Locate the learn button on the motor unit — it’s typically on the back or side panel, near the antenna wire, and is either yellow, orange, purple, or red depending on the generation. Each color corresponds to a different Security+ protocol.
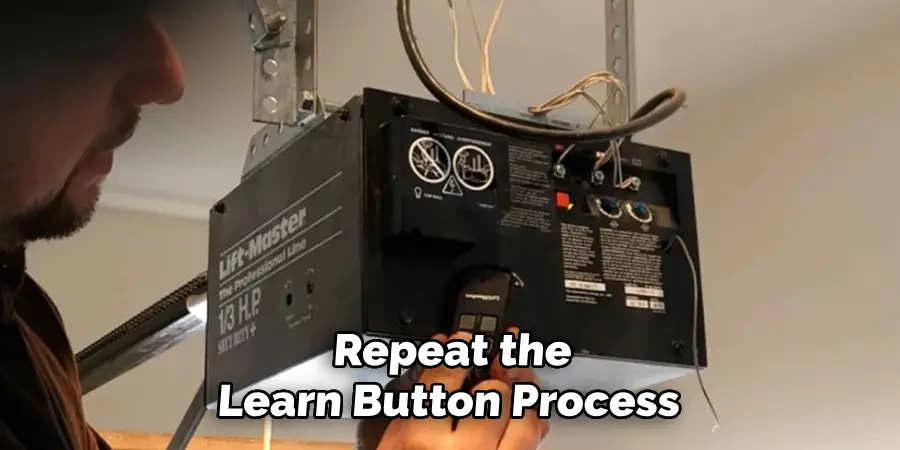
Press and release the learn button once. The indicator light next to it will glow for about 30 seconds. Within that window, press and hold the button on your new remote that you want to use to operate the door. Hold it until the opener’s light blinks or you hear two clicks, which confirms the remote has been accepted. Release the button and test the remote immediately.
Step 4: Program A Vehicle HomeLink System To Your Opener
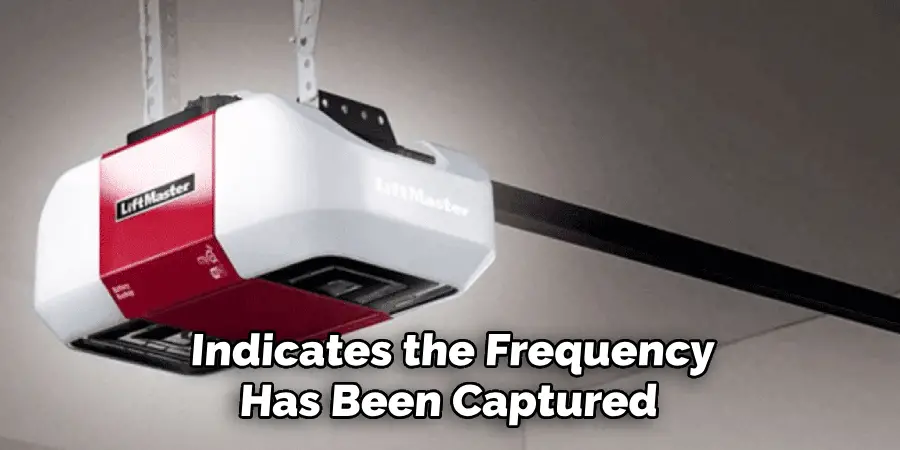
Programming HomeLink works differently from programming a handheld remote and requires your existing working remote as a reference transmitter. Sit in your vehicle, hold your working LiftMaster remote about one to three inches from the HomeLink buttons, and press both simultaneously until the HomeLink indicator light changes from a slow to a rapid blink — this typically takes 20 to 30 seconds and indicates the frequency has been captured.
Next, go to the opener motor unit and press the learn button once, just as you would for a standard remote. Return to your vehicle within 30 seconds and press the programmed HomeLink button three times, holding each press for two seconds. The garage door should activate, confirming successful programming. If the light blinks but the door doesn’t move, your opener may require the HomeLink Compatibility Bridge mentioned in Step 2.
Step 5: Program An Additional Remote From An Existing Remote
Some older LiftMaster models that use fixed-code technology allow you to copy an existing remote directly to a new universal remote by matching DIP switch positions inside both remotes. Open the battery compartment covers on both remotes and set the small DIP switches on the new remote to match the pattern on the original exactly — every switch must be in the same up or down position.
Rolling-code LiftMaster openers do not support direct remote-to-remote copying because each signal changes after every use. For these systems, each new remote must be programmed individually using the learn button method in Step 3. Attempting to copy a rolling-code remote with universal copy tools designed for fixed codes will not produce a working result and is not a supported or secure method.
Step 6: Erase Old Or Lost Remotes From The Opener’s Memory
If a remote has been lost or you’re concerned about unauthorized access, clearing all paired remotes from the opener’s memory is the right move. Locate the learn button on the motor unit and hold it down for about six seconds until the indicator light turns off. This wipes all stored remote codes from the opener’s memory at once.
After erasing, you’ll need to re-program every remote and HomeLink system you still want to use, starting from Step 3. This process takes only a few minutes per remote and is worth doing any time a remote goes missing. It’s the most straightforward way to ensure that nothing you didn’t program yourself can operate your door.
Step 7: Test Your Remote And Troubleshoot If Needed
Once programming is complete, stand within range of the opener and press the programmed button. The door should begin moving immediately. If it doesn’t respond, check that you’re within the effective range — usually 20 to 30 feet — and that the opener’s antenna wire is hanging freely from the motor unit without being coiled or obstructed.
If the remote still doesn’t work, repeat the learn button process and make sure the entire sequence — button press, light activation, and remote button hold — happens within the 30-second window. A weak remote battery can also cause programming failures, so replace the battery before attempting again if the remote is more than a year old. Persistent issues after multiple attempts may point to a compatibility mismatch or a motor unit that needs servicing.
Frequently Asked Questions
How Many Remotes Can A LiftMaster Opener Store?
Most LiftMaster openers can store between 40 and 50 remote codes in memory, depending on the model. Security+ 2.0 units typically handle the higher end of that range. If the memory is full, new remotes will not program until older or unused codes are erased. Clearing remotes you no longer use keeps space available.
Why Is My LiftMaster Remote Programmed But Not Opening The Door?
A programmed remote that doesn’t operate the door usually points to a range, battery, or antenna issue rather than a programming failure. Confirm the antenna wire on the motor unit is hanging straight down and unobstructed. Replace the remote battery and test again. If the wall button works but the remote doesn’t, the problem is almost certainly signal-related.
Can I Use A Universal Remote With My LiftMaster Opener?
Yes, but compatibility depends on your opener’s security type. Universal remotes that support LiftMaster’s Security+ or Security+ 2.0 protocols will work with most newer openers when programmed via the learn button. Generic fixed-code universal remotes only work with older openers that use DIP switches. Always verify the remote is rated for your specific security protocol before purchasing.
What Does The Color Of The Learn Button Tell Me?
The learn button color identifies your opener’s security generation. Yellow indicates Security+ 1.0, purple indicates Security+ 2.0, orange indicates Security+ 2.0 on some models, and red or orange on older units may indicate a fixed-code system. This detail determines which remotes are compatible and whether direct copy methods or the learn button method applies to your opener.
Do I Need To Re-Program Remotes After A Power Outage?
No, LiftMaster openers retain their remote programming memory after power outages. The memory is stored independently of the main power supply, so your paired remotes and HomeLink systems will continue working normally once power is restored. You only need to re-program if you intentionally erase the memory or if a remote was never successfully programmed in the first place.
Conclusion
Programming or copying a LiftMaster remote comes down to three things: knowing your opener’s security type, using the correct method for that system, and completing each step within the required time window. Most homeowners can complete the process in under 15 minutes once they understand which approach applies to their specific unit.
Whether you’re adding a new remote, setting up HomeLink in your vehicle, or clearing out an old remote after it was lost, the steps in this guide cover the most common scenarios accurately and safely. Knowing how to copy a garage opener LiftMaster the right way means you stay in control of your home’s access without relying on a technician for a straightforward task. Take it one step at a time, test your result before walking away, and your opener will be working exactly the way you need it to.

I am Rick. I grew up helping my dad with his handyman service. I learned a lot from him about how to fix things, and also about how to work hard and take care of business. These days, I’m still into fixing things- only now, I’m doing it for a living.
I’m always looking for new ways to help people grow and develop. That’s why I have created this blog to share all my experience and knowledge so
that I can help people who are interested in DIY repair.