
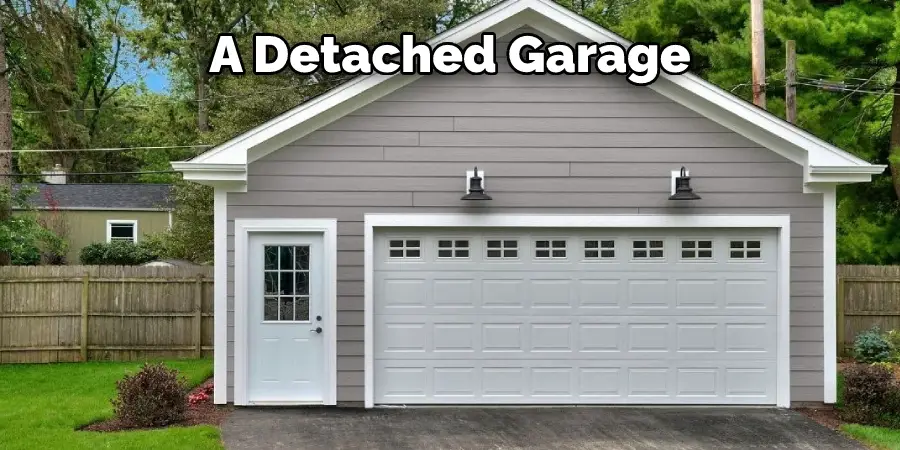
People often want to insulate their detached garage to create extra living space. While this is a great idea, in theory, there are a few things you need to keep in mind before getting started.

In this blog post, we will go over the basics of insulating a detached garage and provide you with some tips on how to insulate a detached garage. So if you’re thinking about adding insulation to your garage, read on.
Summary: Insulating a detached garage is a beneficial addition to the property, providing a warmer environment for homeowners during the harsh winter months. The first step when insulating the garage is to remove any existing insulation to ensure that the new insulation is effective. It is critical to choose the right type of insulation for the garage, such as batt or blown-in insulation, as it will have an impact on the installation process.
What Causes You to Need to Insulate a Detached Garage?
There are a few different reasons why you might need to insulate your garage, including:
Create Extra Living Space
If you live in an area with a lot of cold winters, then you know how difficult it can be to keep your garage warm. Adding insulation makes your garage much more livable and comfortable, which is great if you plan on using it as extra living space.
Save on Heating Costs
Another reason to insulate your garage is to save money on heating costs. If your garage is not properly insulated, then the heat from your home will escape through the walls and ceiling, causing your heating bills to go up. Adding insulation lets you keep the heat in your garage and save money on your energy bills.
Keep the Garage Cooler in Summer
In addition to keeping the garage warmer in winter, insulation can also help keep it cooler in summer. This is because insulation helps block out the heat from the outside, making your garage much more comfortable during the hot summer months.
Reduce Noise
If your garage is attached to your home, then you might find that the noise from the garage is bothersome. This is especially true if you have a home workshop or if you like to work on your car in the garage. Adding insulation can reduce the amount of noise that escapes from the garage, making it more enjoyable to use.

Types of Insulation for a Detached Garage
There are a few different types of insulation that you can use in your garage, including:
Fiberglass Batts
Fiberglass batts are a type of insulation that is made from glass fibers. They are available in various widths and thicknesses, making them easy to fit into any space. Fiberglass batts are a good choice for insulating a detached garage because they are relatively inexpensive and easy to install.
Rigid Foam Boards
Rigid foam boards are another type of insulation that can be used in a detached garage. They are made from various materials, including polystyrene and polyurethane, and are available in various thicknesses. Rigid foam boards are a great choice for insulating a detached garage because they are easy to install and provide a high R-value, which means they are very effective at trapping heat.
Spray Foam Insulation
Spray foam insulation is a type of insulation that is sprayed onto the walls and ceiling of a garage. It is a great choice for insulating a detached garage because it is quick and easy to install and provides a high R-value. However, spray foam insulation can be expensive, so it is important to compare prices before deciding to use this type of insulation.
Loose-Fill Insulation
Loose-fill insulation is another type of insulation that can be used in a detached garage. It is made from various materials, including fiberglass, cellulose, and rock wool. Loose-fill insulation is a good choice for insulating a detached garage because it is easy to install and available in various R-values.
18 Steps How to Insulate a Detached Garage
Step 1: Determine the R-Value for Your Climate
The first step in insulating a detached garage is determining the appropriate R-value for your insulation, which varies depending on the climate in your region. The R-value measures the thermal resistance of the insulation, with higher values providing better insulation. Consult a local insulation professional or your region’s building code to determine the recommended R-value for your area.
Step 2: Choose the Right Insulation Material
Select the insulation material that best suits your needs and budget. Common insulation materials include fiberglass batts, rigid foam boards, and spray foam. Each material has its advantages and disadvantages, so research the options to determine which one is best suited for your specific garage and climate.
Step 3: Measure Your Garage
Take measurements of the walls, ceiling, and any other areas of your garage that you plan to insulate. This will help you determine the amount of insulation material needed and allow you to cut the insulation to the appropriate size.
Step 4: Prepare the Garage
Before installing insulation, ensure that the garage is clean and free of debris. Remove any items from the walls and ceiling, and address any moisture or pest issues that could damage the insulation or reduce its effectiveness.
Step 5: Seal Air Leaks and Gaps
Before installing insulation, seal any air leaks or gaps in your garage. This can be done using caulk or spray foam. Sealing gaps and air leaks will help prevent drafts and improve the overall energy efficiency of your garage.
Step 6: Install Insulation in the Walls
Begin by installing insulation in the walls of your garage. For fiberglass batts or rigid foam boards, cut the insulation material to the correct size, then fit it between the wall studs. The insulation should be snug but not compressed, as compressing the insulation reduces its R-value. For spray foam insulation, follow the manufacturer’s instructions for proper application and coverage.
Step 7: Cover the Insulation
Once the insulation is installed, cover it with a vapor barrier or moisture-resistant drywall to protect the insulation from moisture and improve the appearance of your garage. This is especially important for fiberglass batts, as moisture can significantly reduce their effectiveness.
Step 8: Insulate the Ceiling
Insulate the ceiling of your garage using the same process as the walls. If your garage has an attic, you can also insulate the attic floor instead of the garage ceiling. This will create a more significant thermal barrier, keeping the garage cooler in the summer and warmer in the winter.
Step 9: Insulate the Garage Door
A well-insulated garage door is essential for maintaining a comfortable temperature inside your garage. You can purchase an insulated garage door or add insulation to your existing door using a garage door insulation kit. These kits typically include rigid foam panels, which can be cut to fit the door’s panels and secured in place with adhesive or other fasteners.
Step 10: Seal the Garage Door
Ensure that your garage door is properly sealed to prevent drafts and air leaks. This can be done by installing weatherstripping around the door’s edges and ensuring the door fits snugly against the garage floor.
Step 11: Insulate and Seal Windows
If your detached garage has windows, consider insulating them with window film or replacing them with double-pane or triple-pane windows. Additionally, seal any gaps around the windows with caulk or weatherstripping to prevent drafts and air leaks.
Step 12: Install Ventilation
Proper ventilation is essential in an insulated garage to prevent the buildup of moisture, fumes, and heat. Install vents or exhaust fans in your garage to promote airflow and maintain a comfortable, healthy environment.
Step 13: Monitor and Maintain Your Insulation
Regularly inspect your garage insulation for signs of damage or deterioration, such as mold, moisture, or pest infestation. Address any issues promptly to ensure the insulation remains effective and maintains the desired temperature in your garage.
Step 14: Add Heating or Cooling Solutions
Depending on your climate and the intended use of your garage, you may want to add heating or cooling solutions to further regulate the temperature. Options include portable space heaters, electric baseboard heaters, or mini-split air conditioning systems. Select the most appropriate solution based on your needs, budget, and the size of your garage.
Step 15: Insulate Electrical Outlets and Switches
Don’t forget to insulate around electrical outlets and switches in your garage. Use pre-cut foam gaskets or spray foam insulation to seal gaps and improve energy efficiency.
Step 16: Insulate Pipes and Ductwork
If your garage has exposed pipes or ductwork, insulate them to prevent heat loss and reduce the risk of freezing during cold weather. Pipe insulation is available in various materials, such as foam or fiberglass, and can be easily installed around pipes. Similarly, ductwork can be insulated with specially designed duct insulation materials.
Step 17: Evaluate Your Garage’s Energy Efficiency
Once you’ve completed insulating your detached garage, evaluate its energy efficiency by monitoring temperature fluctuations and energy usage. This will help you determine if further improvements are needed or if additional insulation is required in specific areas.
Step 18: Perform Regular Maintenance
Regular maintenance of your insulated garage is essential for maintaining its energy efficiency and comfort. This includes checking and maintaining insulation, sealing air leaks, and ensuring proper ventilation. Additionally, routinely inspect your garage door, windows, and heating or cooling systems to ensure they are functioning correctly and efficiently.
By following these steps, you can effectively insulate your detached garage, creating a more comfortable and energy-efficient space. Proper insulation, sealing, and ventilation will help regulate the temperature in your garage, protect your belongings from temperature fluctuations, and potentially reduce your overall energy costs.
How Much Does It Cost To Insulate A Detached Garage?
The cost of insulating a detached garage will vary depending on the size of the garage, the type of insulation, and the climate. In general, insulating a detached garage will cost between $1,000 and $2,000. This includes the cost of the insulation, weatherstripping, door sweeps, and ceiling fans. The cost will be lower in cooler climates and higher in warmer climates. If you are adding a space heater, the cost will be higher.
Is It Worth It To Insulate A Detached Garage?
If you use your detached garage as a workshop or a place to store your car, it is worth insulating the garage. Insulating the garage will help keep the temperature consistent, protecting your tools and equipment from extreme temperatures. In addition, insulating the garage will help to reduce your energy bills. If you do not use your detached garage, you may not need to insulate it.
Conclusion
This article has provided you with a step-by-step guide on how to insulate a detached garage. By following these simple steps, you can keep your garage warm all winter long and save on energy costs. Have we missed anything? Let us know in the comments below. And be sure to share this post with your friends and family – they’ll thank you for it.
I am Rick. I grew up helping my dad with his handyman service. I learned a lot from him about how to fix things, and also about how to work hard and take care of business. These days, I’m still into fixing things- only now, I’m doing it for a living.
I’m always looking for new ways to help people grow and develop. That’s why I have created this blog to share all my experience and knowledge so
that I can help people who are interested in DIY repair.