
A garage door opener is one of those household conveniences you don’t truly appreciate until it stops working. Whether you’ve purchased a new remote, lost an old one, or simply found that your clicker has lost its connection, the result is the same: a frustrating disruption to your daily routine.
Many homeowners assume that programming a remote is a technical task requiring a service call, but for Linear garage door openers, the process is remarkably straightforward. Linear has a long-standing reputation for producing durable and reliable garage access systems, and thankfully, they are also designed to be user-friendly.

This article provides an easy-to-follow, comprehensive guide on how to program garage door opener linear models. We will walk you through every step, from identifying your specific system to understanding the different technologies and, most importantly, the exact button presses to get your remote working again. Reassuringly, the process is manageable for any homeowner with the right instructions. This guide will cover the common MegaCode models, older Delta-3 systems, and troubleshooting tips to ensure your smart garage is back in service in no time.
Getting to Know Your Linear Garage Door Opener
Before you can begin programming, you must first identify the specific equipment you own. Linear has manufactured a variety of models over the years, and knowing which one is mounted to your garage ceiling is the key to a successful remote pairing. This initial investigation will only take a moment and will save you significant time and frustration later.
Locating the Model Number
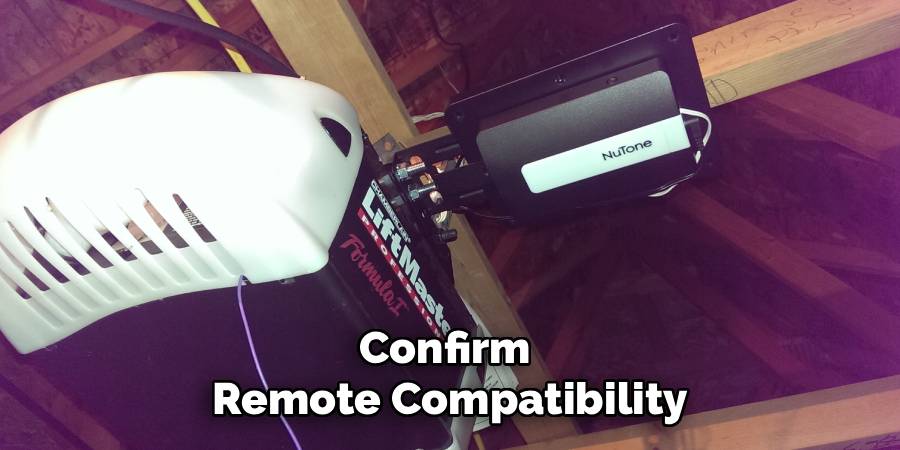
Start by looking for the model number of your garage door opener. This information is typically printed on a specification sticker or label located on the main motor housing—the large unit on your ceiling. You may need a ladder and a flashlight to read it clearly. The model number can help you find a specific manual online or confirm remote compatibility if you are purchasing a new one.

Identifying the “Learn” Button
The most critical component for programming is the “Learn” or “Program” button. This small button is what you will use to tell the opener that you are ready to sync a new remote. Its location can vary slightly between models, but it is almost always on the motor unit itself. Look on the back or side panel, often near where the antenna wire hangs down. On some models, the button may be situated behind the plastic light cover, which you can easily slide or pop off to reveal the control panel.
Understanding Different Linear Technologies
It’s also helpful to understand that Linear has utilized a few different remote technologies over the years. The two most common are MegaCode (often designated with MDT) and the older Delta-3 system. The programming method is entirely different for each one, so identifying which technology your system uses is essential. We will cover how to tell them apart and provide specific instructions for both types in the sections below.
Essential Pre-Programming Checklist
To ensure the programming process is smooth, safe, and successful on the first try, it’s best to prepare a few things in advance. Taking a moment to run through this simple checklist will set you up for a frustration-free experience.
Safety First
Your garage door is the largest and heaviest moving object in your home, so safety should always be the top priority. Before you start, make sure the area around and under the door is completely clear of any obstructions. This includes cars, tools, bicycles, and especially people and pets. A door that activates unexpectedly can cause serious injury or damage.
Gather Your Tools
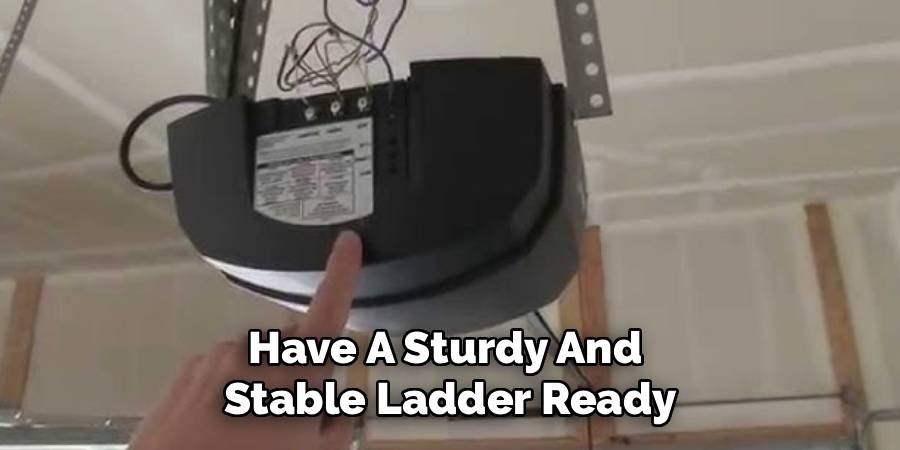
You won’t need a full toolbox for this job, but you will need a few key items. Have a sturdy and stable ladder ready to safely reach the opener motor on the ceiling. Ensure it is placed on level ground before you climb. You will also need your new Linear remote control. Having it in your hand or in a pocket will be crucial, as parts of the programming process are time-sensitive.
Check Remote Batteries
This may seem obvious, but it is a very common point of failure. A brand-new remote can sometimes come with a battery that has been sitting on a shelf for a long time. A weak battery will transmit a weak signal, which the opener may not be able to detect, causing the programming to fail. To avoid this simple mistake, it’s always a good idea to check or replace the batteries in your new remote before you begin.
Understanding Your Remote Type: MegaCode vs. Delta-3
Linear primarily uses two different types of remote technologies, and they are not interchangeable. The single most important step in programming is determining whether you have a MegaCode system or a Delta-3 system. This will dictate whether you are pressing a “Learn” button or setting small internal switches.
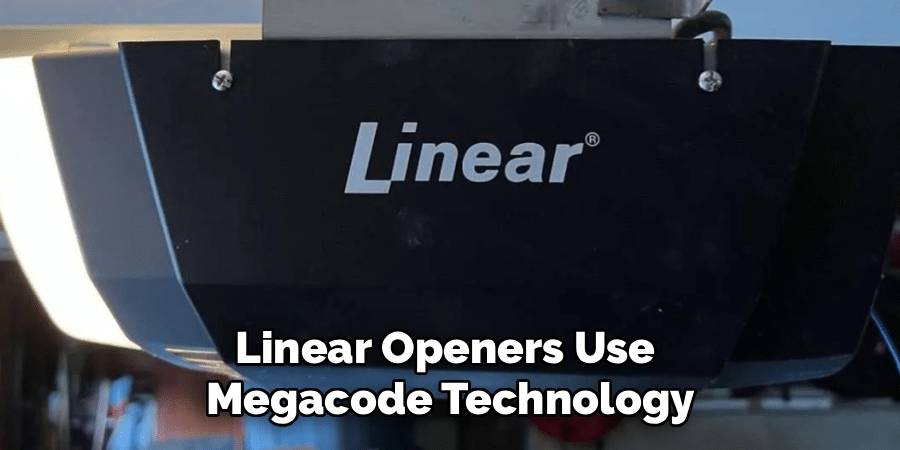
What is MegaCode (MDT)?
MegaCode is Linear’s more modern and common technology. These systems use a pre-programmed code from the factory, offering a high level of security with over a million possible codes. Remotes using this technology often have model numbers that start with “MDT,” such as MDT-1, MDT-2, or MDTK. Programming these remotes involves pressing the “Learn” button on the motor unit to sync the remote’s factory-set code.
What is Delta-3?
Delta-3 is an older system that relies on a different method for coding. Instead of a pre-set code, these systems use a small block of eight or more tiny switches called “DIP switches.” You will find one set of these switches inside the remote control (usually in the battery compartment) and a matching set on the opener’s motor unit. The code is created by manually setting the switches on both the remote and the opener into the exact same on/off pattern.
Ensuring Compatibility
You cannot program a MegaCode remote to a Delta-3 opener, or vice versa. The technology is fundamentally different. Before you start, look at your existing remote or the opener itself to determine which system you have. If you see a “Learn” button, you likely have a MegaCode system. If you see a row of tiny toggle switches, you have a Delta-3 system.
Primary Guide: How to Program Garage Door Opener Linear (MegaCode Models)
This section provides the core instructions for the vast majority of modern Linear garage door openers that use MegaCode technology. The process is quick and requires no tools other than a ladder. Follow these steps precisely.
Step 1: Access the Opener’s Control Panel
Using your ladder, safely position yourself so you can easily reach the garage door opener motor. Locate the “Learn” button on the unit. As noted earlier, this may be behind a light cover that you need to remove. Once you have found the button, have your remote ready for the next steps.
Step 2: Clear Existing Codes (Optional)
If you’ve lost a remote or want to ensure old, unwanted remotes no longer work, it is a good security practice to erase the opener’s memory. This will delete all previously programmed devices, including other remotes and keypads, so be prepared to reprogram anything you still use. To do this, press and hold the “Learn” button for approximately 10 seconds. The LED indicator light next to the button will light up and then turn off. When the light goes out, all old codes have been erased.
Step 3: Enter Programming Mode
To begin programming a new remote, you need to put the opener in “learning” mode. Press and immediately release the “Learn” button one time. Do not hold it down. The LED indicator light next to the button will light up and should stay lit for about 30 seconds. This signals that the opener is ready to receive and store a new remote code.
Step 4: Synchronize the Remote
You must complete this step within the 30-second window while the LED is lit. Take your new Linear remote control and press the button you wish to use to operate the door. As you press the button, you should observe the LED on the opener unit. It will blink once and then turn off. This is the confirmation that the opener has successfully accepted the remote’s signal.
Step 5: Confirm and Test
Once the LED on the motor unit has gone out, the programming is complete. To test it, press the same button on your remote again. The garage door should activate and begin to move. If it works, you have successfully programmed your remote. You can now repeat the process for any additional remotes you need to program.
Programming an Older Linear Delta-3 System
If you have an older Linear opener with DIP switches instead of a “Learn” button, the process is even more straightforward, though it requires a bit more manual dexterity.
Locating the DIP Switches
First, you need to find the two sets of DIP switches. One set will be inside your remote control, usually near the battery. You may need a small screwdriver to open the remote case. The other matching set is located on the garage door opener motor unit itself, typically on the side or back panel.
Matching the Code
The task is simple: you must set the small switches on your new remote to the same on/off pattern as the switches on the motor unit. There are typically 8 to 10 switches in a row. Use a small screwdriver or the tip of a pen to carefully flip each switch up or down to match the pattern on the opener.
Testing the Connection
Once the switch patterns on both the remote and the opener motor are identical, the remote is programmed. There is no need to press any other buttons. Simply press the button on your remote to test it. The garage door should operate immediately.
Troubleshooting Common Linear Programming Problems
Sometimes, things don’t work on the first try. If you’re having trouble, it’s likely due to one of these common issues.
Remote Fails to Program
For MegaCode systems, the most common reason for failure is exceeding the 30-second programming window. If the LED light on the opener turns off before you press the remote button, you’ll have to start again. Other causes include weak remote batteries or being too far out of range.
Opener LED Doesn’t Light Up
If the “Learn” button LED doesn’t illuminate when you press it, this could indicate a power issue with the opener itself. Check to make sure the unit is plugged in and that the circuit breaker for the garage hasn’t been tripped.
Remote Range is Poor
If the remote only works when you are very close to the garage door, this often points to radio frequency (RF) interference. Common culprits include new LED light bulbs in the opener or other nearby electronic devices. Try removing the bulbs and testing the range again.
Opener Memory is Full
Some Linear models have a limit to the number of remotes they can store. If you’ve programmed several remotes over the years, the memory might be full. The solution is to clear the memory by holding the “Learn” button for 10 seconds and then reprogram only the remotes you currently need.
Maintaining Your Linear System for Longevity
A few simple maintenance checks can keep your garage door opener system running smoothly for years. For the remotes, consider replacing the batteries annually as a preventative measure, even if they aren’t dead. For the opener system, periodically clean the safety sensors near the bottom of the door tracks. Misaligned or dirty sensors can prevent the door from closing and are often mistaken for a remote problem. Finally, periodically check the physical balance of the garage door itself; a well-balanced door puts less strain on the opener motor, extending its life.
Conclusion
The ability to control your garage door with a simple click is a convenience that should be easy to maintain. While the idea of programming electronics can seem daunting, learning how to program garage door opener linear systems is a skill well within the reach of any homeowner.
The key to success lies in first identifying whether you have a modern MegaCode system with a “Learn” button or an older Delta-3 system with DIP switches. From there, following the precise steps for your model will lead to a quick and successful result. By handling this task yourself, you can confidently restore your garage access, save the time and money of a service call, and enjoy the satisfaction of a DIY job well done.
I am Rick. I grew up helping my dad with his handyman service. I learned a lot from him about how to fix things, and also about how to work hard and take care of business. These days, I’m still into fixing things- only now, I’m doing it for a living.
I’m always looking for new ways to help people grow and develop. That’s why I have created this blog to share all my experience and knowledge so
that I can help people who are interested in DIY repair.