
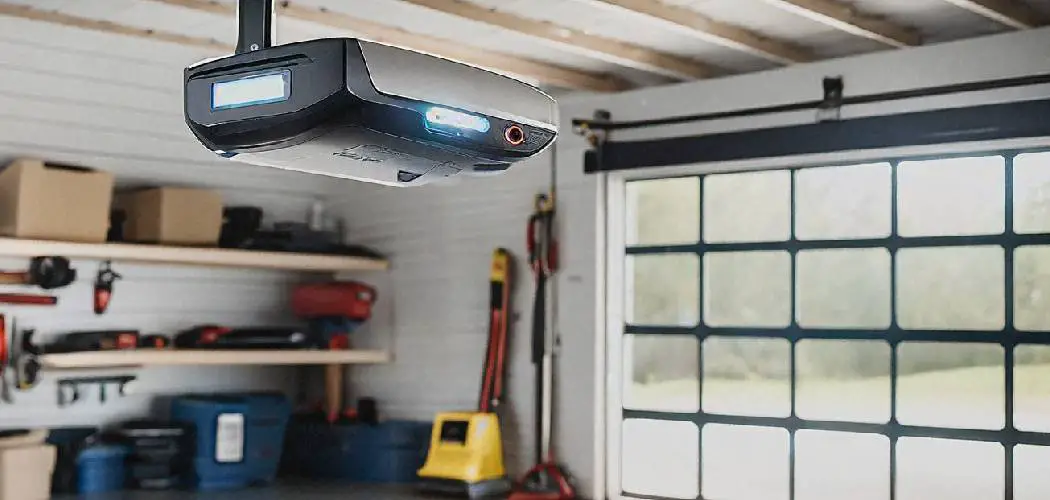
There are few modern conveniences more appreciated than the simple press of a button to open your garage door. It protects you from the elements and provides a secure entry to your home. When that button stops working, or you get a new remote, the convenience quickly turns into frustration. You might think programming a new remote is a complex task best left to a professional, but with the right guidance, it is a surprisingly simple job you can complete in just a few minutes. Access Master is a reliable and common brand found in many residential homes, known for its durable and user-friendly systems.
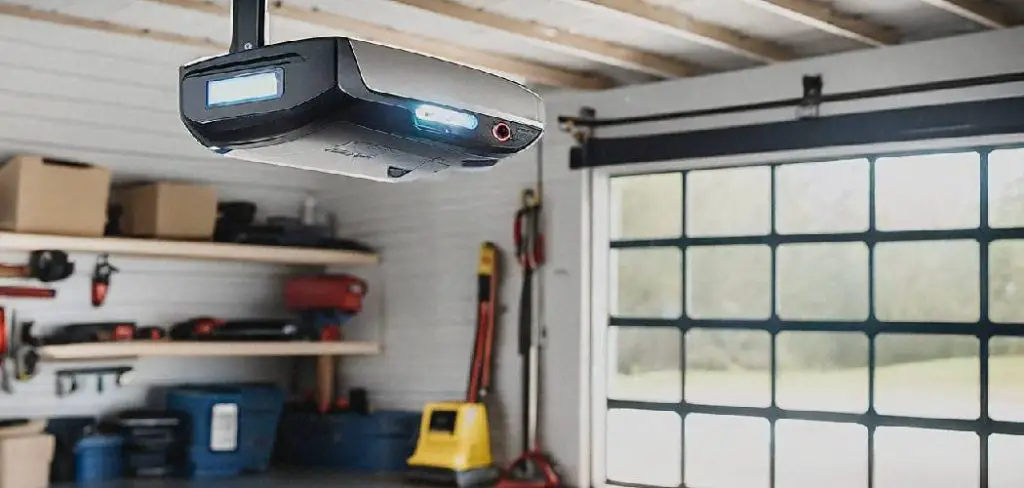
This article will provide a comprehensive guide on how to program access master garage door remote models efficiently. We will walk you through identifying your system, essential safety checks, and the step-by-step process for syncing your remote. We will also cover programming for keypads and provide troubleshooting tips for common issues. While the process may seem technical, you will find that following these clear instructions makes it a straightforward task, saving you both time and money.
Understanding Your Access Master System
Identify Your System
Before you can begin programming, it is essential to understand the equipment you are working with. Identifying your specific Access Master system is crucial, as it determines the programming method. Access Master is part of a larger brand family, including Chamberlain and LiftMaster, which often share technology and methods. This compatibility is beneficial for homeowners, as it ensures that parts and instructions are widely accessible.
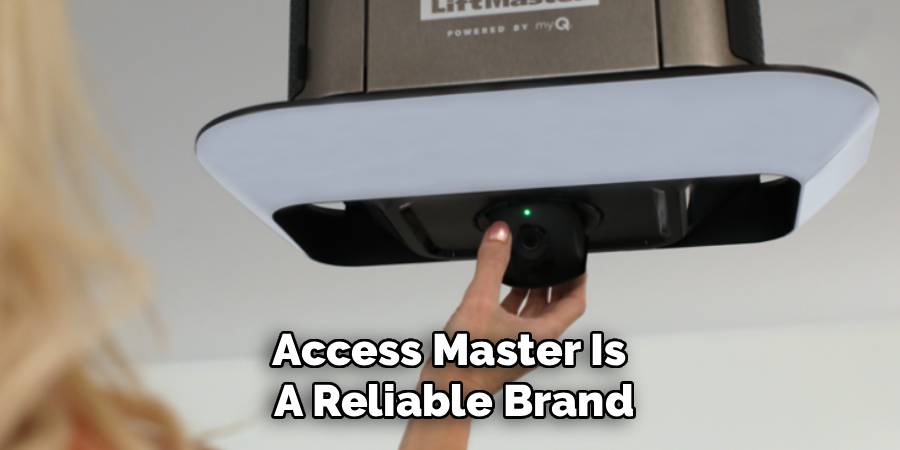
Locate the Learn Button
The “Learn” button is the most critical component for programming your remote control. Found on the motor housing, the unit mounted to your garage ceiling, this button is the means to synchronize your remote with the opener. It is usually located on the back or side panel of the motor, near the antenna wire. Sometimes, it is concealed under a light cover that you can easily remove. The “Learn” button is often color-coded—common colors include yellow, purple, red/orange, and green. The color provides key information about the frequency and security technology of your system, determining which remotes are compatible.
Pre-Programming Safety Checklist
Working with a garage door requires attention to safety. These are heavy, powerful moving objects, and taking a few simple precautions can prevent accidents or injuries. Before you climb a ladder or press any buttons, run through this quick safety checklist.
Clear the Area Surrounding the Garage Door
First, ensure the area directly under and around the garage door is completely clear. Remove any vehicles, tools, bicycles, or other objects that could obstruct your work or pose a hazard. Additionally, make sure that family members and pets are not anywhere in the vicinity while you are working on the system to prevent accidental injuries.
Use Proper Tools and Check the Remote
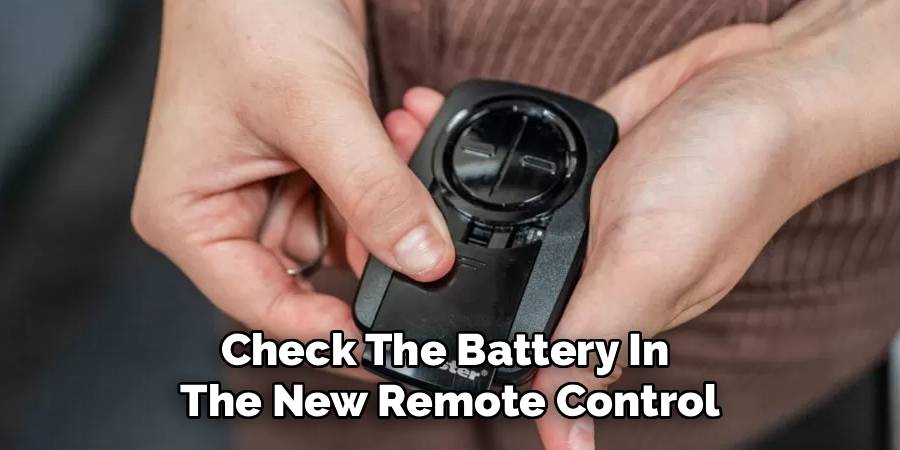
Next, ensure you have the tools necessary for the job, such as a sturdy and reliable ladder, to safely reach the motor unit mounted on the ceiling. Position the ladder on a flat surface, and confirm it is stable before climbing. While the programming process typically does not require you to open electrical panels, be cautious around moving parts. Though it is generally not necessary to unplug the garage door opener during programming, you can disconnect the power if you feel unsure at any point. Finally, check the battery in the new remote control. Weak or old batteries may emit a poor signal, leading to programming failure and frustration. Starting with a fresh battery ensures a strong, consistent signal transmission to the motor unit.

Determining Your Security + 2.0 or 315MHz Frequency
How Rolling Code Technology Works
Access Master systems, like their Chamberlain and LiftMaster counterparts, utilize rolling code technology to enhance security. Unlike outdated fixed-code systems that transmit the same signal repeatedly, rolling code technology sends a unique, encrypted code with every press of the button. This prevents potential thieves from intercepting and reusing your garage door code. The system ensures secure communication between the remote control and the garage opener, prioritizing your safety and peace of mind.
Identifying Your System’s Frequency and Technology
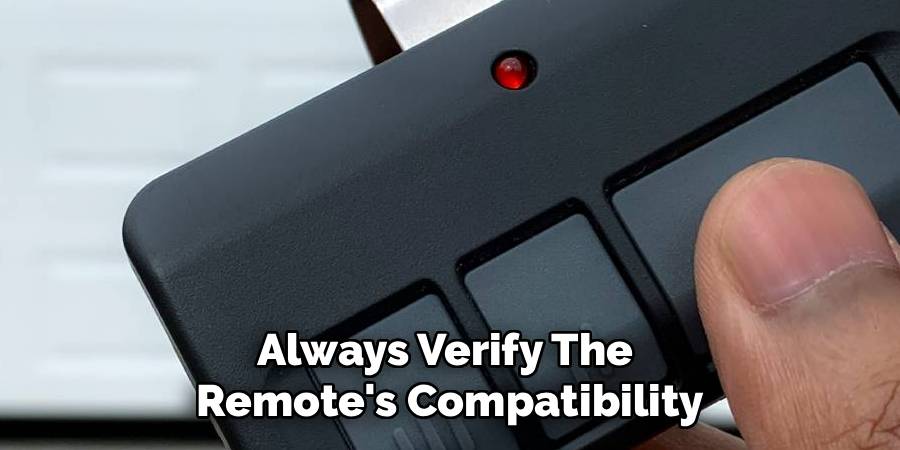
The color of your “Learn” button is the key to determining which frequency and technology your system employs. For example, a purple “Learn” button typically represents the 315MHz frequency with Security+ technology, whereas a yellow “Learn” button denotes a newer system that often operates with Security+ 2.0 technology. Other colors, such as red/orange or green, correspond to older frequency bands and security protocols used in previous models. Understanding these distinctions is critical to selecting the correct remote control. Remotes designed for purple button systems are not compatible with yellow button systems and vice versa. If you are using a universal remote, knowing your system’s frequency is crucial to following the appropriate setup instructions. Always verify the remote’s compatibility with your “Learn” button color to ensure a seamless and successful programming experience.
How to Program Access Master Garage Door Remote: Step-by-Step Guide
With your system identified and safety checks complete, you are ready to program your remote. This core tutorial will guide you through the process, which should take no more than a few minutes. Follow these instructions carefully for a successful pairing.
Step 1: Prepare the Motor Unit and Remote
First, position your ladder safely under the garage door opener motor unit. With your new remote control in hand, climb the ladder and locate the “Learn” button on the motor. As mentioned, this is often on the back or side panel, sometimes protected by a light cover that you will need to slide or pop off. Have the remote ready, as the next few steps are time-sensitive.
Step 2: Clear Old Codes (Optional but Recommended)
If you have lost a remote or are concerned about unauthorized access, it is a wise security measure to wipe the opener’s memory of all previous codes. This step will erase every remote, keypad, and vehicle-programmed button connected to the opener, so be prepared to reprogram any other devices you still use. To clear the memory, press and hold the “Learn” button for approximately six to ten seconds. Continue holding it until the small LED indicator light next to the button goes out. This confirms that all old codes have been erased.
Step 3: Activate Programming Mode
Now, you will put the opener into programming mode. To do this, press and immediately release the “Learn” button. Do not hold it down this time. You will know you have done it correctly when the LED indicator light glows steadily. This light will stay on for about 30 seconds, indicating that the unit is actively listening for a new remote signal to pair with. You must complete the next step within this 30-second window.
Step 4: Transmit the Signal from Remote
Within that 30-second timeframe, pick up your new remote and press and hold the button you wish to use to operate the door. As you hold the button down, you should see one of two things happen: either the main light bulbs on the garage door opener unit will flash once, or you will hear an audible clicking sound from the motor unit. This flash or click is the confirmation that the opener has successfully received and accepted the remote’s signal.
Step 5: Test the Connection
Once you see the lights flash or hear the click, you can release the button on your remote. The LED indicator light on the motor unit will turn off, signaling the end of the programming mode. Wait a moment, then press the just-programmed button on your remote again. The garage door should engage and begin to move. If it operates as expected, your remote is successfully programmed.
Programming a Keyless Entry Keypad
Many homeowners also prefer a wall-mounted keyless entry keypad for convenient access to the garage using a personalized PIN. Whether you’ve erased the garage door opener’s memory or are setting up a brand-new keypad, the procedure closely mirrors programming a remote.
Initiate the Learn Mode
Begin by pressing and releasing the “Learn” button located on the motor unit of your garage door opener. This action will put the opener in programming mode, and you’ll have 30 seconds to proceed to the next steps.
Program the Keypad
On the keypad, enter the four-digit PIN you want to use for your garage door access. After selecting your PIN, press and hold the “Enter” button on the keypad. Keep holding the button until you notice the opener’s lights flash or hear a clicking sound, indicating the keypad has successfully learned the new code.
Once this process is complete, release the “Enter” button, wait a moment, and test your keypad. Enter your PIN followed by pressing “Enter.” If the garage door moves as expected, your keyless entry keypad is successfully programmed.
Troubleshooting Common Programming Issues
Occasionally, the programming process may not proceed as seamlessly as expected. If you encounter difficulties while programming Access Master garage door remote systems, the problem usually stems from a few common factors. Rather than becoming frustrated, take a moment to review these troubleshooting tips to identify and resolve the issue.
Check the Batteries
One of the most frequent causes is weak or dead batteries in the remote. Even if the remote is brand new, it is possible that the battery inside is not. Always replace the battery with a fresh one to ensure a strong and uninterrupted signal. This simple step resolves many common issues and helps verify that the remote is functioning properly.
Address Signal Interference
Radio frequency interference can also disrupt the signal between the remote and the garage door opener. Surprisingly, certain LED light bulbs installed in the opener itself can emit frequencies that interfere with the remote’s signal. If you suspect interference, try temporarily removing the bulbs to see if the problem resolves. Additionally, ensure there are no other devices nearby emitting conflicting frequencies.
Other Potential Issues
Garage door openers have a limited memory capacity for storing remotes. If you have programmed several remotes over the years, the memory might be full. To fix this, clear all codes by holding the “Learn” button on the opener for 6-10 seconds, and then reprogram the remotes you currently use. Finally, double-check that your remote is compatible with your system. Although some remotes may appear identical, incompatibilities can prevent successful programming. Use the color of your “Learn” button as the ultimate guide for compatibility.
Maintenance Tips for Your Remote and Opener
Regular maintenance is essential to keep your garage door system running smoothly and reliably for years to come. With a few simple steps, you can extend the lifespan of your equipment and avoid common issues.
Caring for Your Remote Controls
To ensure your remote controls work efficiently, replace their batteries every two years or sooner if you notice a reduced operating range. Faulty or low batteries are the most common reasons for remote failures. Additionally, avoid storing remotes in extreme temperatures, as this can shorten their lifespan or damage the internal components.
Maintaining the Opener System
Your garage door opener system relies on properly functioning safety “eye” sensors. These sensors, located at the base of the door tracks, project an invisible beam that prevents the door from closing if the beam is interrupted. Check the sensors periodically to ensure they are clean and aligned with each other. A blocked, dirty, or misaligned sensor can stop the door from closing, leading to unnecessary troubleshooting. Addressing these simple maintenance tasks can help prevent confusion about whether the issue lies with the door or the remote.
Conclusion
Mastering the skill of programming your garage access devices is a simple task that empowers you as a homeowner. By following the correct procedure, you can easily sync new remotes, replace old ones, and even set up keyless entry systems without the need for an expensive service call. Learning how to program access master garage door remote systems simply comes down to identifying your “Learn” button, following a few time-sensitive steps, and performing a quick test. Remember to prioritize safety and double-check for common issues like weak batteries or a full memory bank. If you encounter any unique challenges, consulting your specific model’s manual is always a great final step. With this guide, you now have the knowledge to handle this common household task with confidence.

I am Rick. I grew up helping my dad with his handyman service. I learned a lot from him about how to fix things, and also about how to work hard and take care of business. These days, I’m still into fixing things- only now, I’m doing it for a living.
I’m always looking for new ways to help people grow and develop. That’s why I have created this blog to share all my experience and knowledge so
that I can help people who are interested in DIY repair.